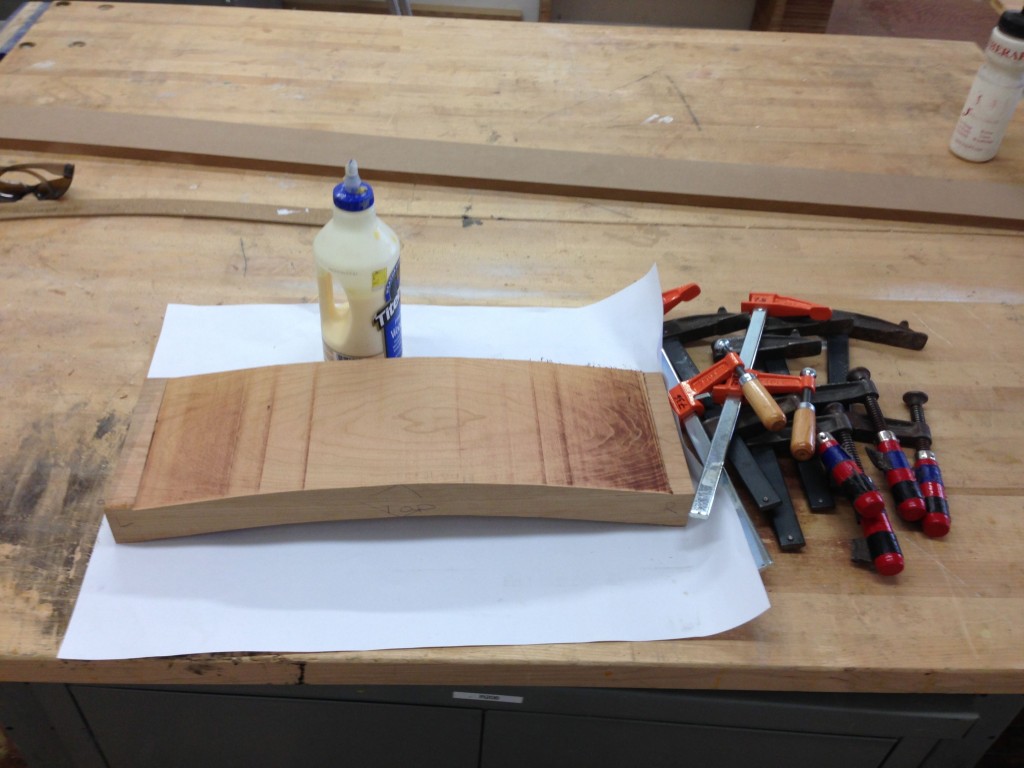
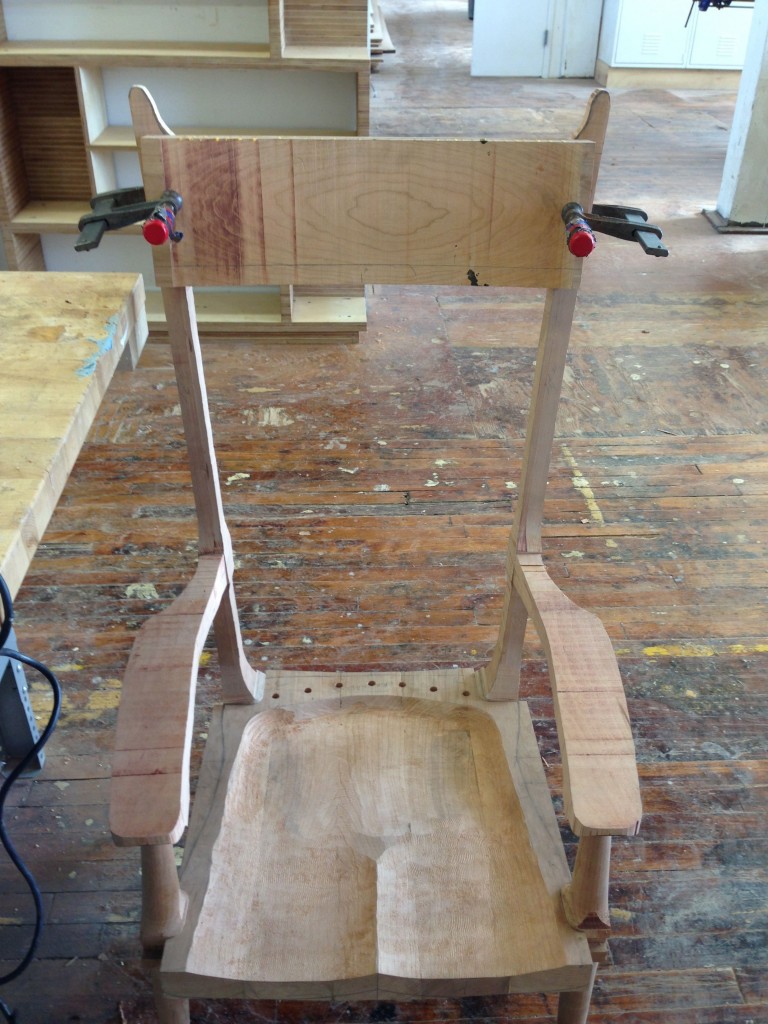
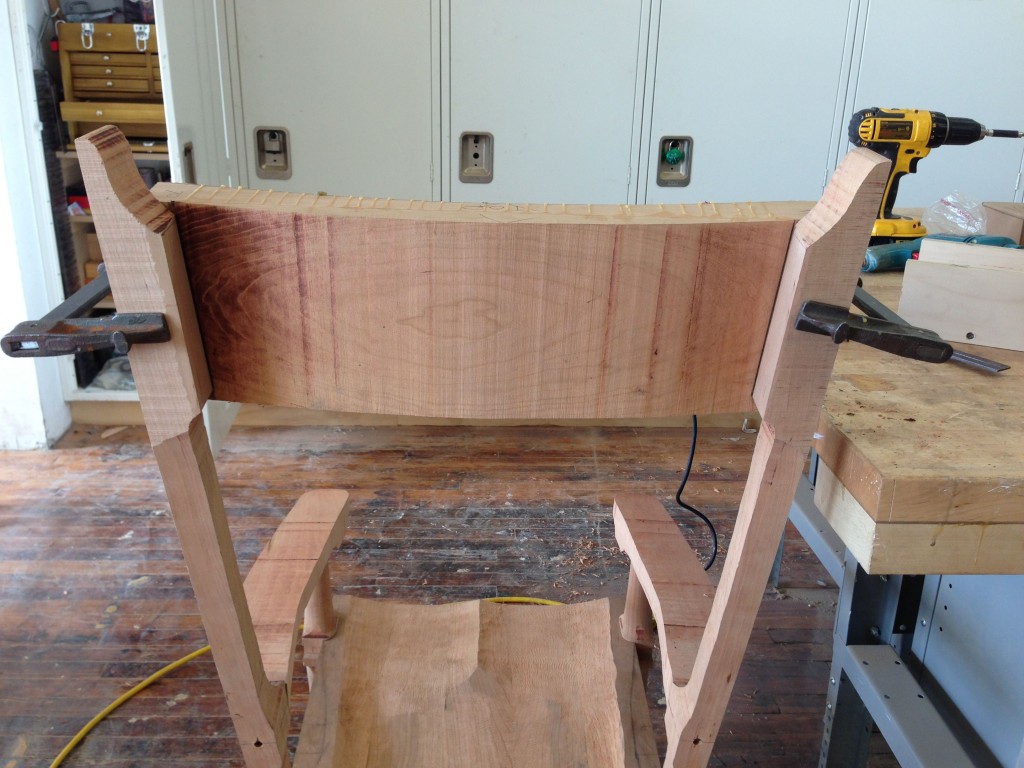
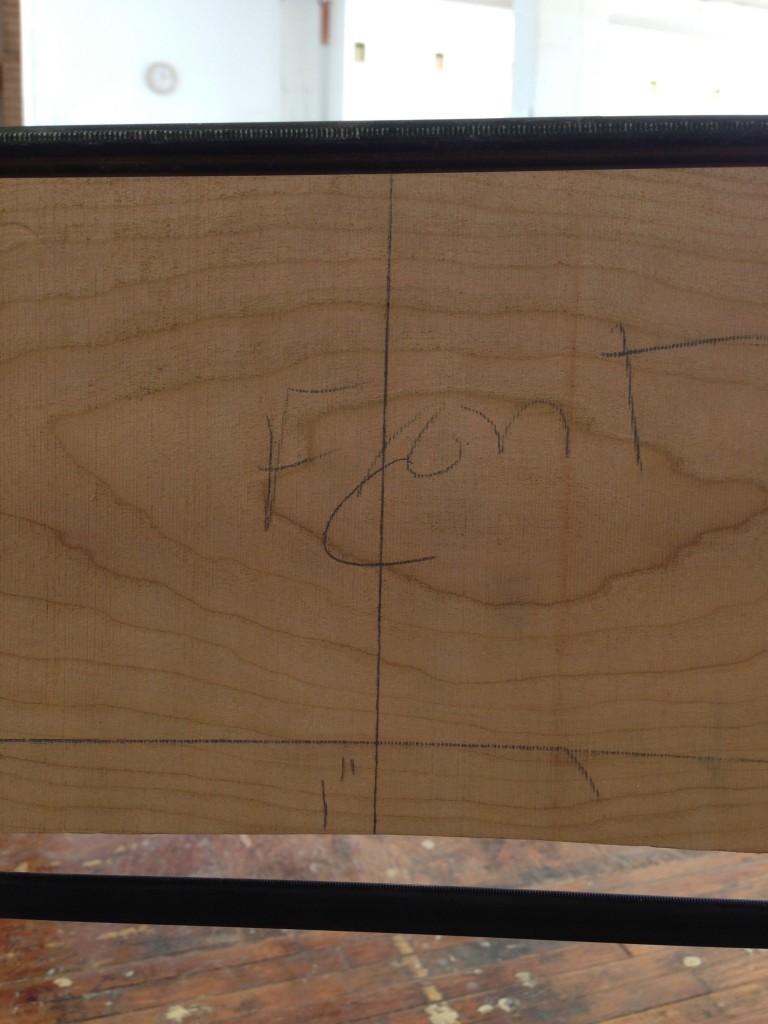
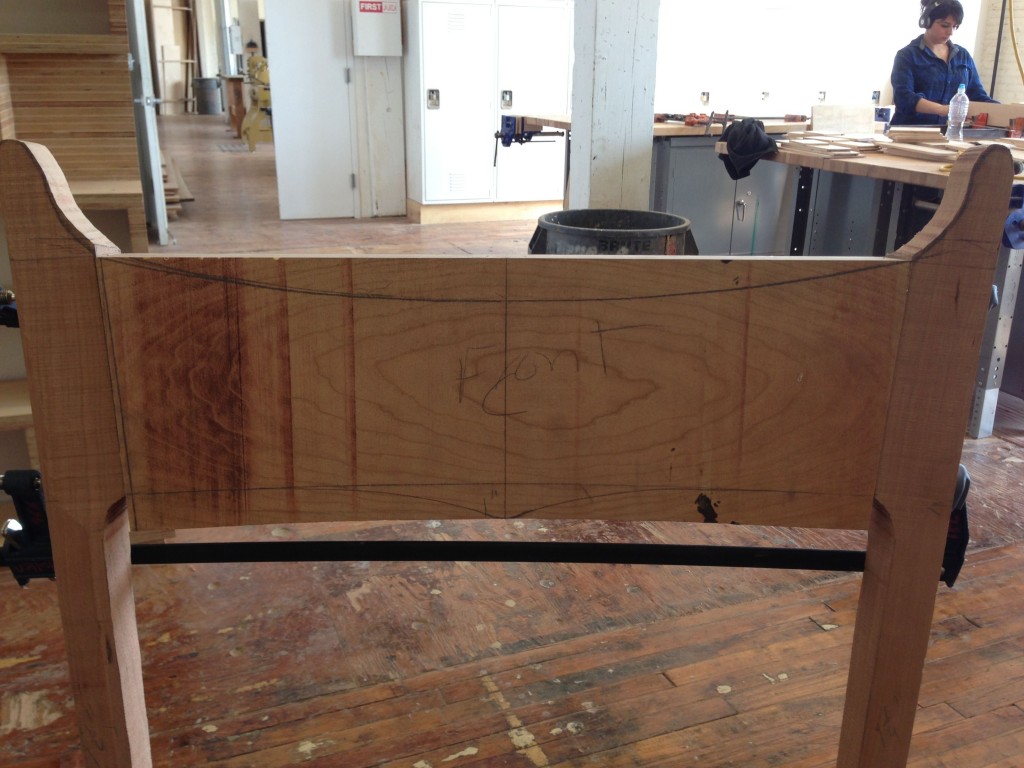
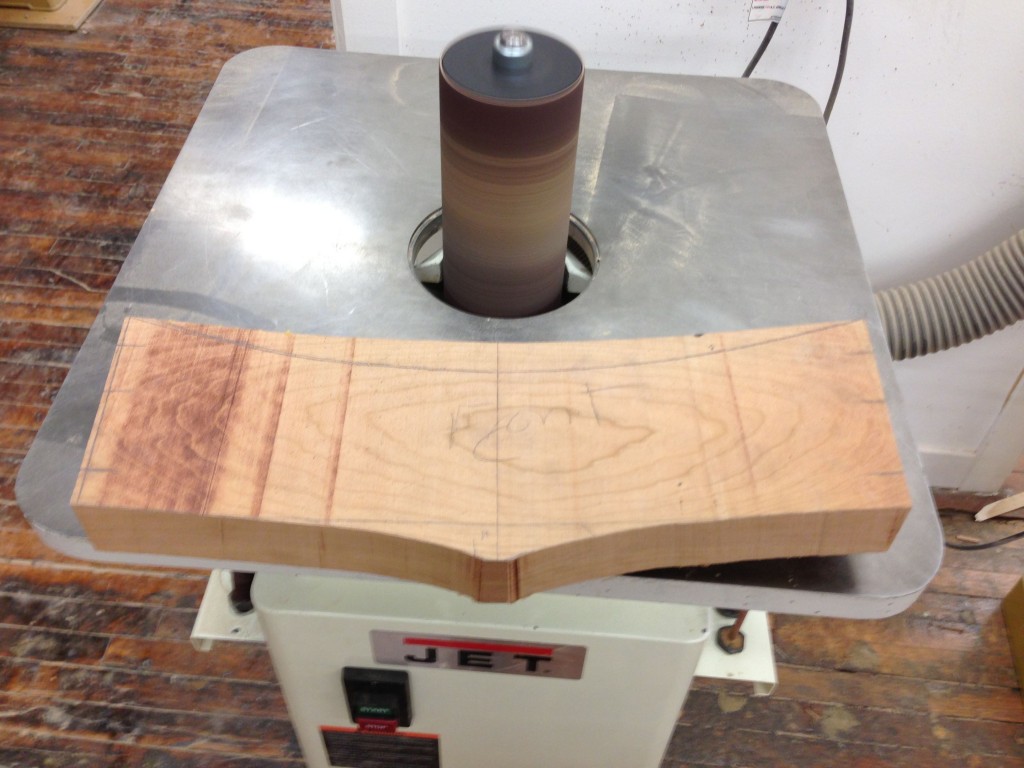
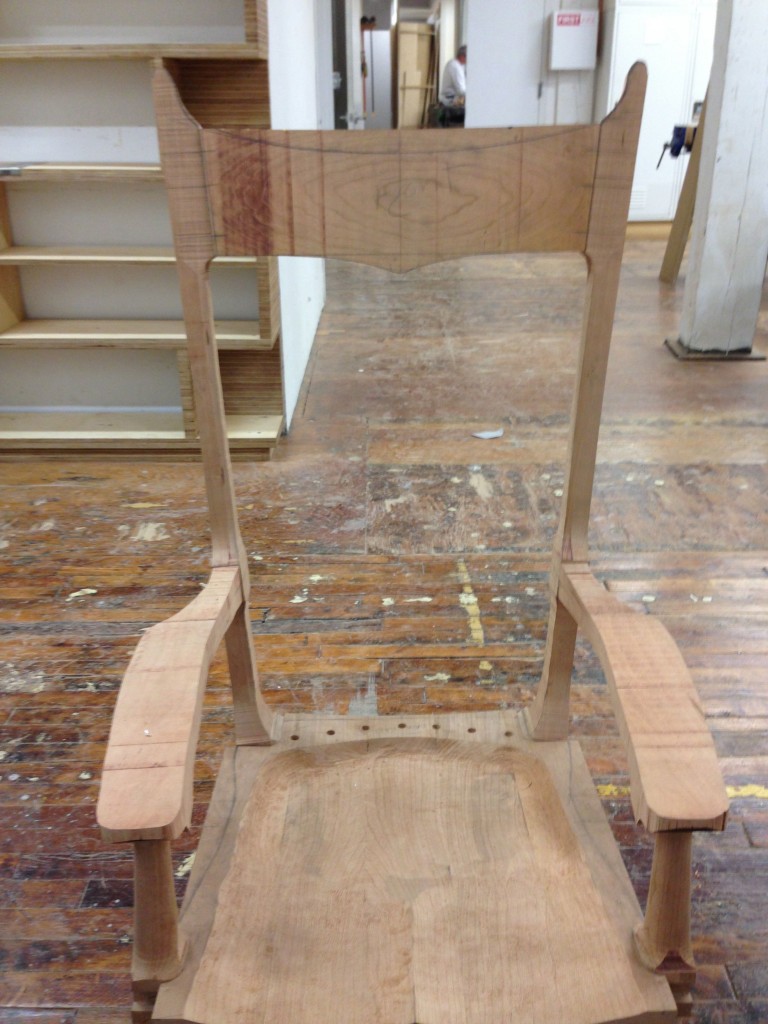
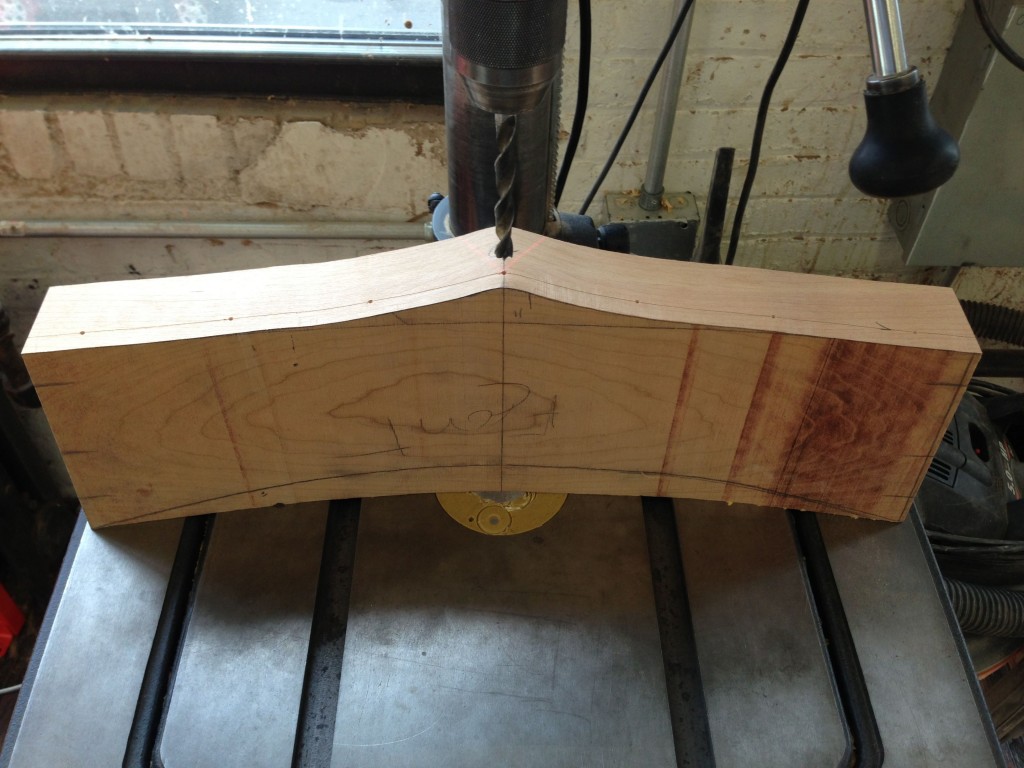
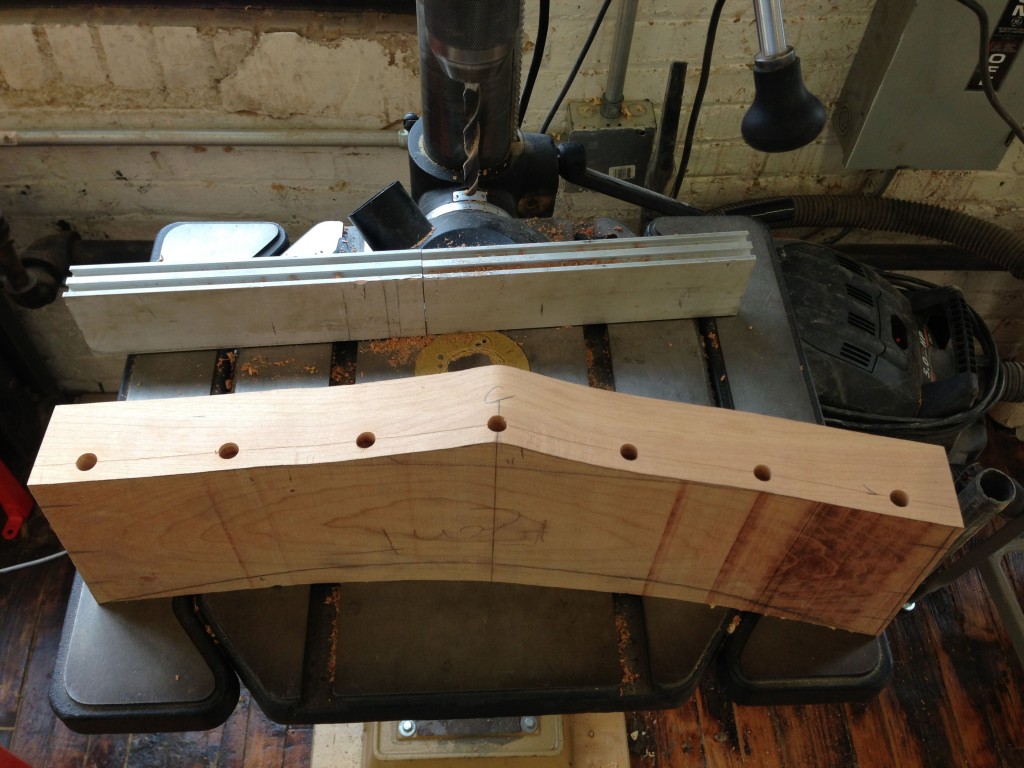
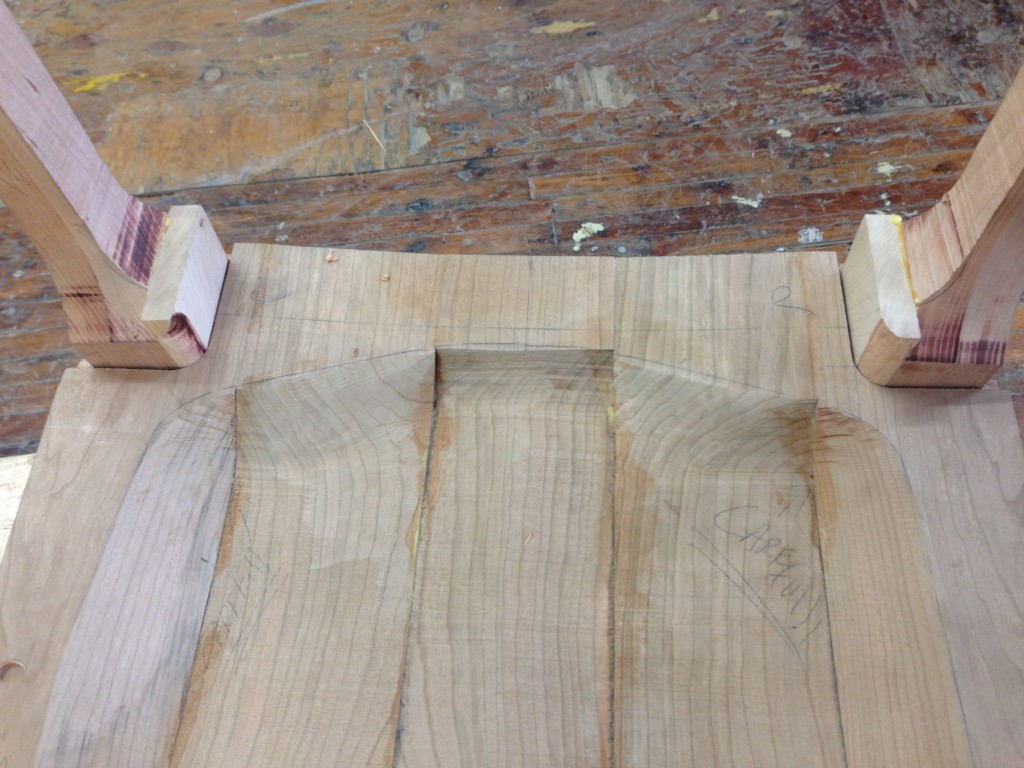
Sitting on a rocking chair is only half the game. The rest is how comfortable your head and back are as they rest against the head rest and slats. This gallery details the construction, layout and preliminary shaping of the head rest. Notice the grain in the center of both the front and back of the head rest stock. That “eye” of grain is the optimal look to draw in the potential sitter and invite them to touch and then try out the chair. It also looks damn sexy.
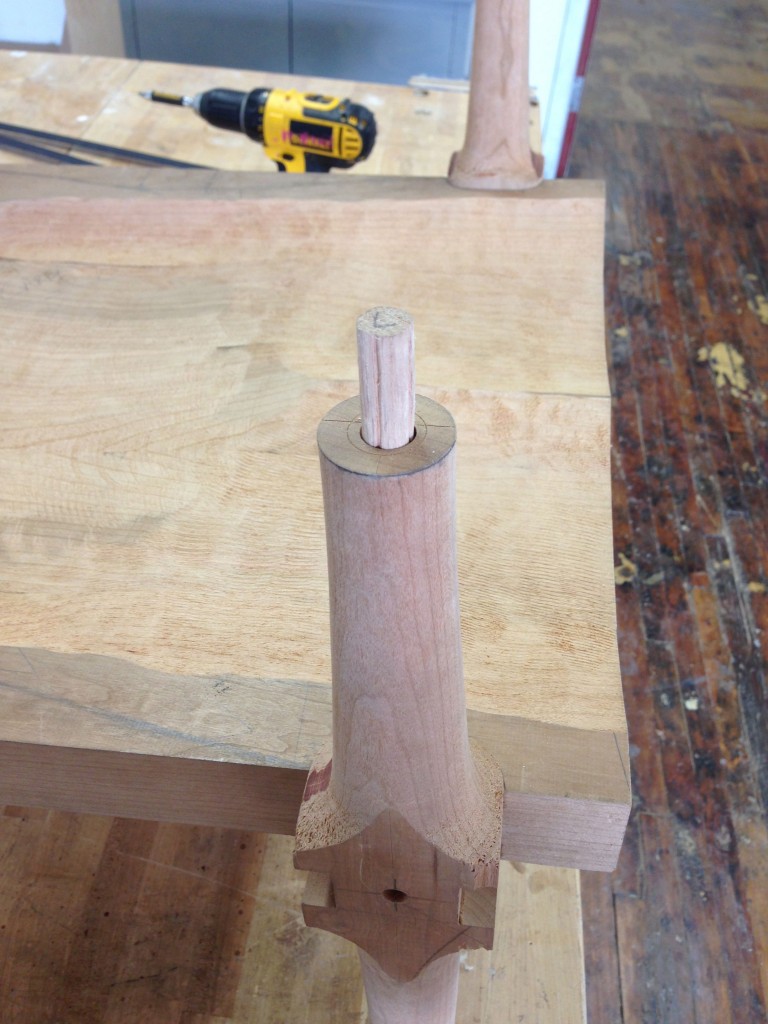
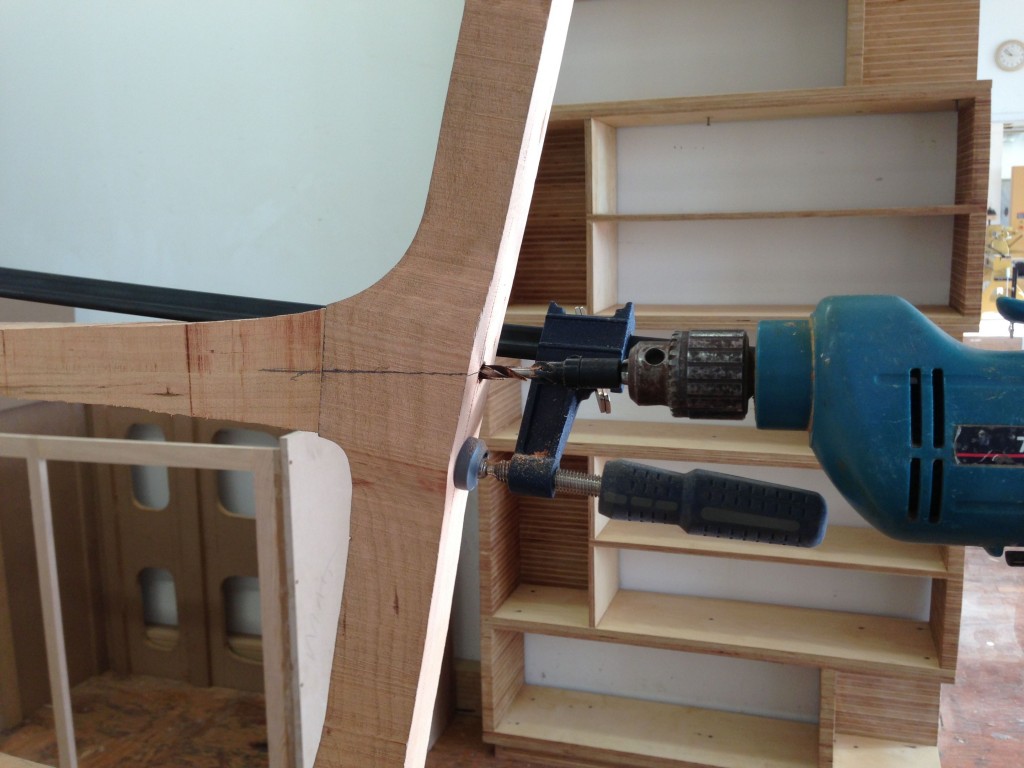
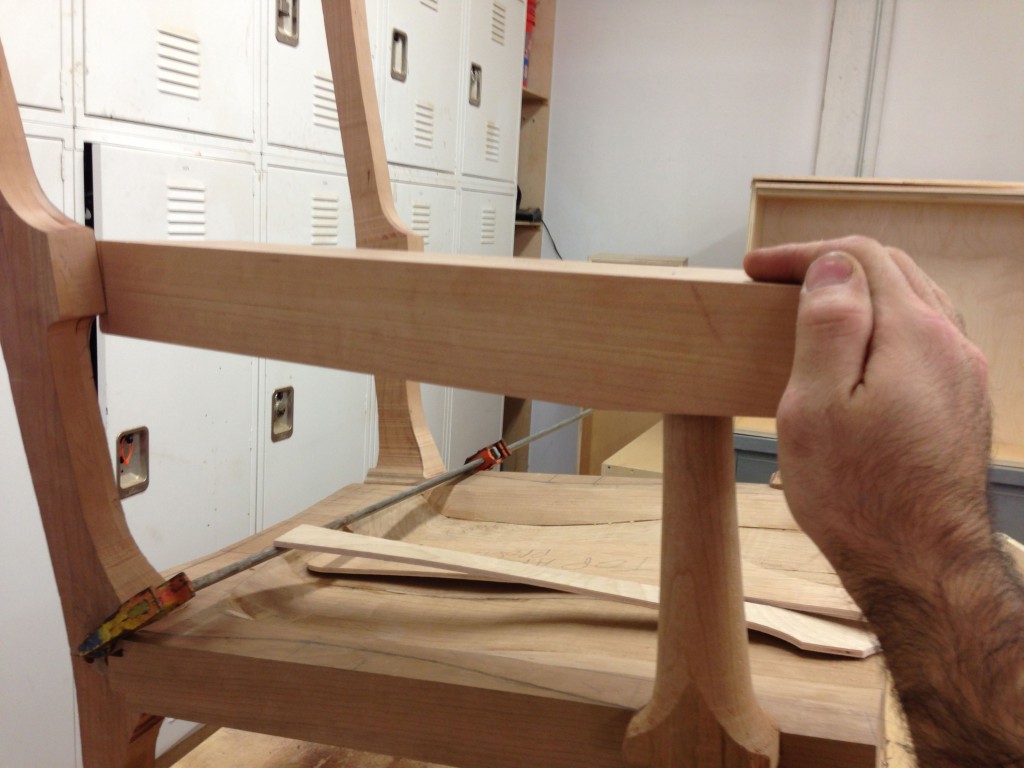
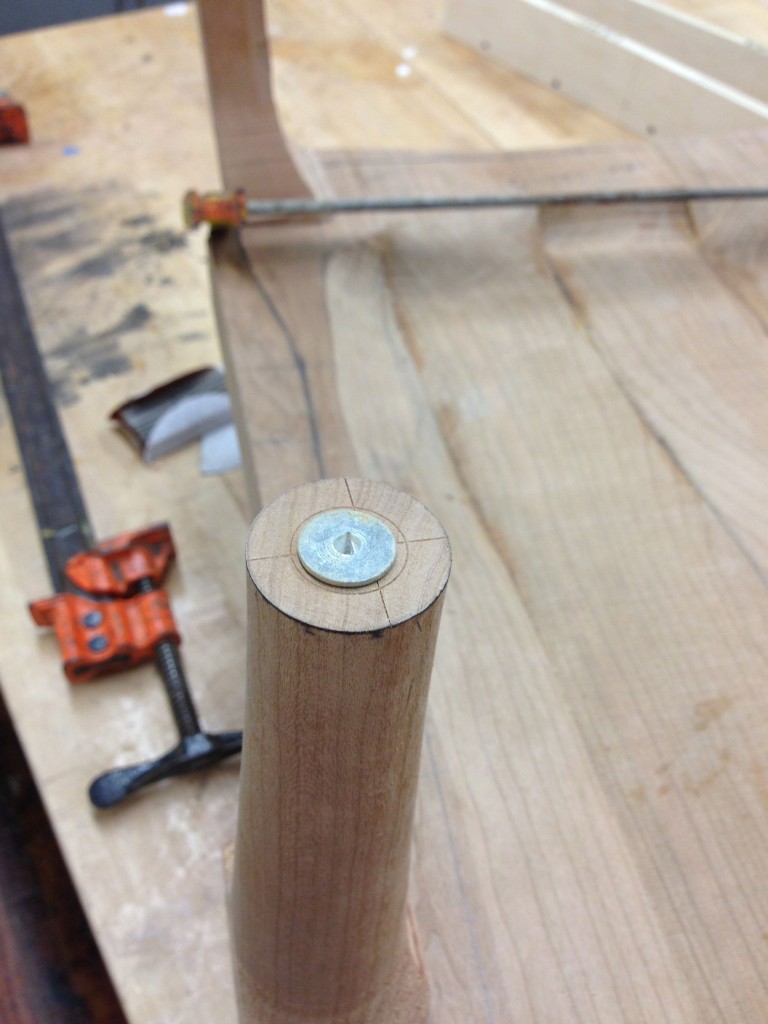
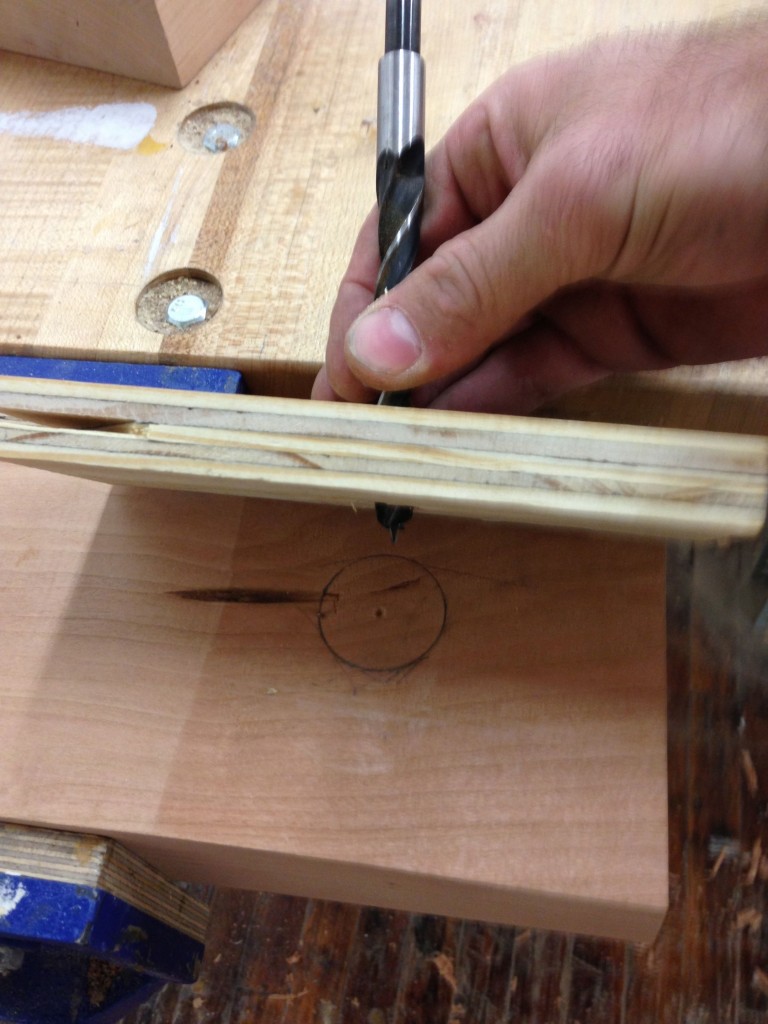
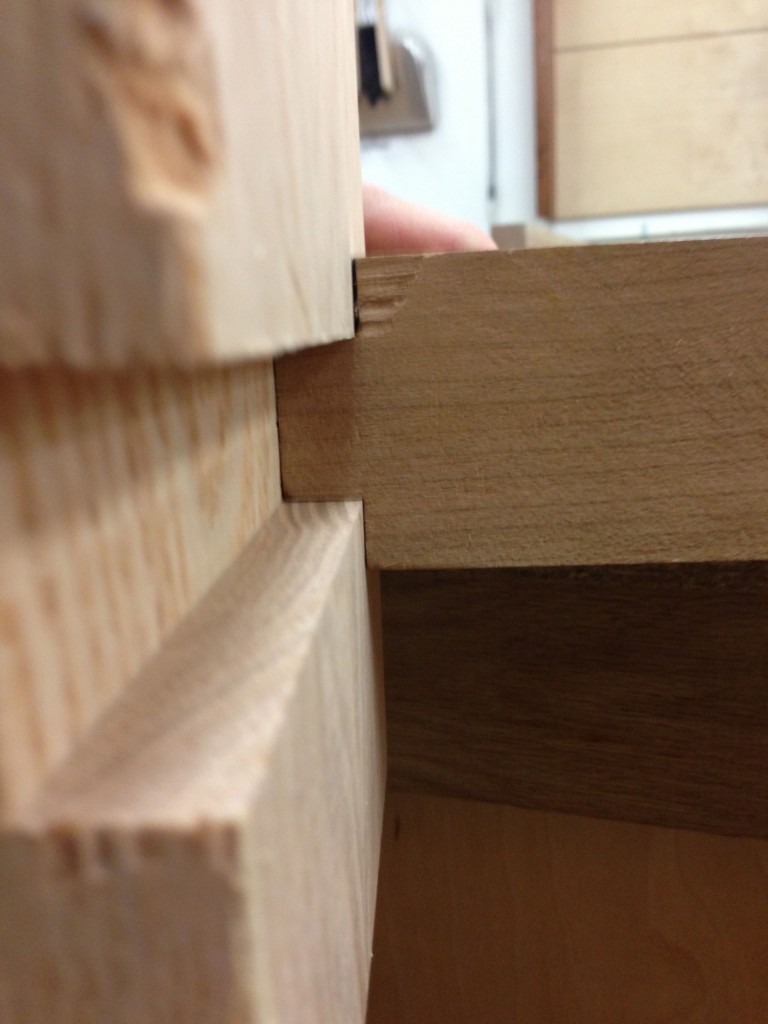
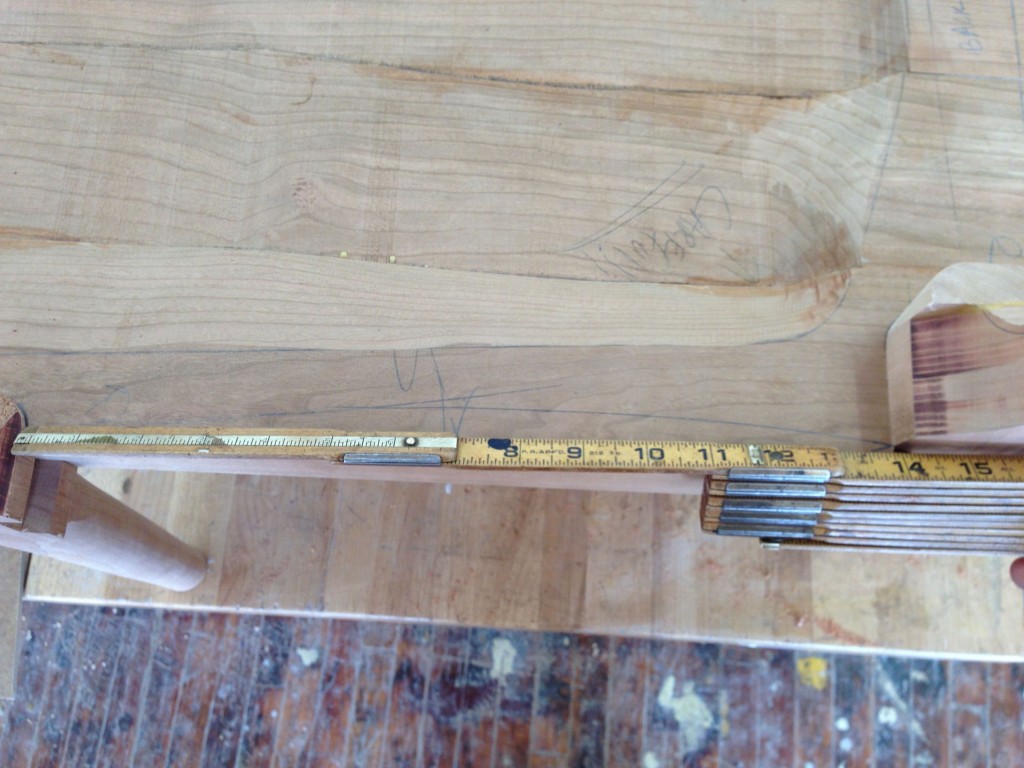
Once the dowels were made, I was able to finish the layout and drilling of the arm to back leg connection. Nothing to crazy here, just making sure that the screws end up in a meaty part of the arm that I will not be shaping in to.
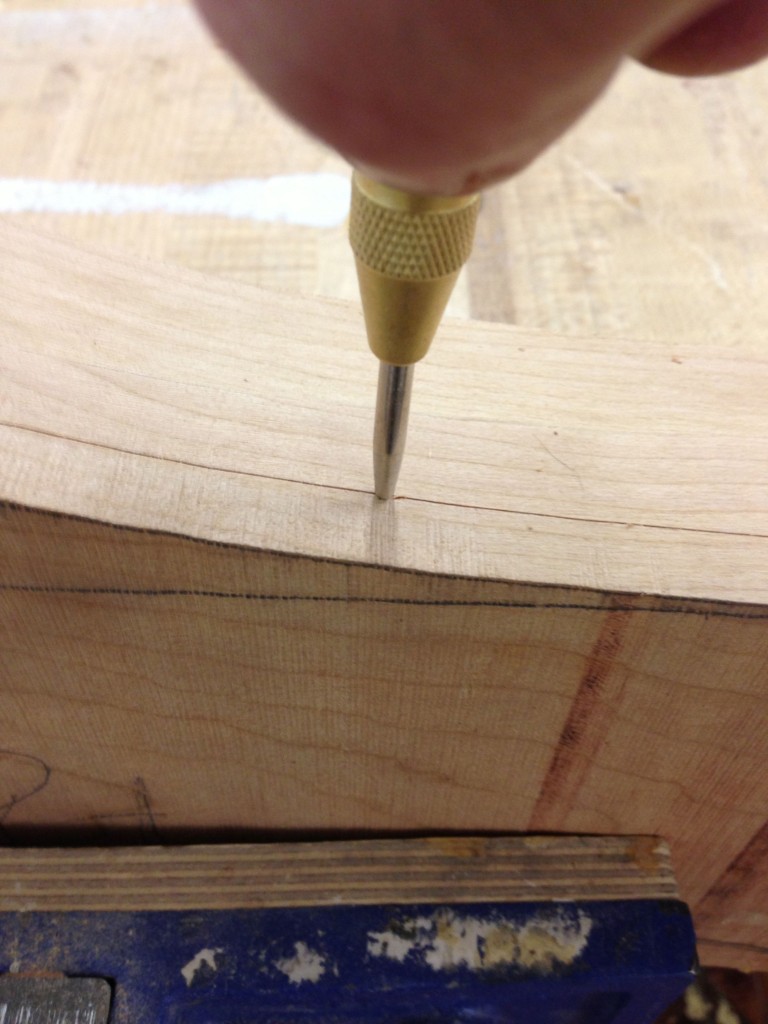
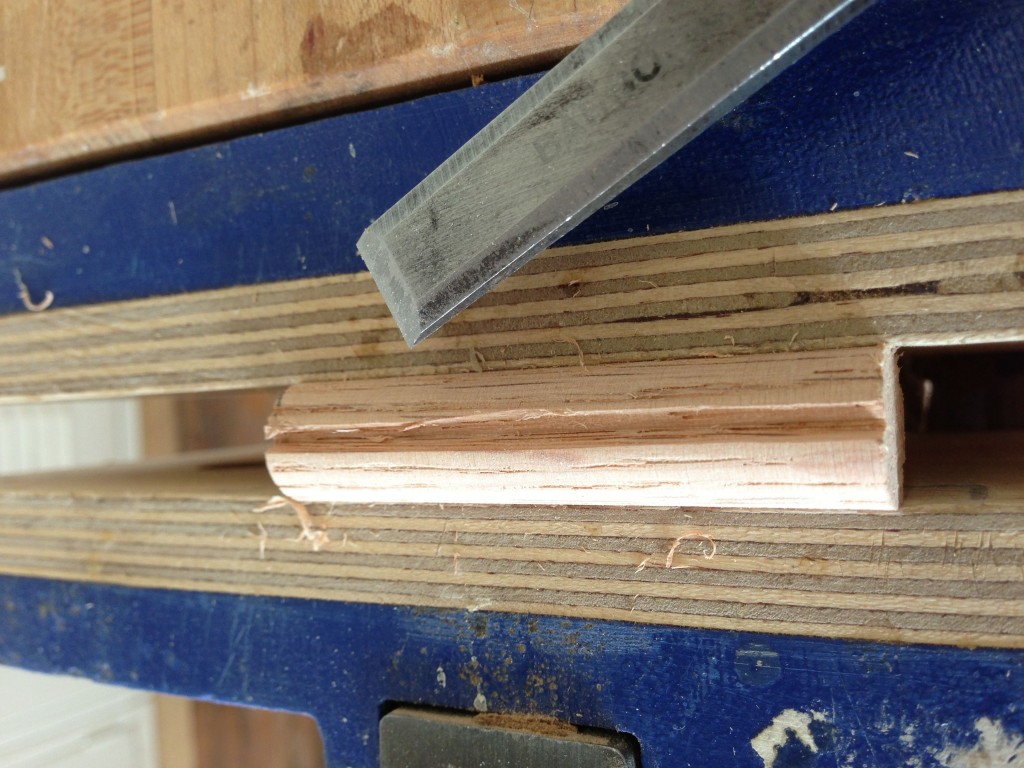
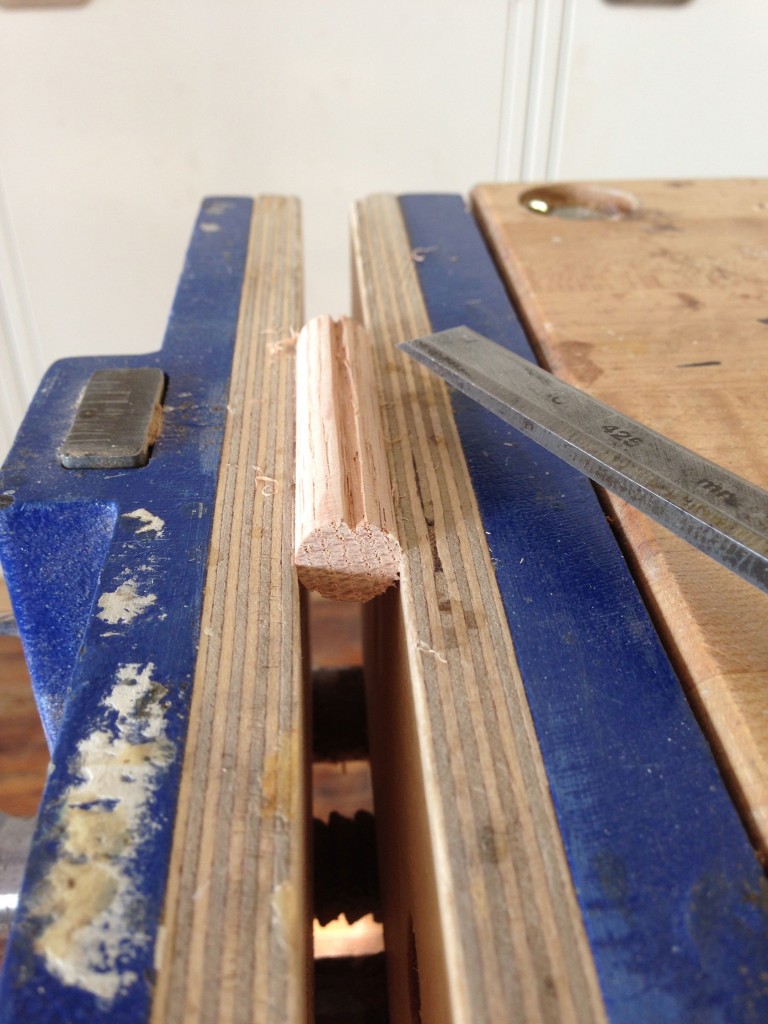
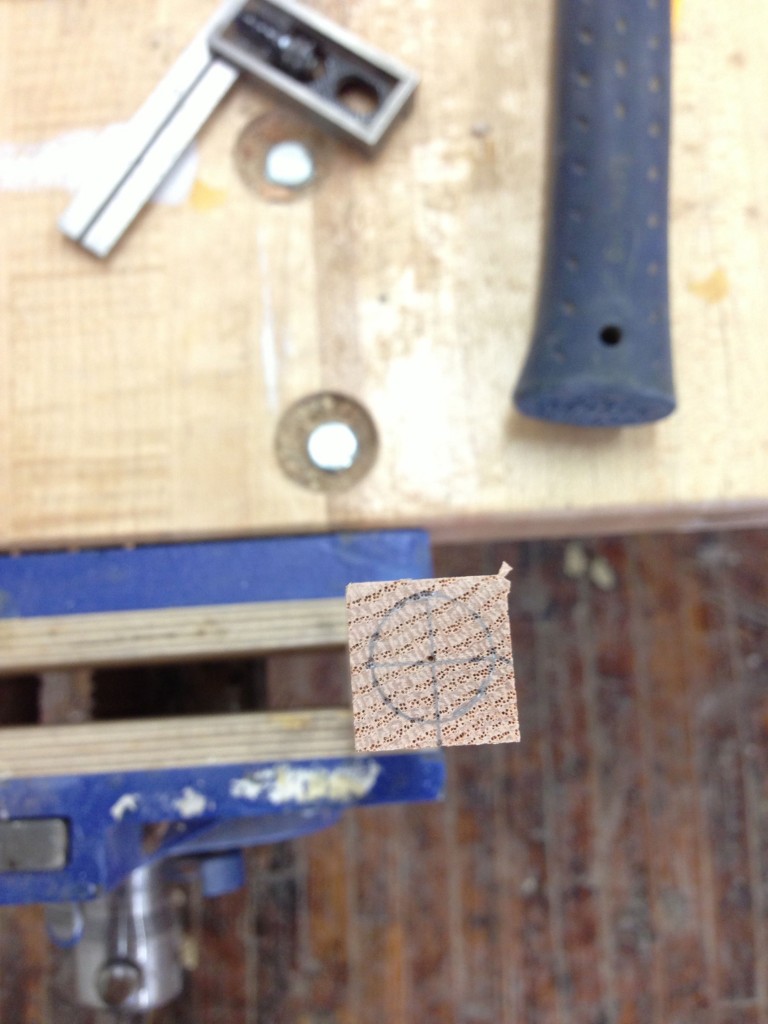
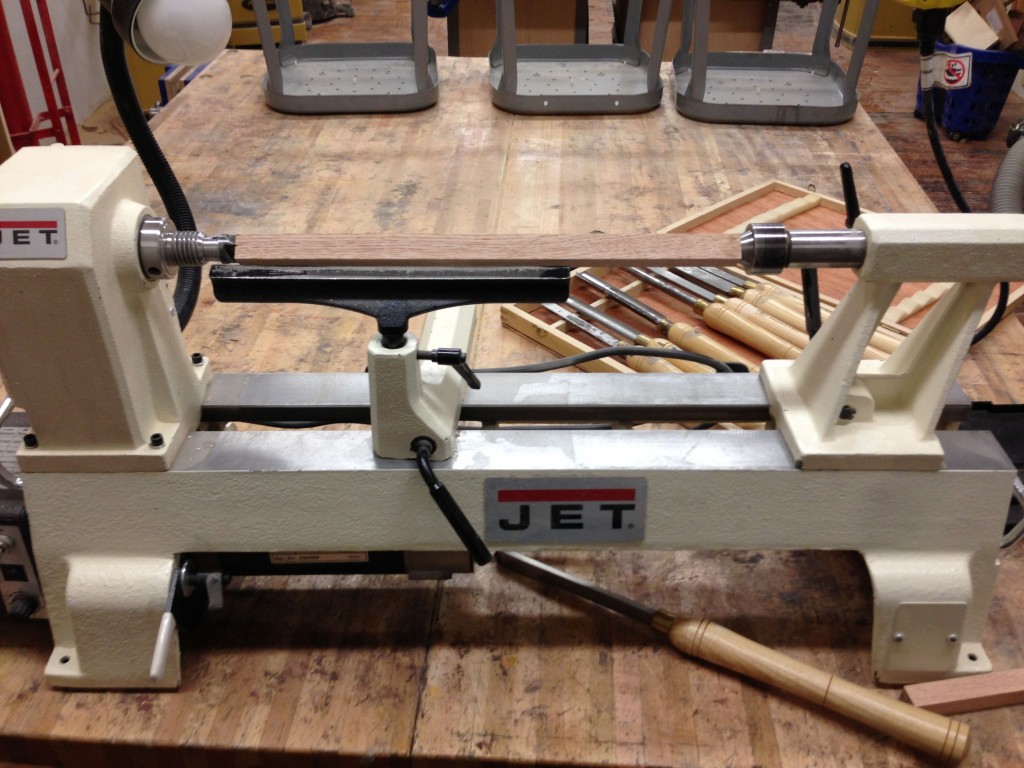
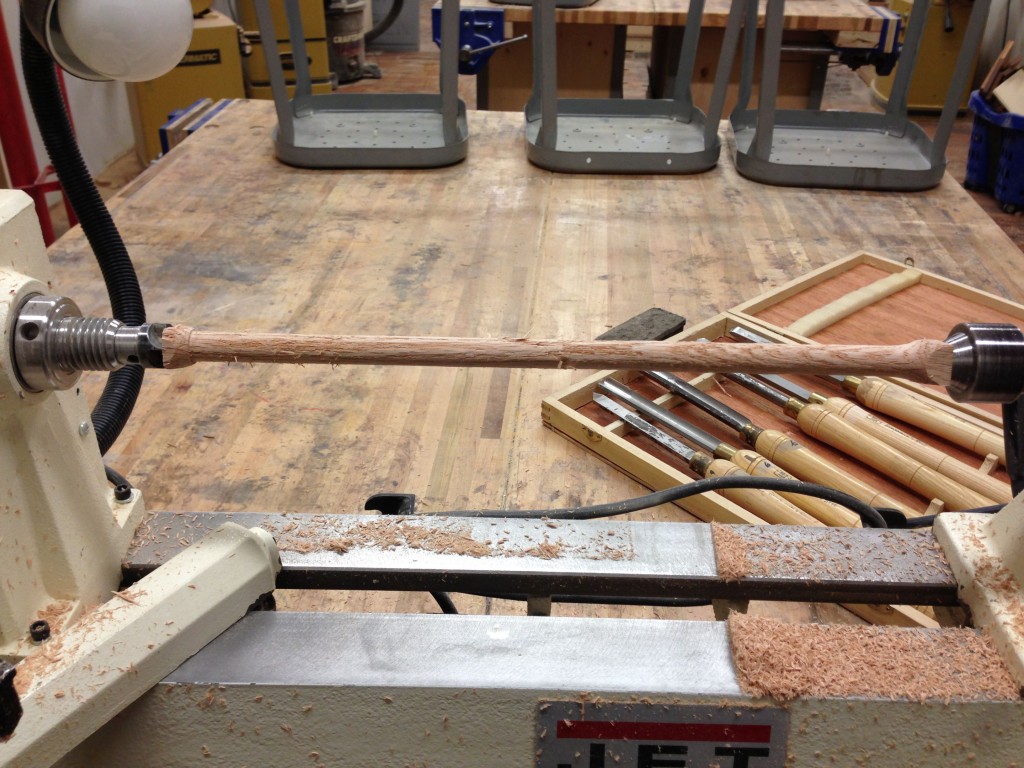
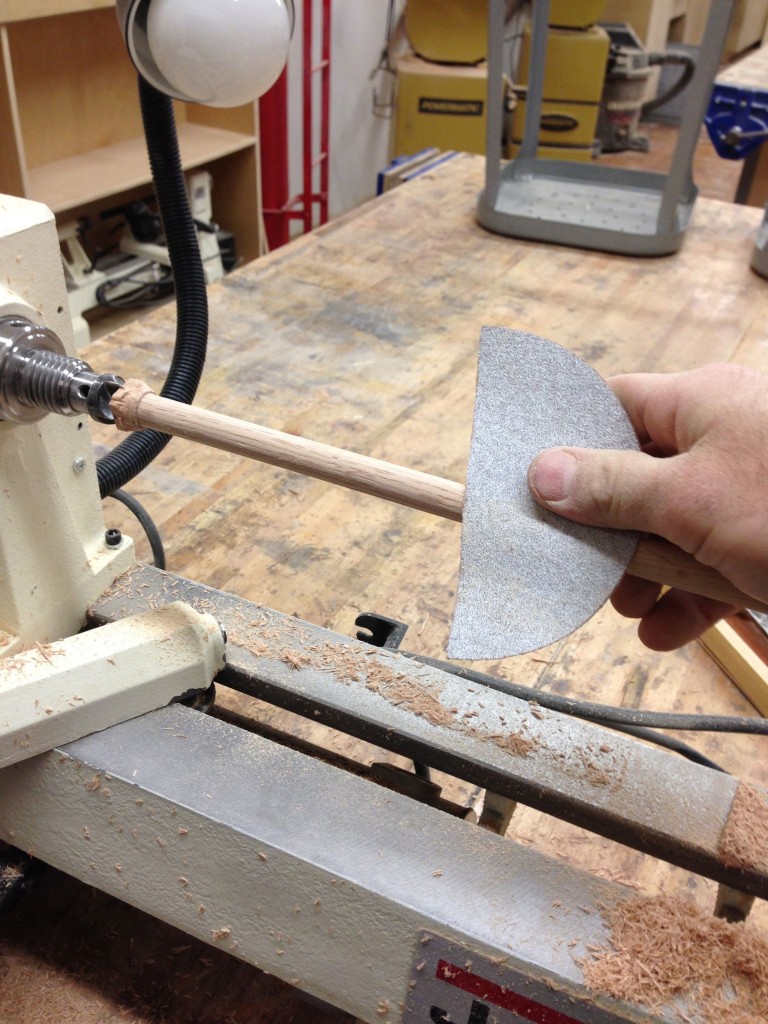
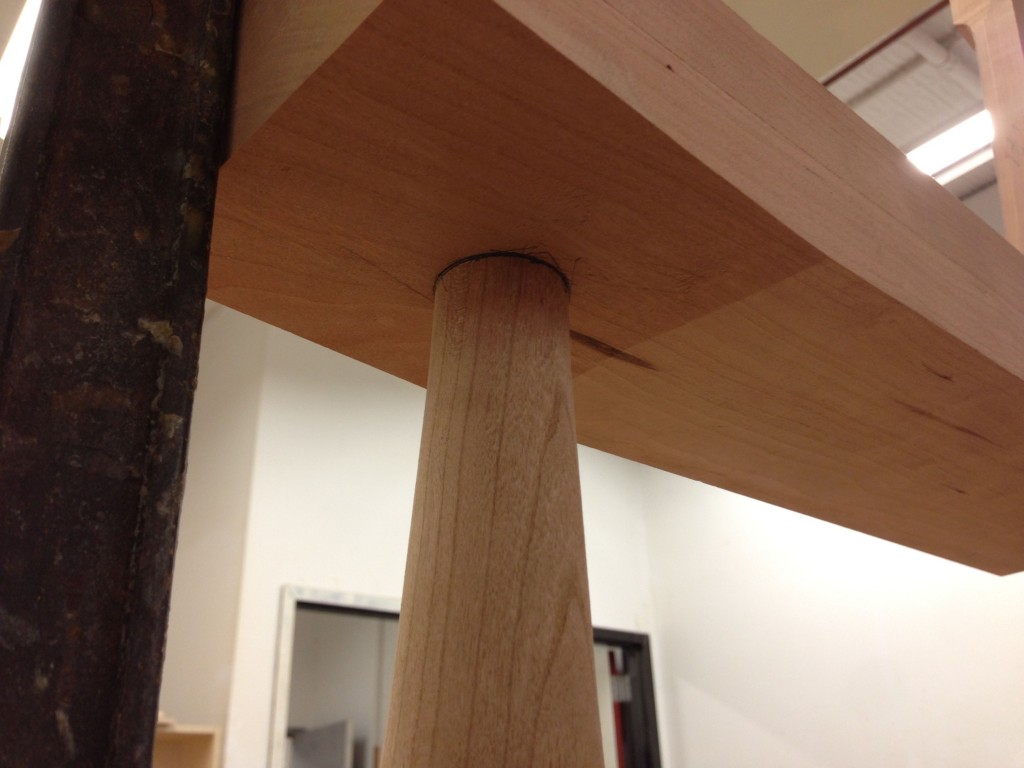
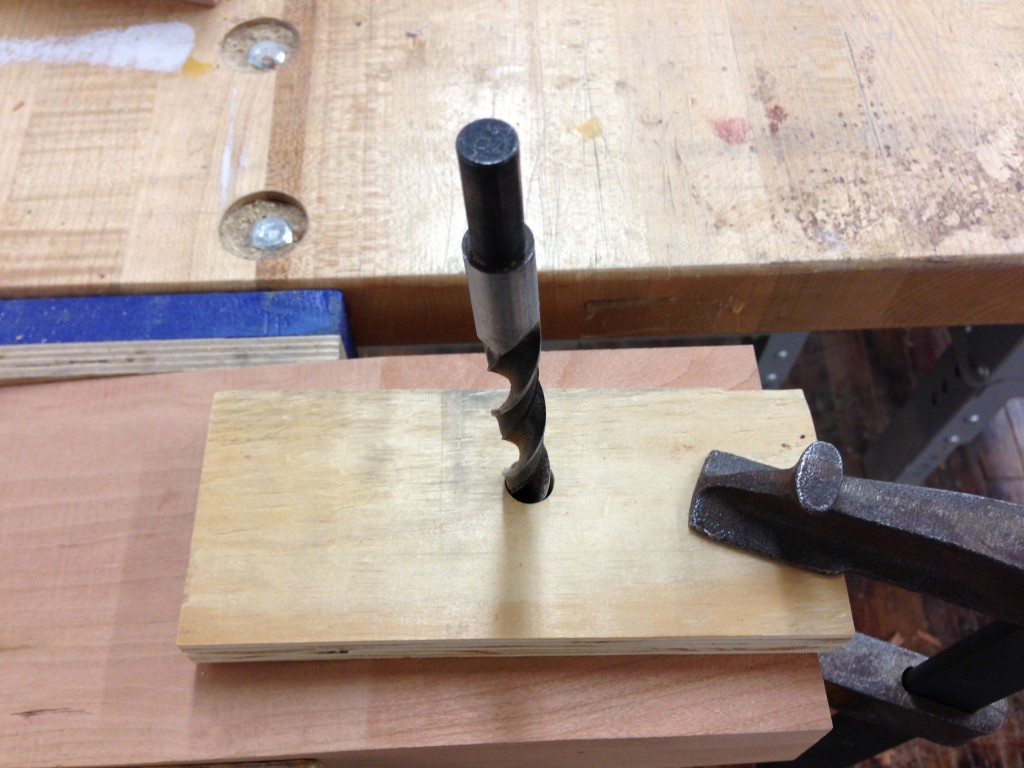
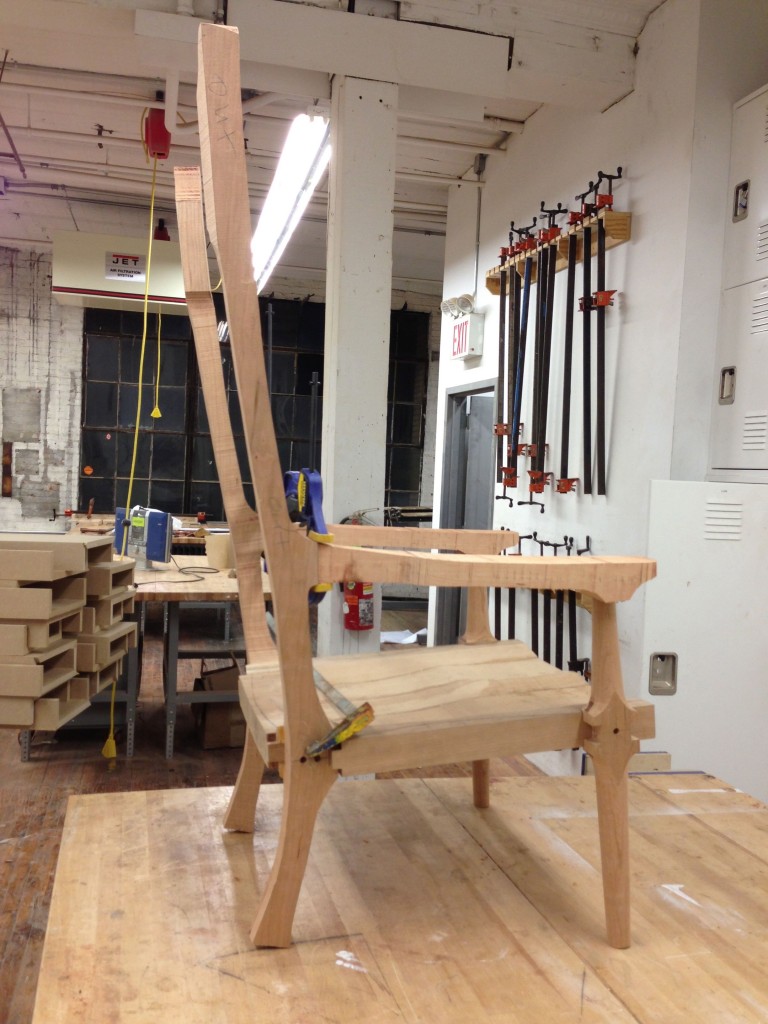
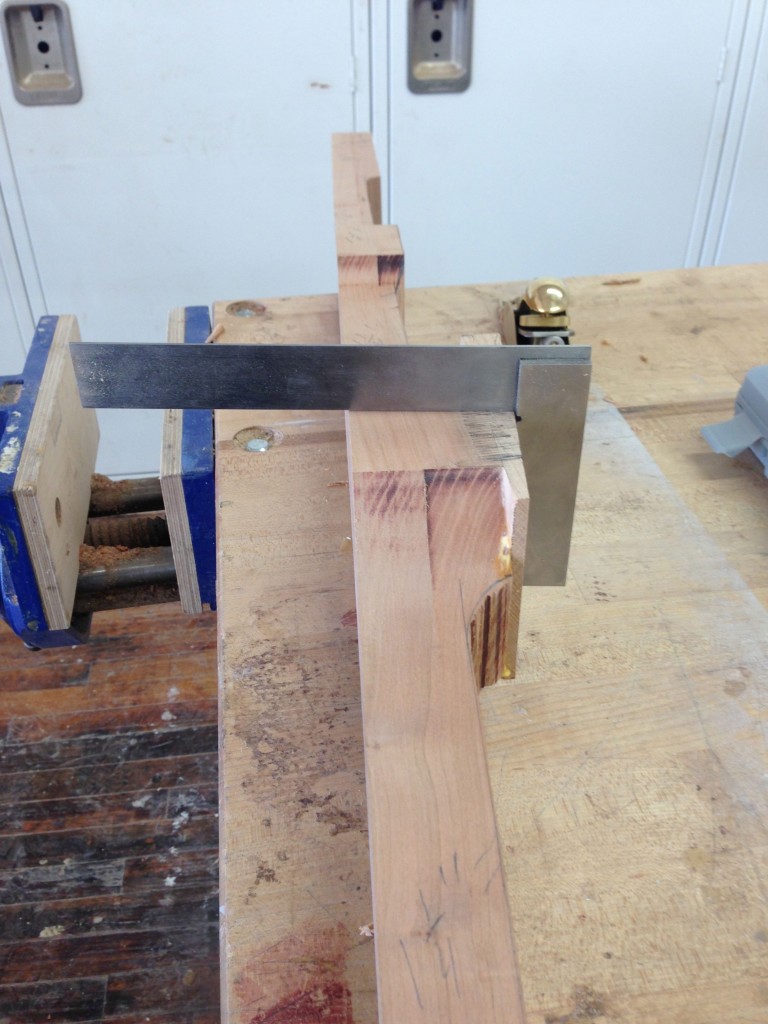
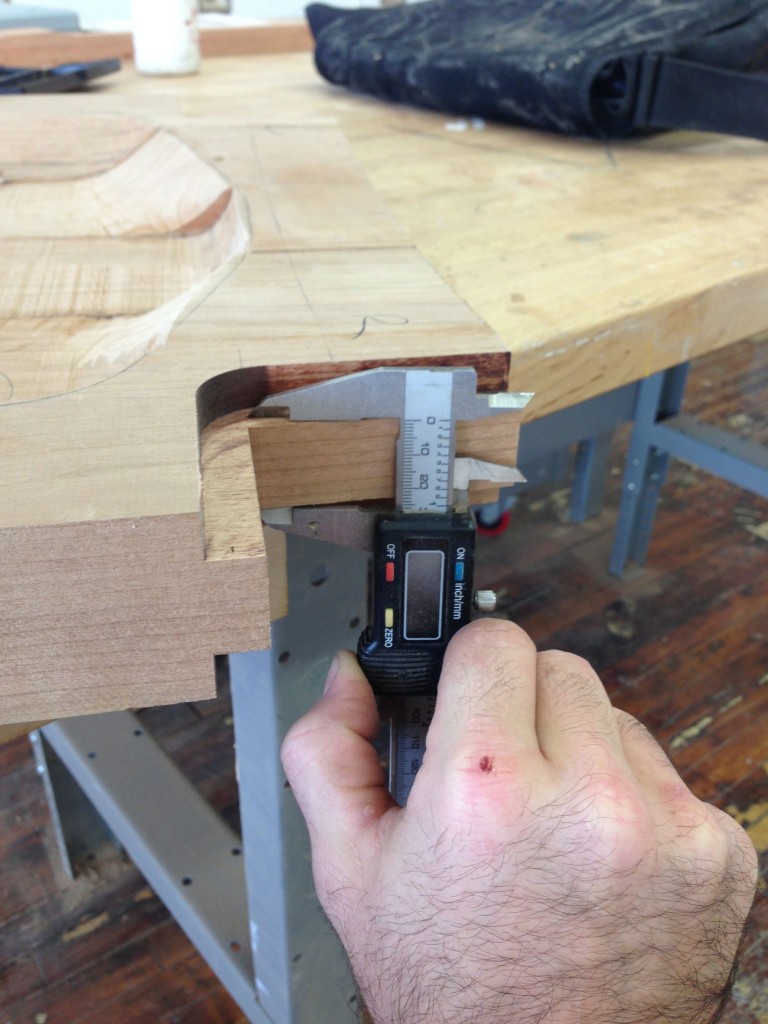
The joinery for the Maloof rocker is rather simple. The front leg to arm and front leg to rocker connections are a simple dowel and glue joint. I felt that with the time and effort already going into this chair that turning my own dowels wouldn’t matter and add a bit of character to the chair. Plus, I couldn’t find any oak dowels that fit my 1/2″ drilled mortise properly.
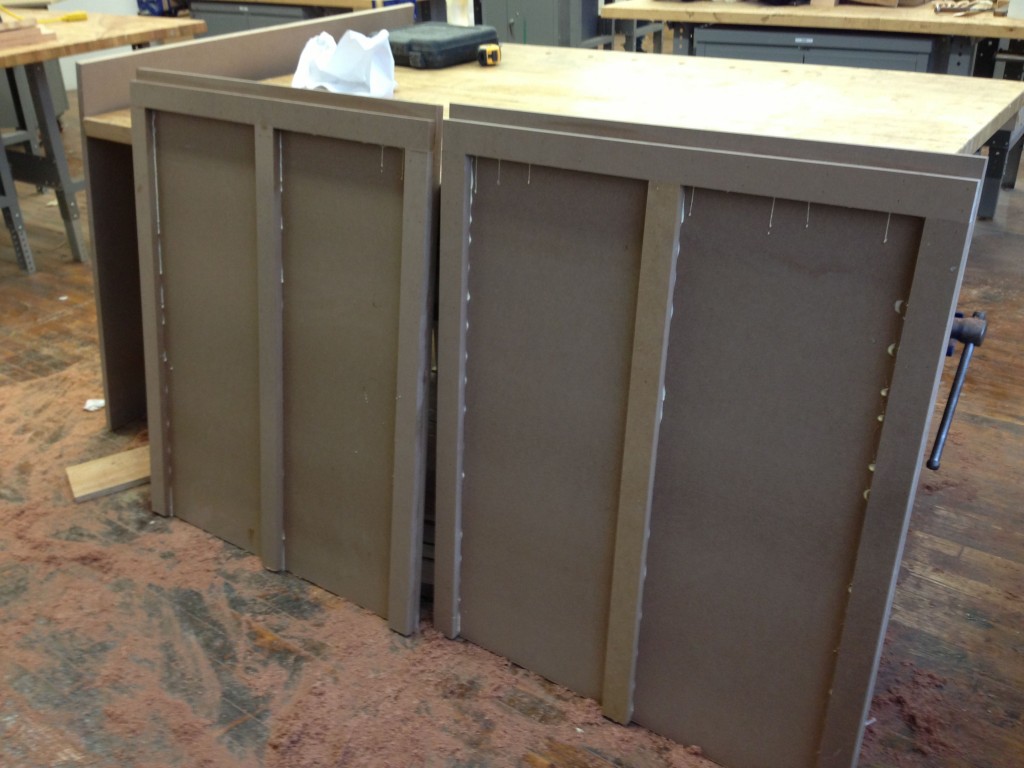
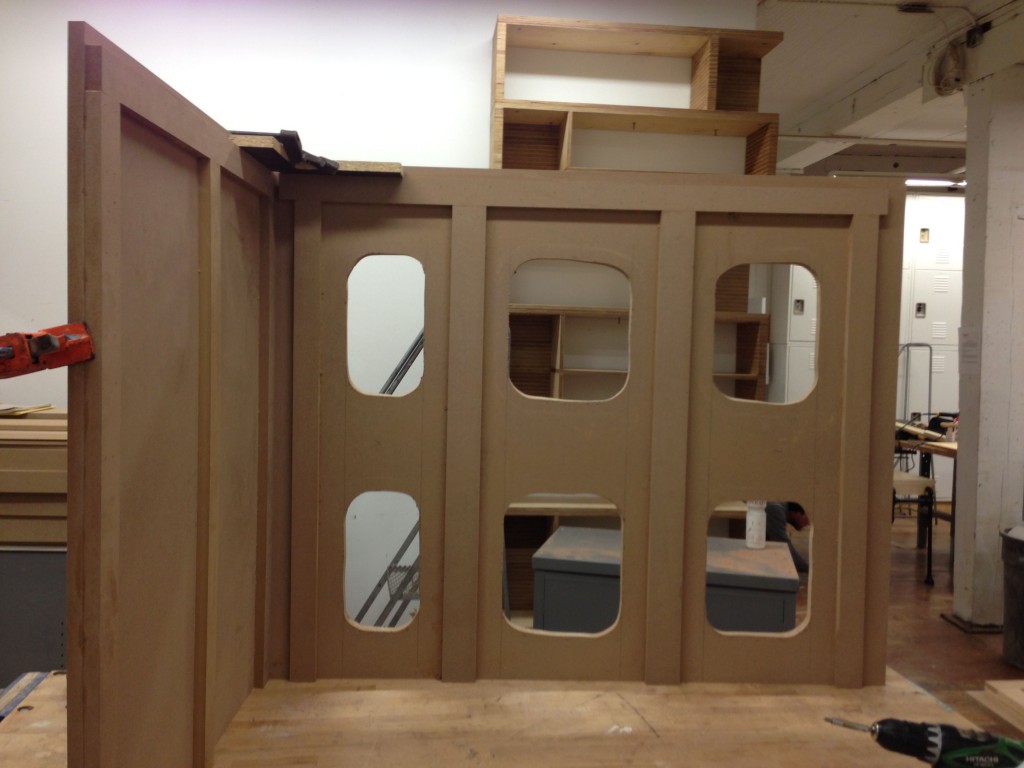
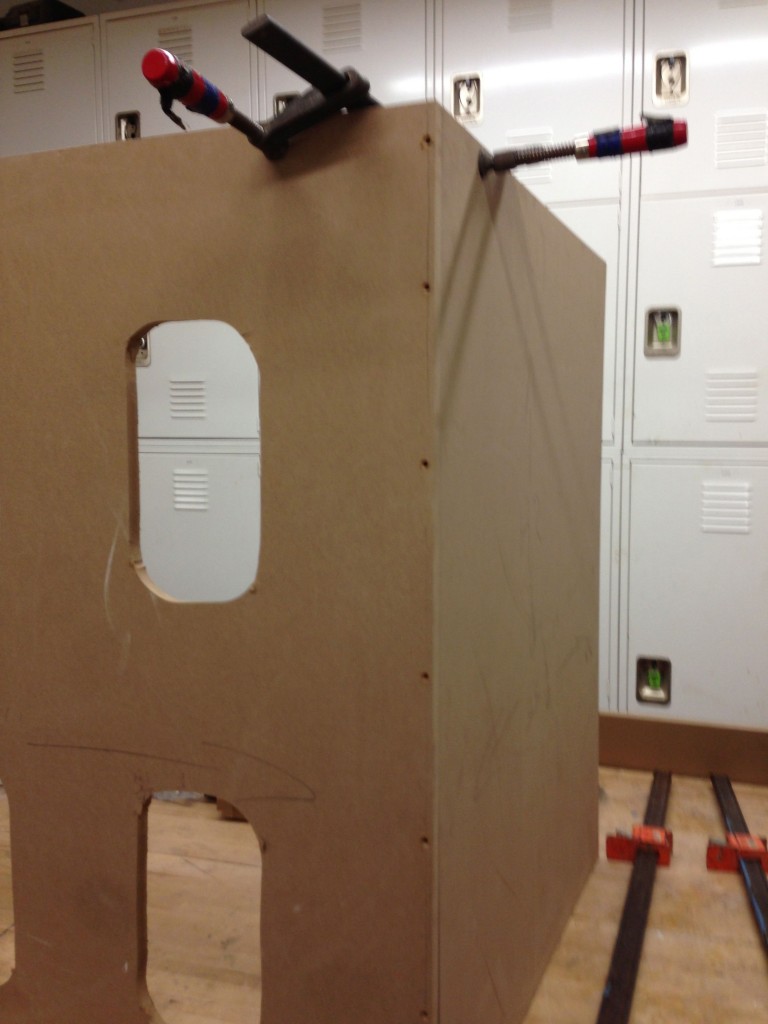
One of the great advantages to working in a space like 3rd Ward is the ability to easily collaborate with other artists. Andrew Erdos is a glass blower with his own studio space in the same building as 3rd Ward. A few months ago he asked me to make him 5 pedestals to display his work. This has now become a regular occurrence and the gallery below takes you thru the build of a pedestal that will reside in a collectors house in Miami.
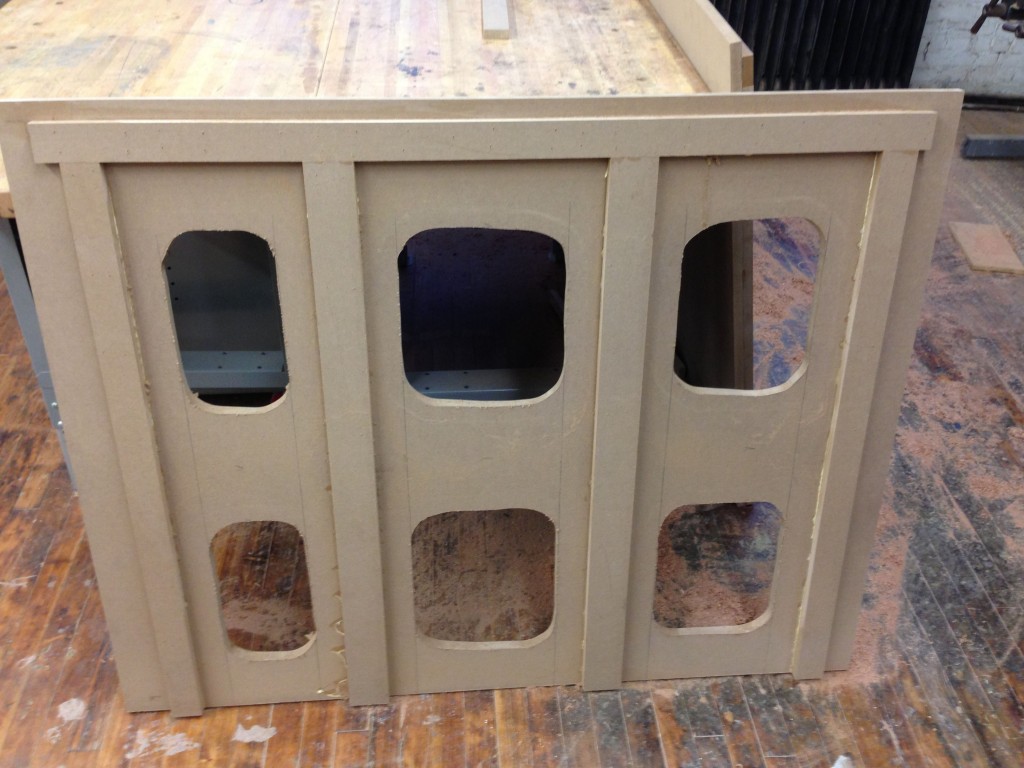
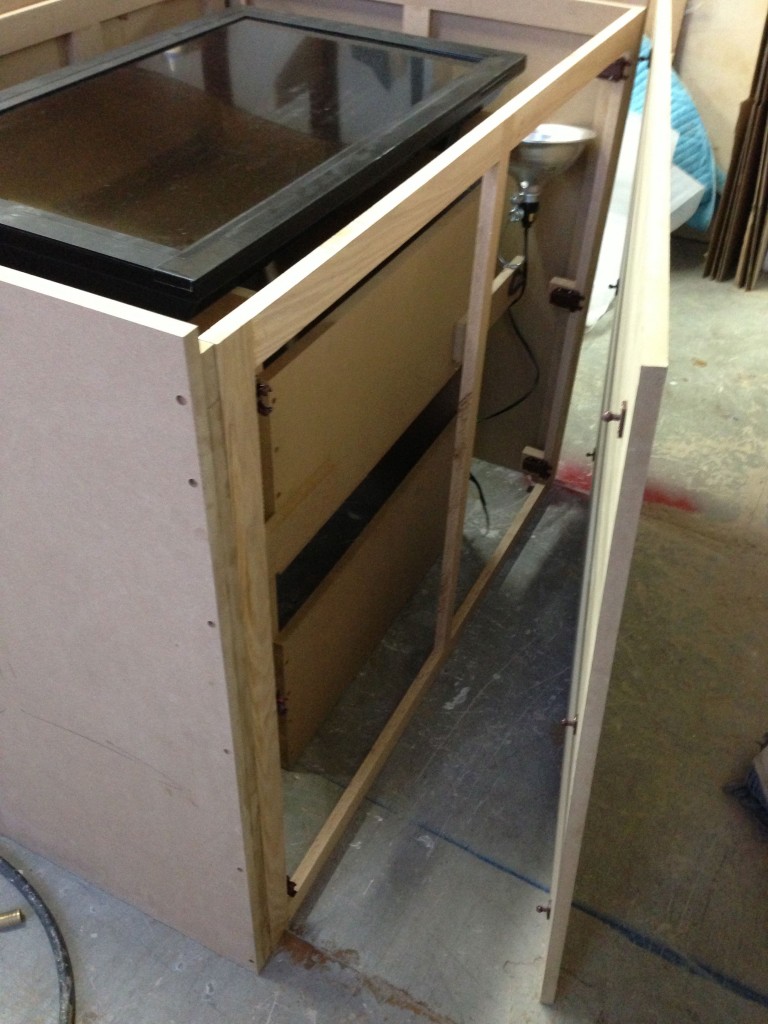
This pedestal is unique because it will be recessed into a wall and the front panel is on latches that allow it to be opened and access gained to the tv and lights that are housed within. This build also involved a secondary pedestal to hold the flat screen tv horizontal, which is an integral part of the whole work. It’s a great privilege to make a simple piece that is fully incorporated into the overall aesthetic and structure of another artists piece. These installations are quite amazing and if you can you should check them out in person.
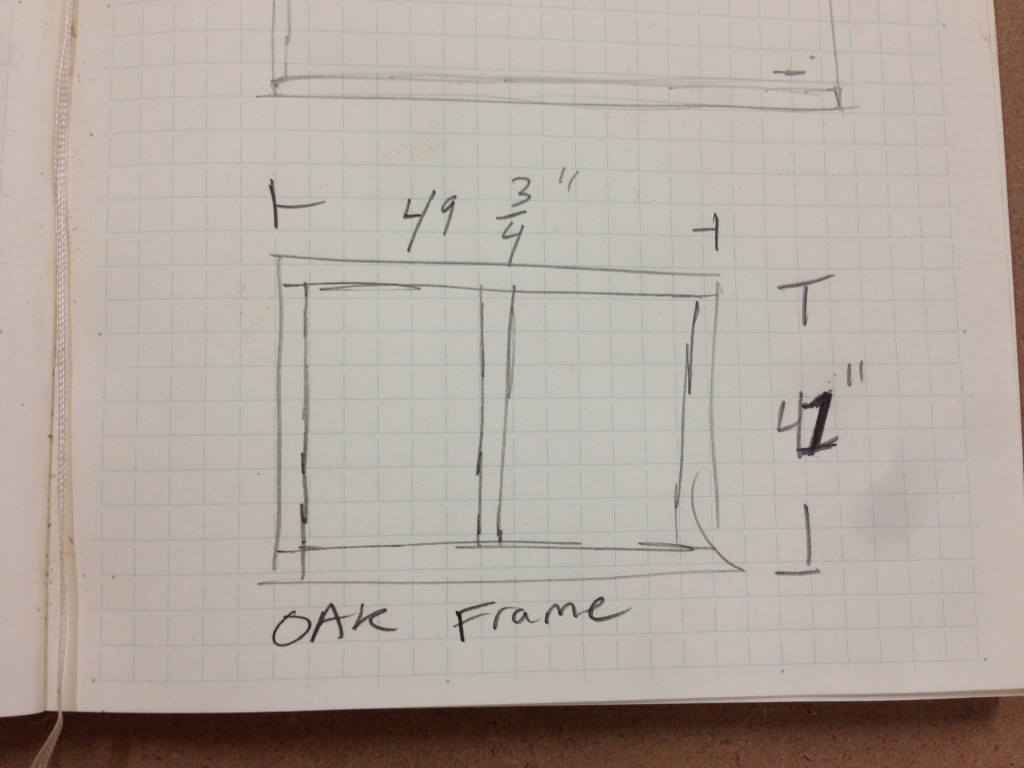
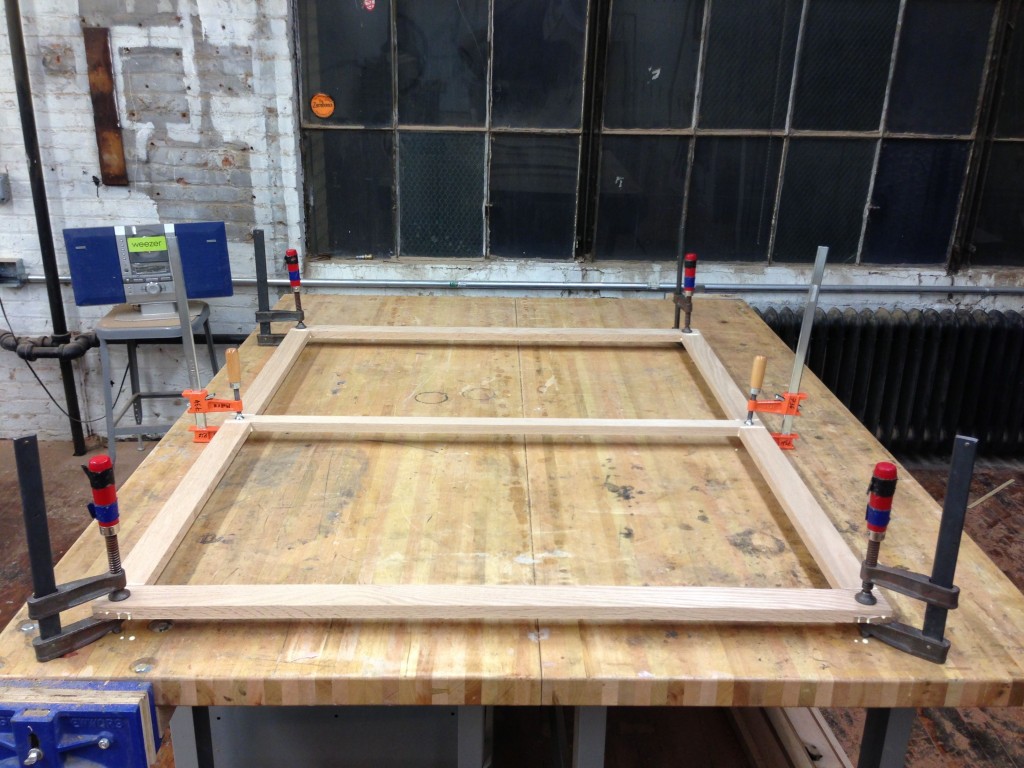
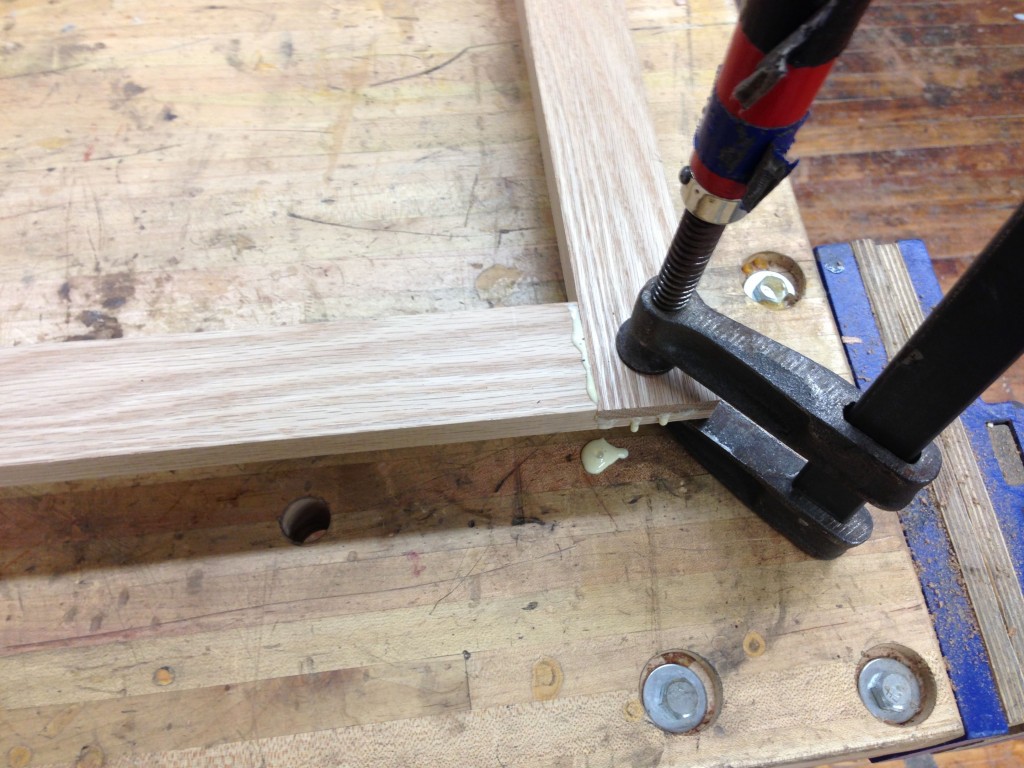
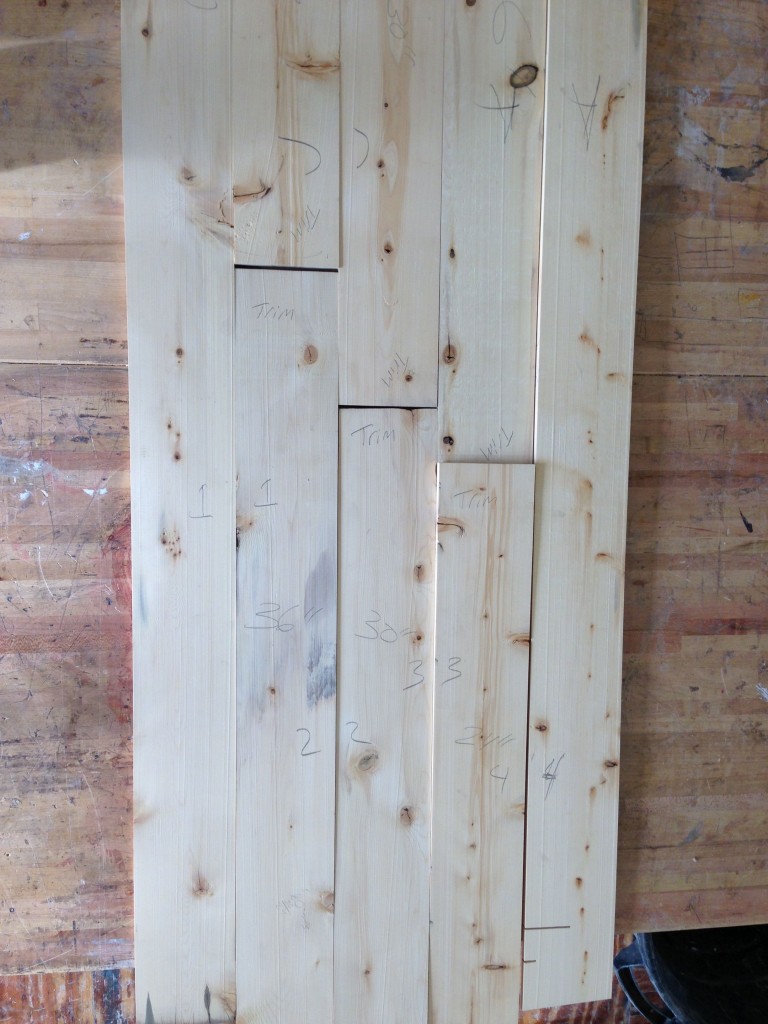
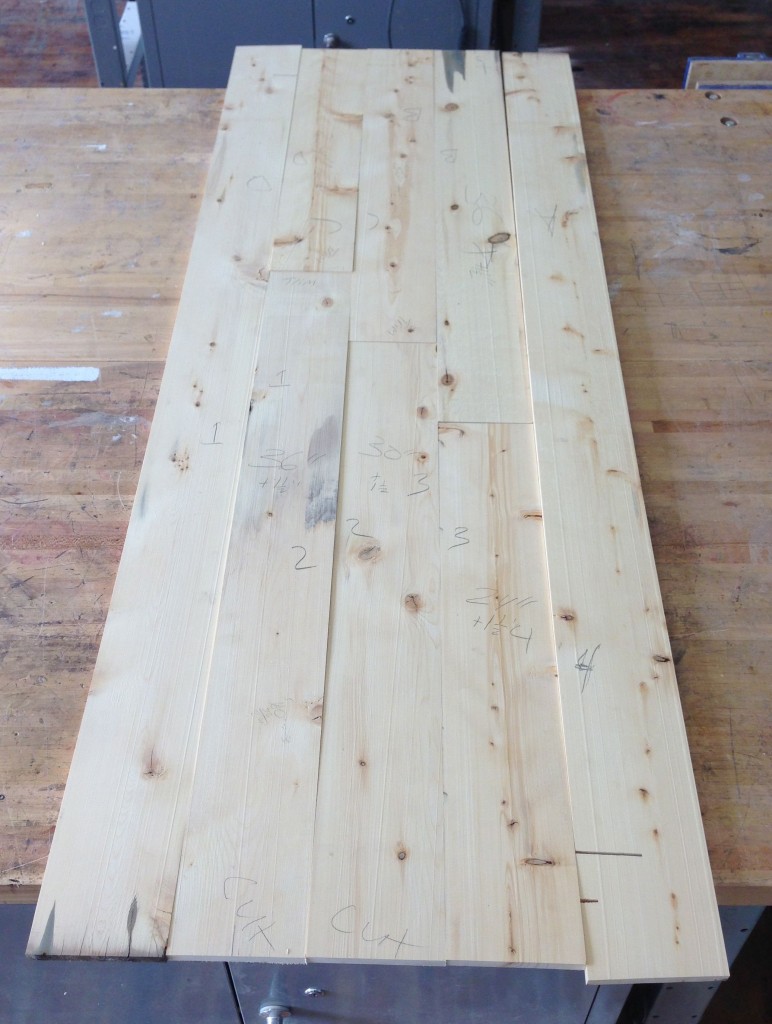
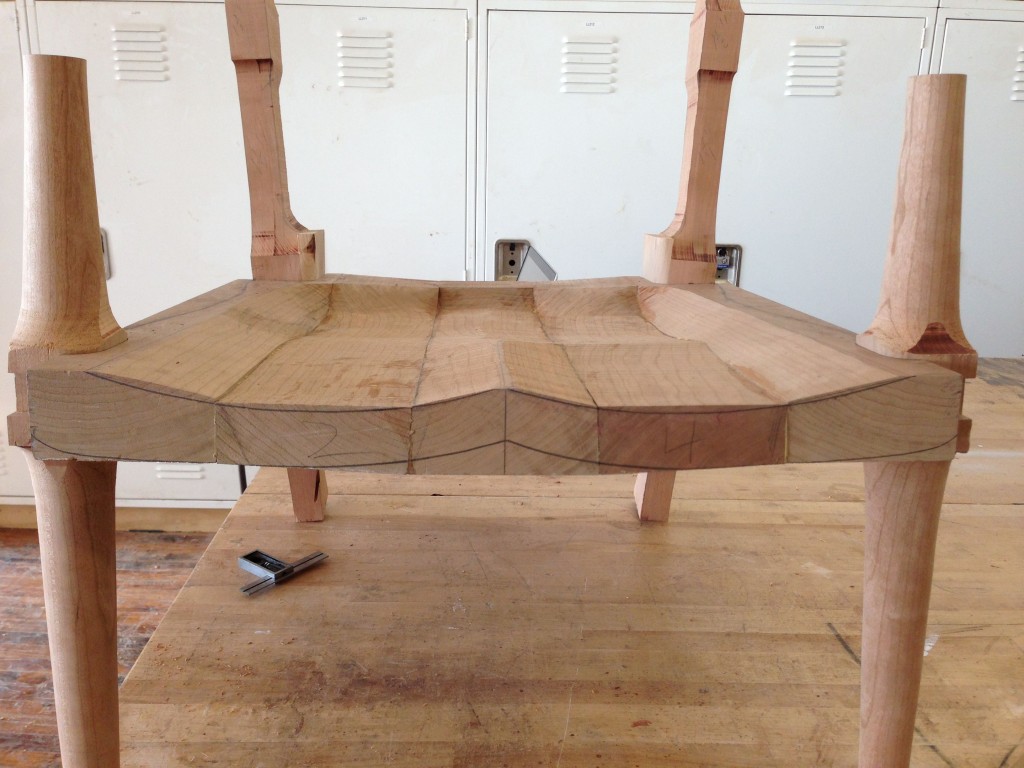
Another table top for SAW. This top features three of the five sections of lumber being butted together in order to create the final 60″ length. This type of construction requires some thought and planning to execute well and create tight joints both along the edge grain and at the end grain. There is also the consideration of where those butt joints occur. I set up the middle two board’s joint to occur at the center point. The two adjoining joints are evenly measured off that point and creates a step look that is mirrored when viewed from the other side of the table.
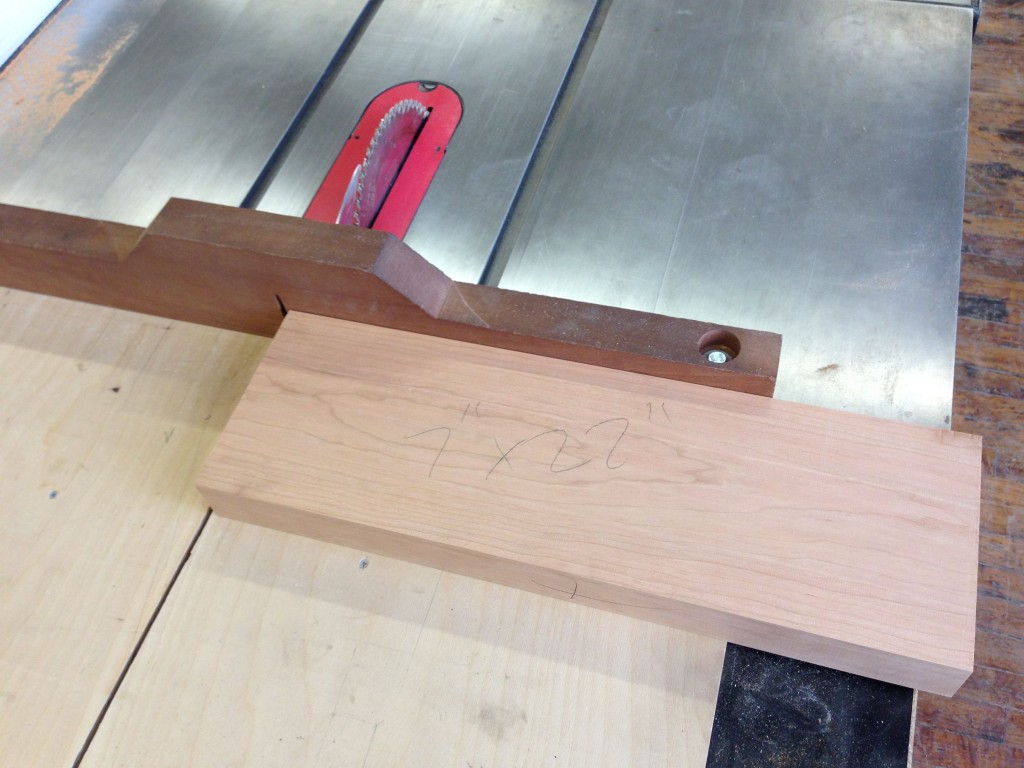
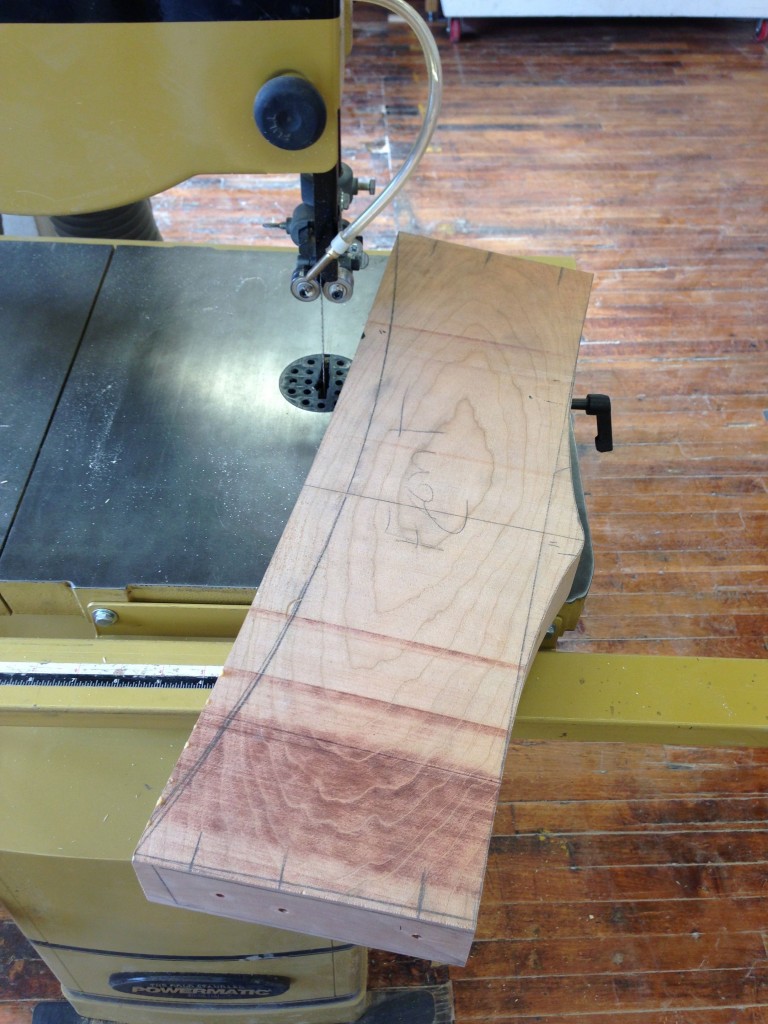
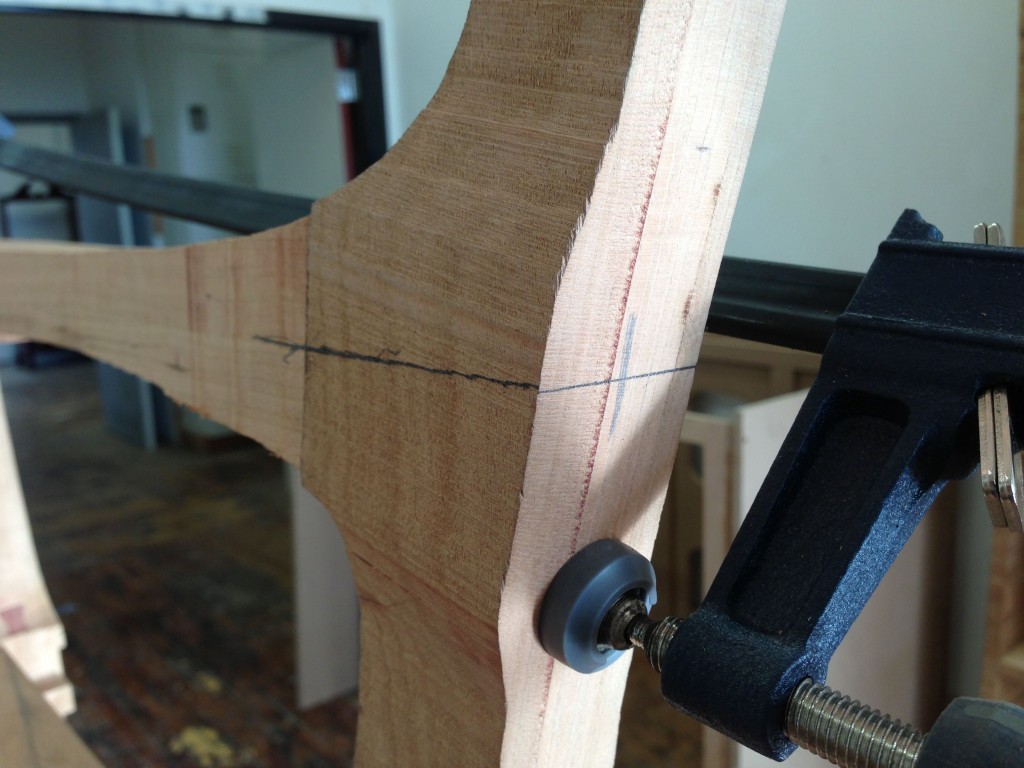
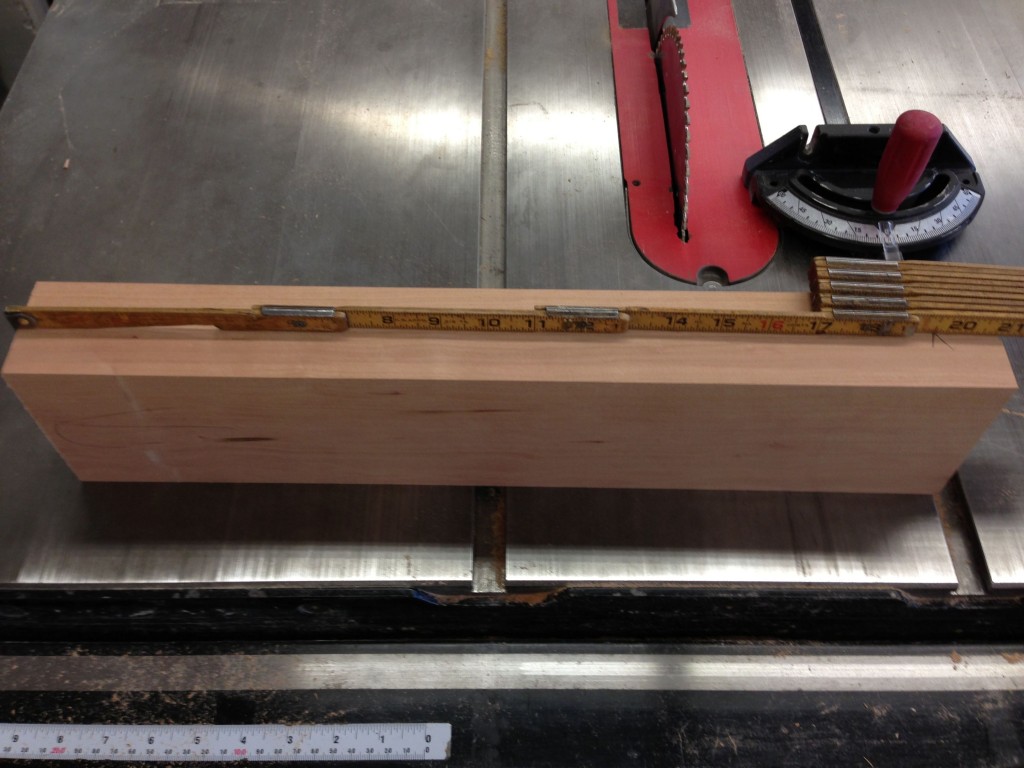
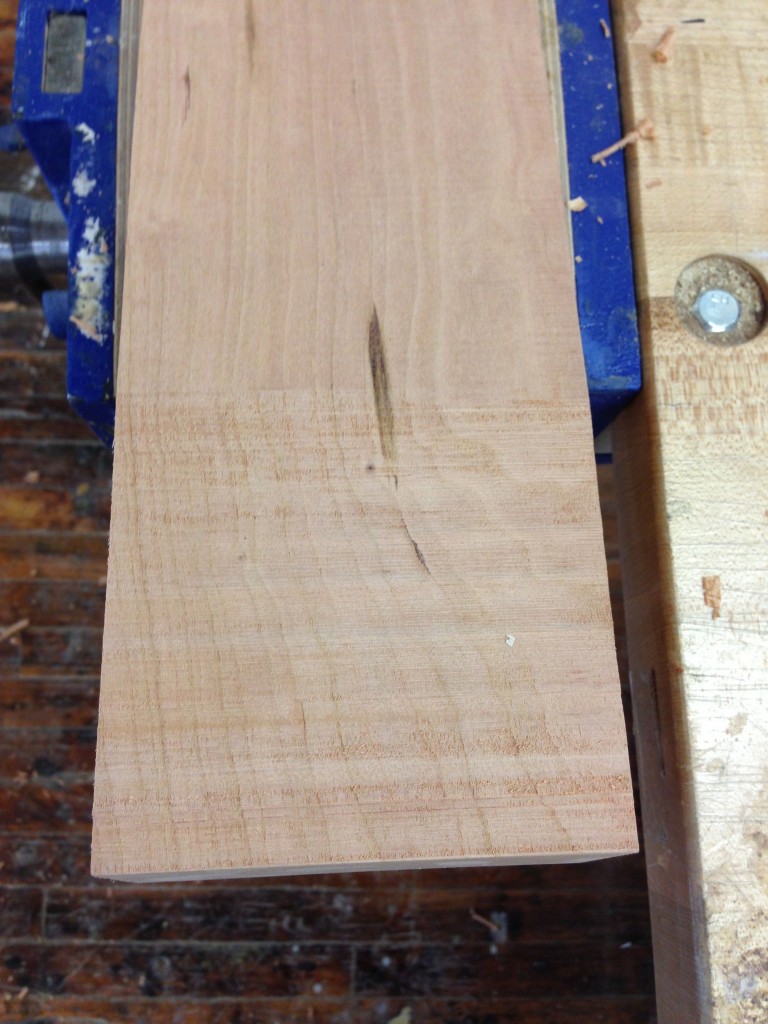
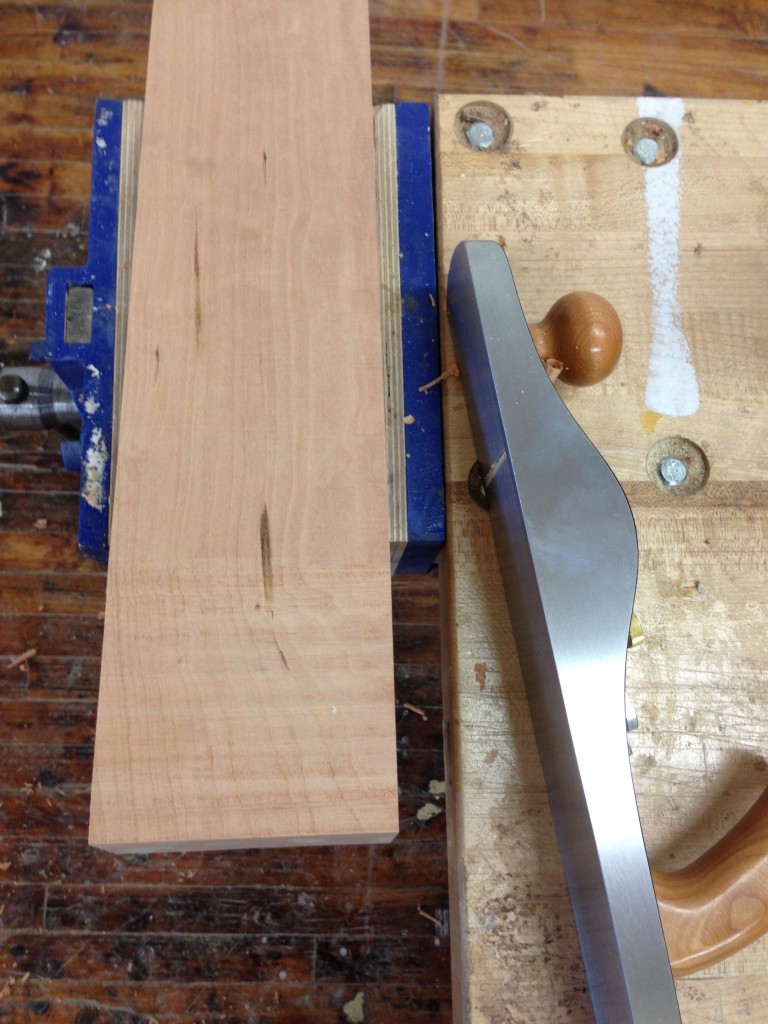
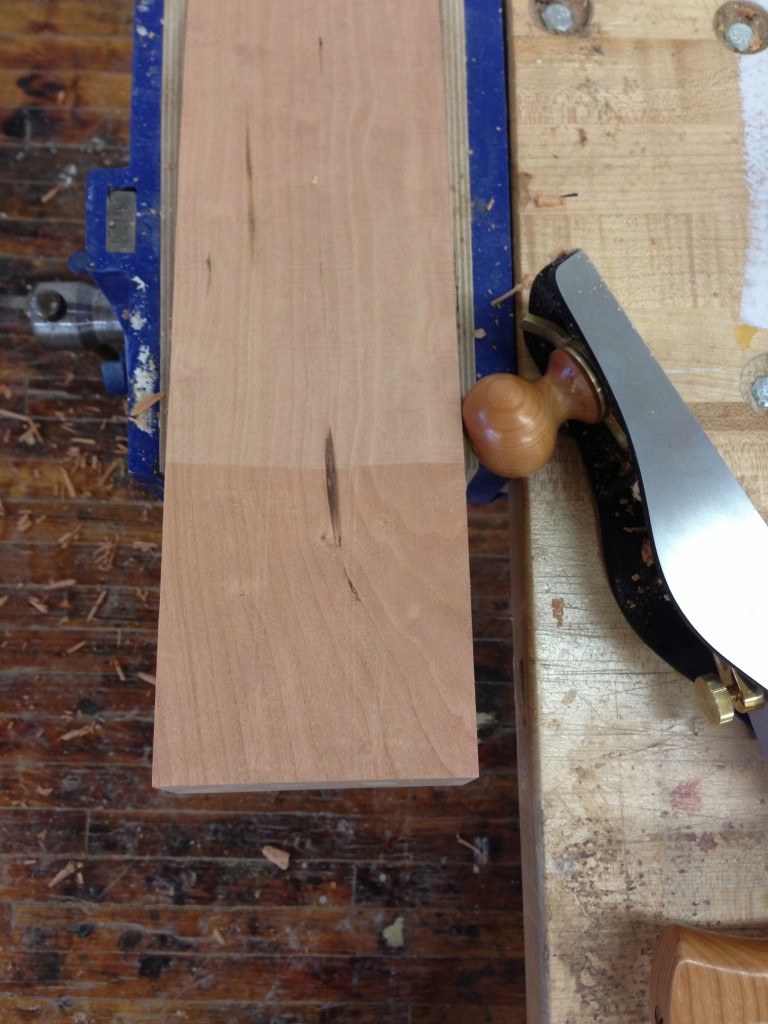
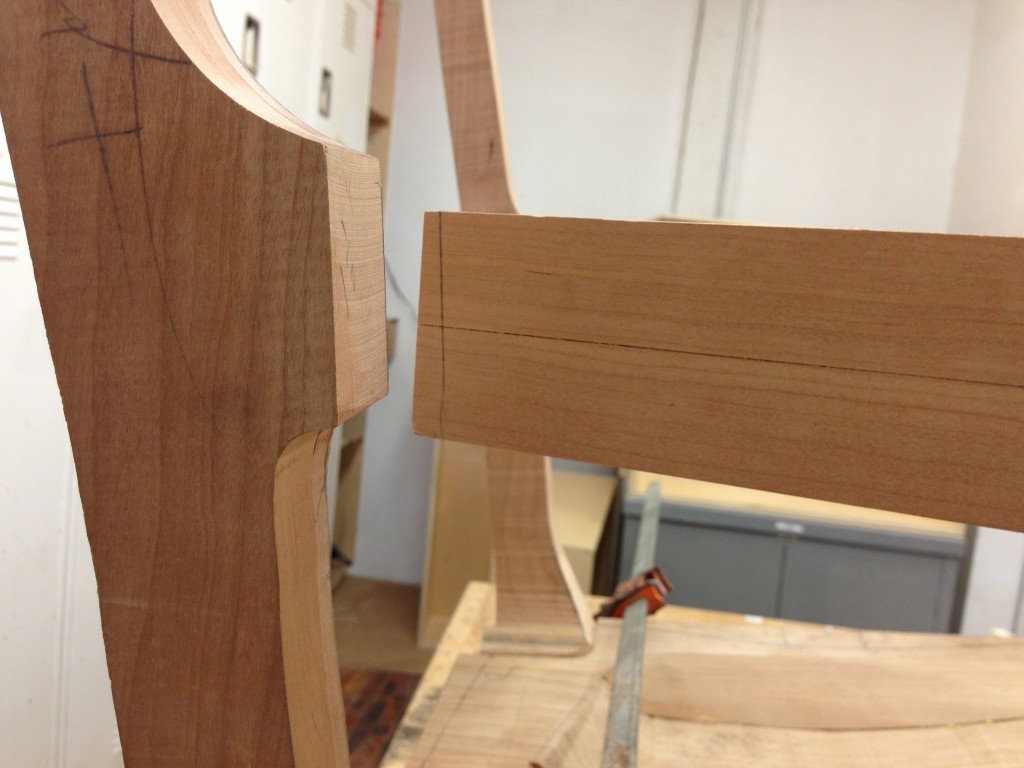
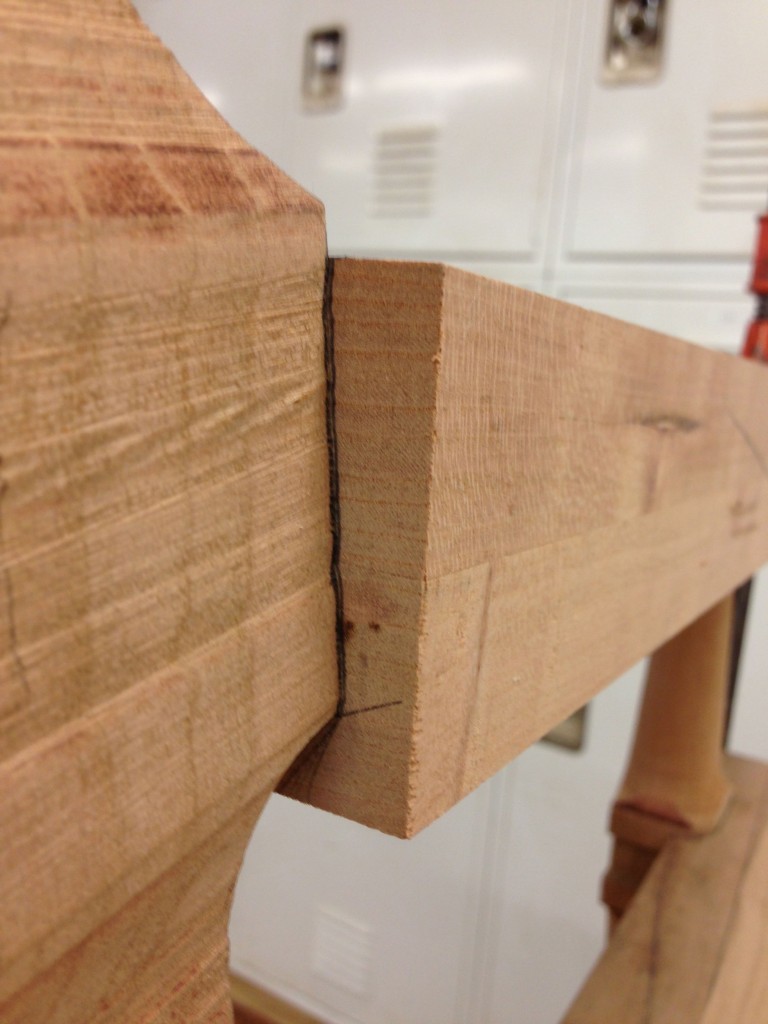
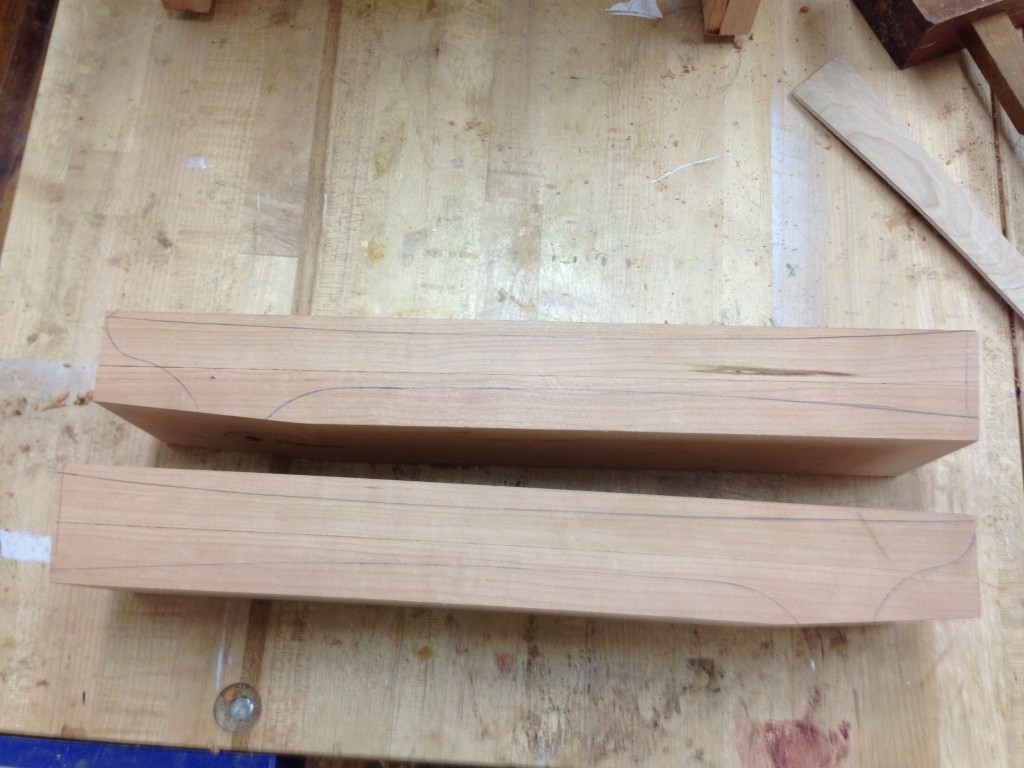
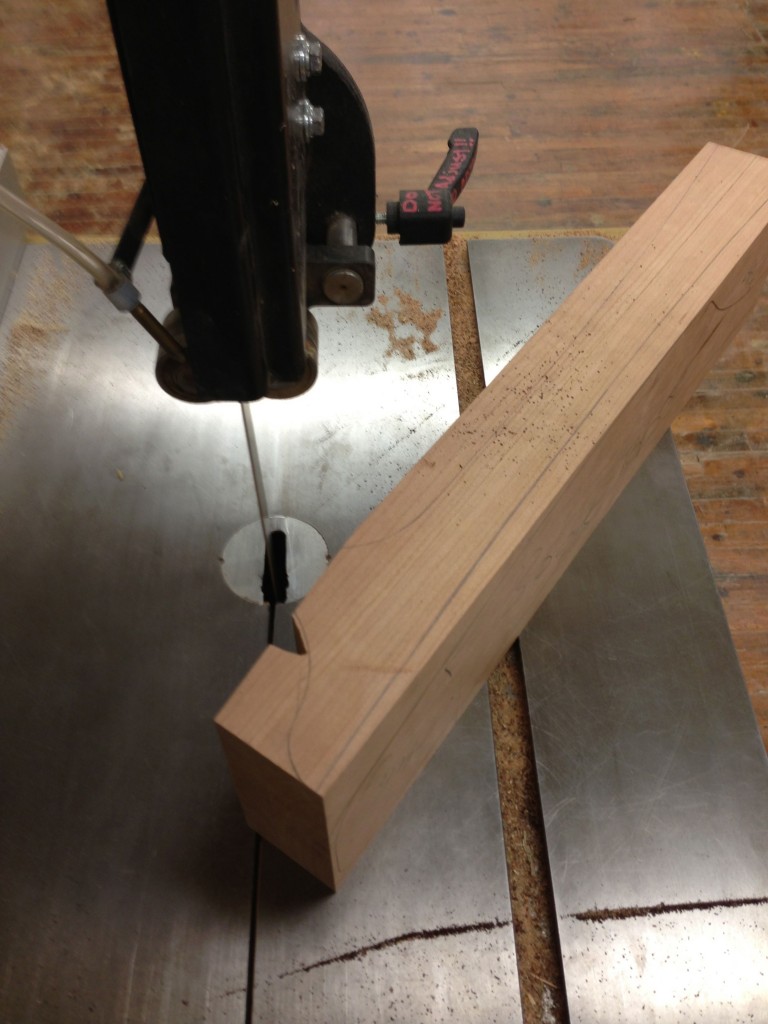
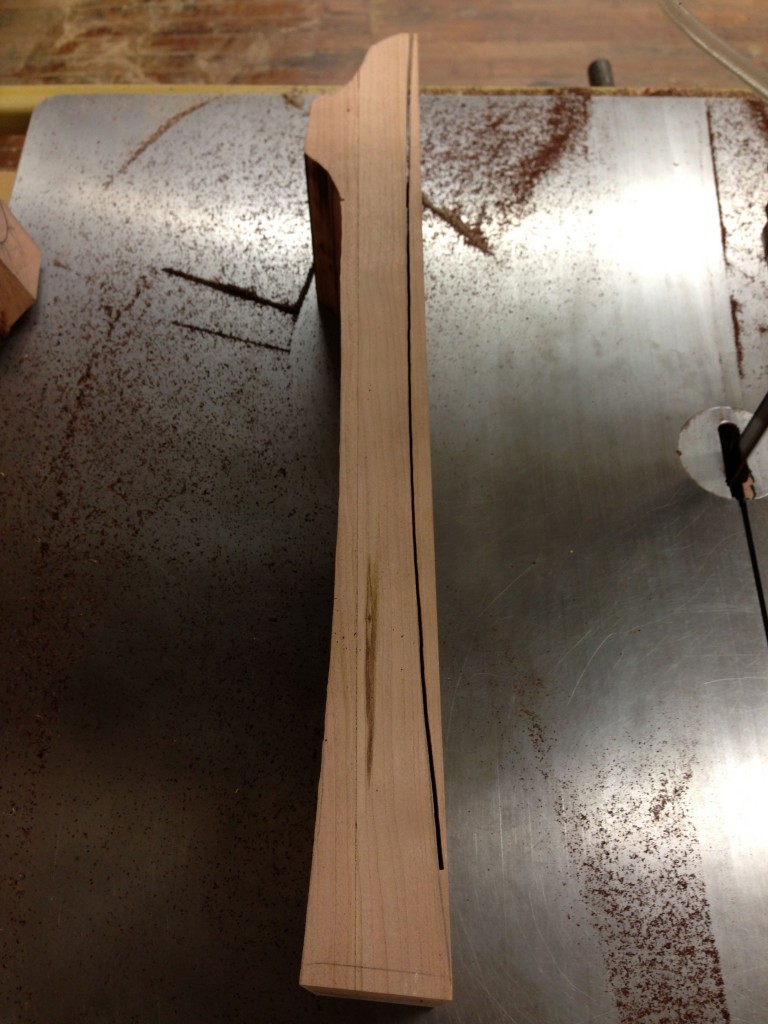
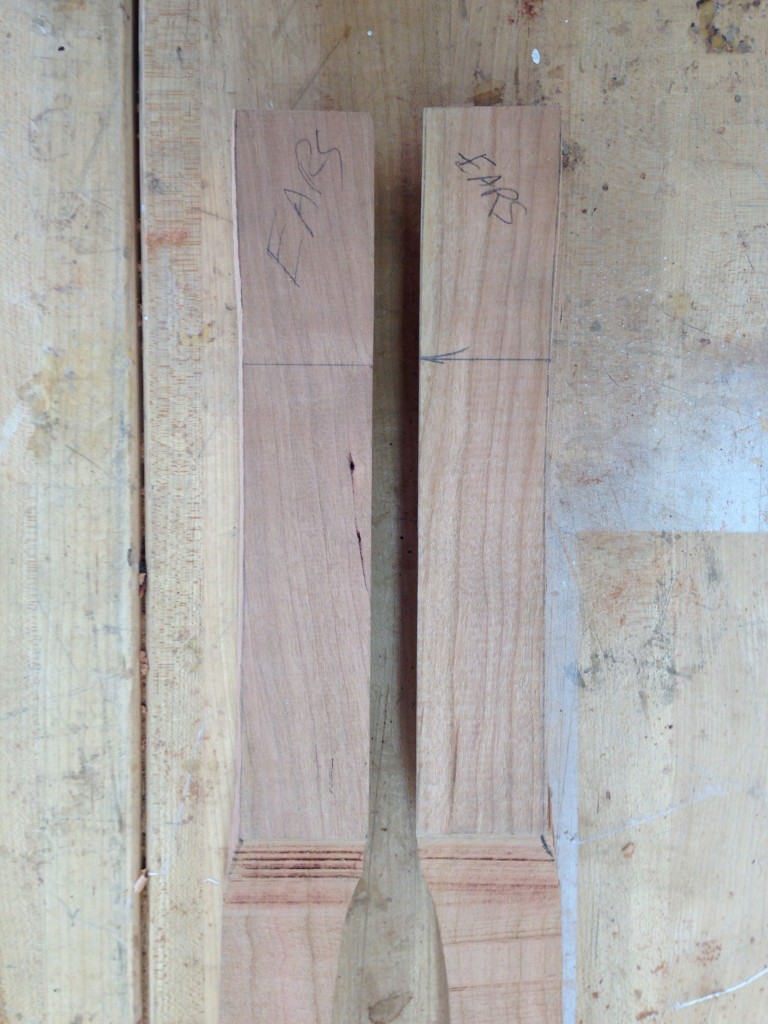
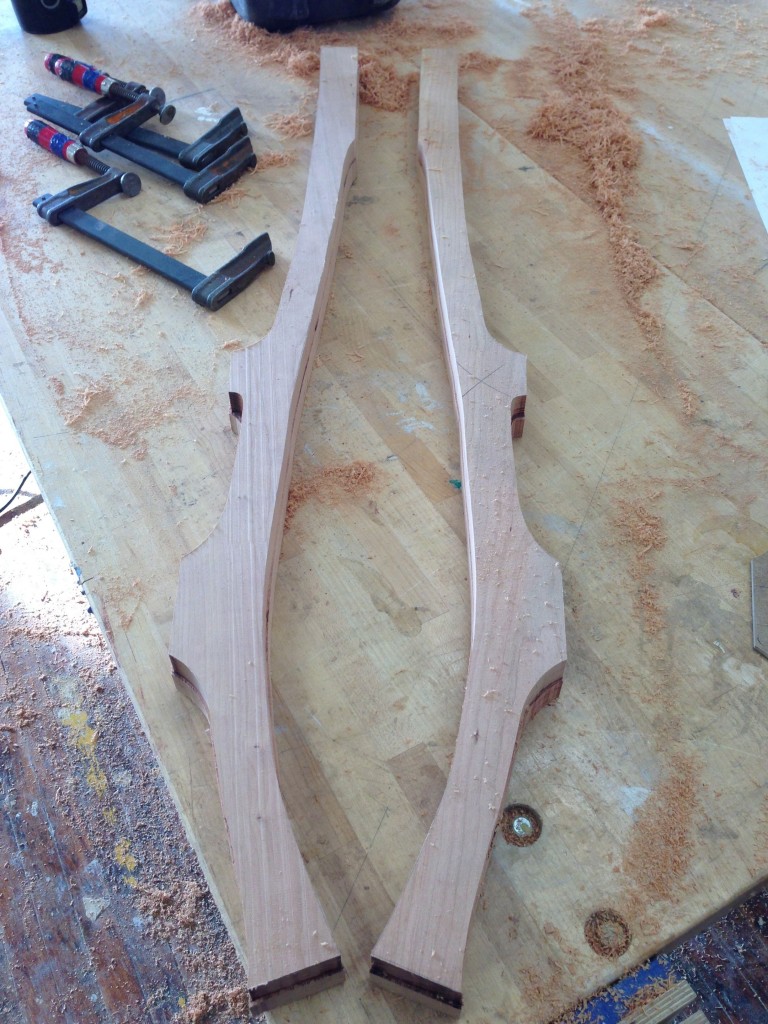
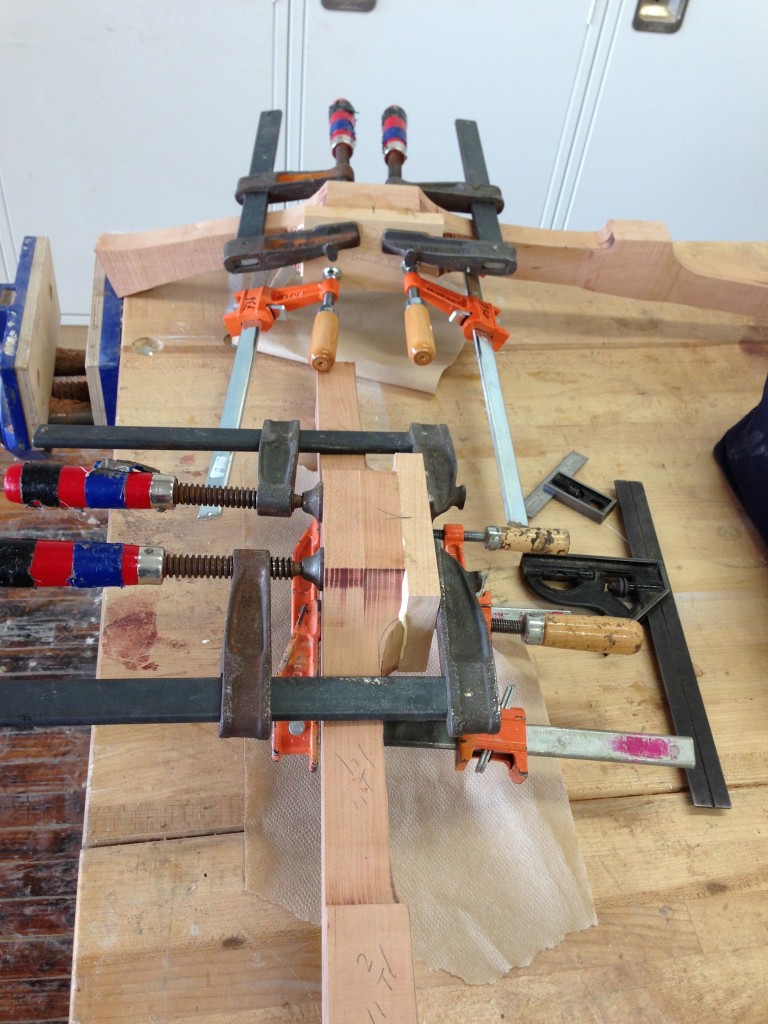
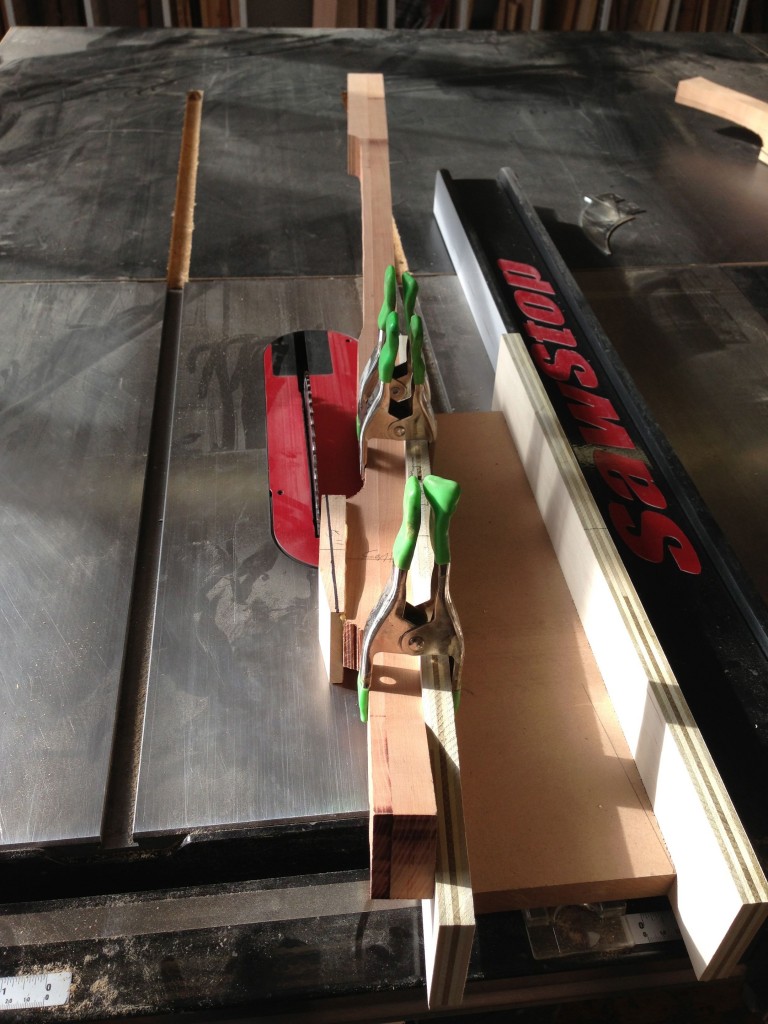
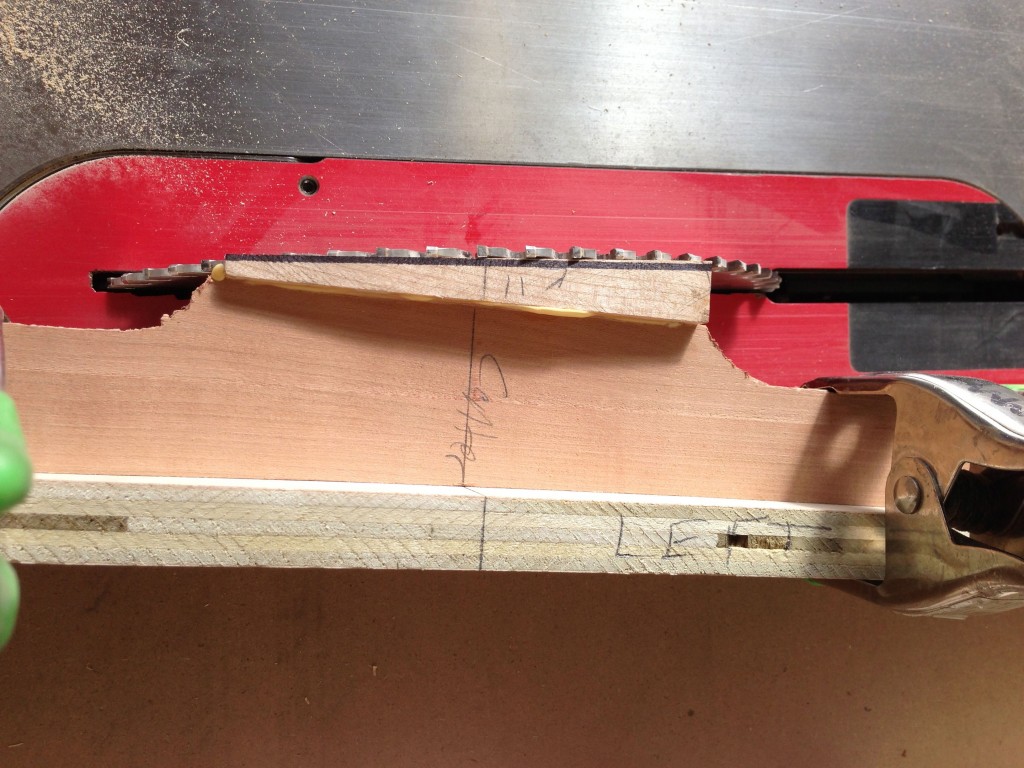
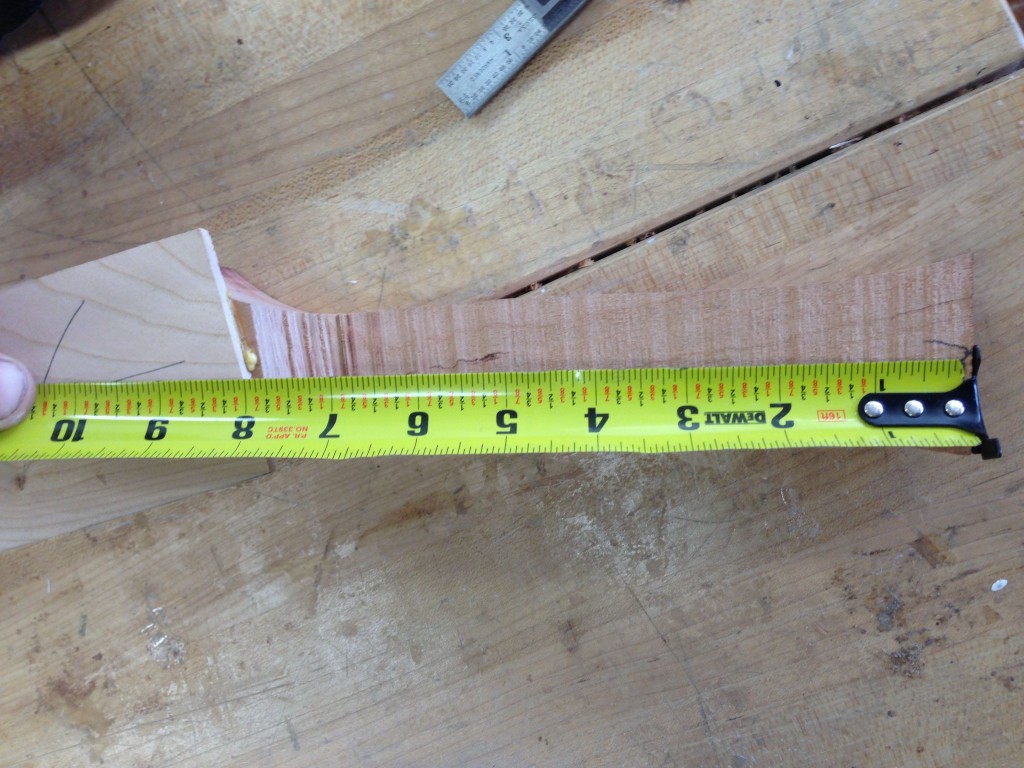
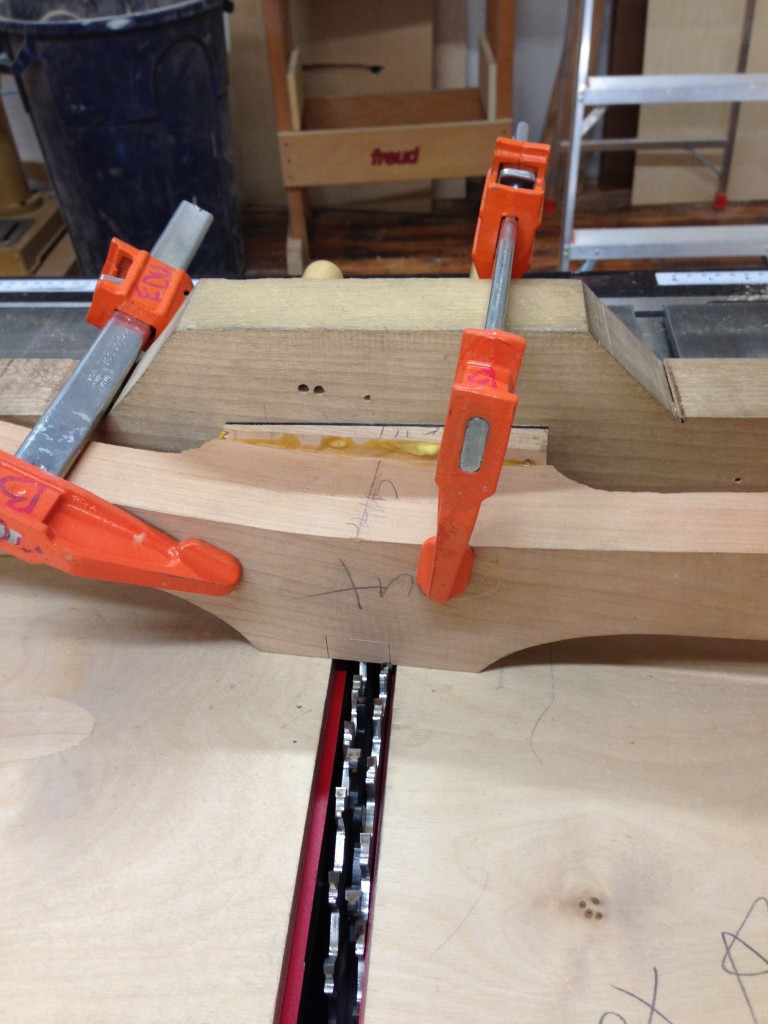
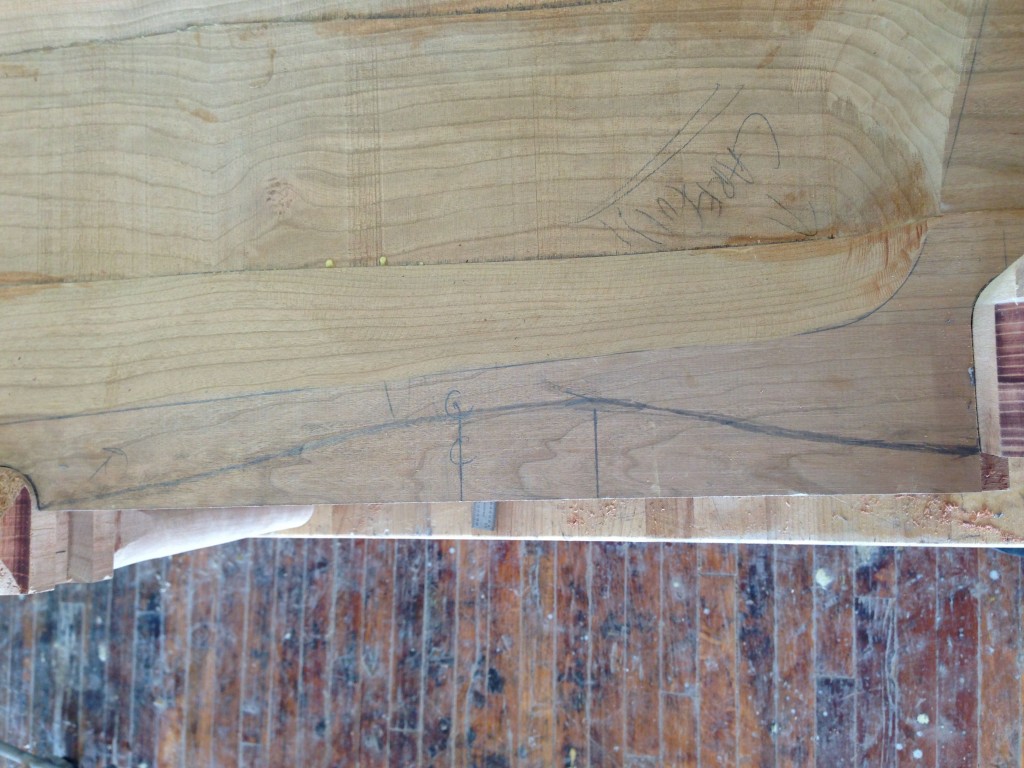
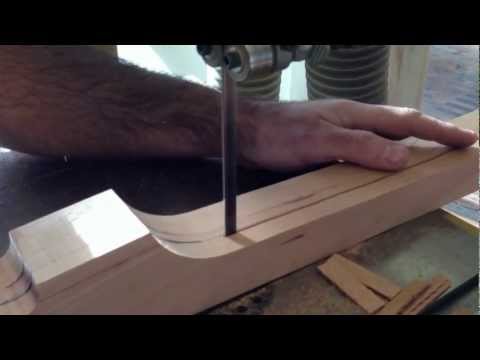
The arms require stock that is 10/4 or 2 1/2″ thick in order to create the deep sweep shaping. Only having 8/4 lumber, I needed to re-saw and glue up the appropriate thickness stock. Once milled, the layout and cutting were simply done on the band saw. A corresponding dowel hole was drilled to create the joint between the front leg and arm. The back leg connection is a glue/screw joint.
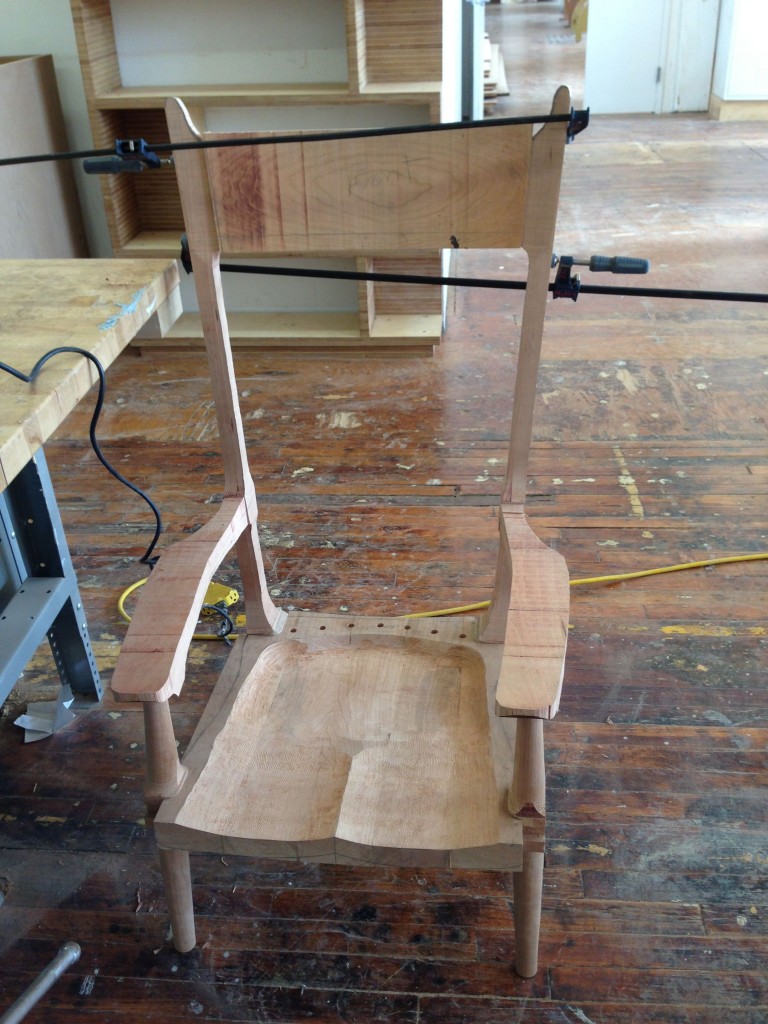
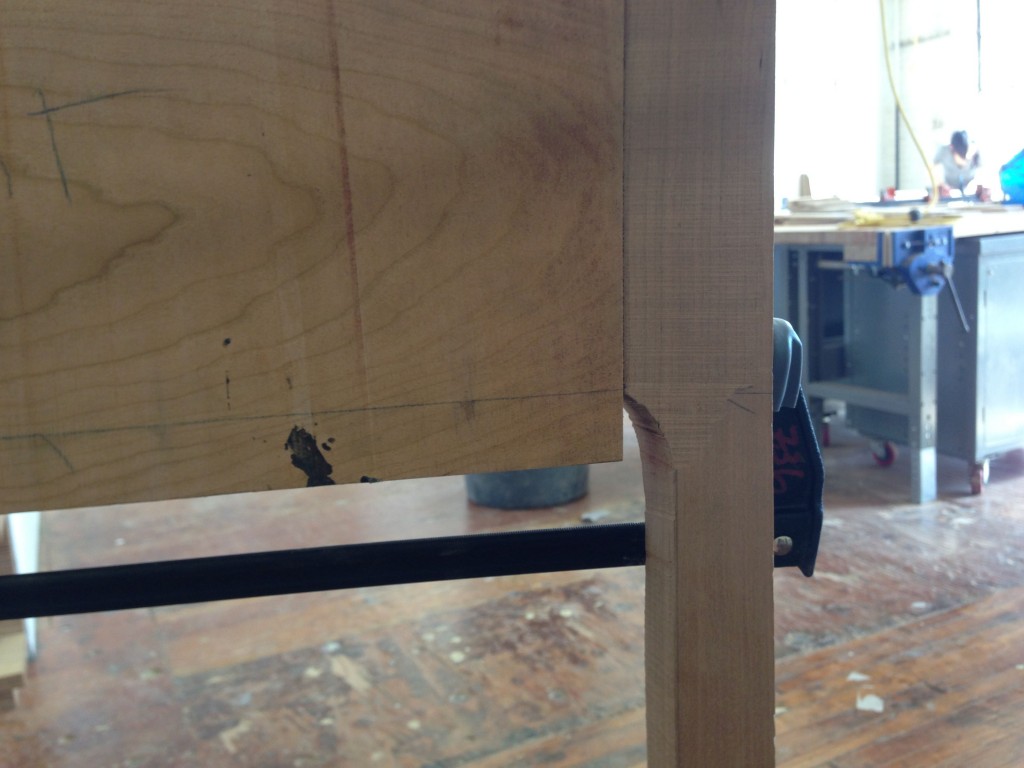
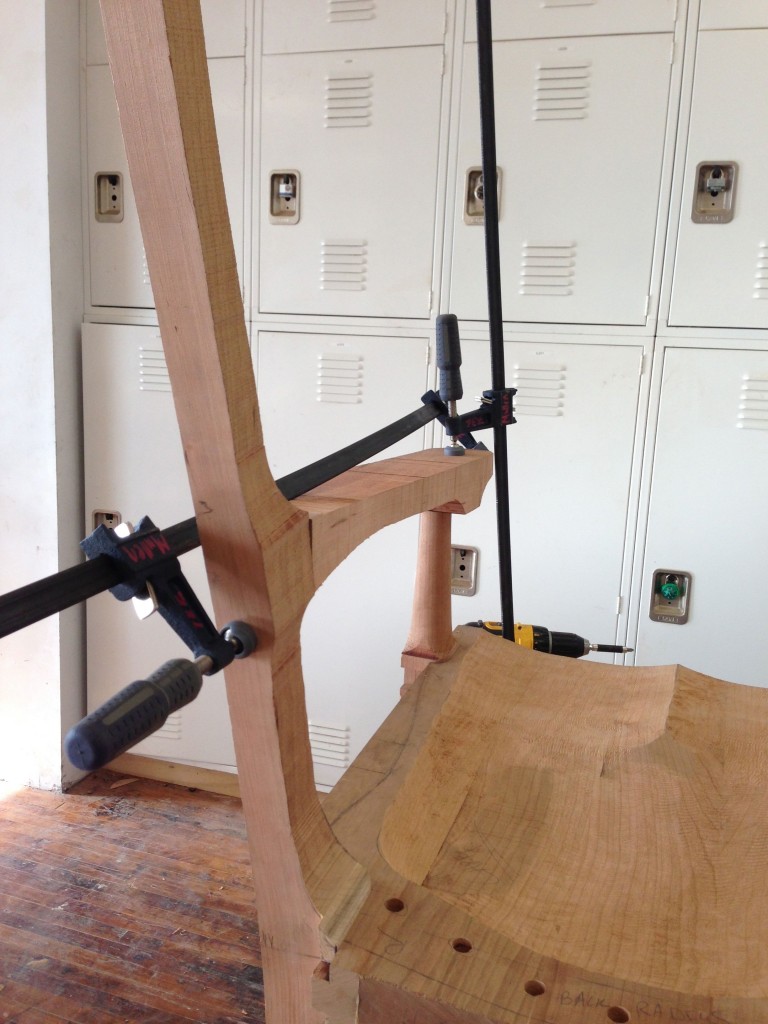
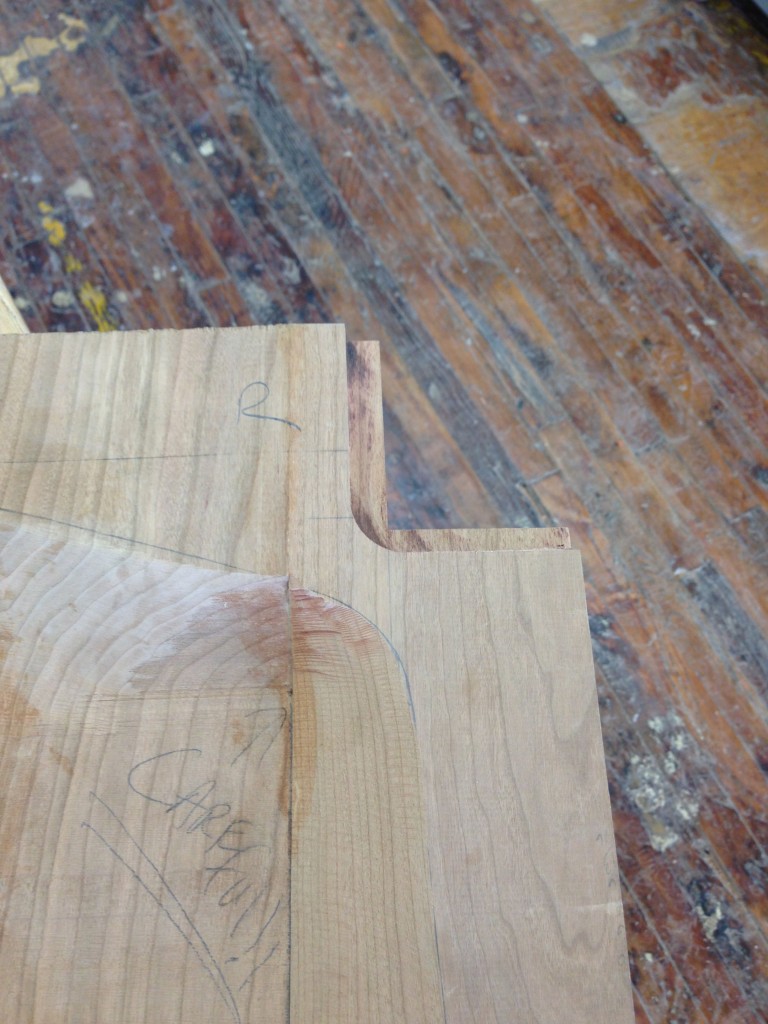
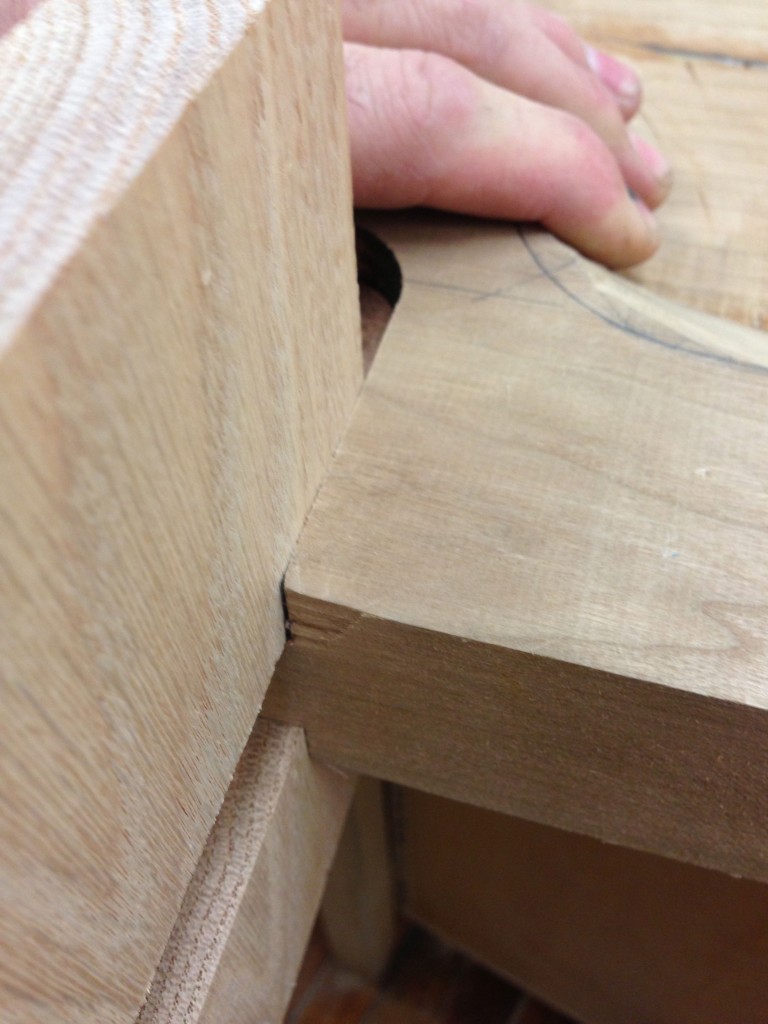
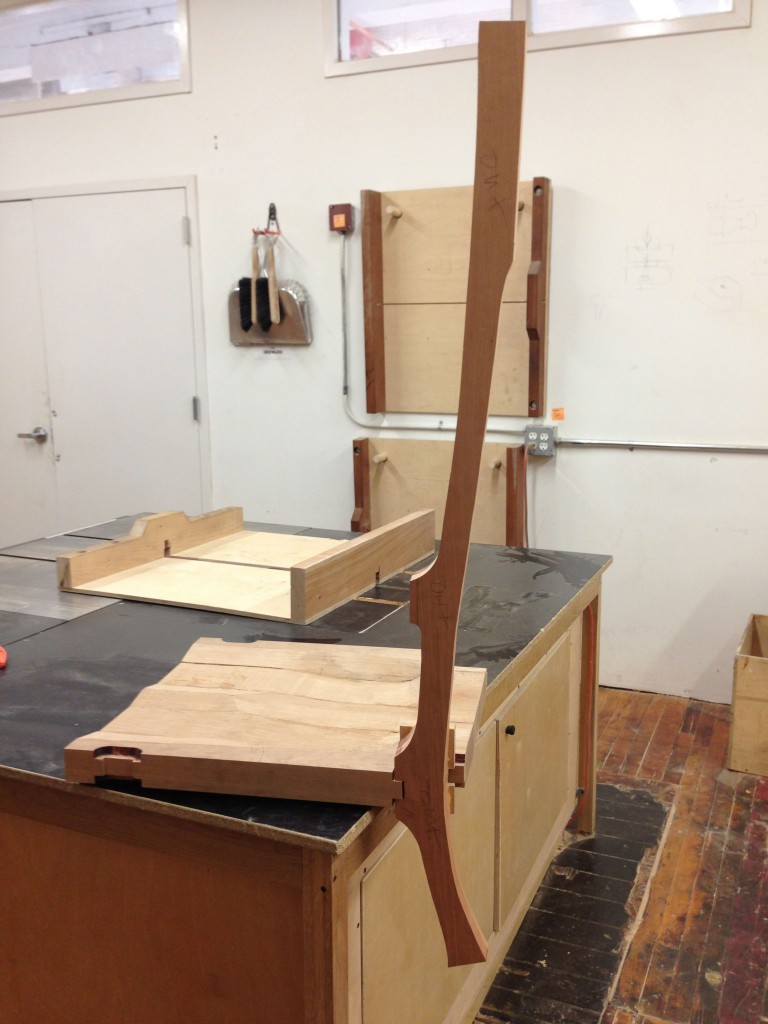
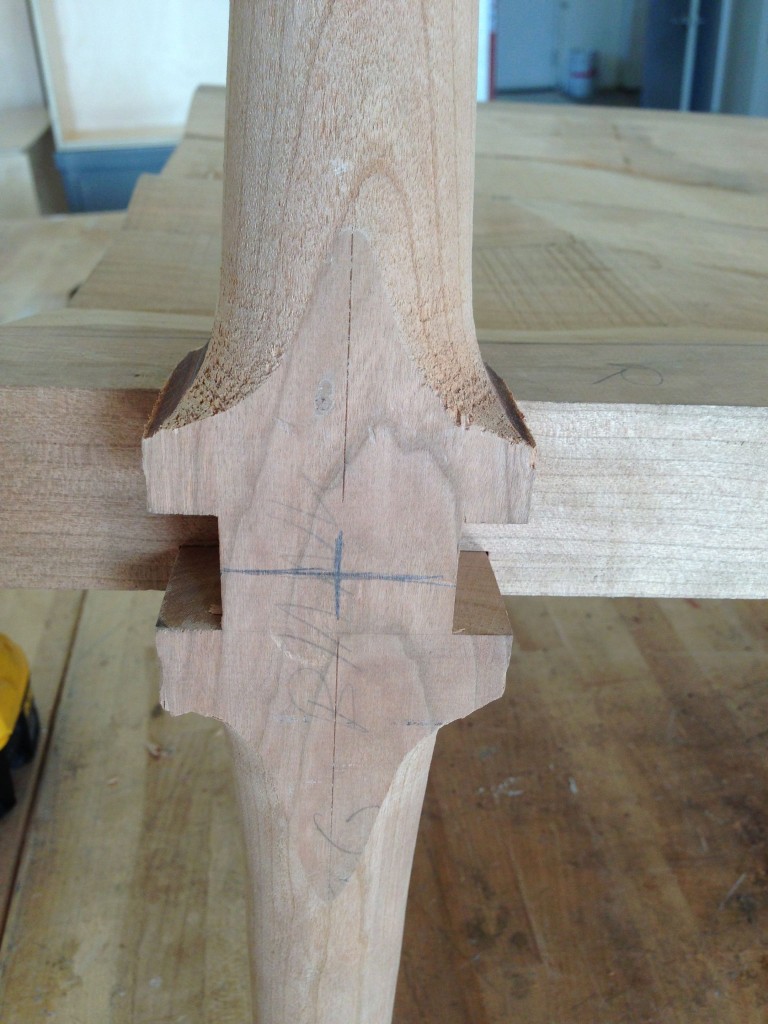
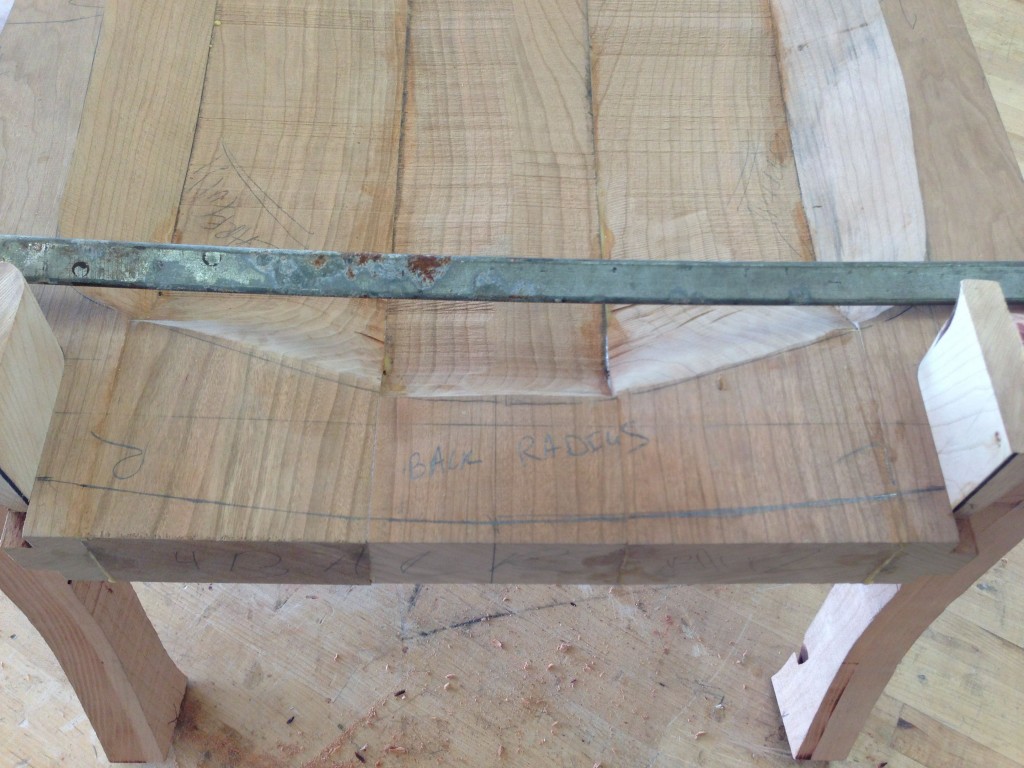
A continuation of the back leg construction. This process removed a bulk of material around the leg to seat joint by cutting a radius to connect the sweep of the leg to the top of the seat.
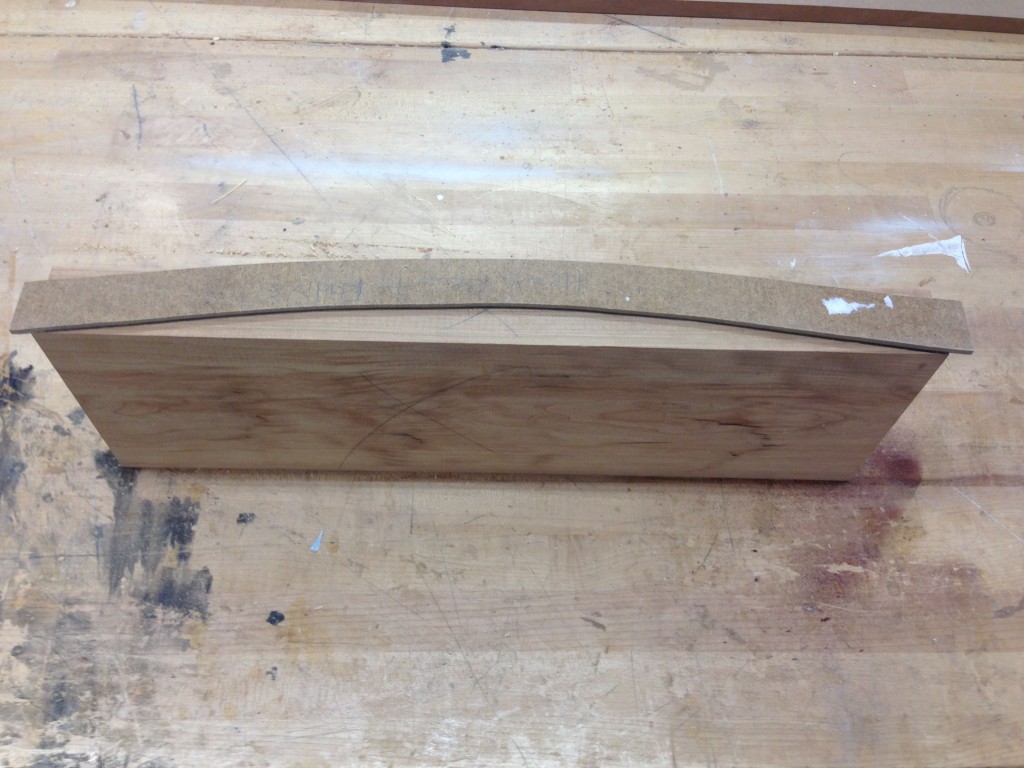
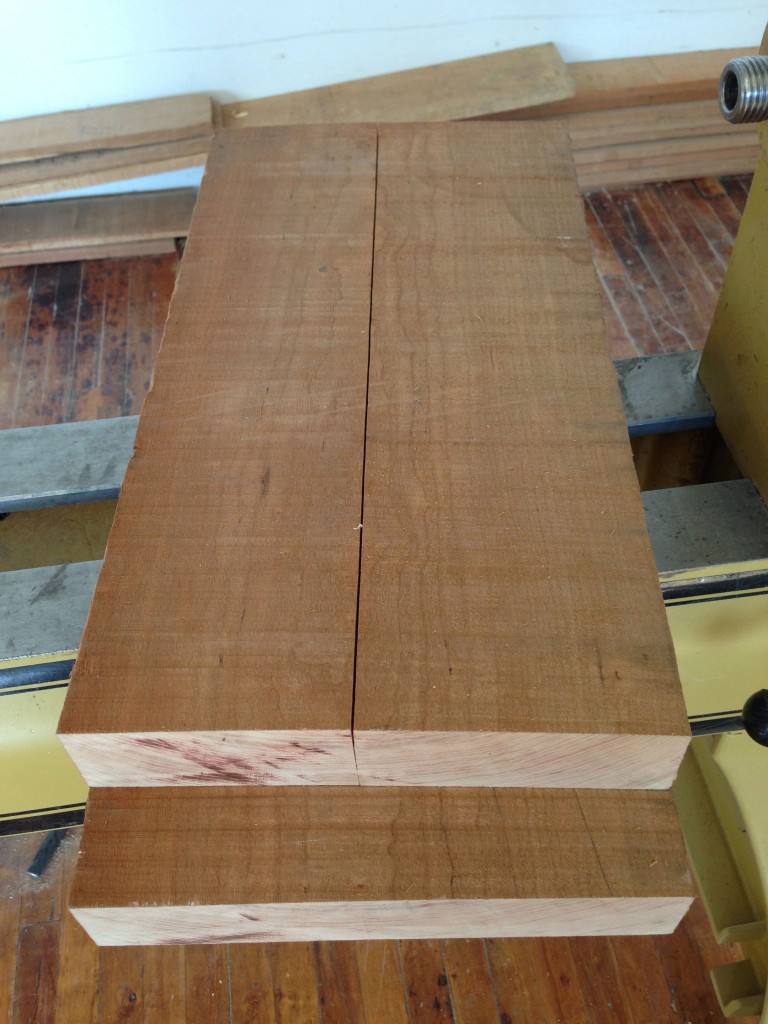
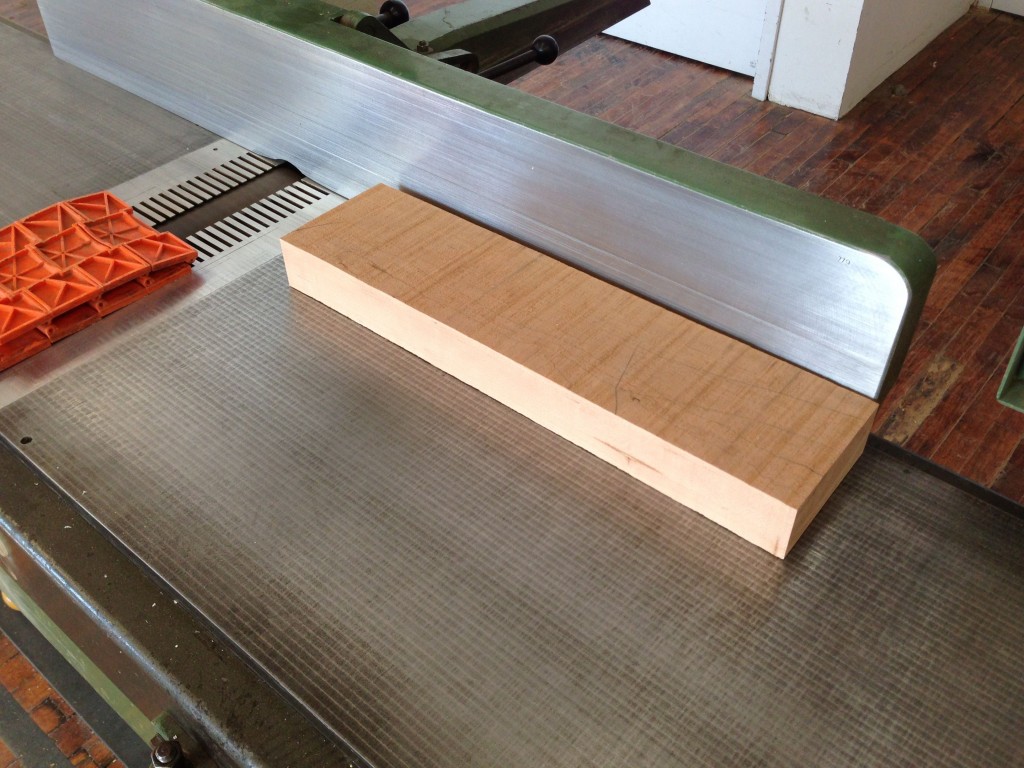
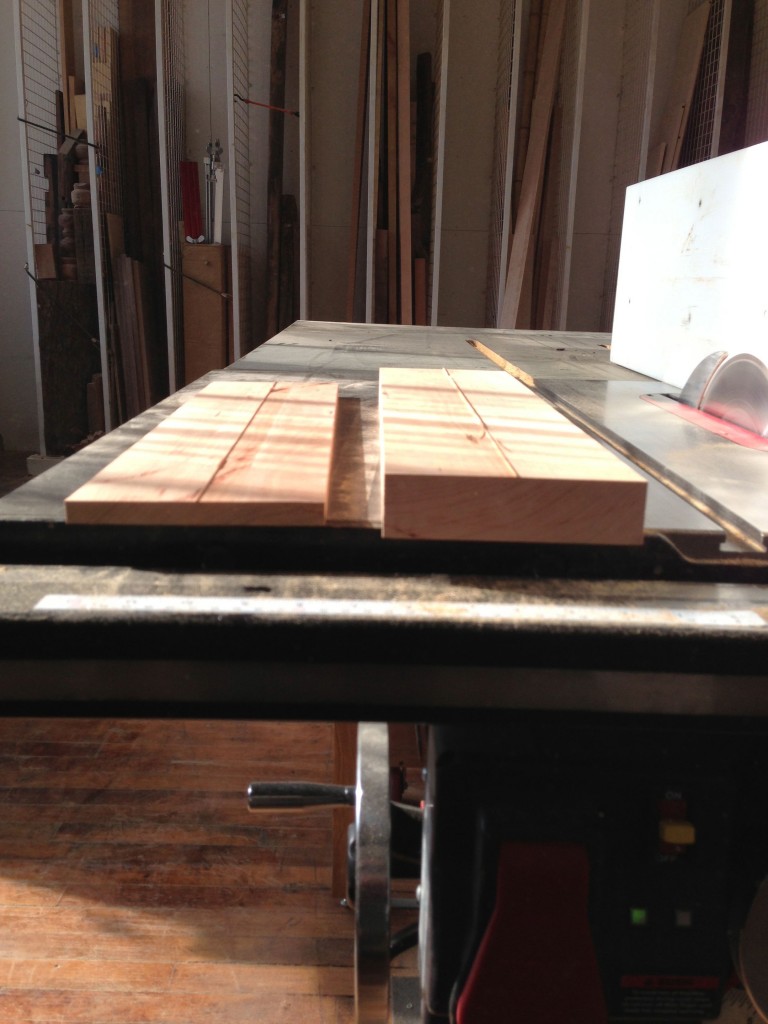
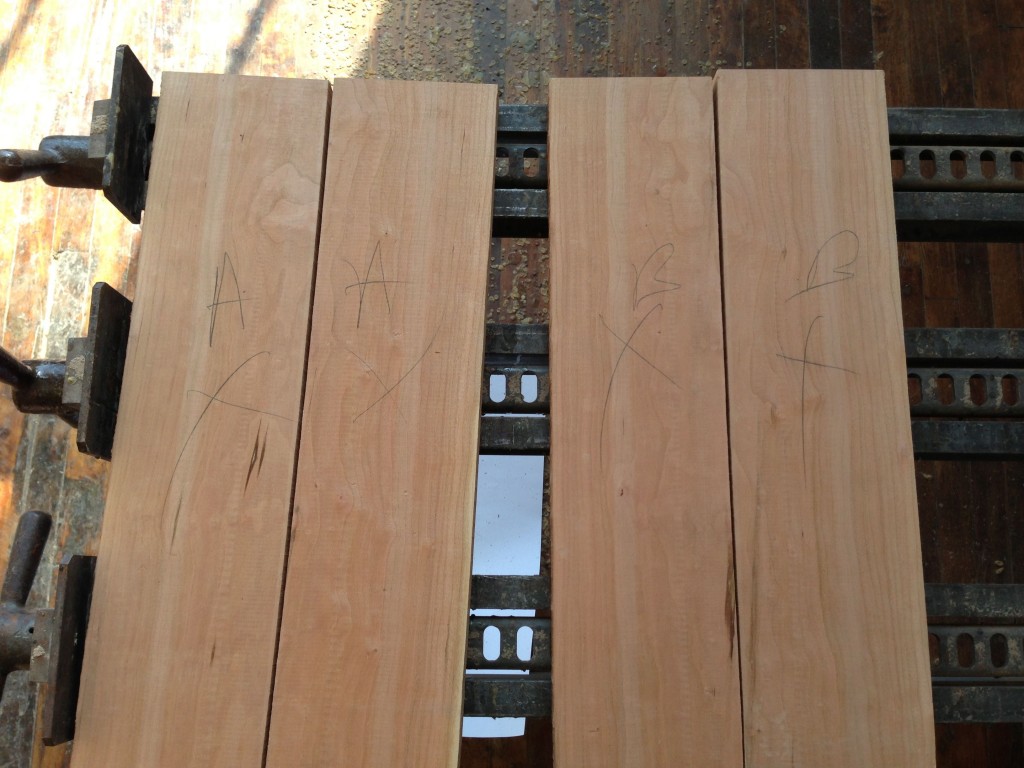
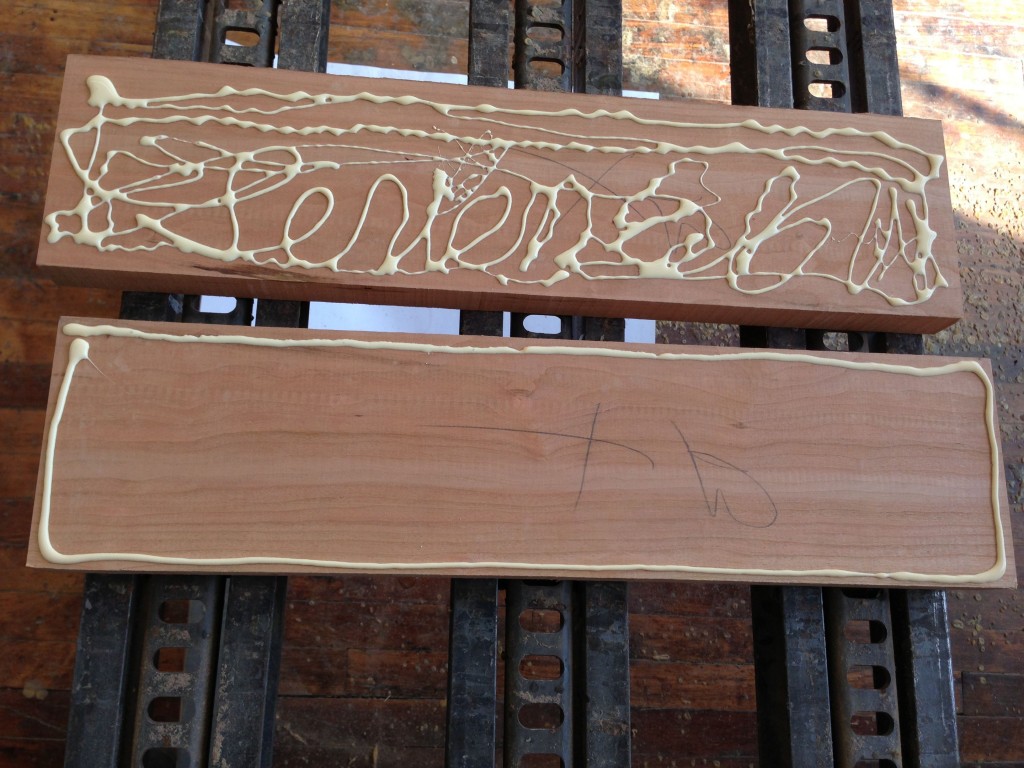
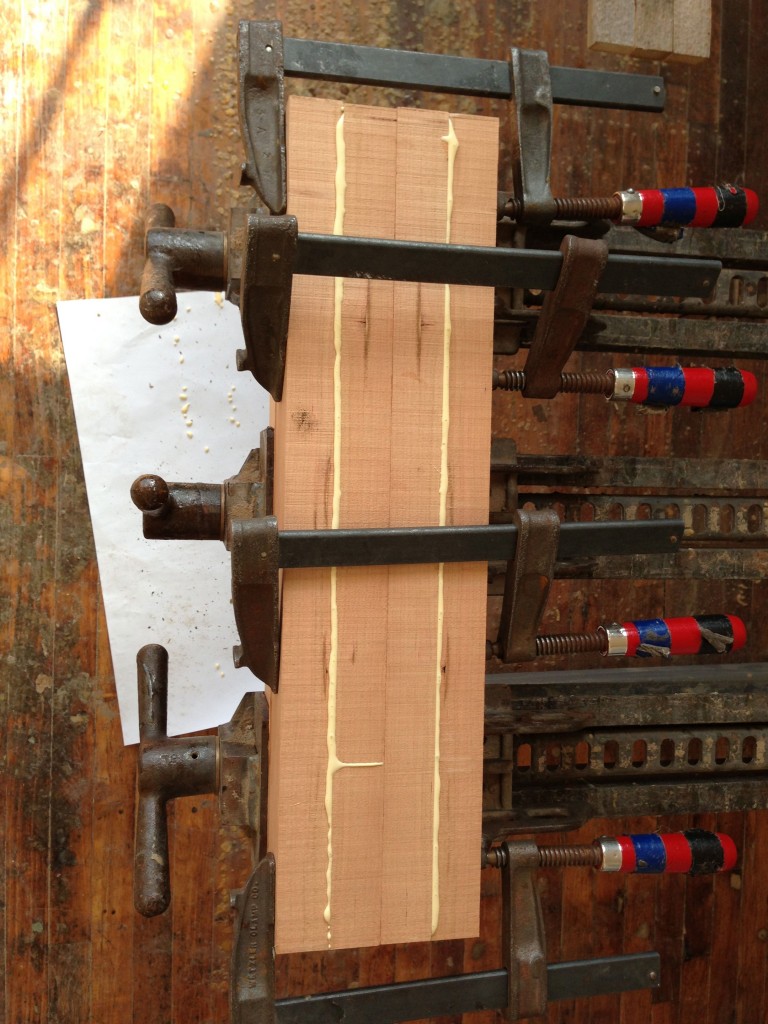
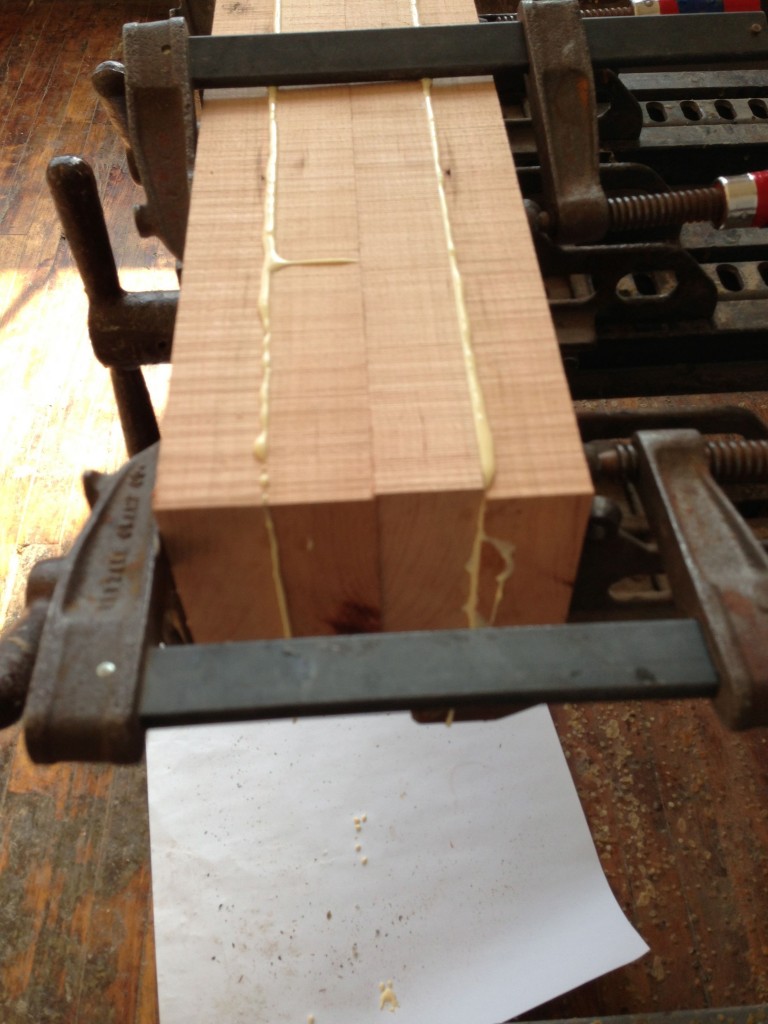
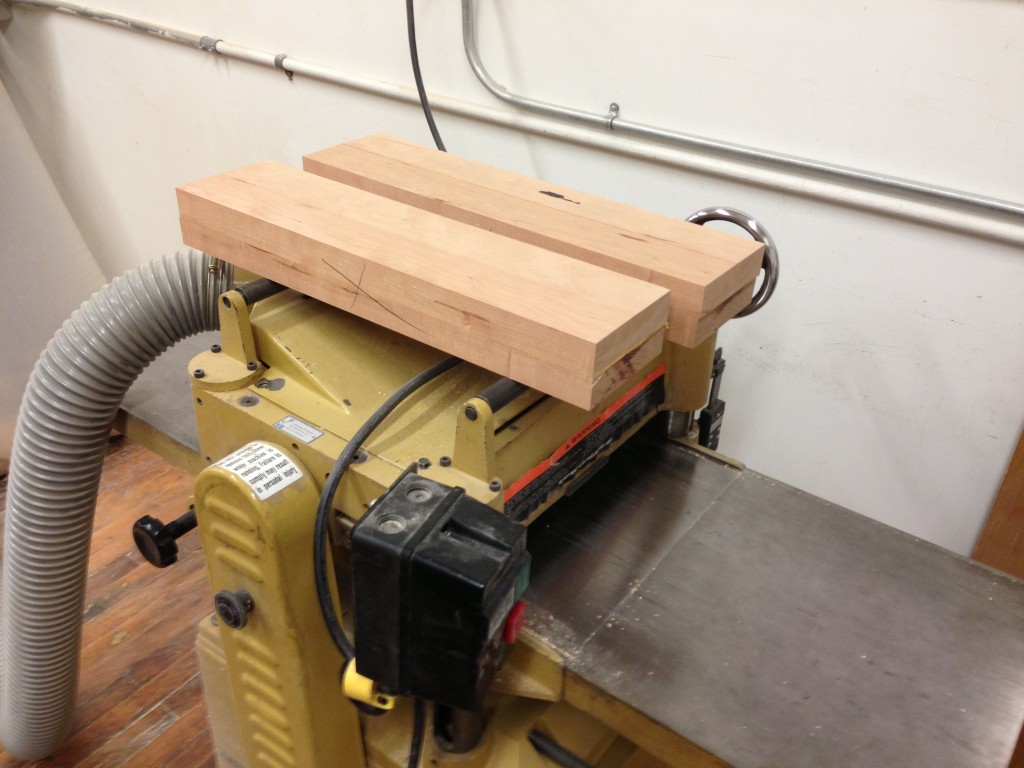
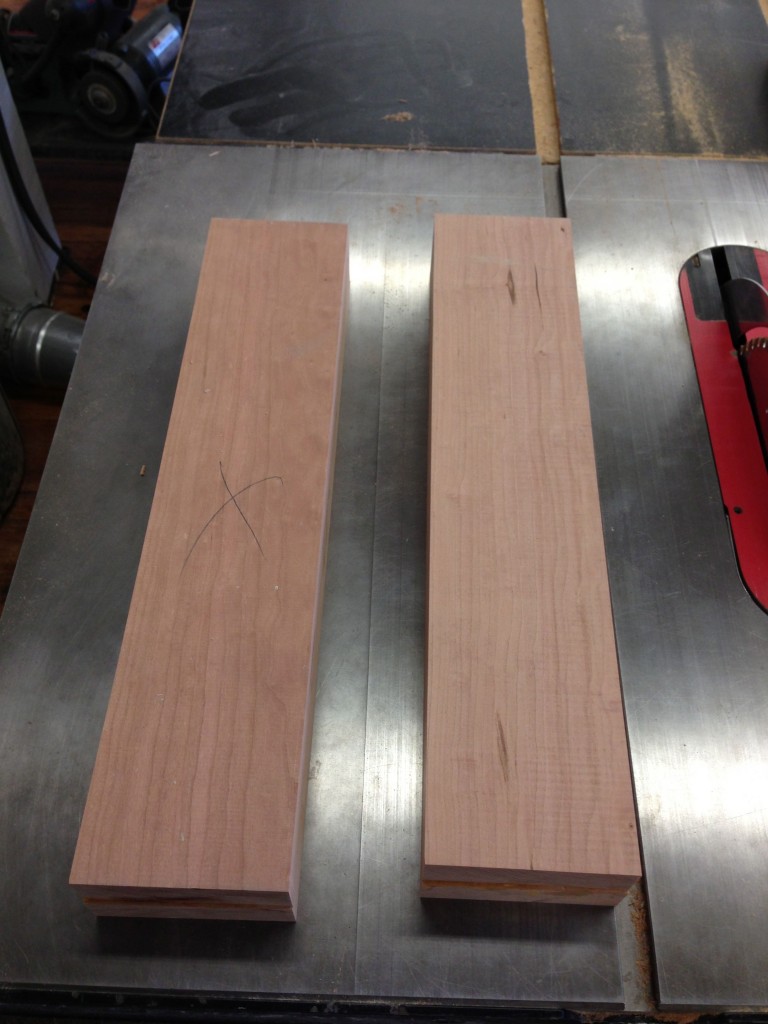
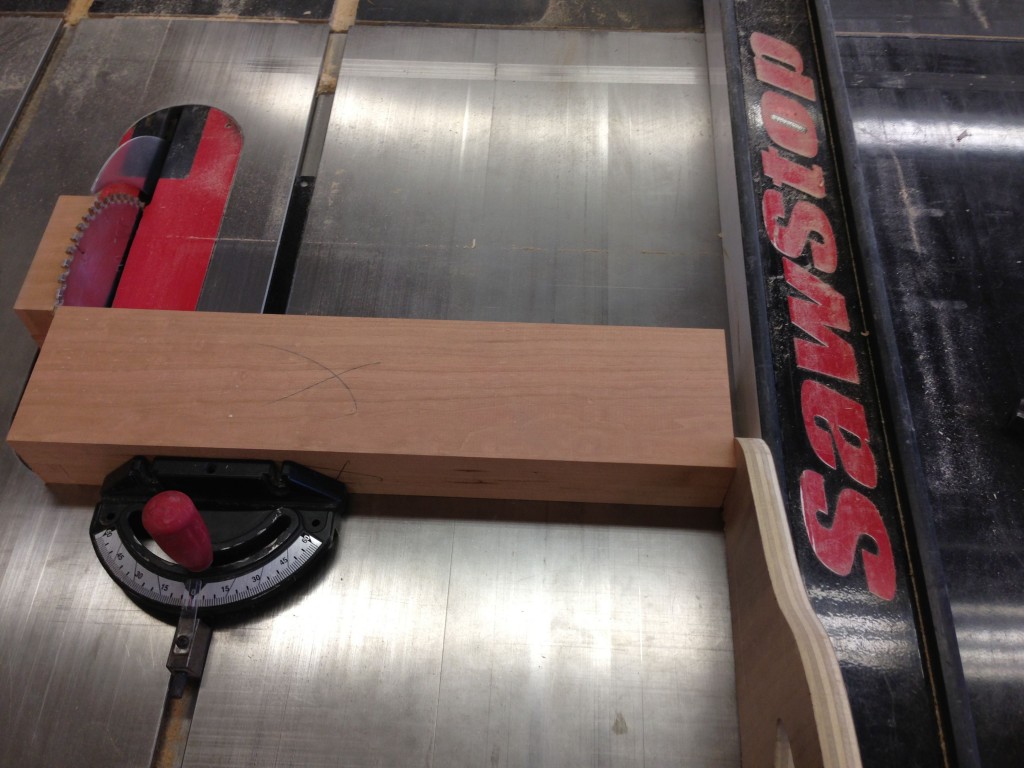
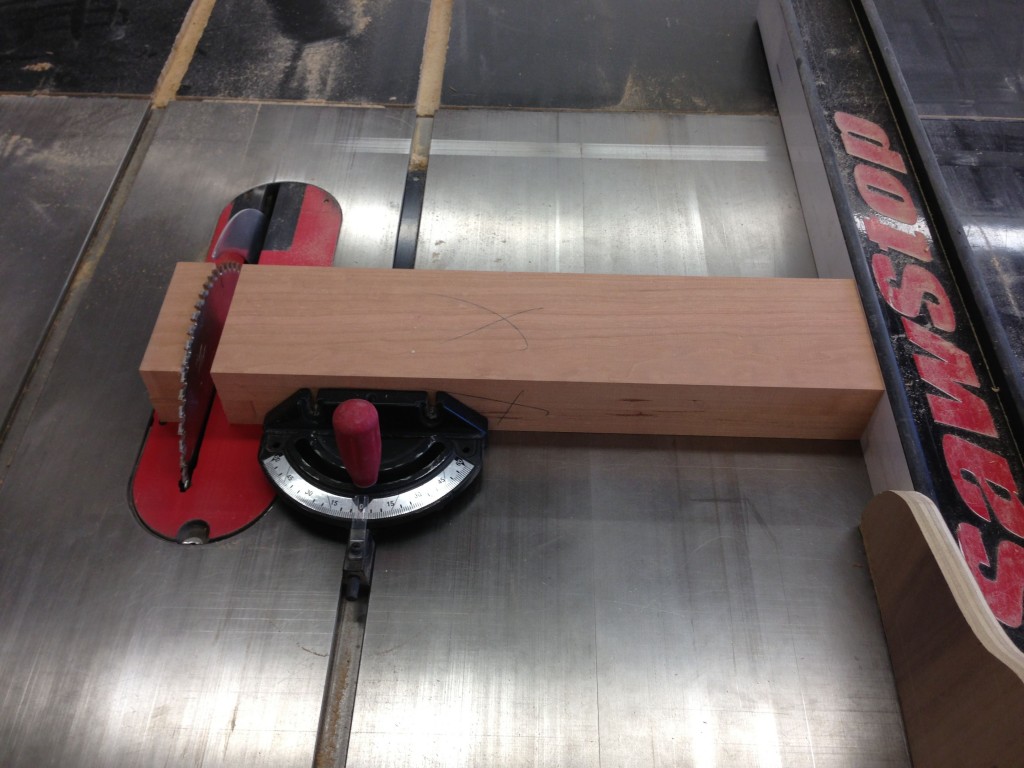
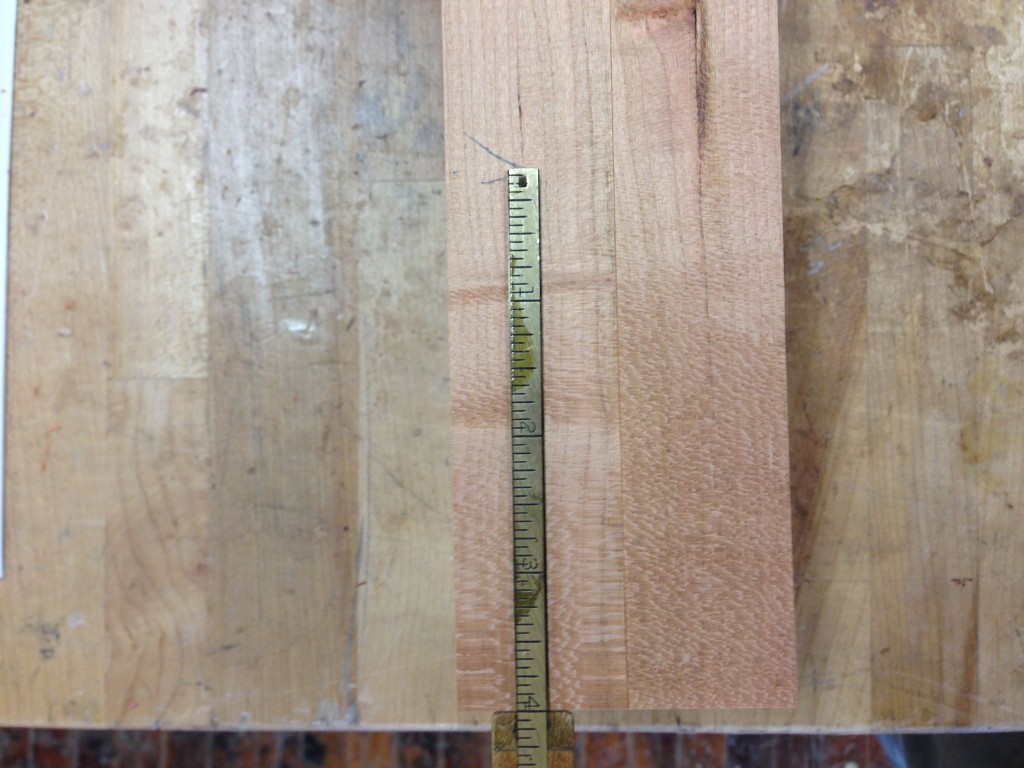
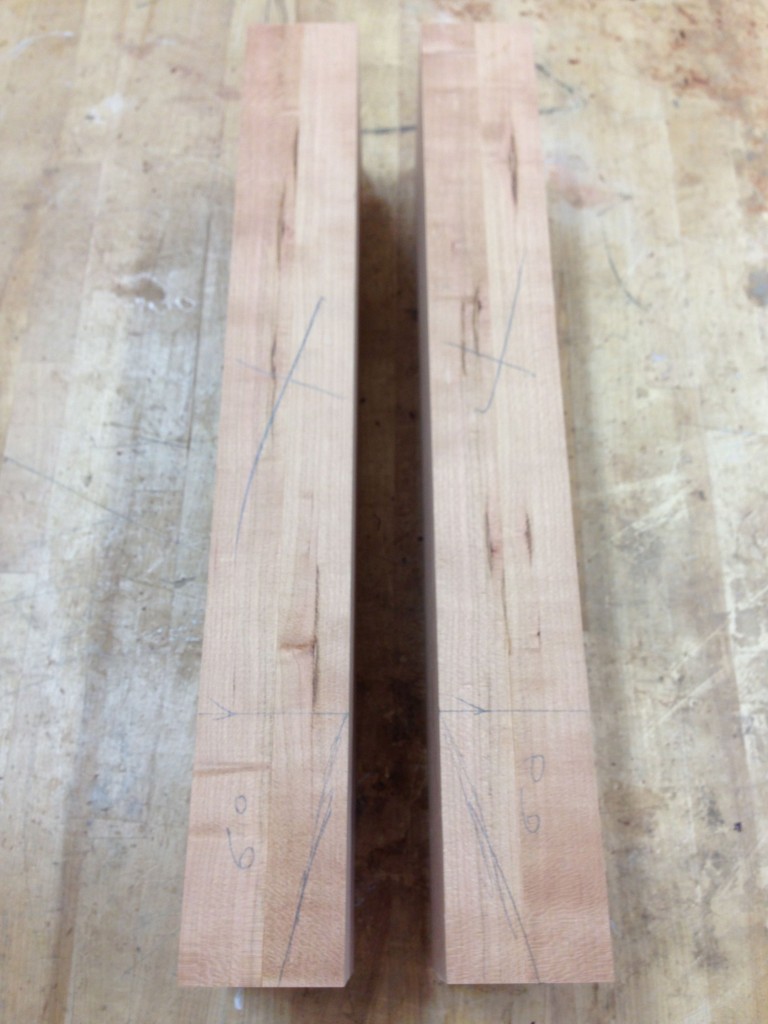
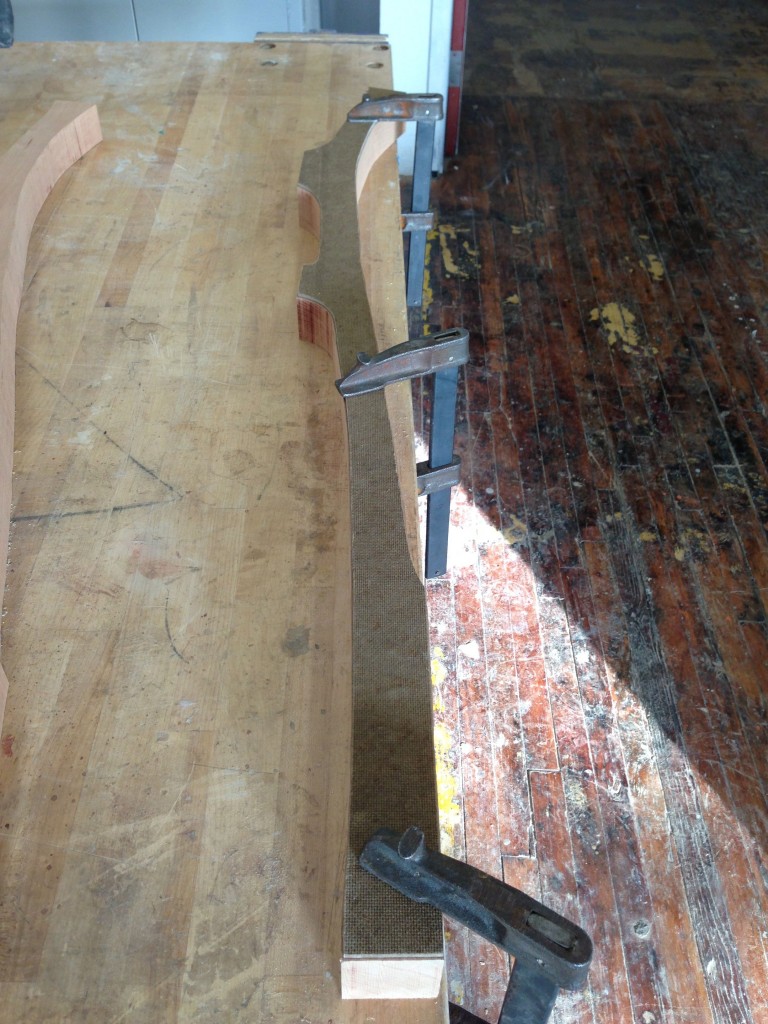
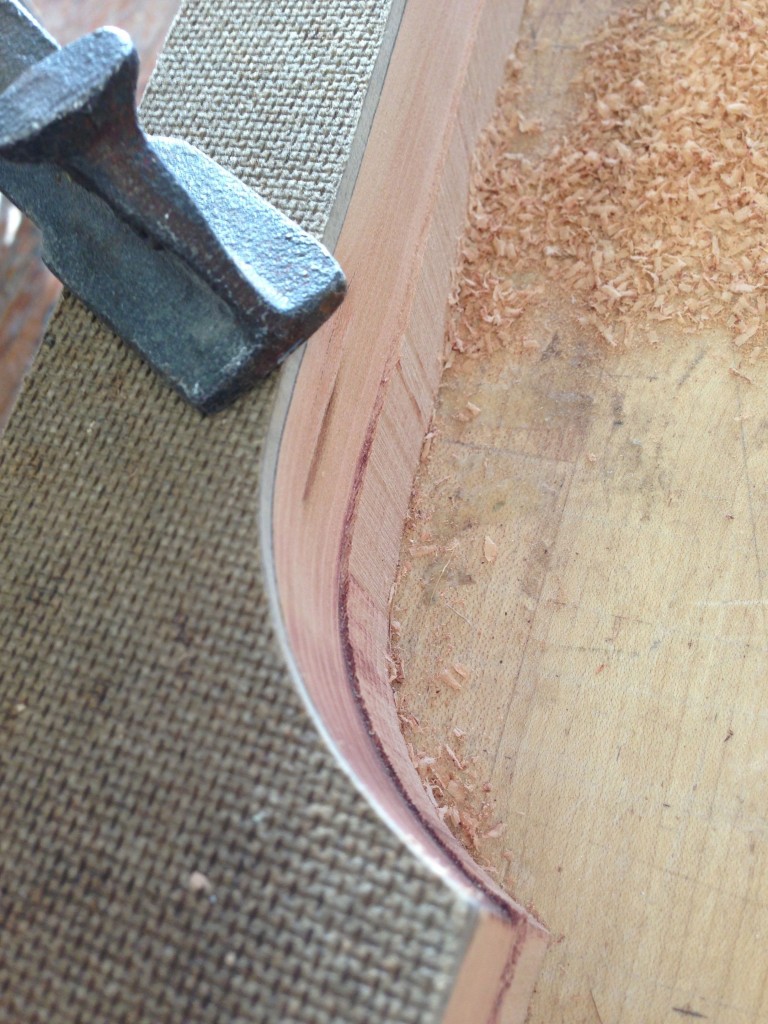
In order to create an arm with a deep sweeping profile and also meet the front leg and back leg joints, the stock needed to be 2 1/2″ thick or 10/4. The boards I purchased were only 8/4 requiring me to do a glue up to achieve the appropriate thickness. Instead of gluing two, 2″ thick boards together and cutting off a lot of waste, I decided to cut into one of my 10″+ boards to create 4, 5″ wide pieces. I then re-sawed them using the table saw to 1 5/16″. The picture gallery the will be posted next shows them being glued up and then jointed and planed to 2 1/2″. The arms are also book matched, meaning the two blanks were originally connected across their width as one 10″ wide board. Enjoy.
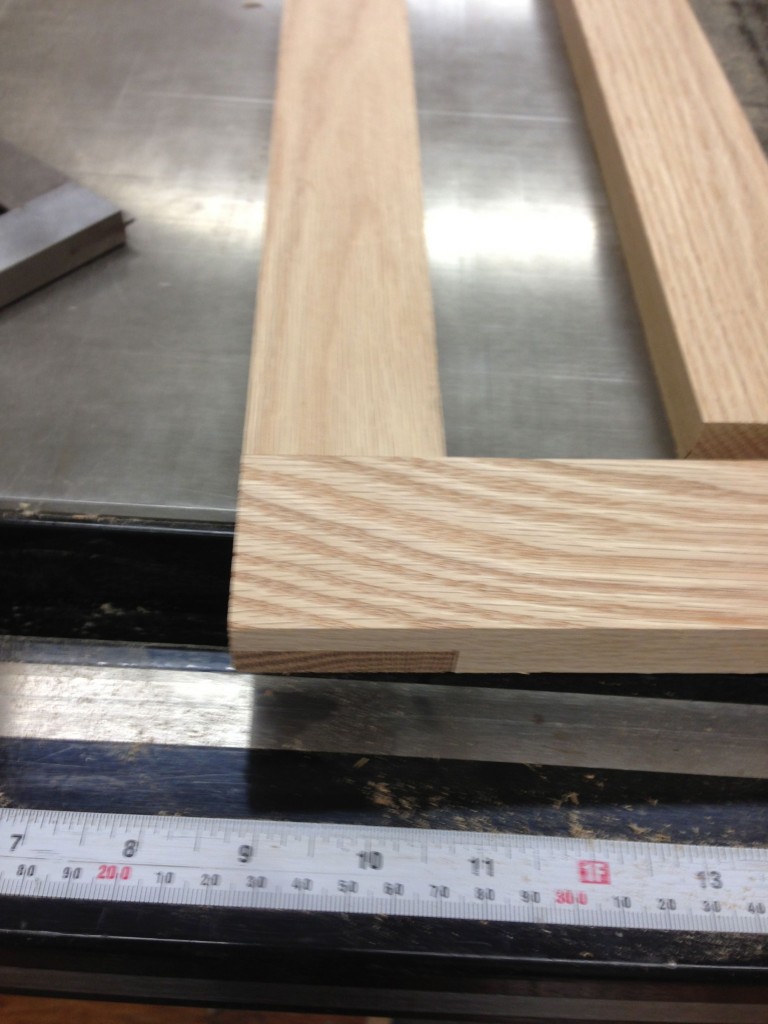
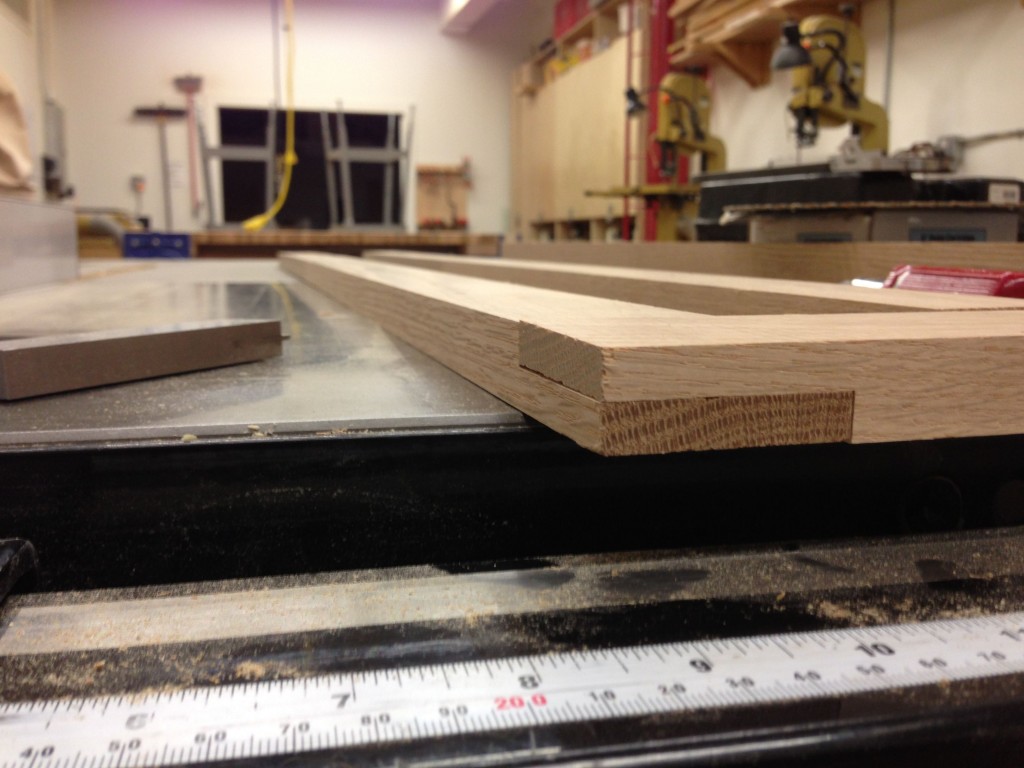
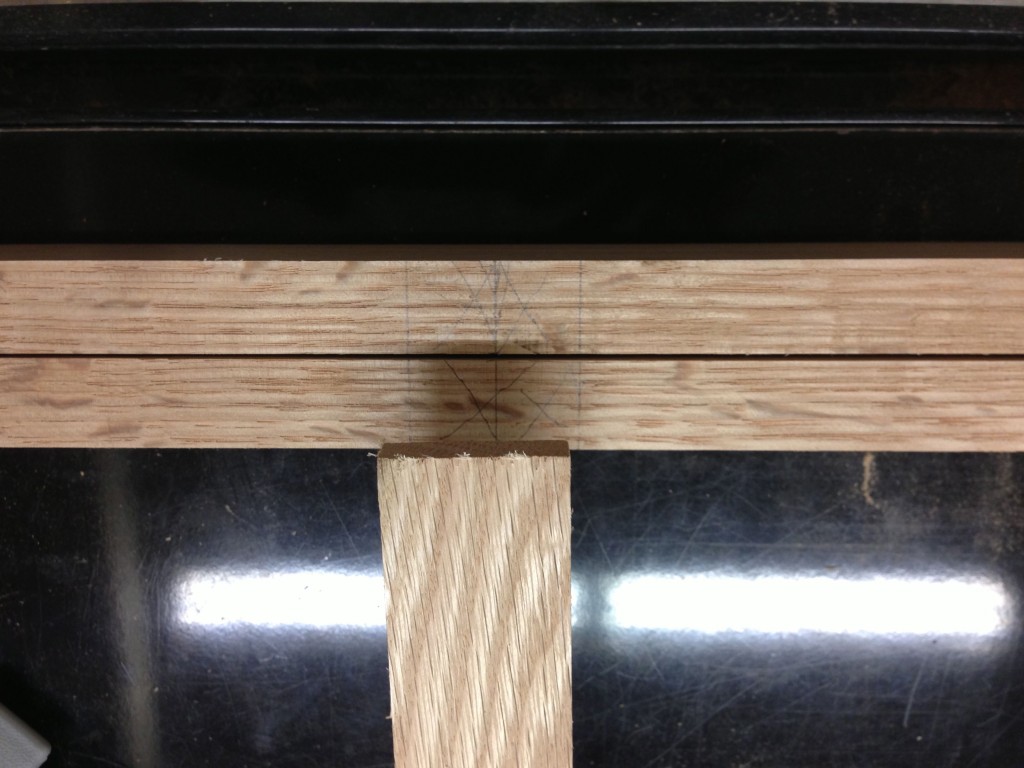
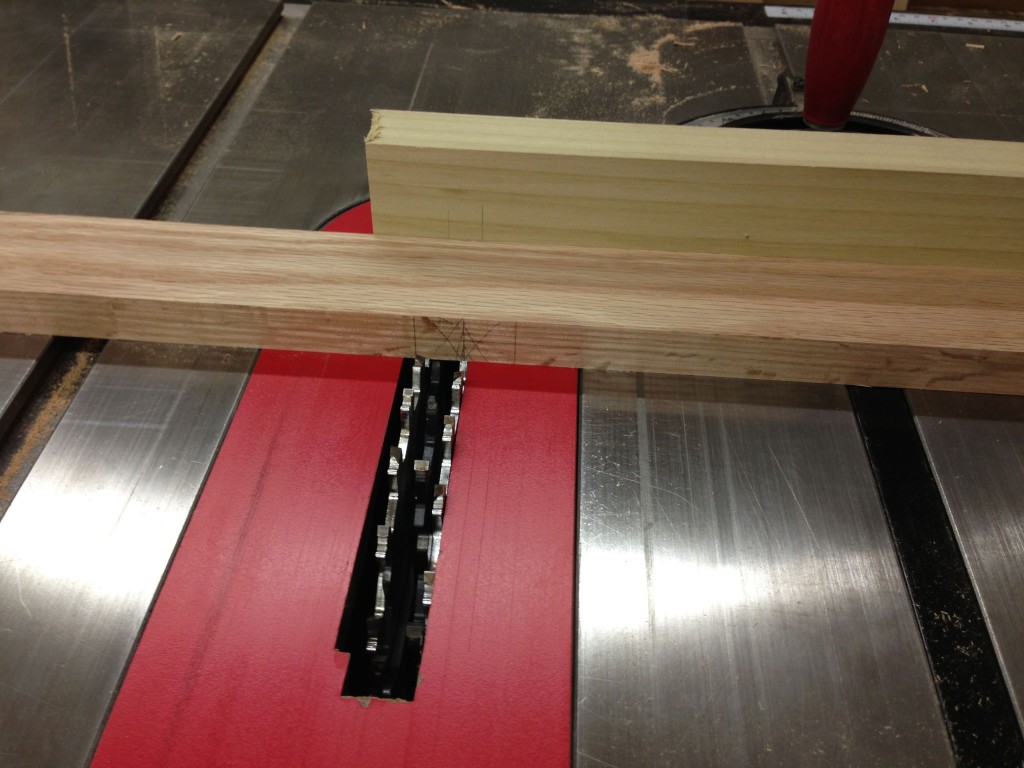
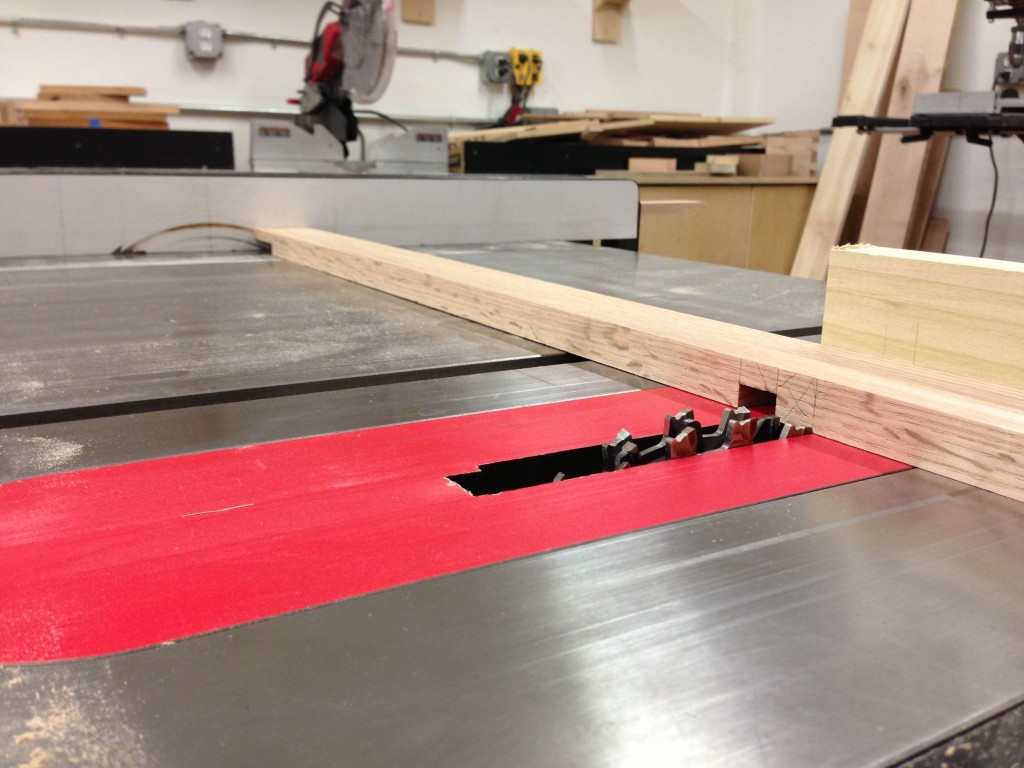
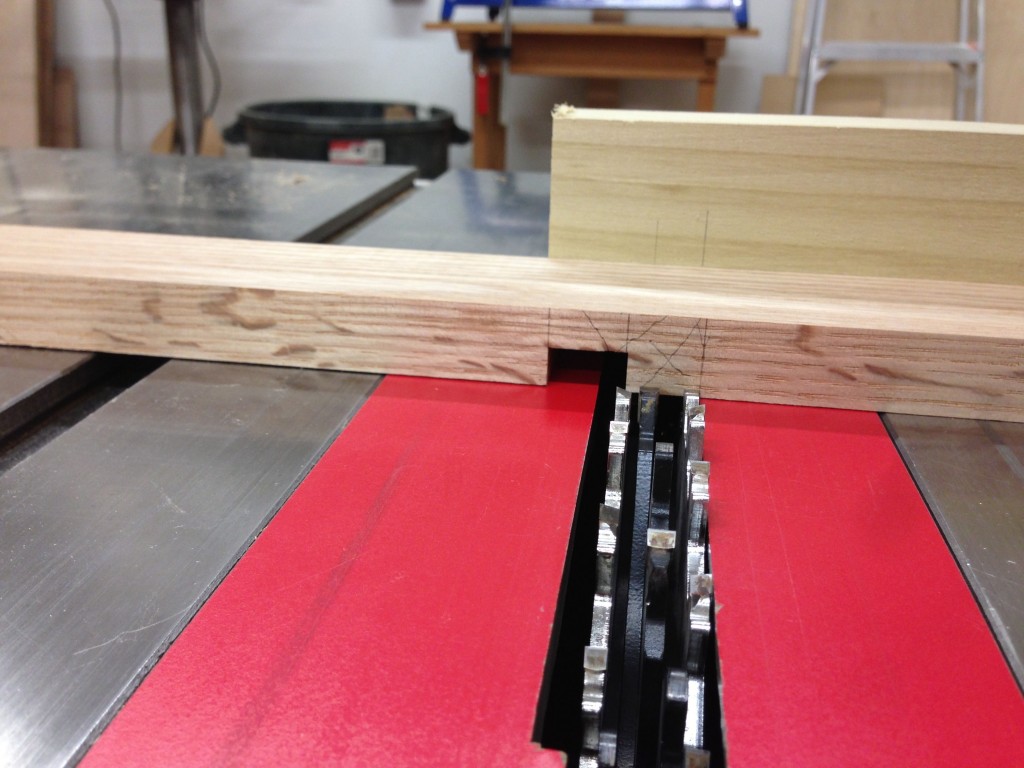
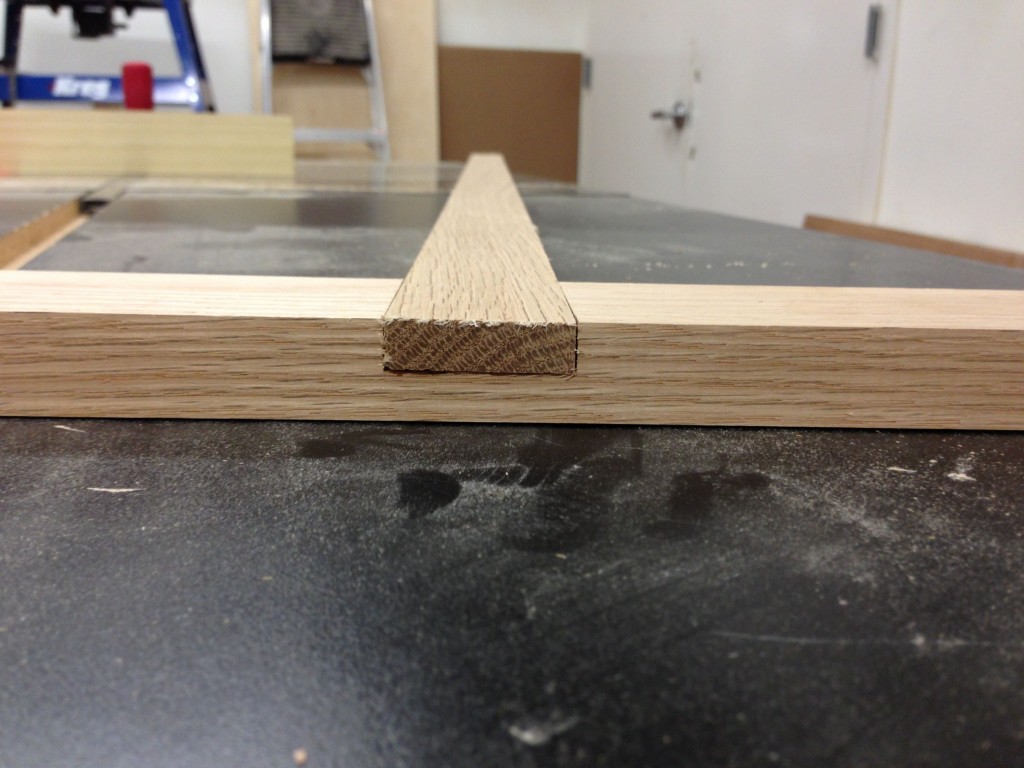
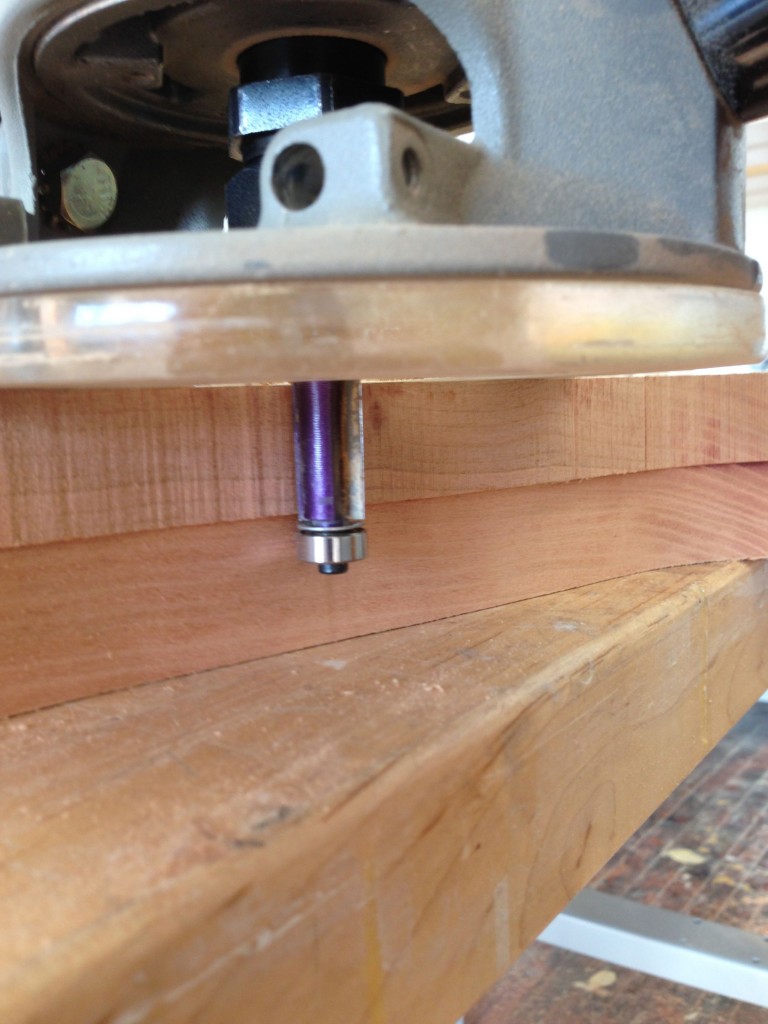
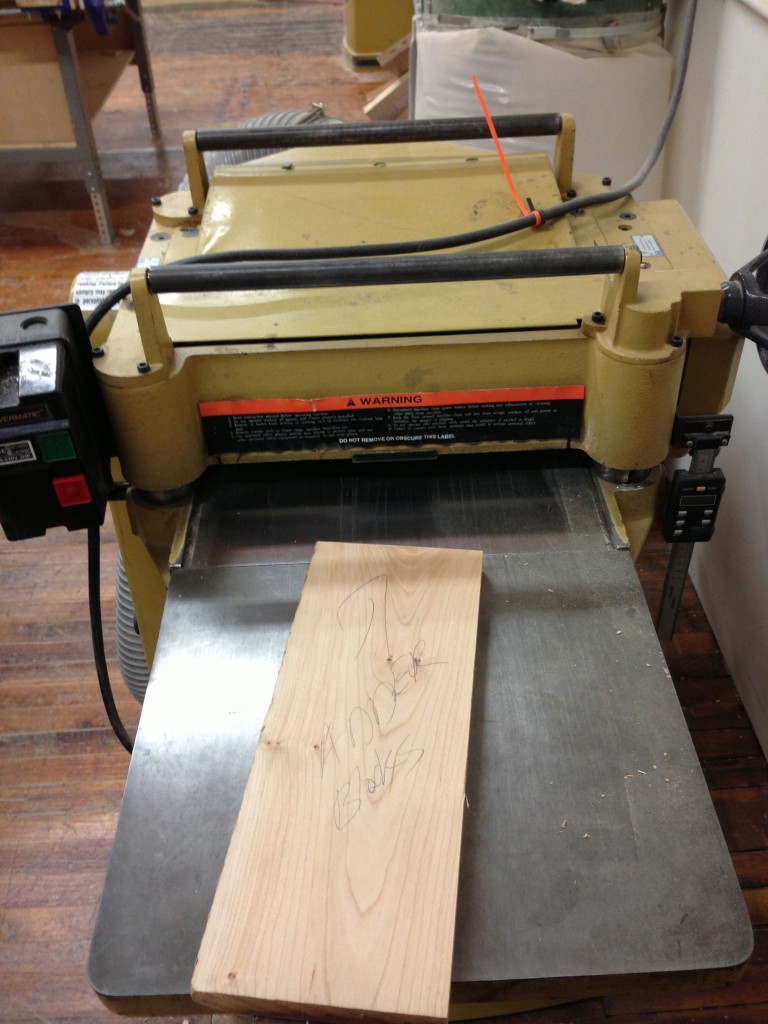
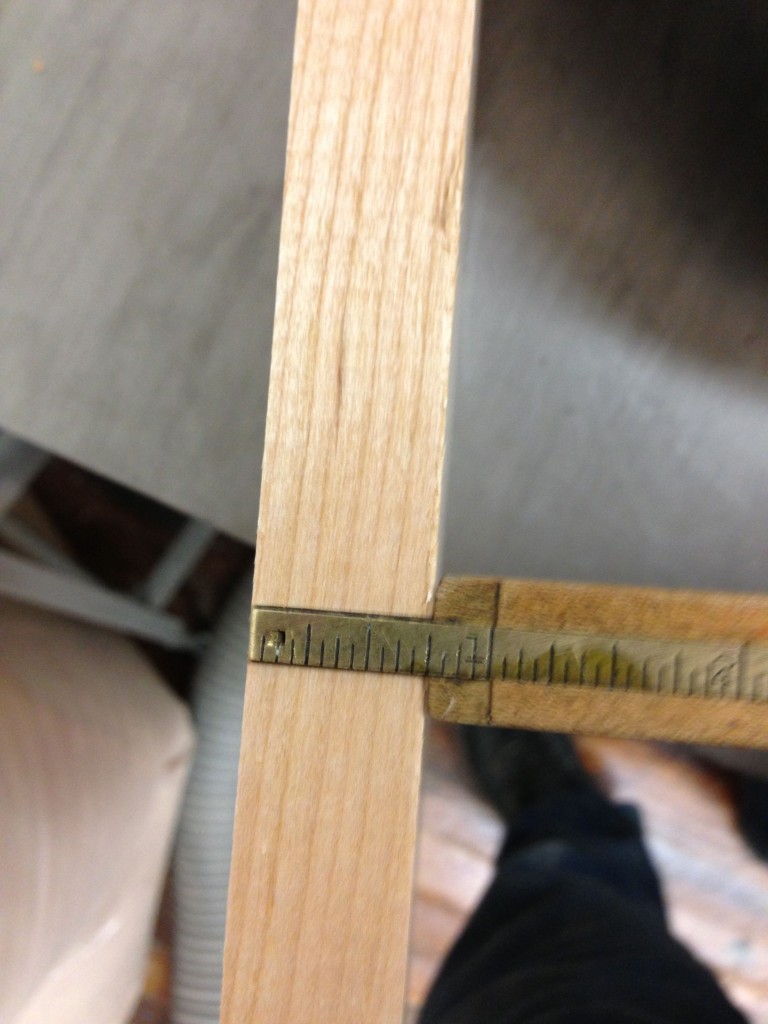
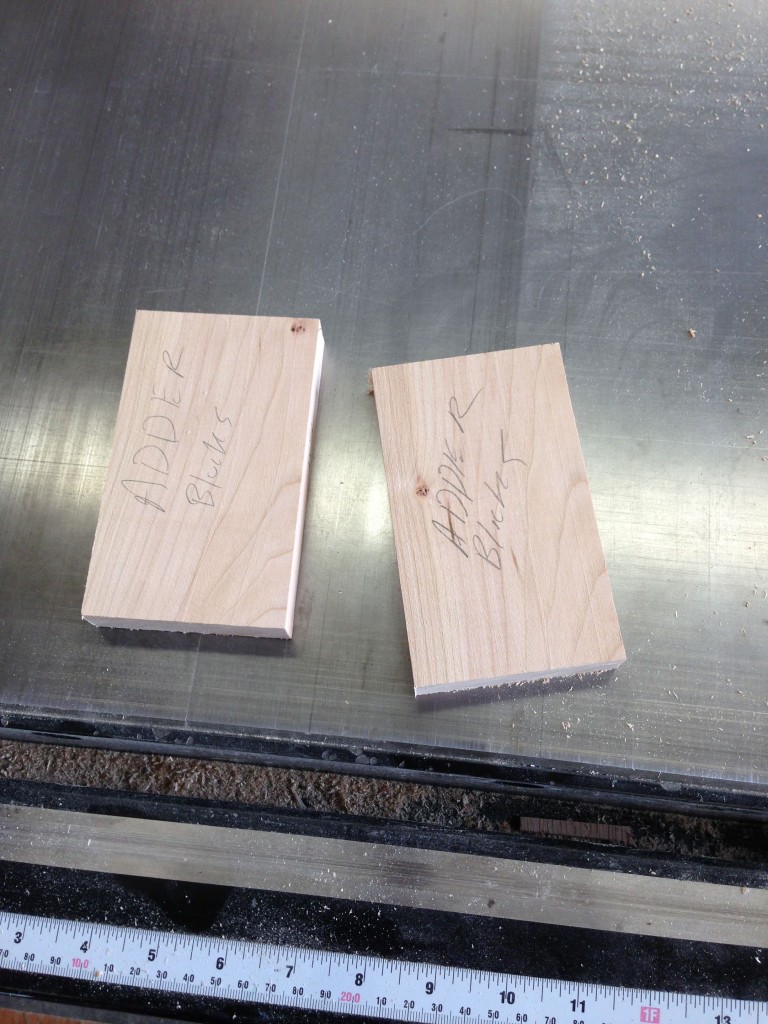
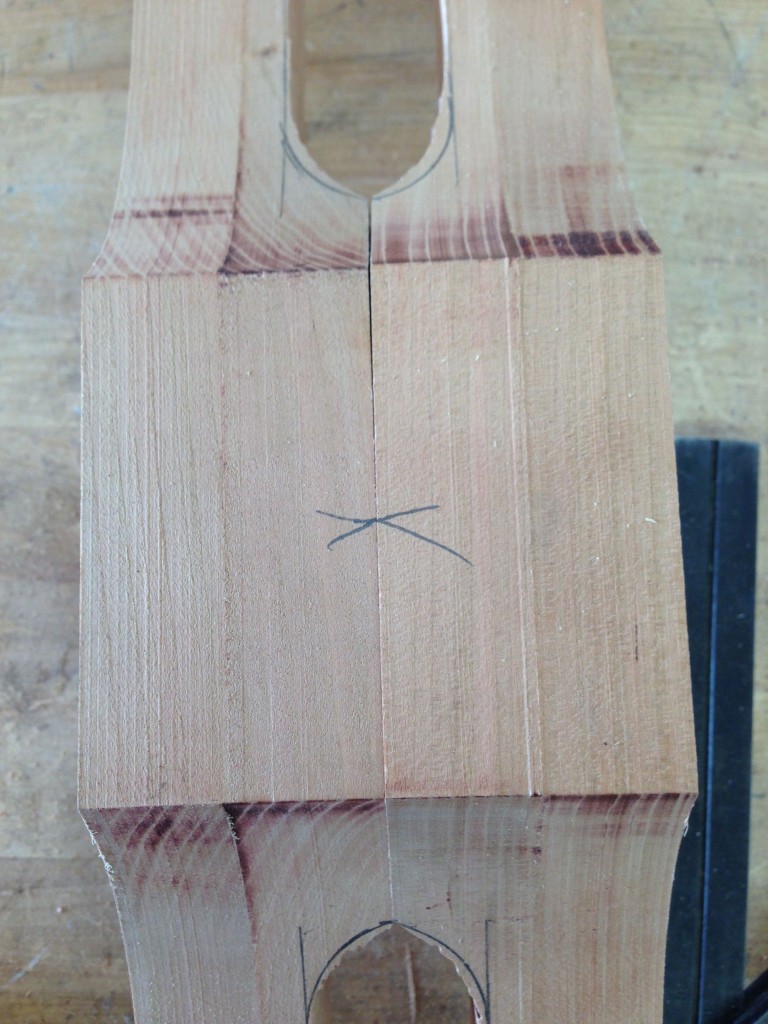
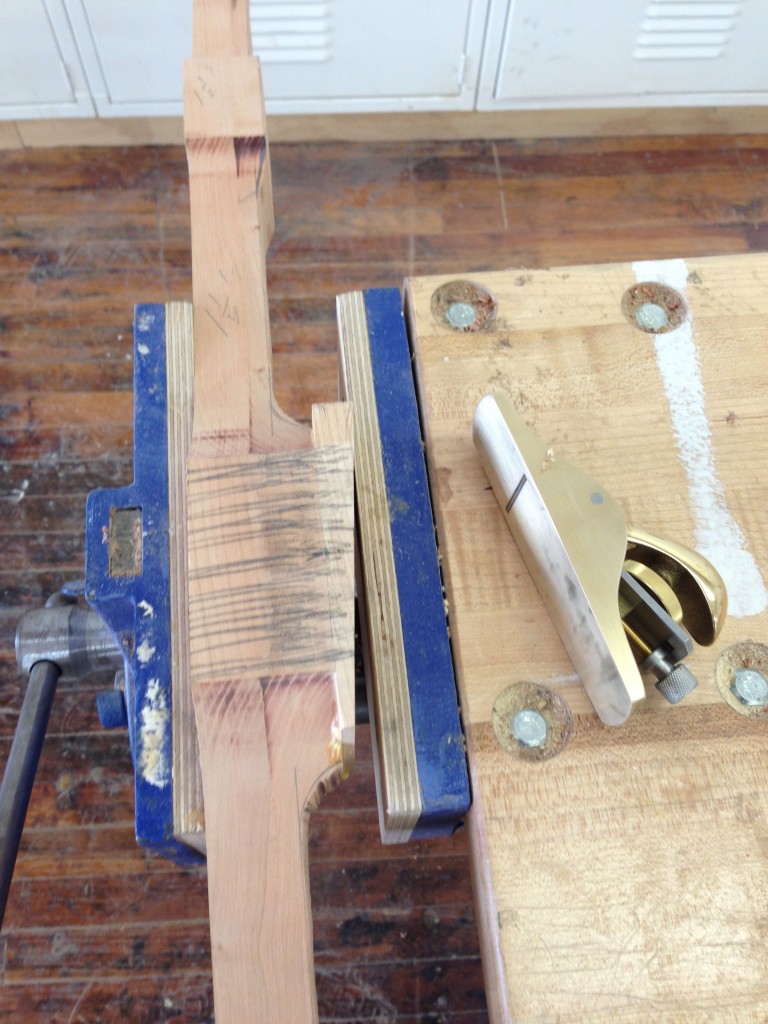
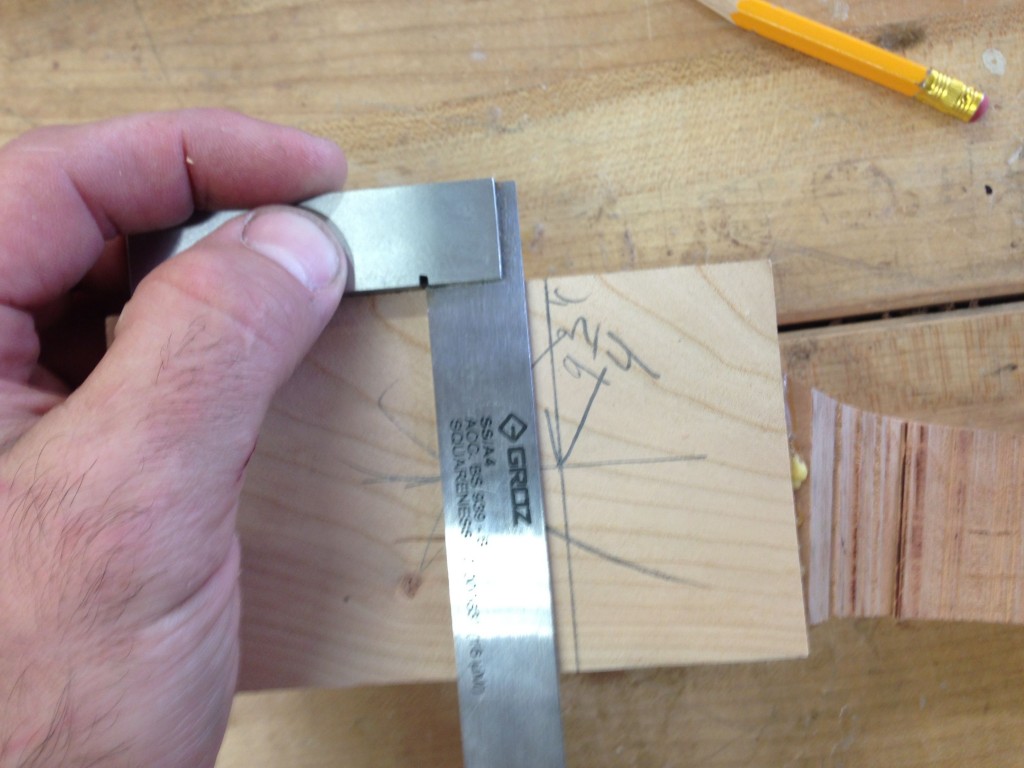
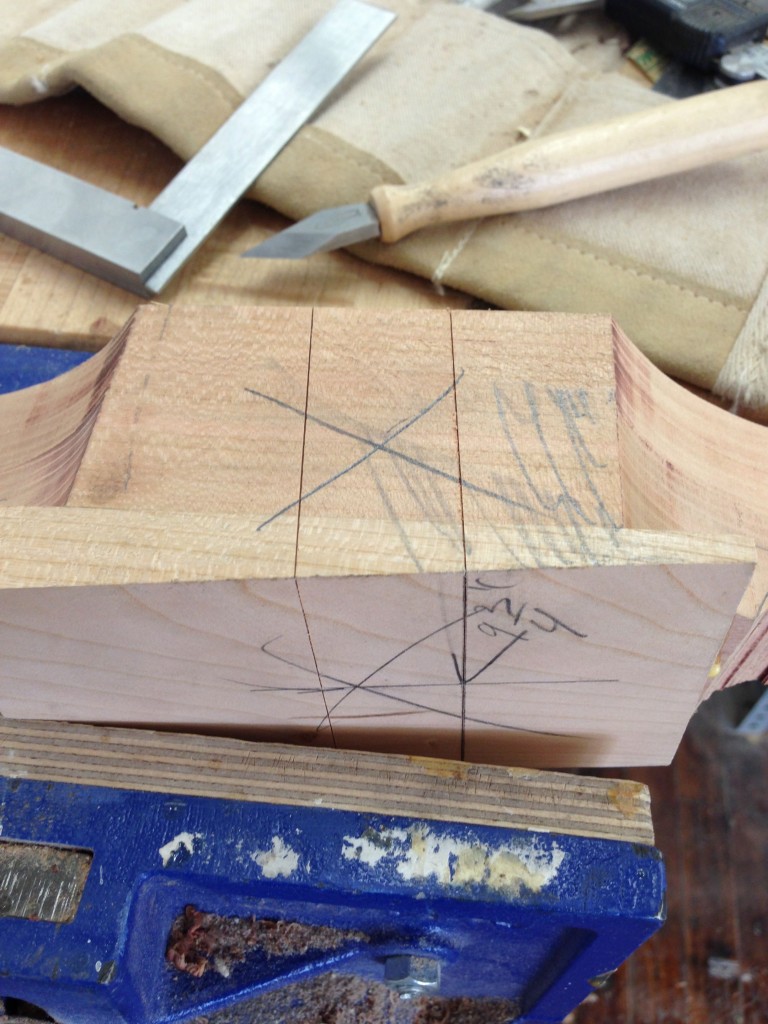
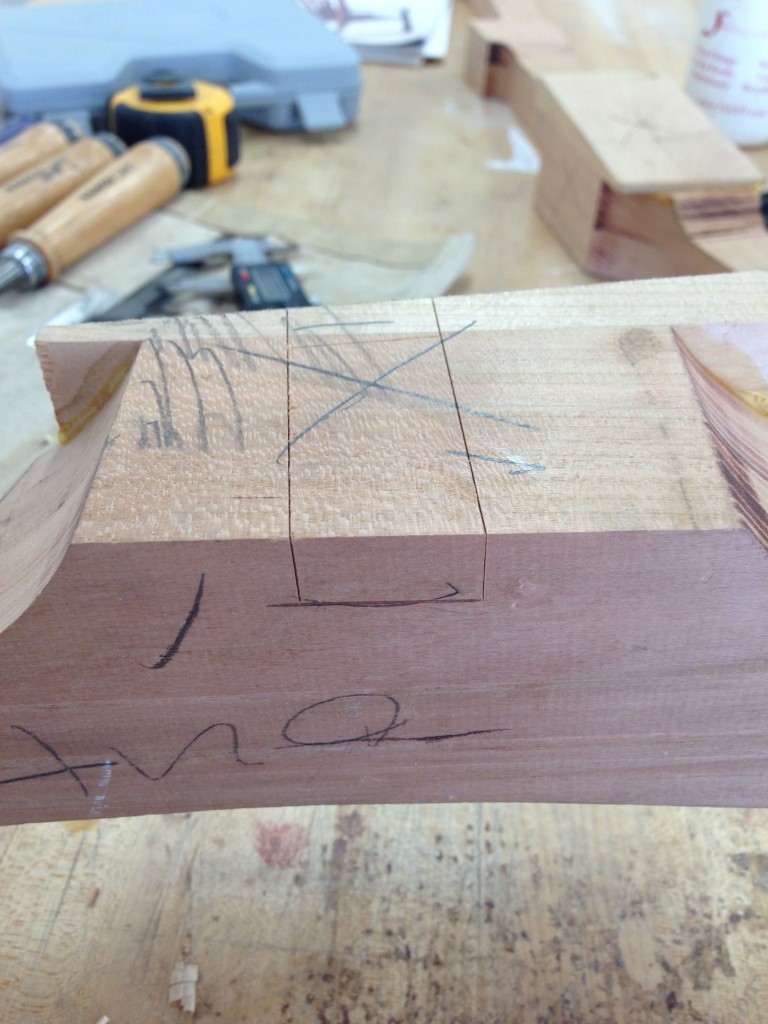
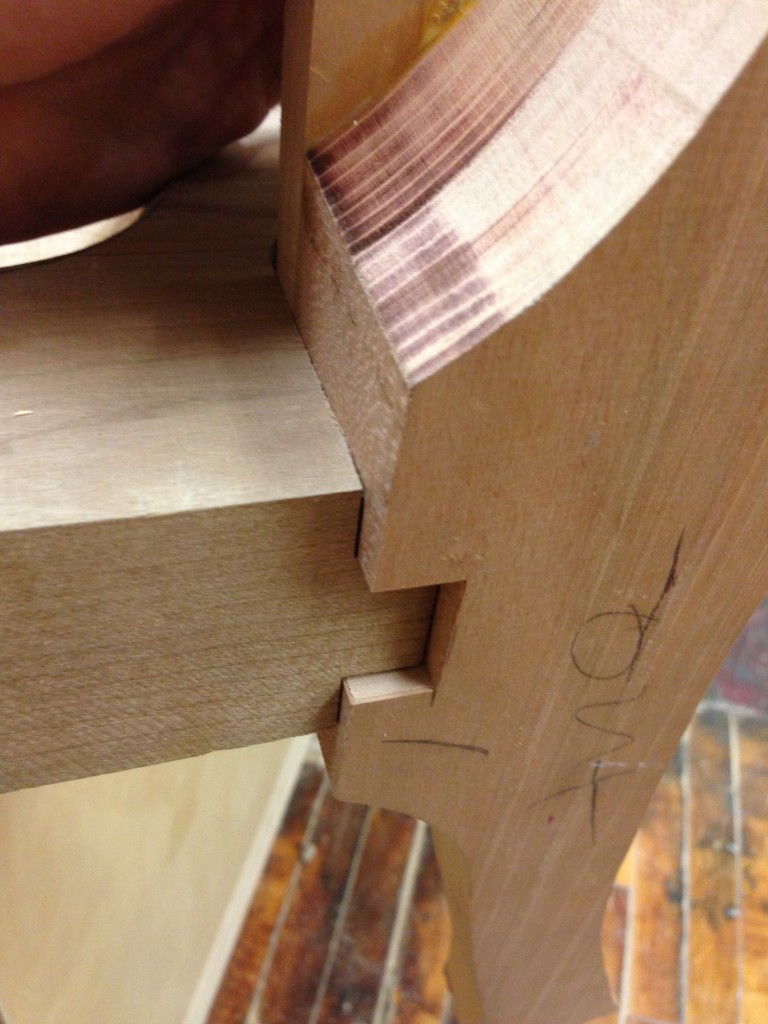
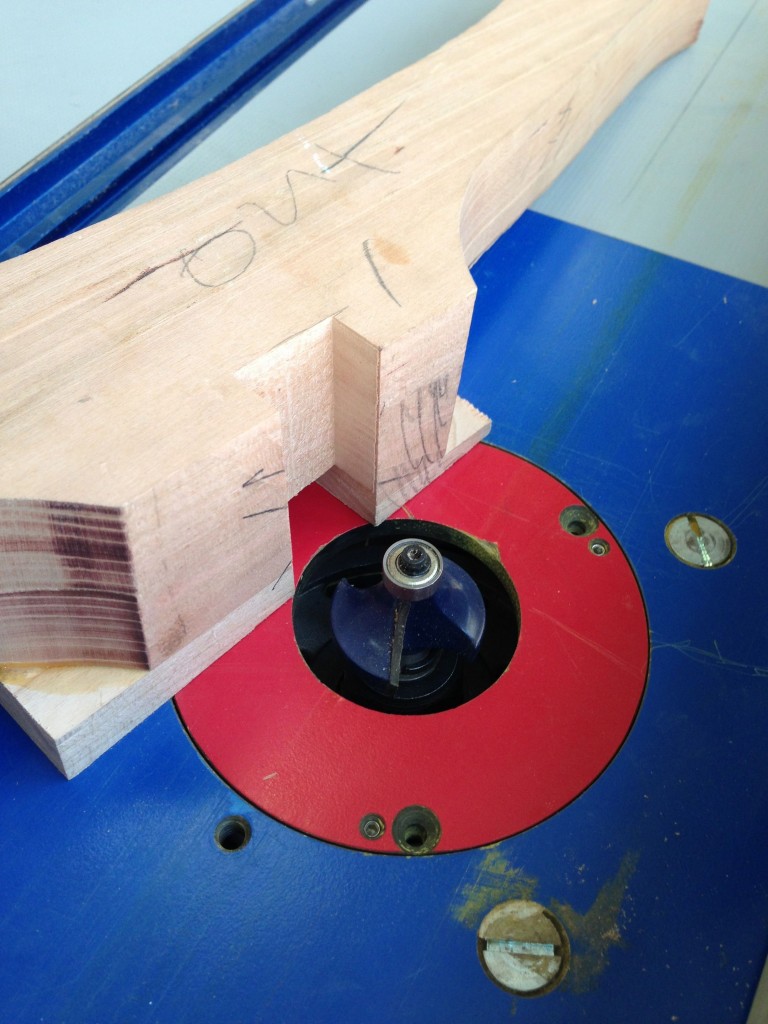
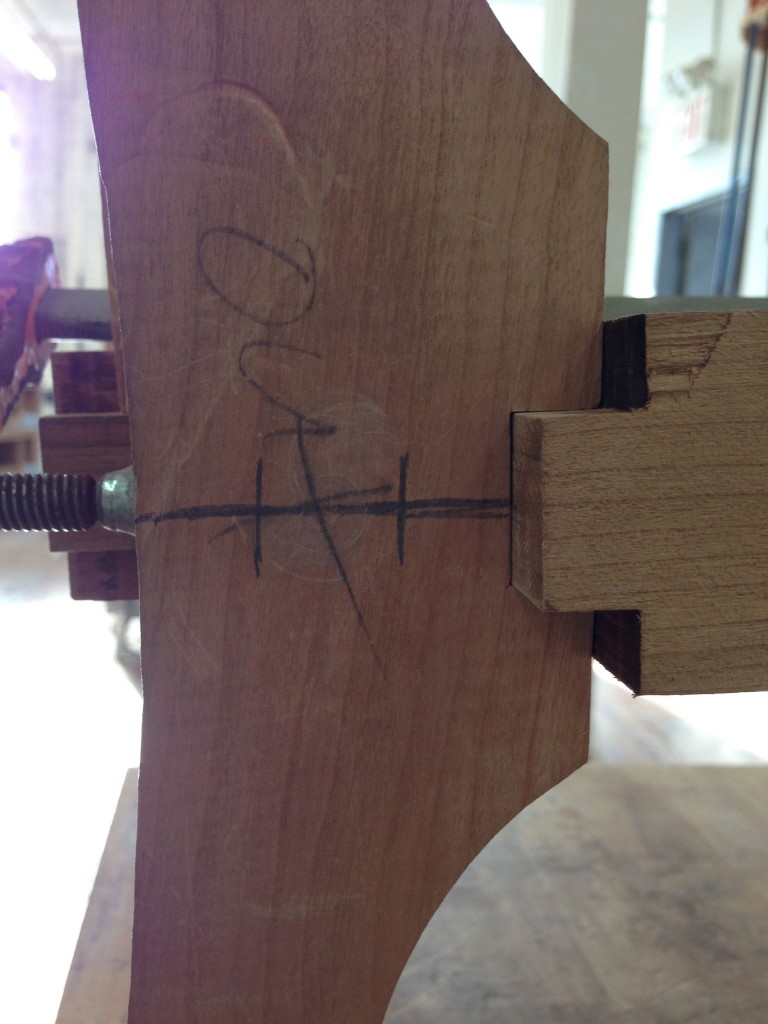
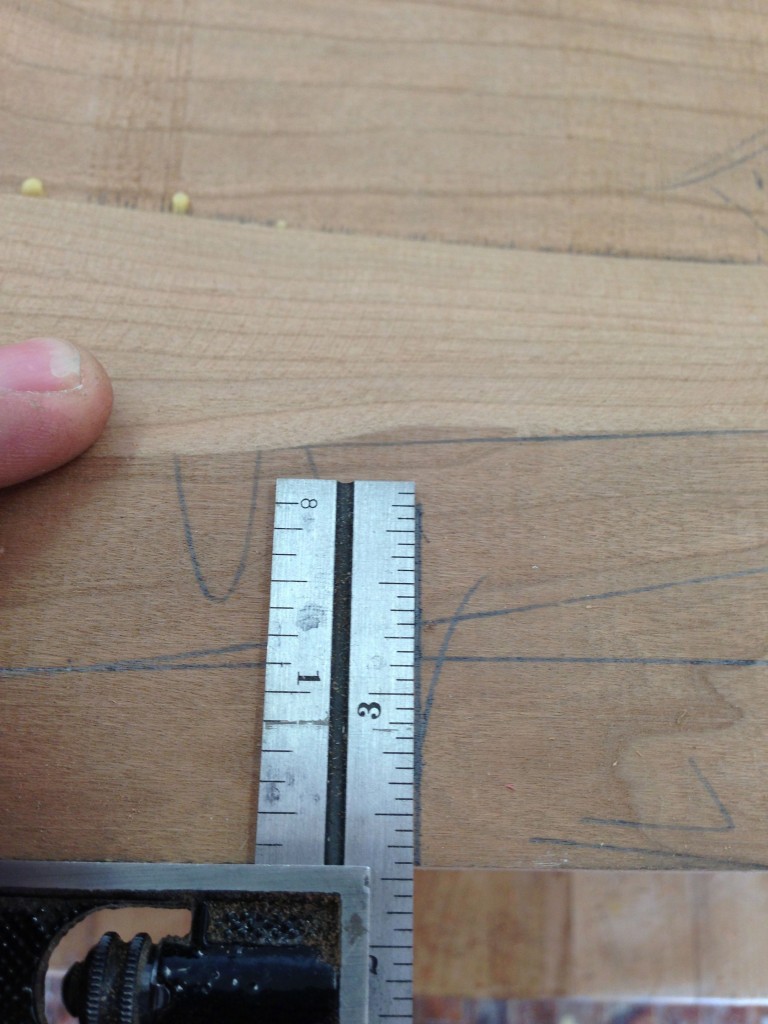
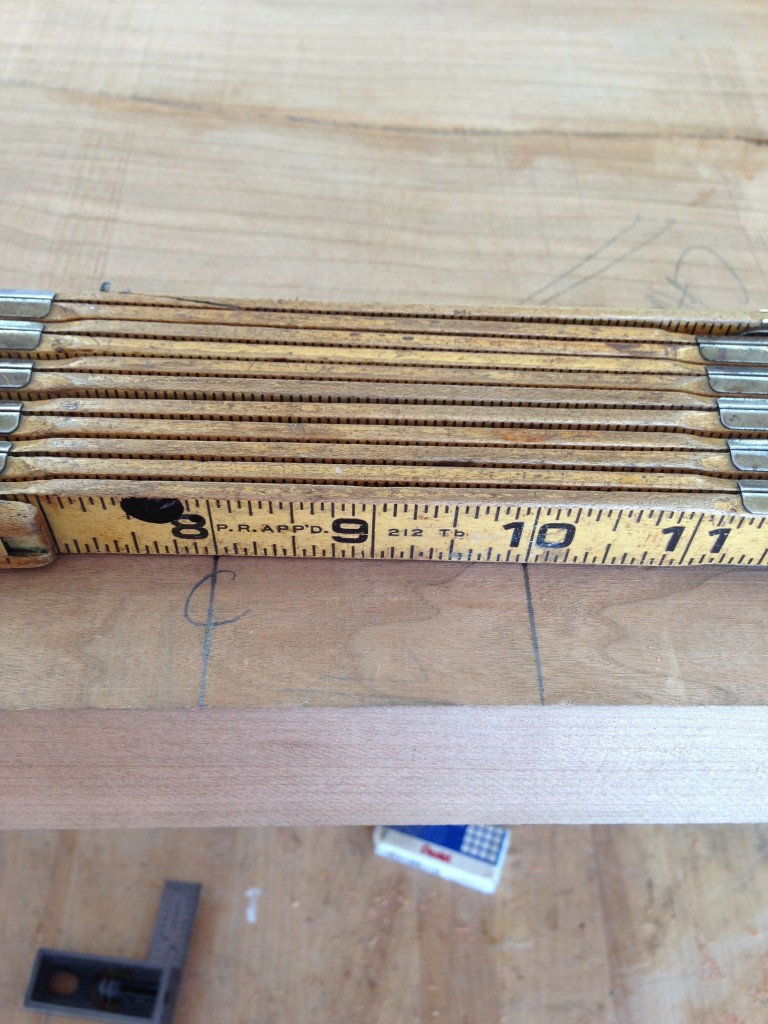
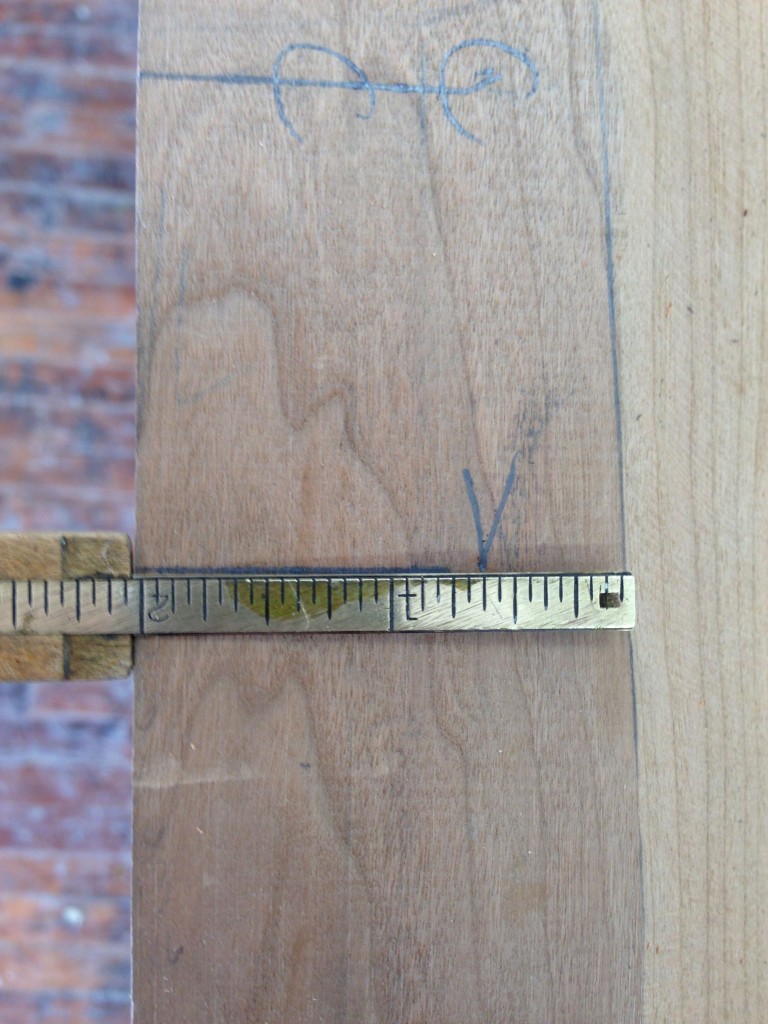
The previous back leg post ended at the rough blanks being cut out of the bigger stock of lumber. This gallery picks up with the flush trim routing to the leg pattern. Then adder blocks must be milled and glued on to accommodate the angle that occurs at the seat to back leg joint. Once they are added and squared, layout of the mortise joinery occurs. After the table saw, the inside corner must be rounded over on the router table. The next update will begin with the fine tuning of the round over.
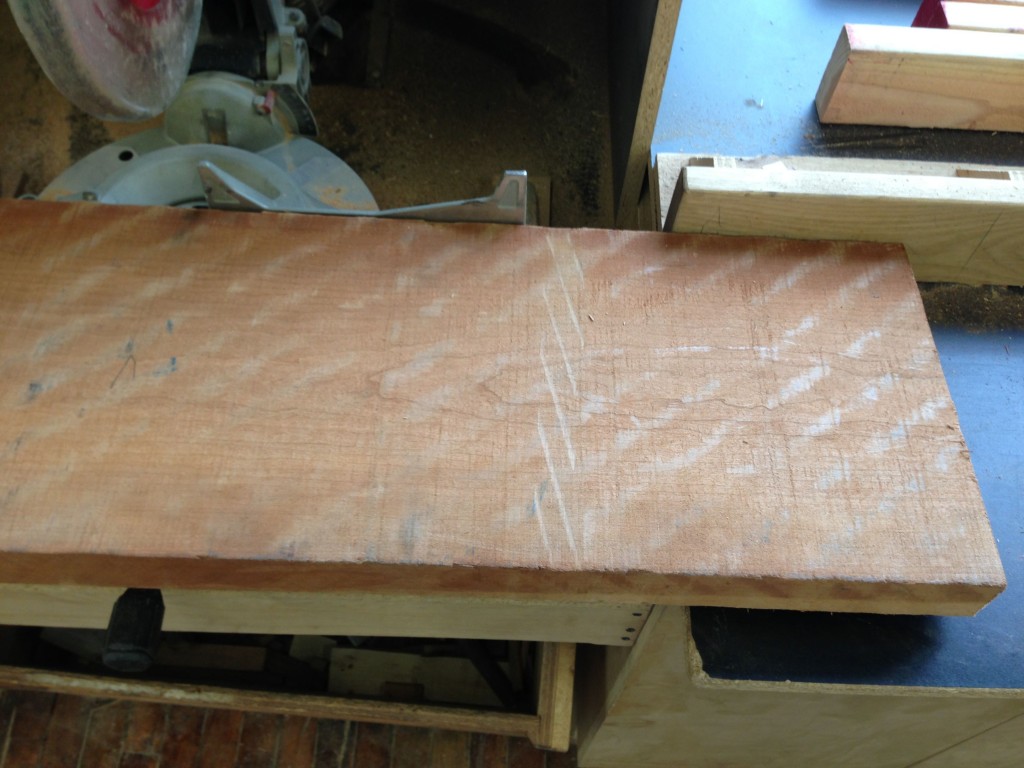
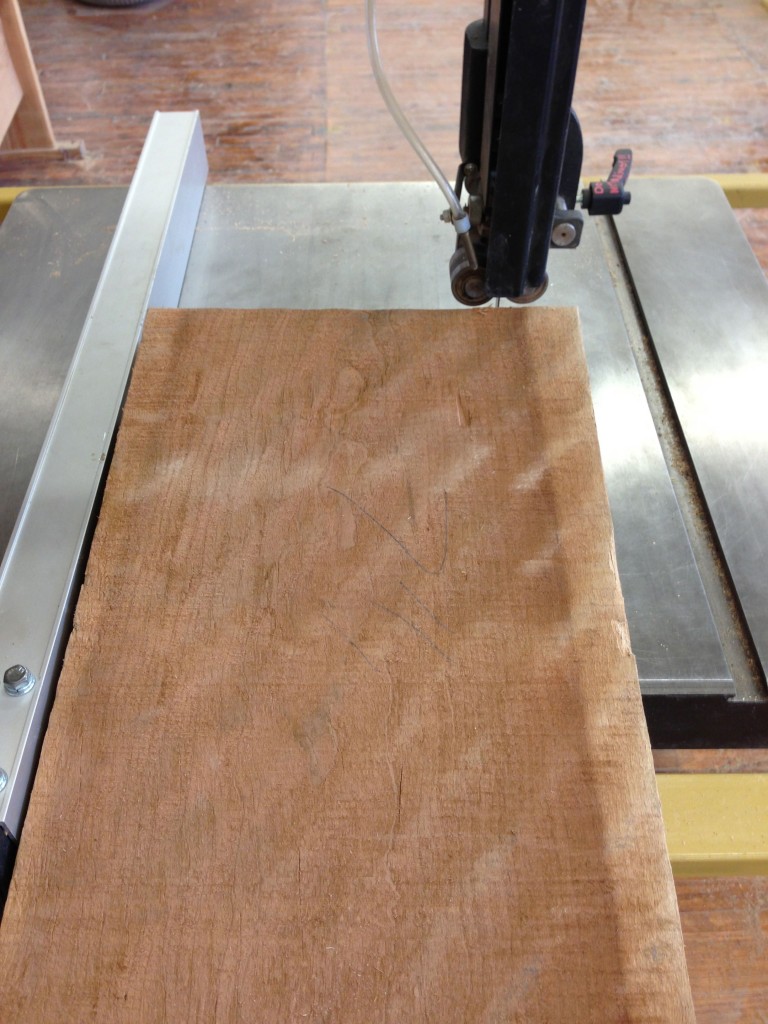
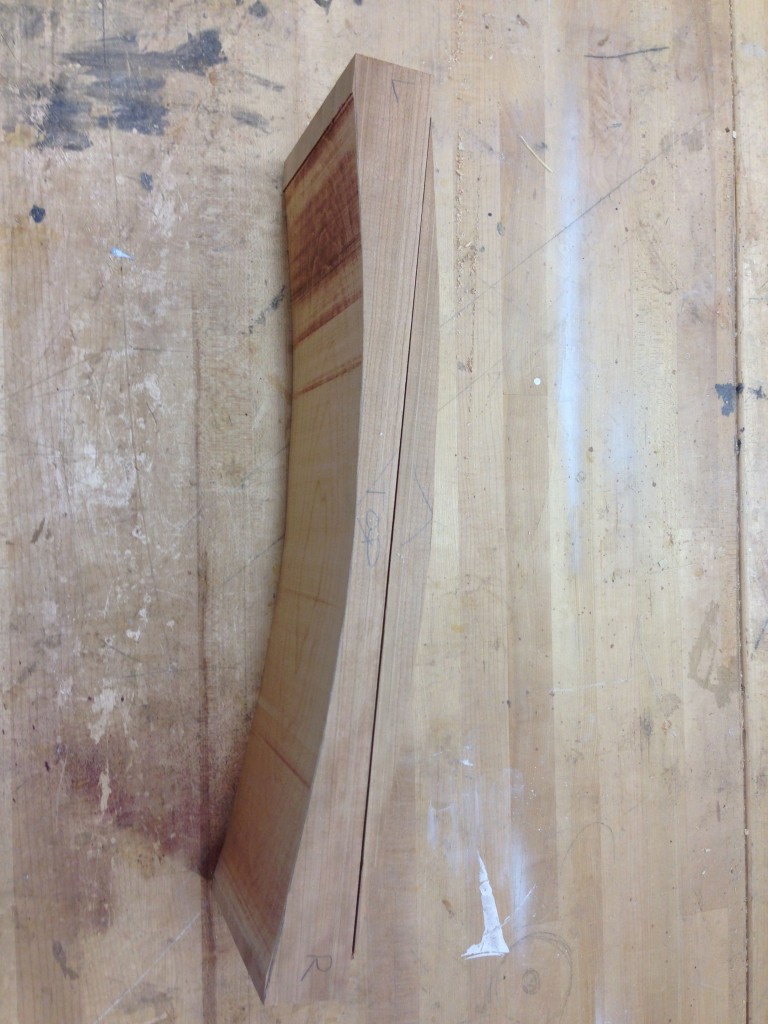
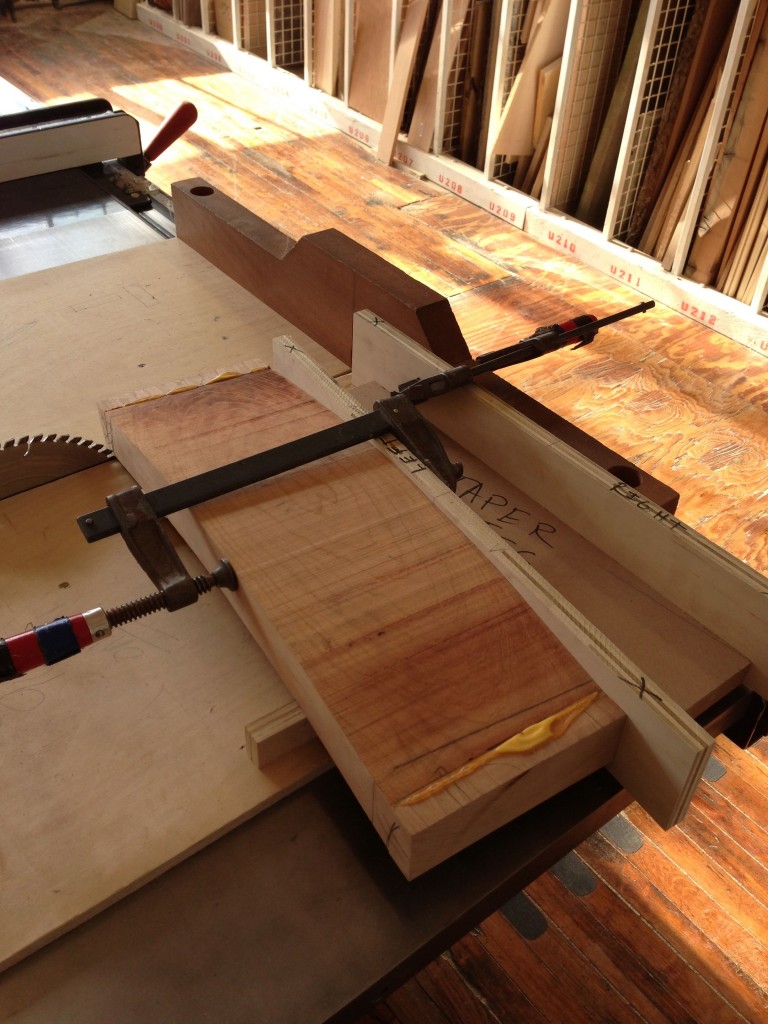
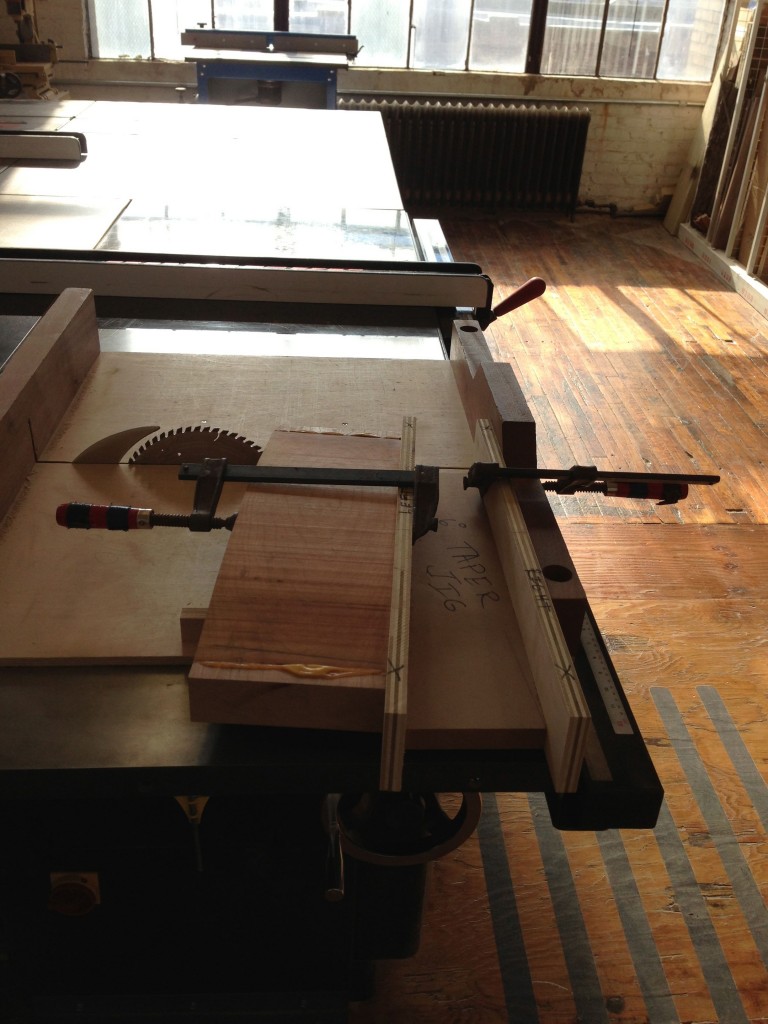
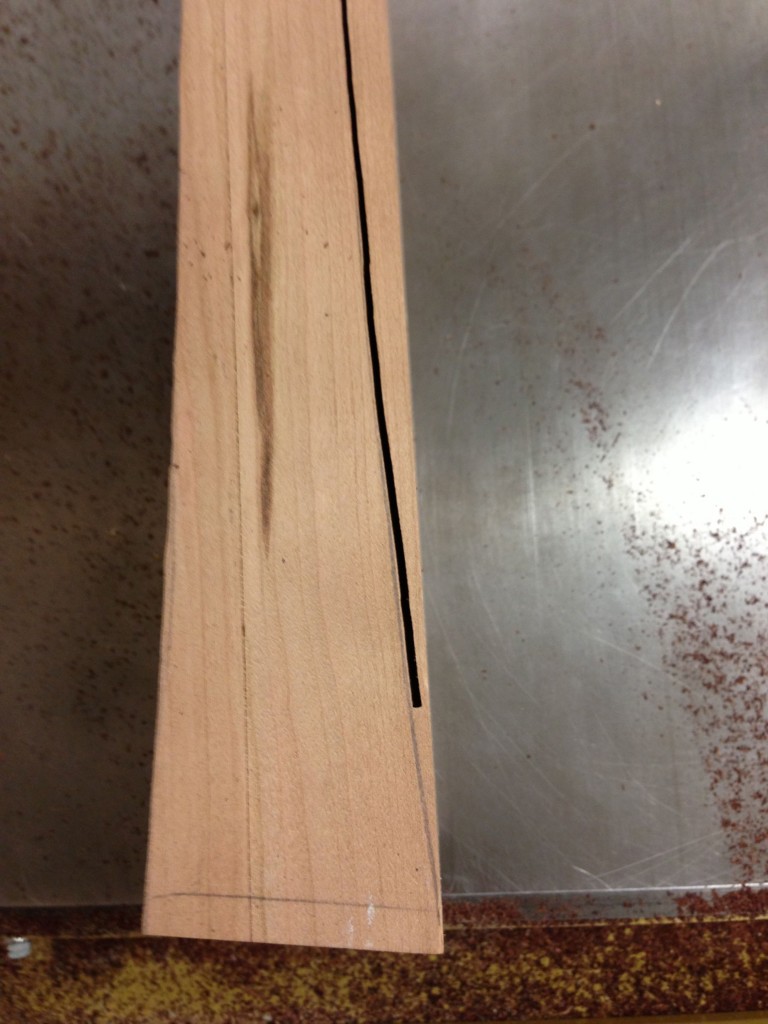
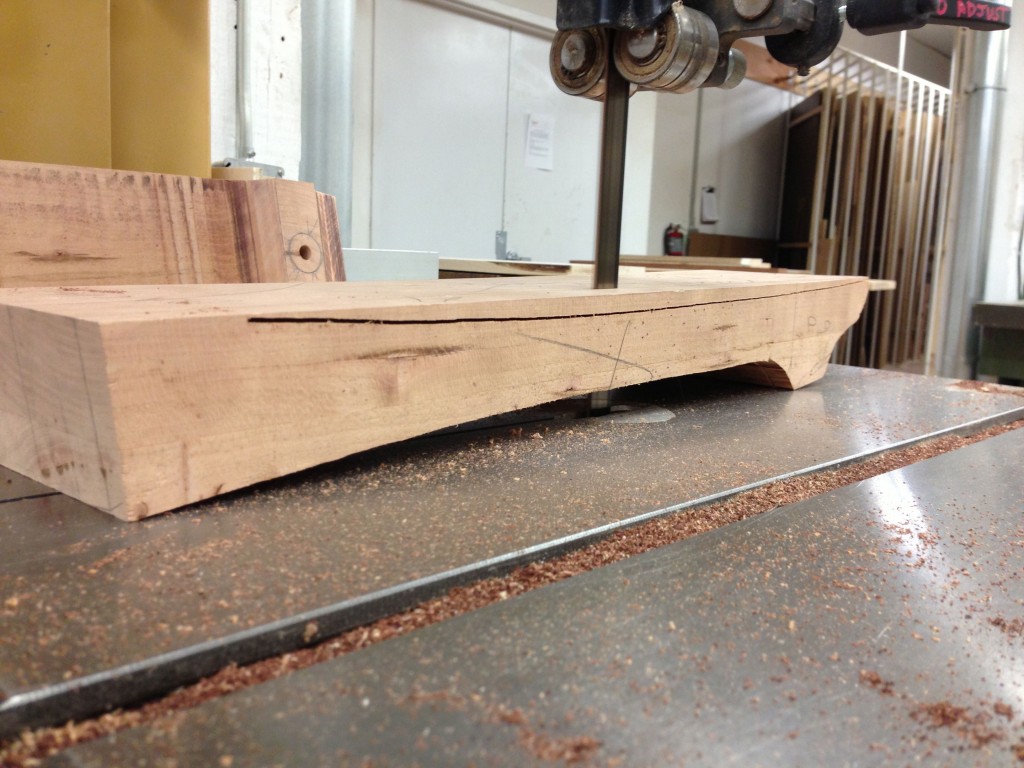
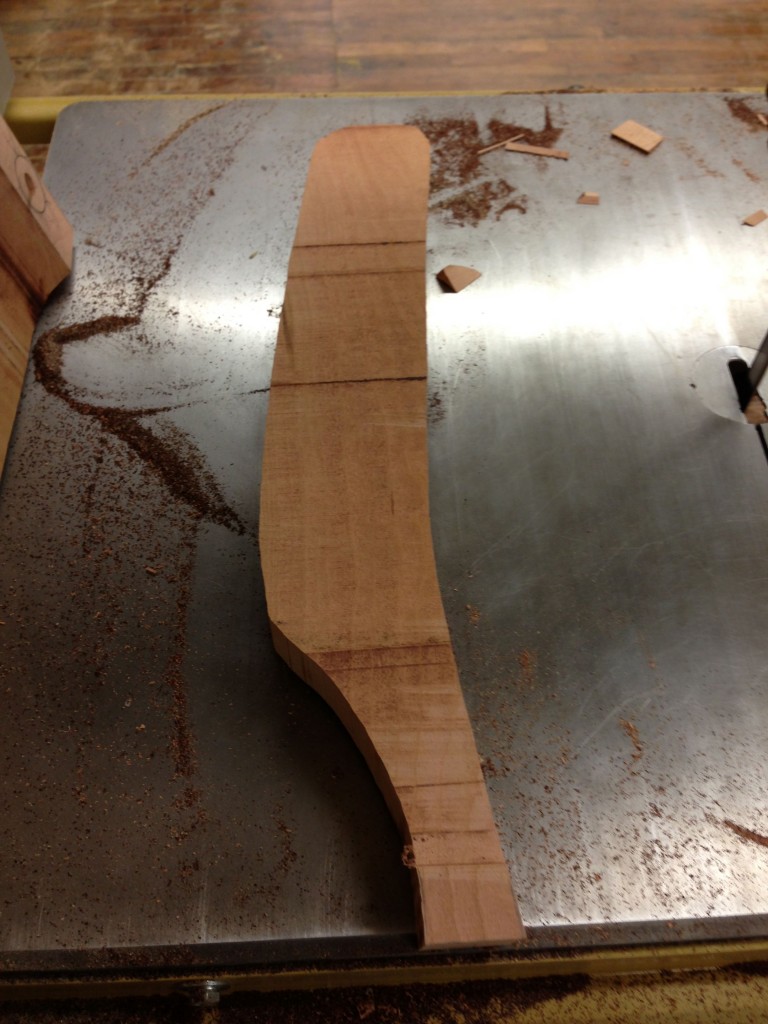
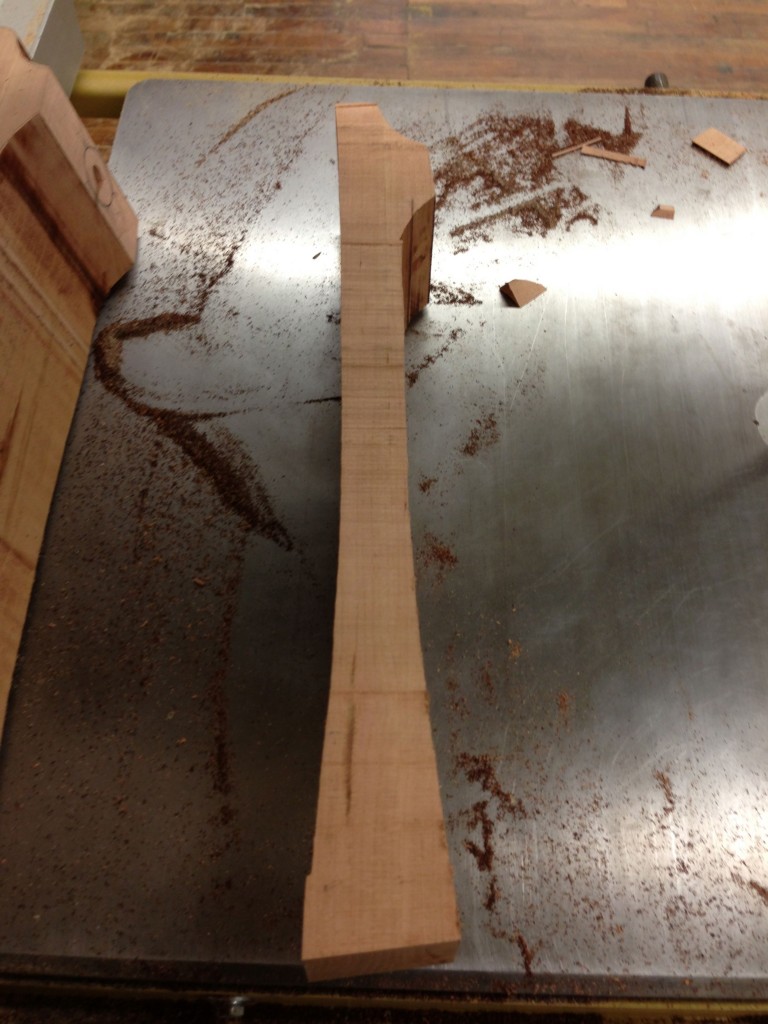
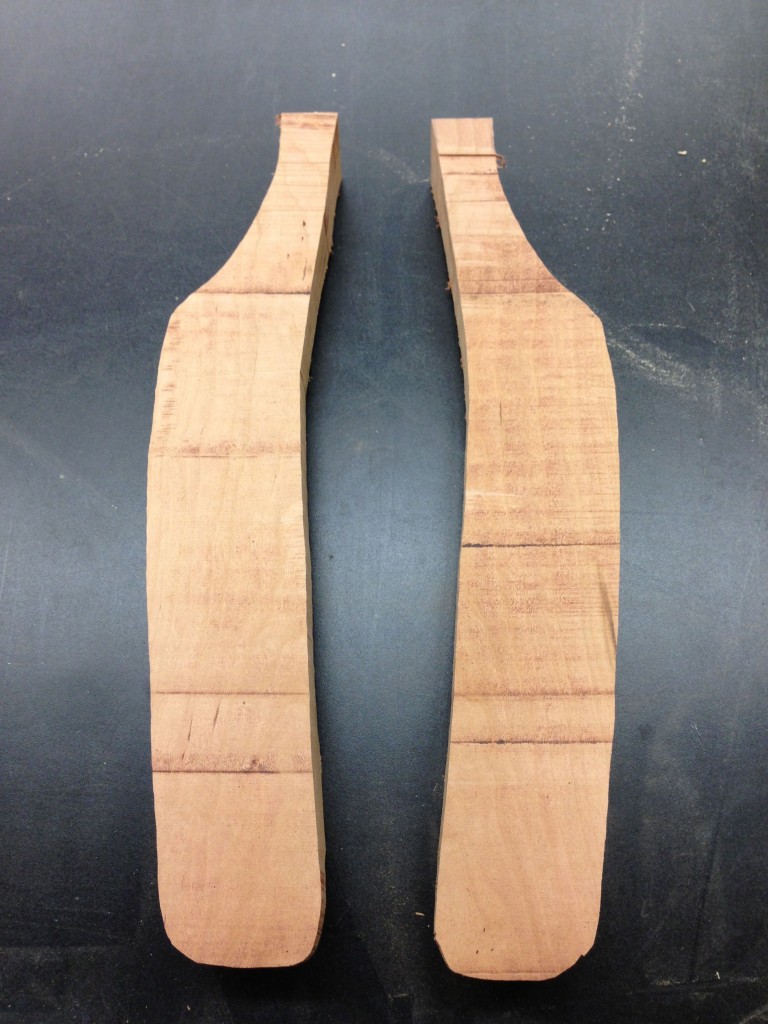
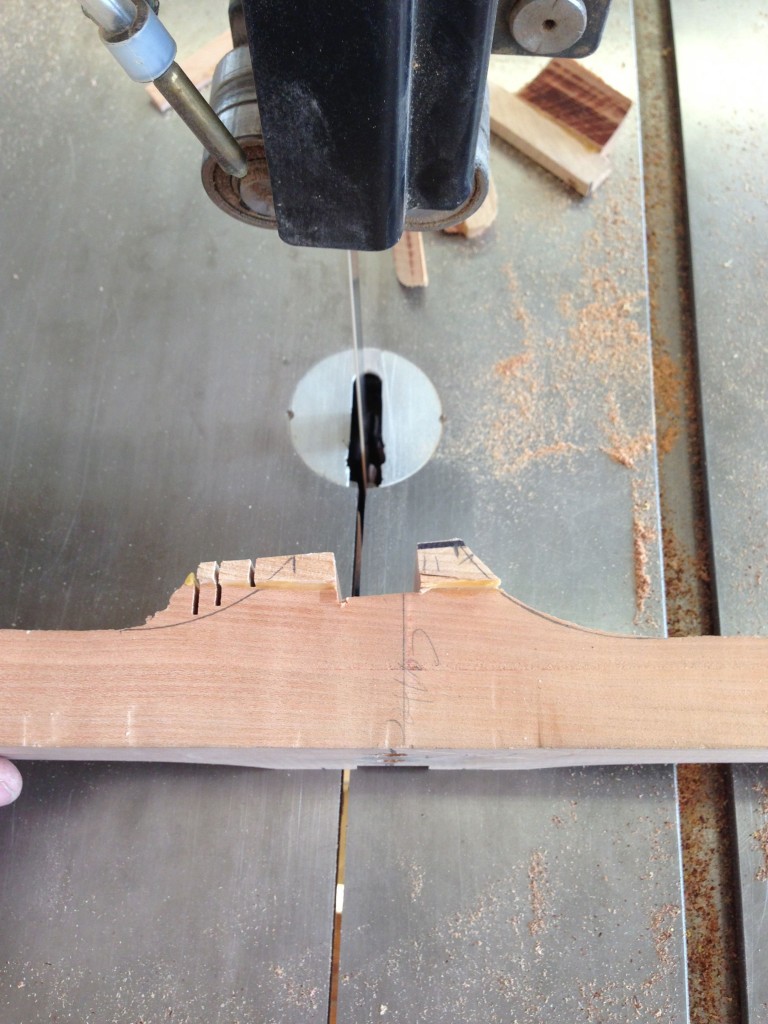
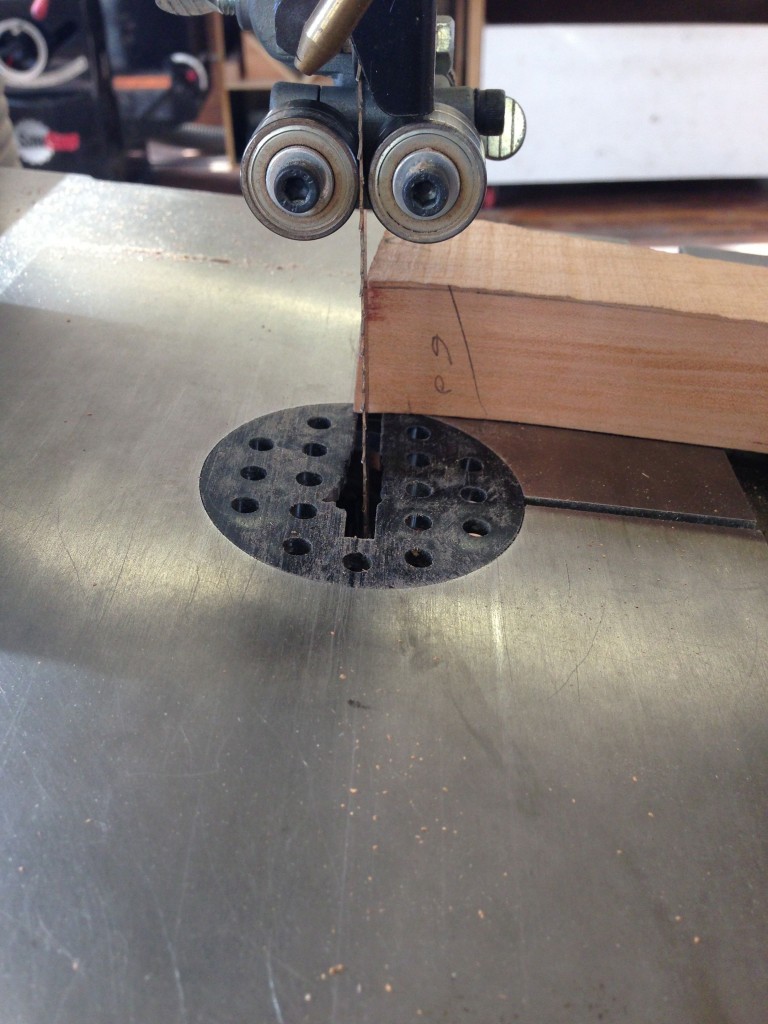
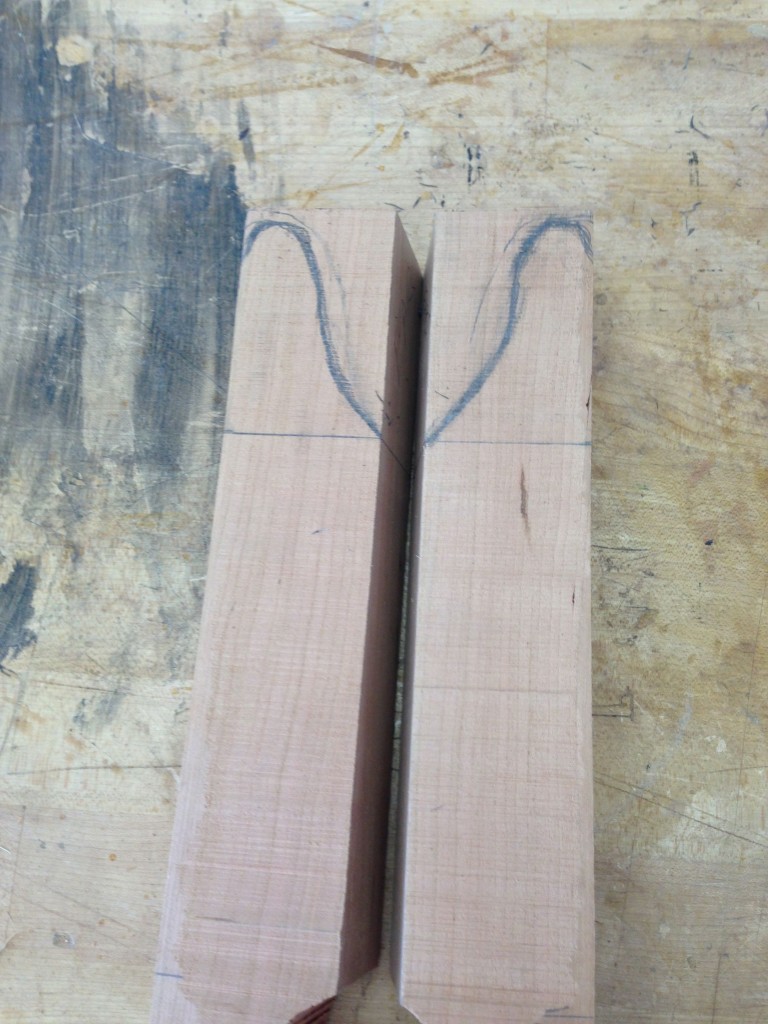
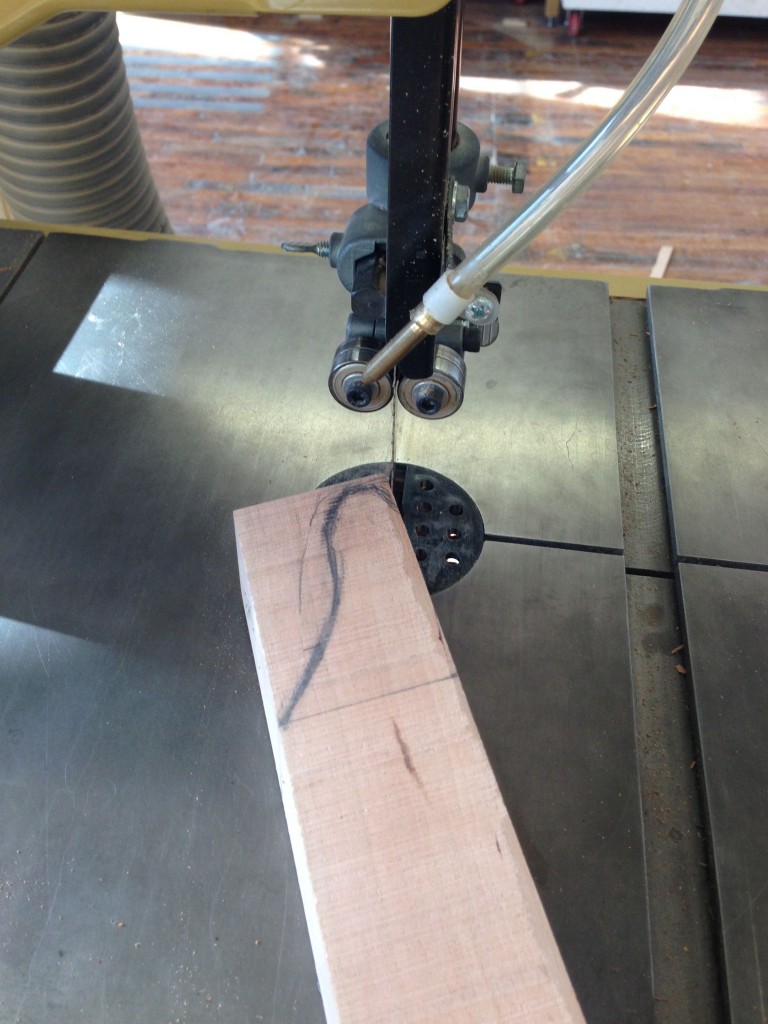
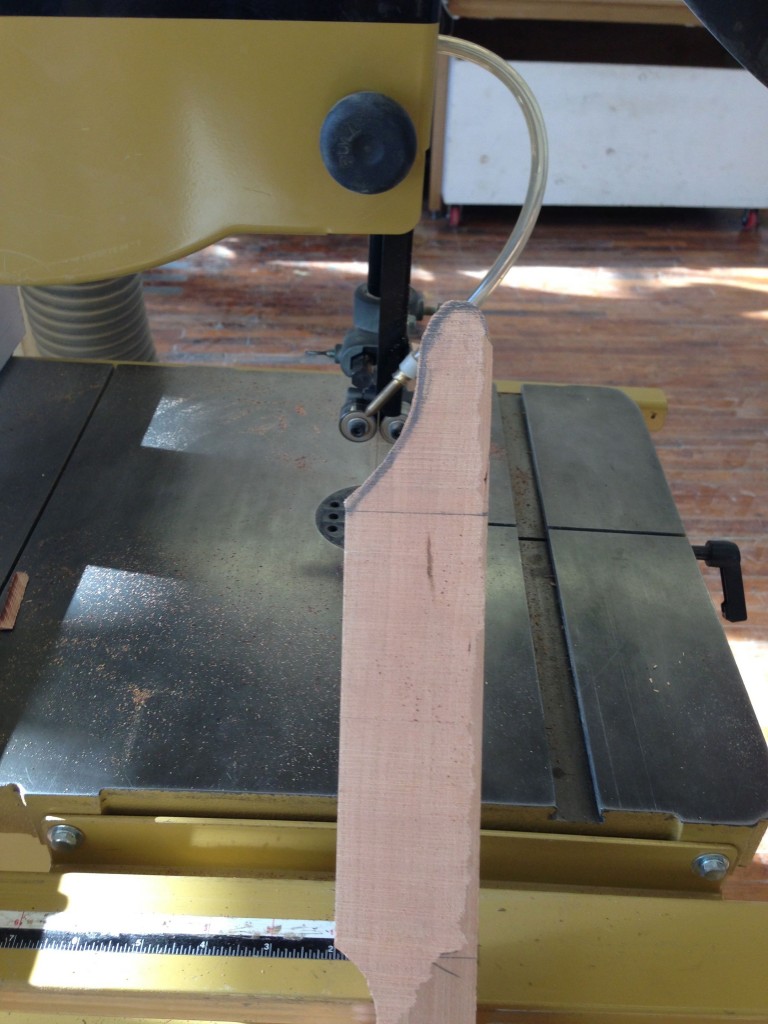
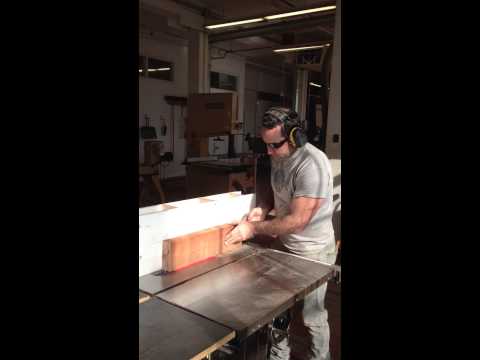
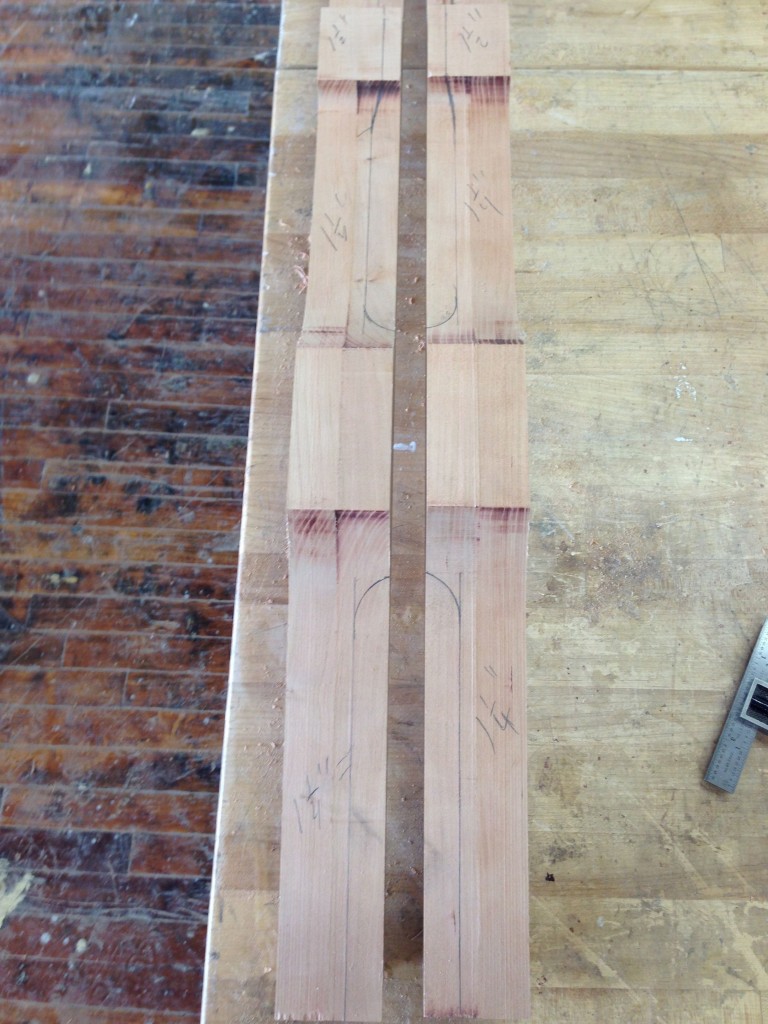
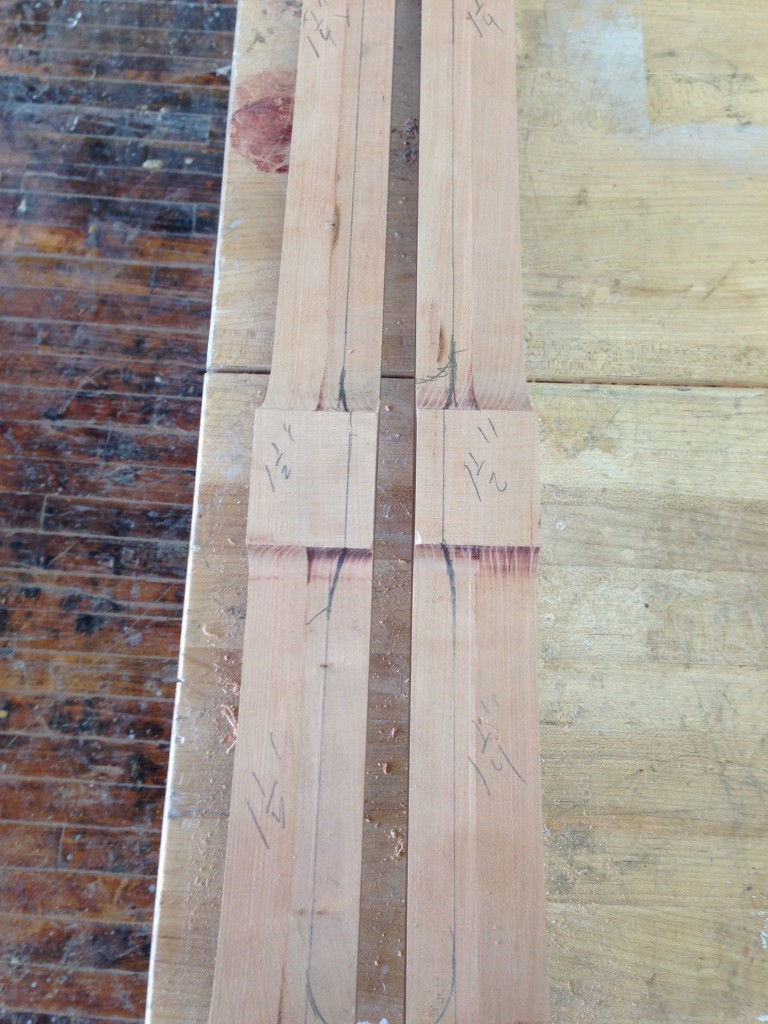
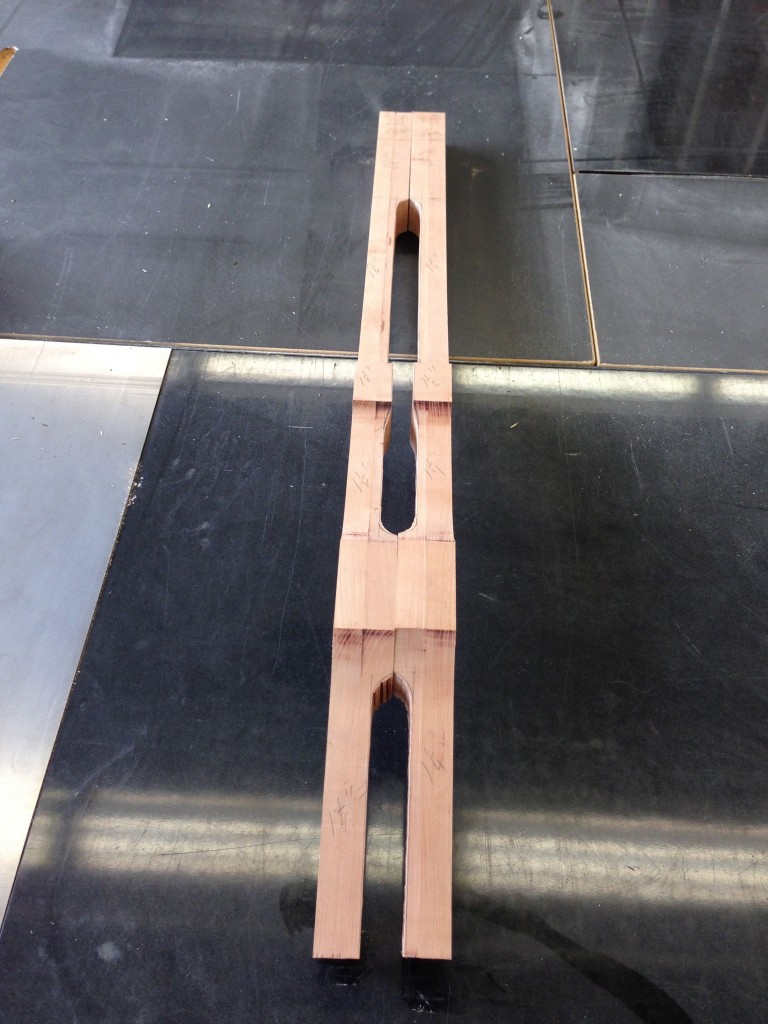
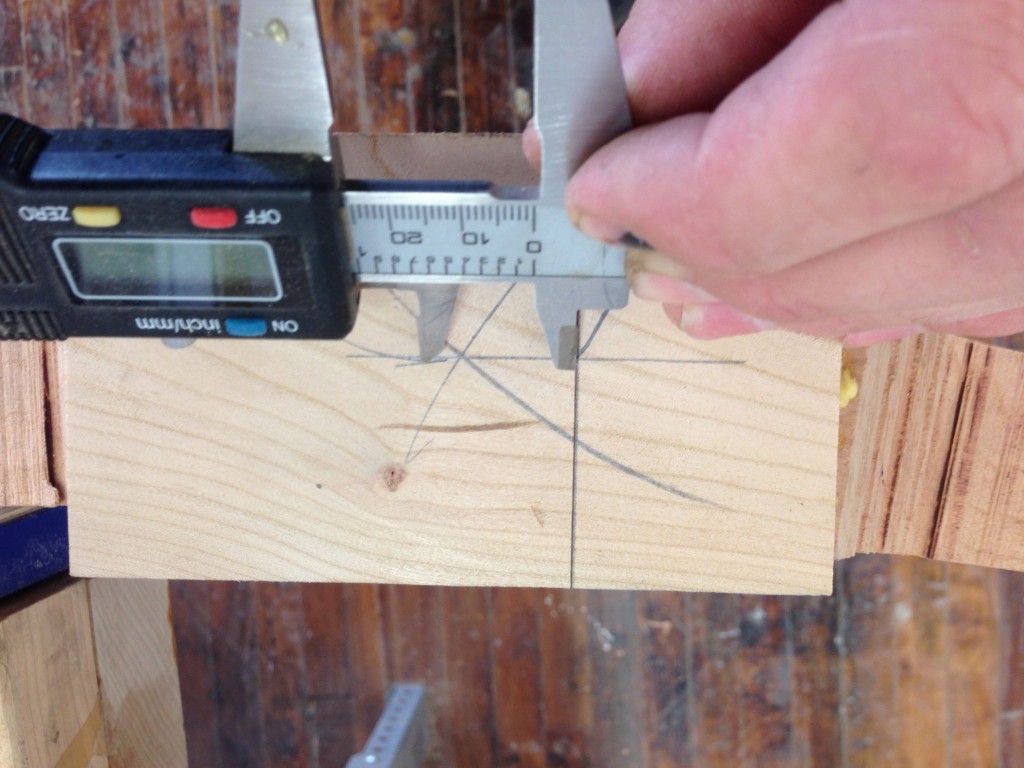
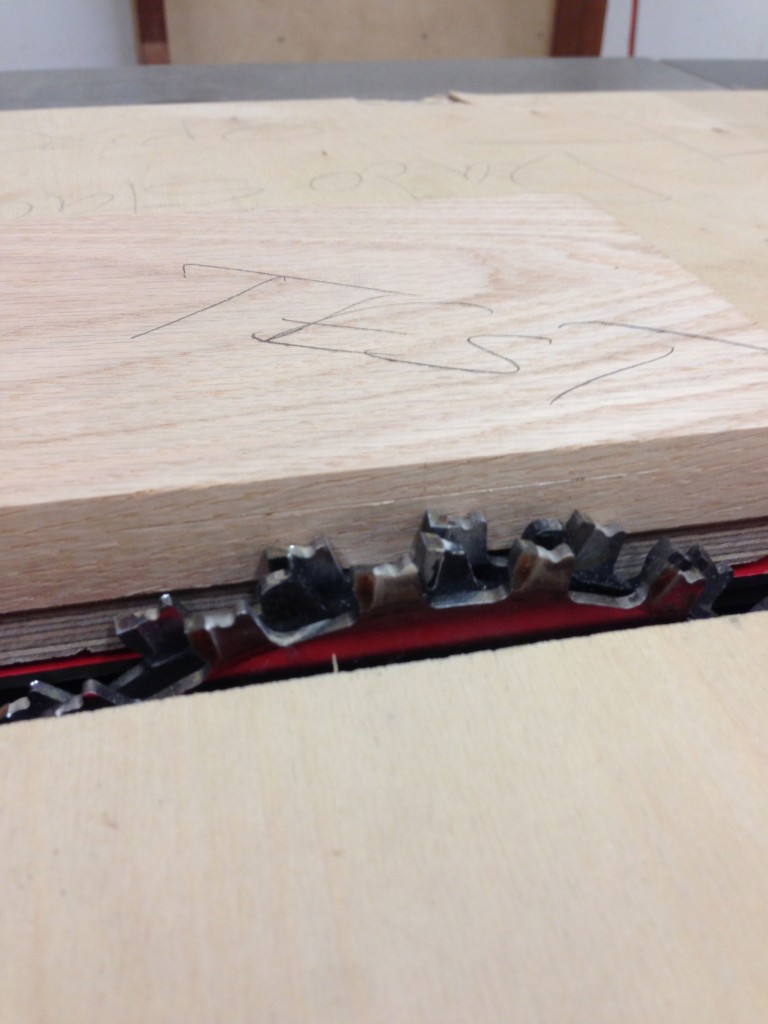
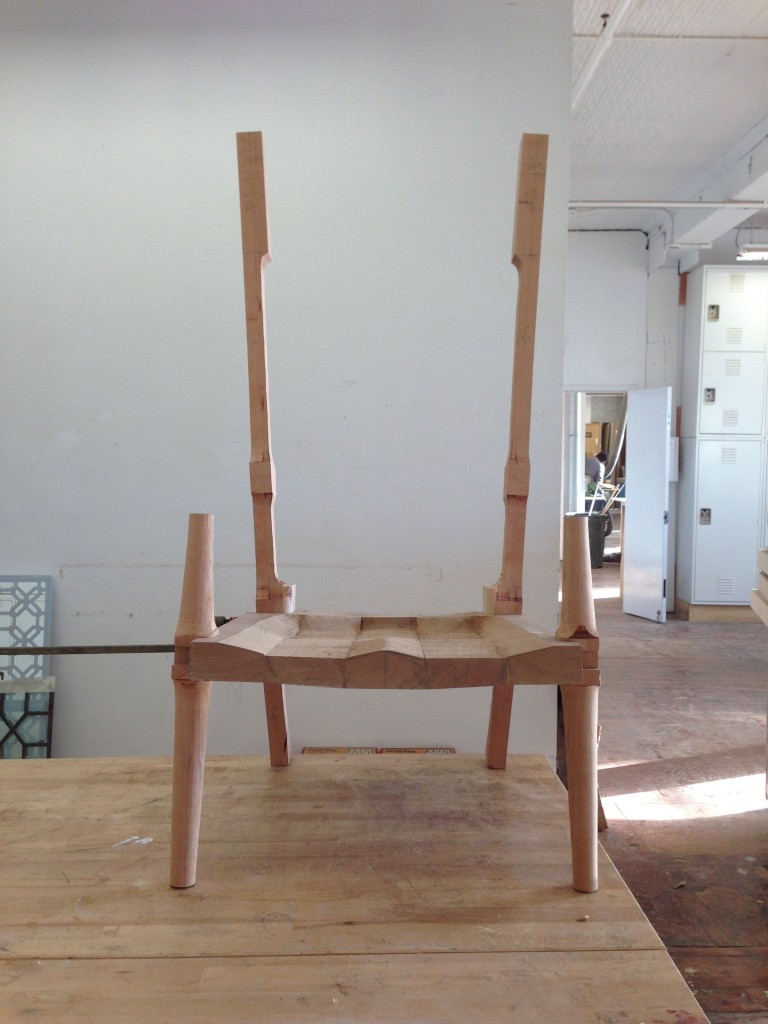
Here you can watch as the front profile is cut for the back legs of the current rocking chair build. The picture gallery will be posted tomorrow and follows the layout of the profile before cutting and the legs after they are cut. The legs will still need to be finish shaped before final assembly.