Category Archives: Rocking Chair

Sam Maloof inspired rocking chair posts

Rocking Chair Rocker Build

The rocker is done at this point and pictures are up on the Portfolio page.  I will be adding the last few galleries that make up the final work done.  This gallery covers the making of the rocker jig and  the ensuing mill and glue up of the rockers themselves.


Share

Rocker Full Chair Shaping

The rocking chair is in the home stretch here in this gallery.  Having all parts assembled and generally shaped with the band saw, it was time to get into the heavy shaping.  Through out the shaping process I have been utilizing three types of shaping tools: angle grinder, spoke shaves and rasps.  This is the point where the rocker really becomes my own and am very excited to get this project finished.

Share

No Back Pains

As the previous rocker update post mentioned, the way the head rest and back spindles meet your spine is crucial to the comfort of the chair.  Engineering the proper ergonomic shape for a chair is one of the most challenging aspects of the build.  In this case, Maloof has already figured out this particular shape and angle making this process slightly easier.  The rest of the comfort factor now relies on the shaping of the spindles shown below.


Share

A Place To Rest Your Head

Sitting on a rocking chair is only half the game.  The rest is how comfortable your head and back are as they rest against the head rest and slats.  This gallery details the construction, layout and preliminary shaping of the head rest.  Notice the grain in the center of both the front and back of the head rest stock.  That “eye” of grain is the optimal look to draw in the potential sitter and invite them to touch and then try out the chair.  It also looks damn sexy.


Share

Finalizing the Rocker Arm to Leg Connections

Once the dowels were made, I was able to finish the layout and drilling of the arm to back leg connection.  Nothing to crazy here, just making sure that the screws end up in a meaty part of the arm that I will not be shaping in to.

RockerArmAttachment


Share

Oak Dowel Making For Rocker

The joinery for the Maloof rocker is rather simple.  The front leg to arm and front leg to rocker connections are a simple dowel and glue joint.  I felt that with the time and effort already going into this chair that turning my own dowels wouldn’t matter and add a bit of character to the chair.  Plus, I couldn’t find any oak dowels that fit my 1/2″ drilled mortise properly.

Rocker Dowel Turning


Share

Rocker Arm Build

The arms require stock that is 10/4 or 2 1/2″ thick in order to create the deep sweep shaping.  Only having 8/4 lumber, I needed to re-saw and glue up the appropriate thickness stock.  Once milled, the layout and cutting were simply done on the band saw.  A corresponding dowel hole was drilled to create the joint between the front leg and arm.  The back leg connection is a glue/screw joint.


Share

Rocker Back Leg Profile

A continuation of the back leg construction.  This process removed a bulk of material around the leg to seat joint by cutting a radius to connect the sweep of the leg to the top of the seat.


Share

Rocker Arm Lumber Blank Re-saw Video

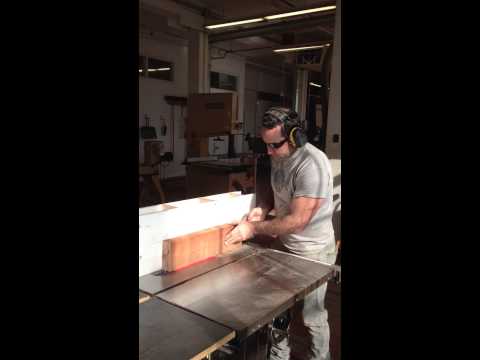
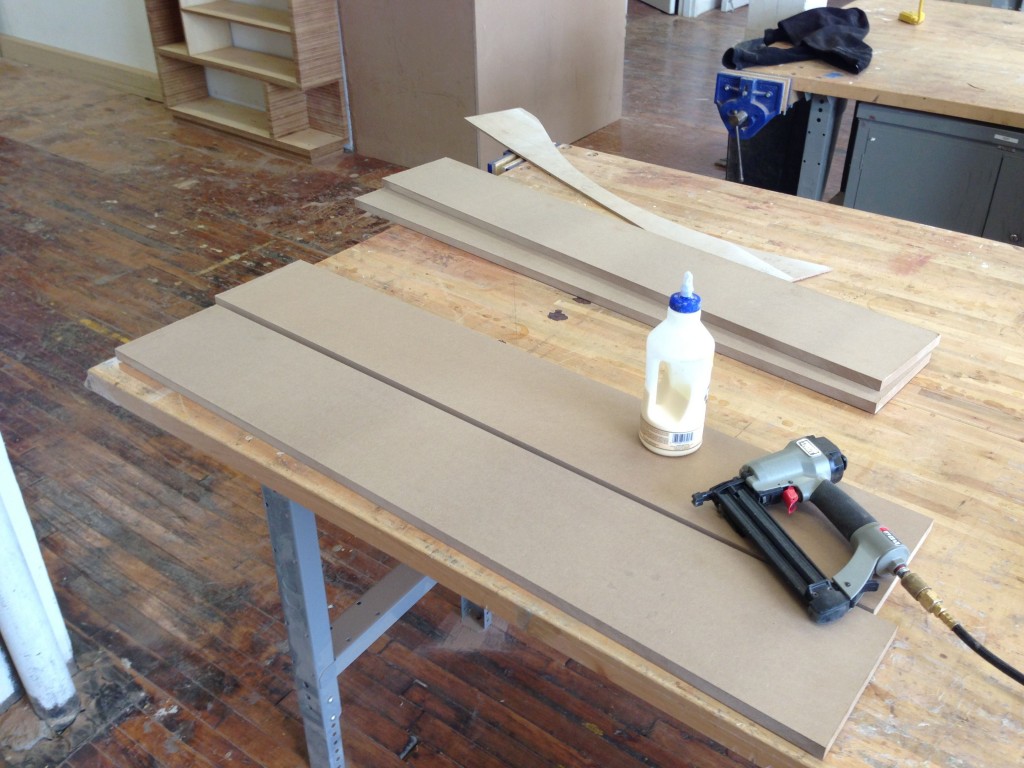
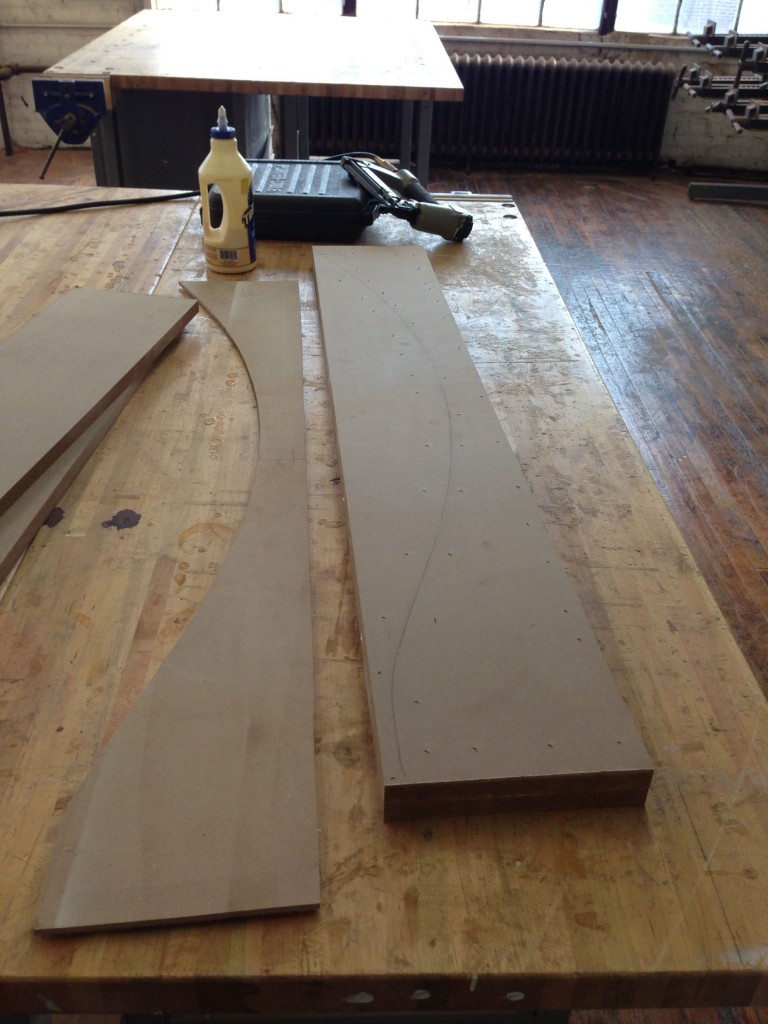
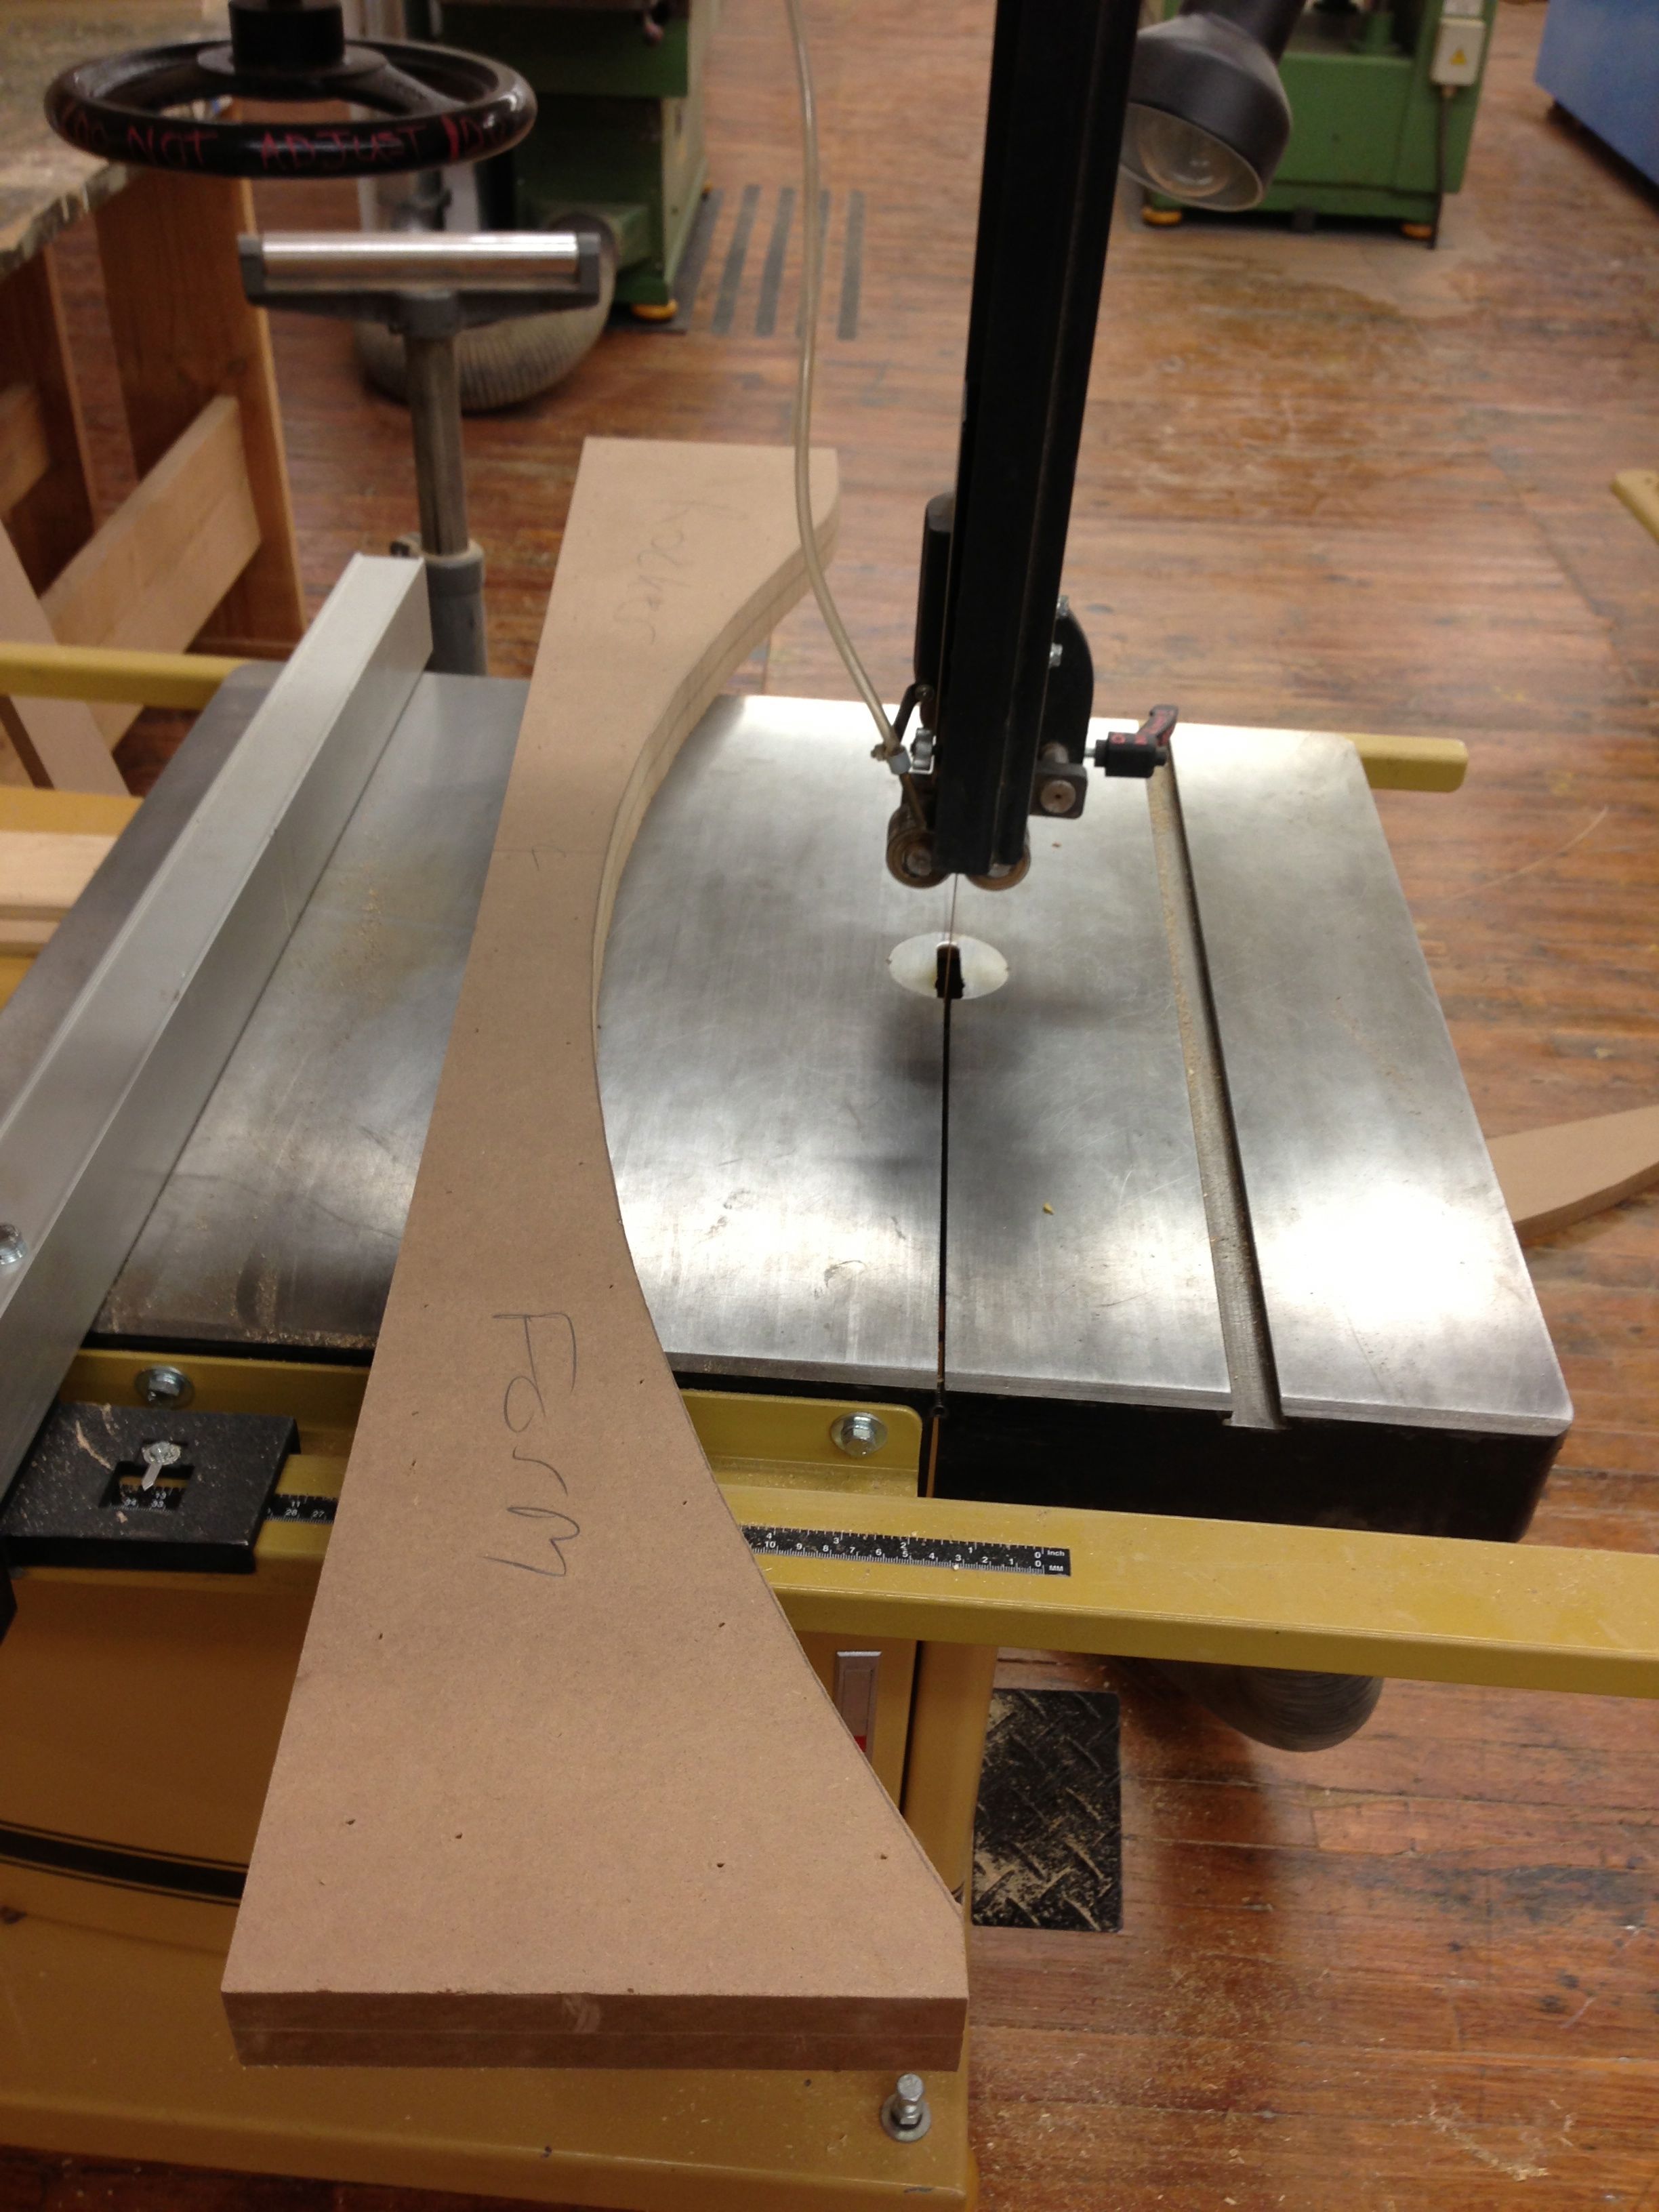
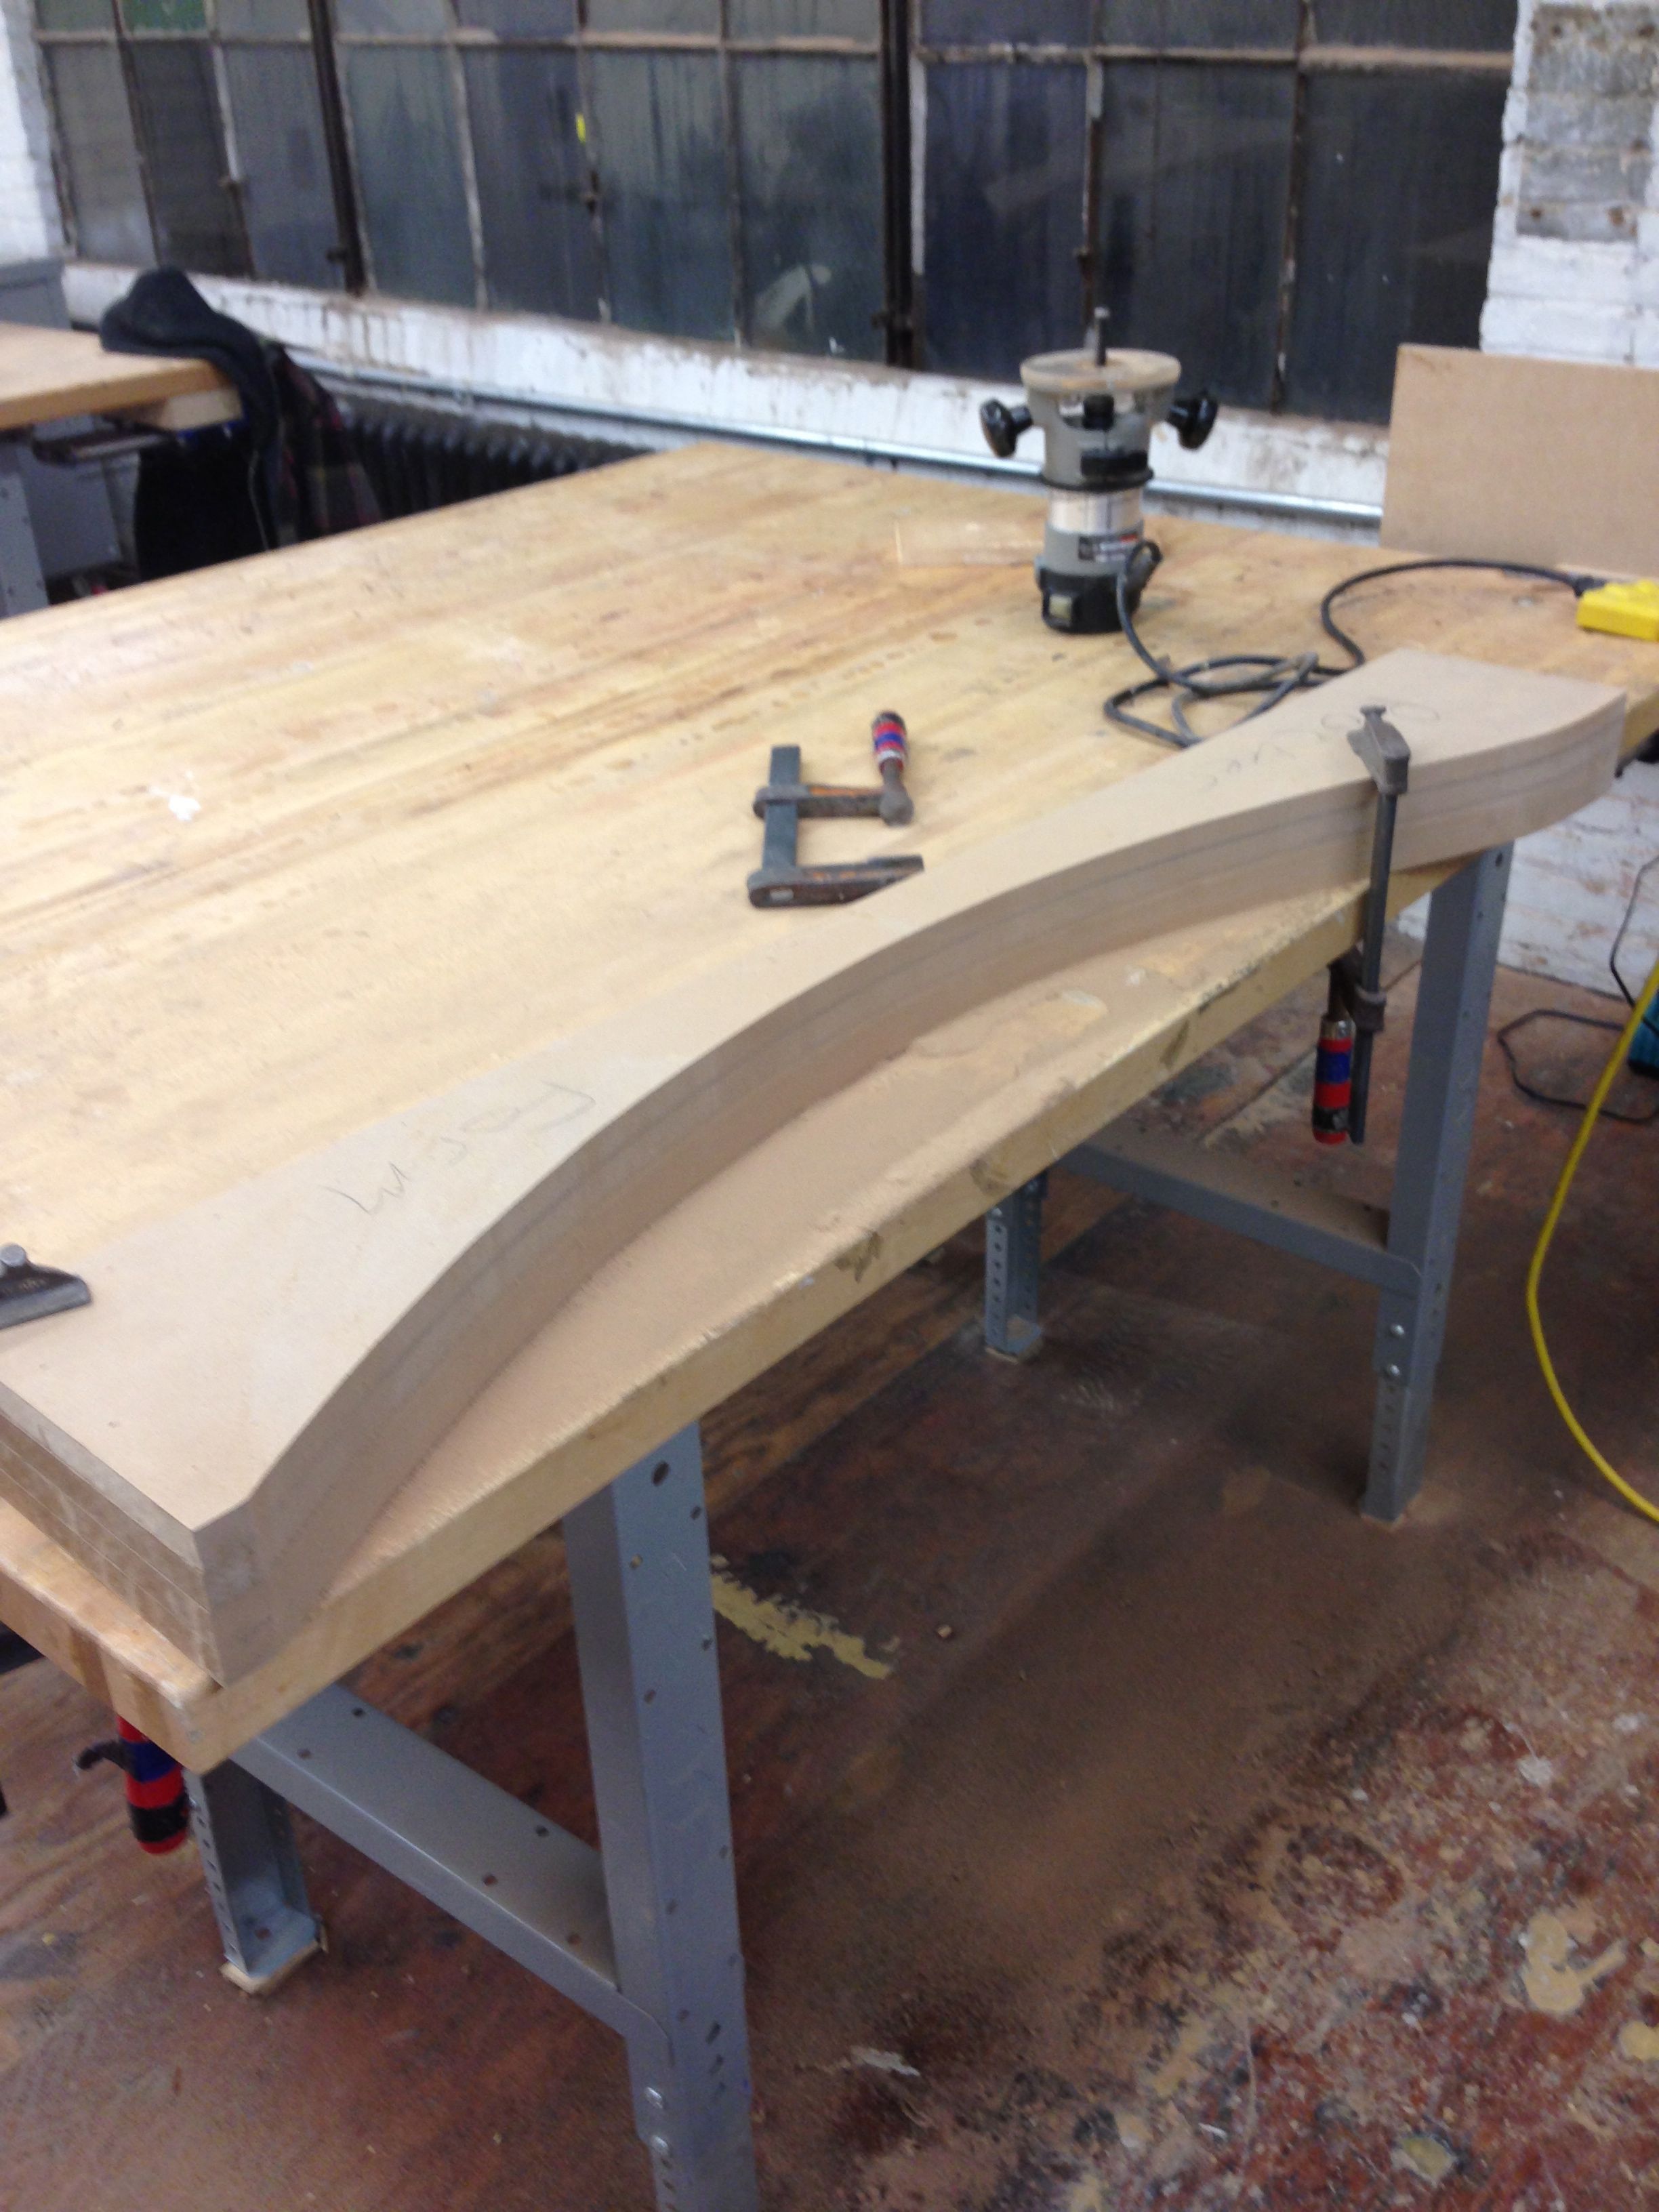
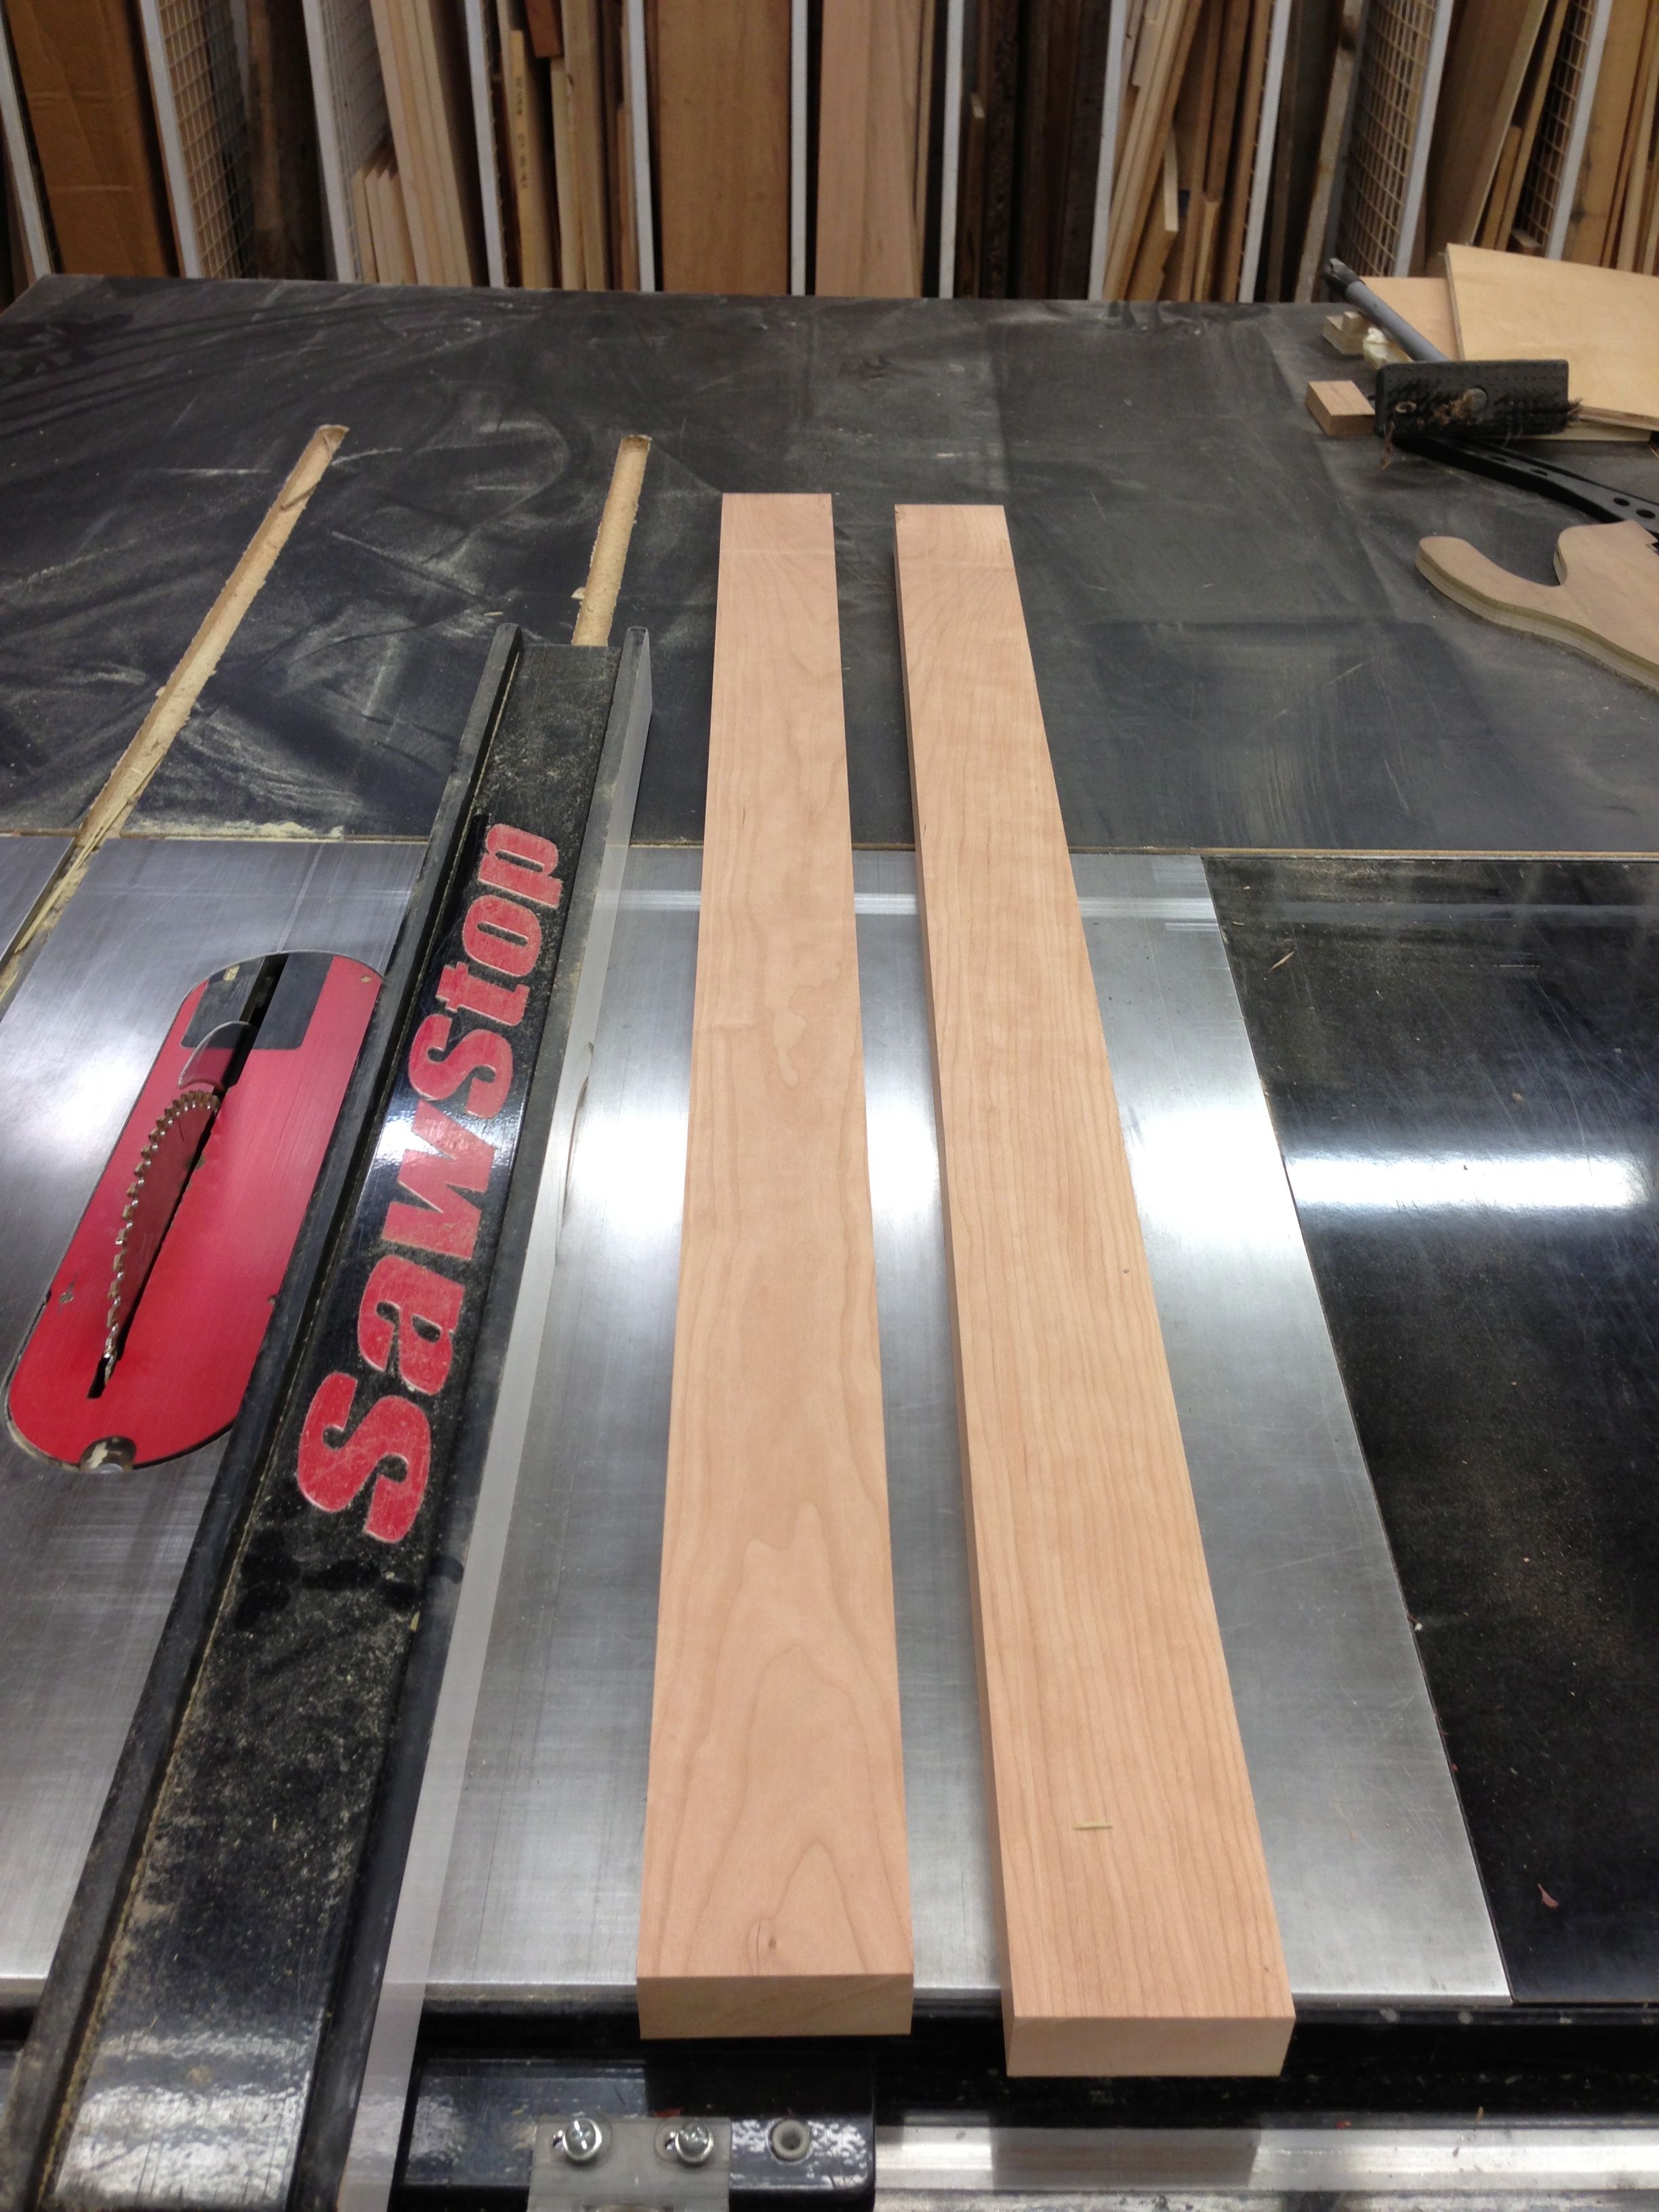
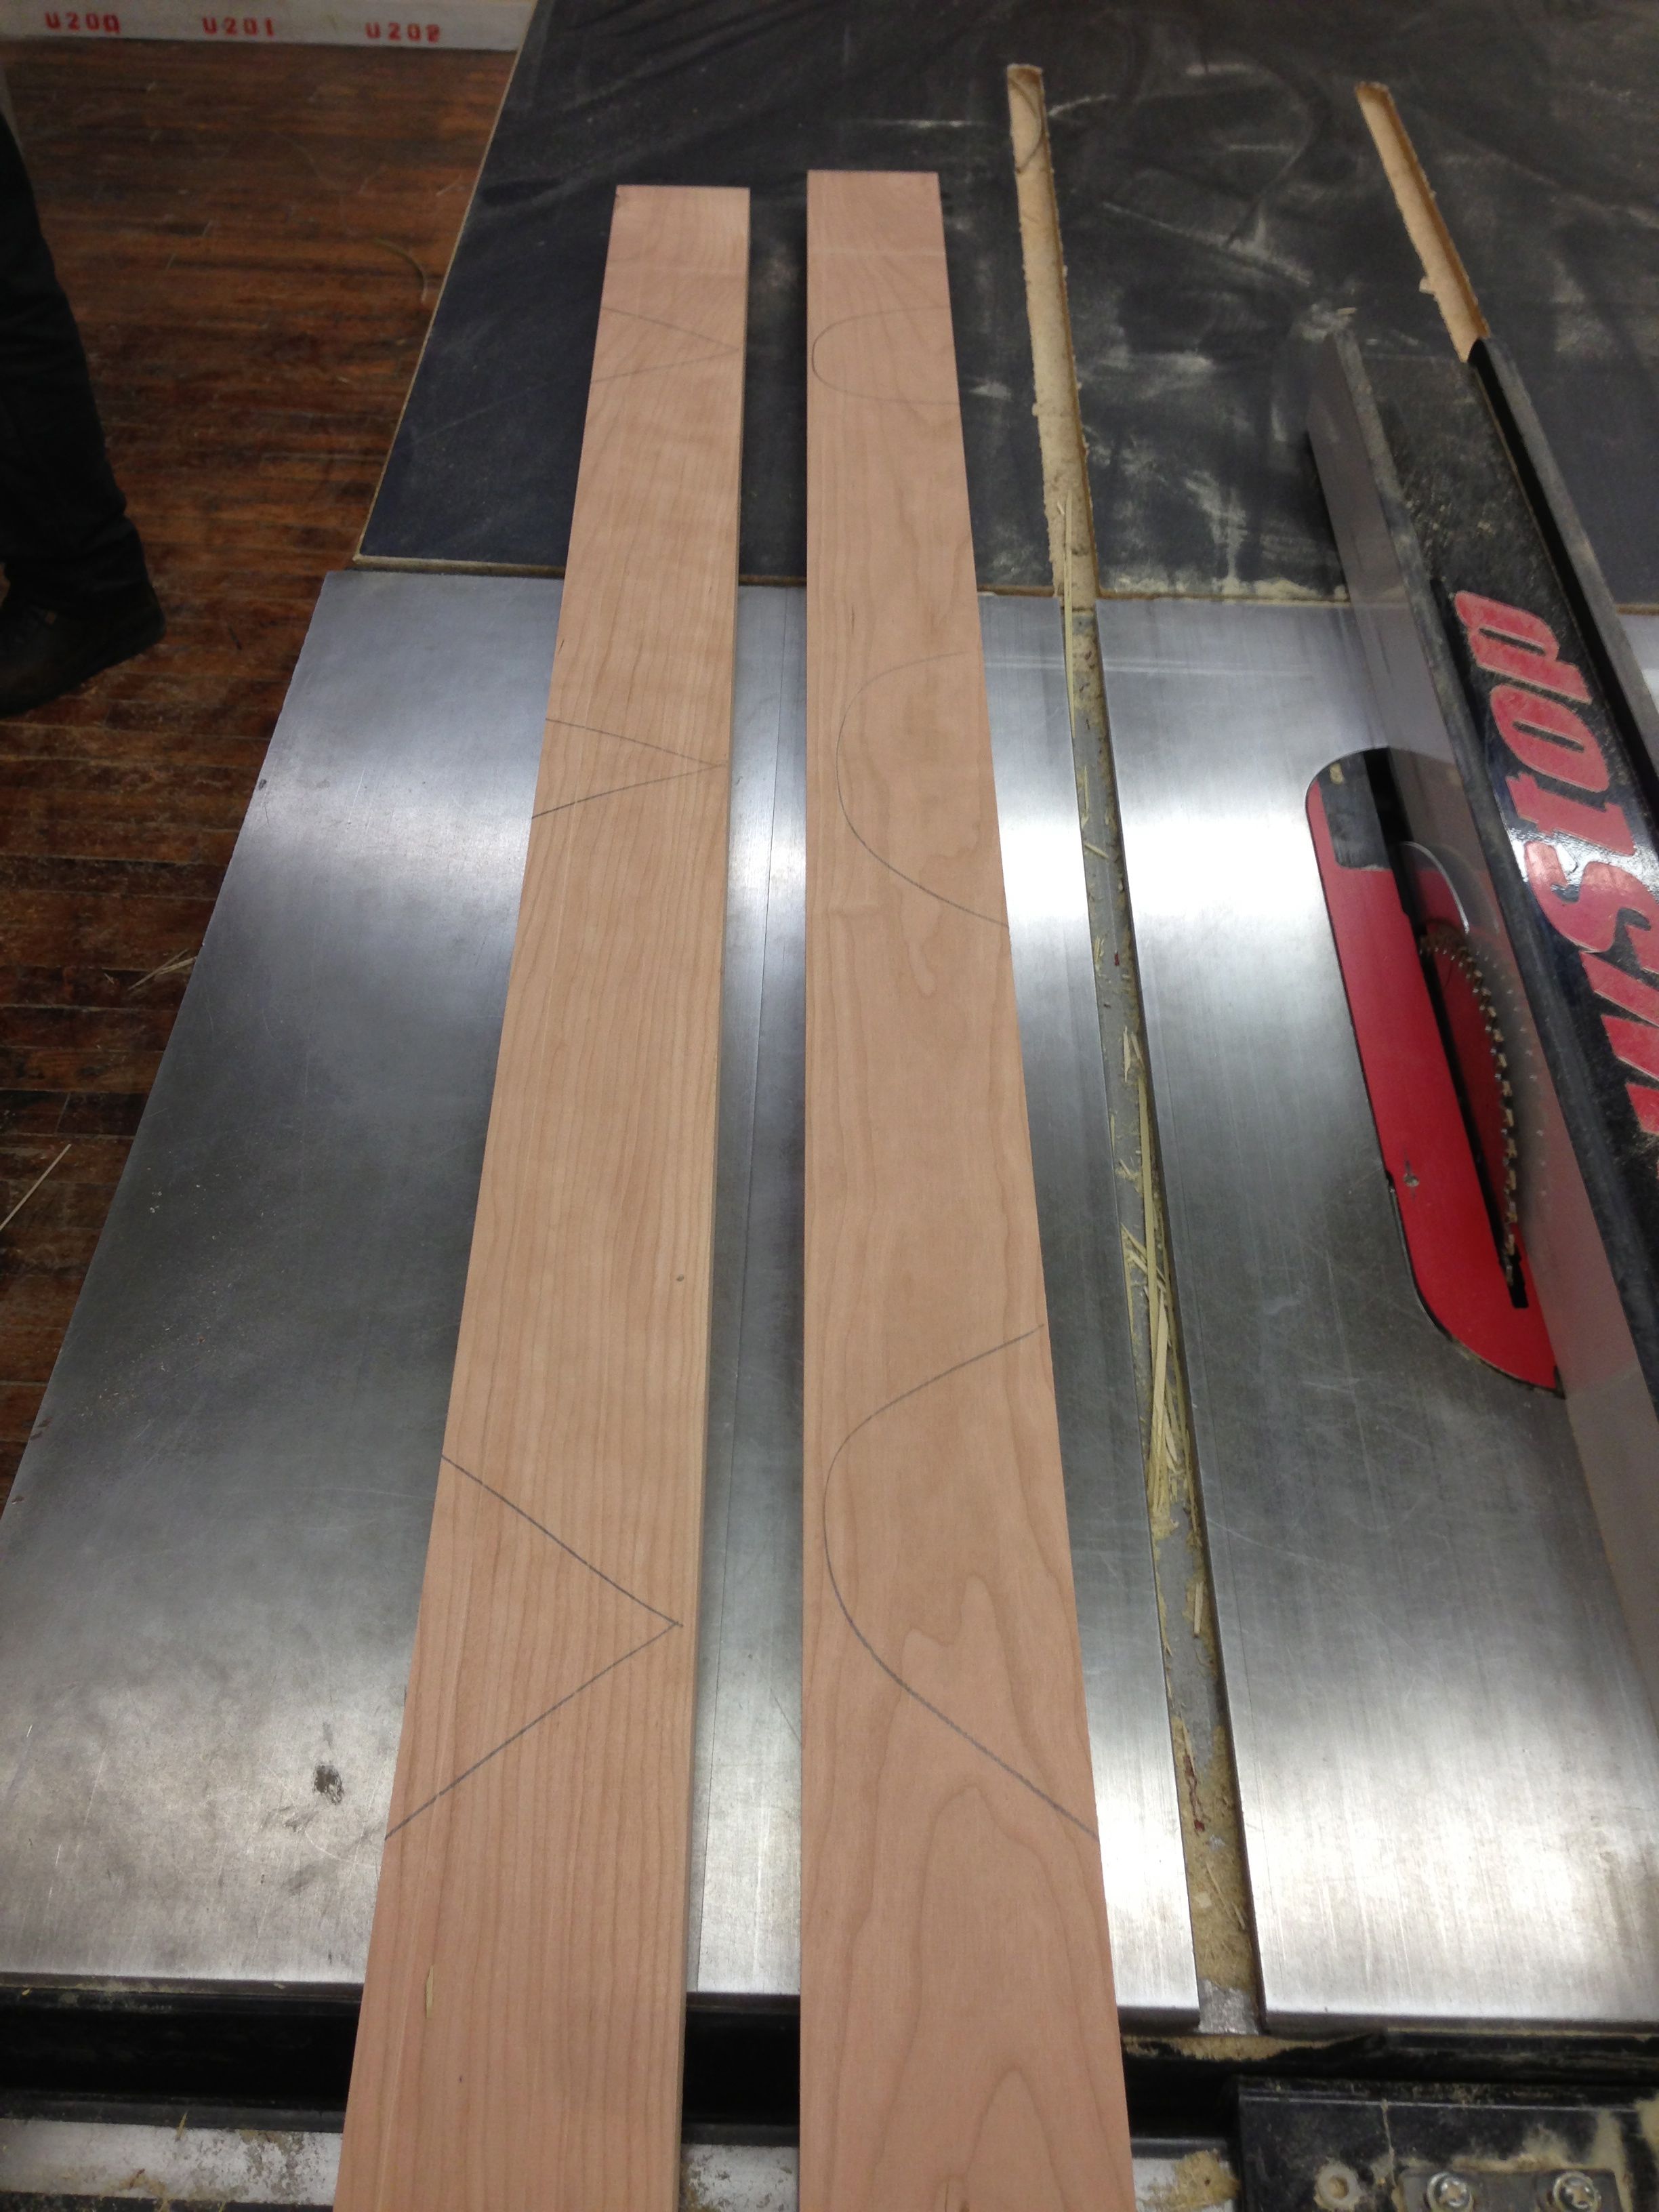
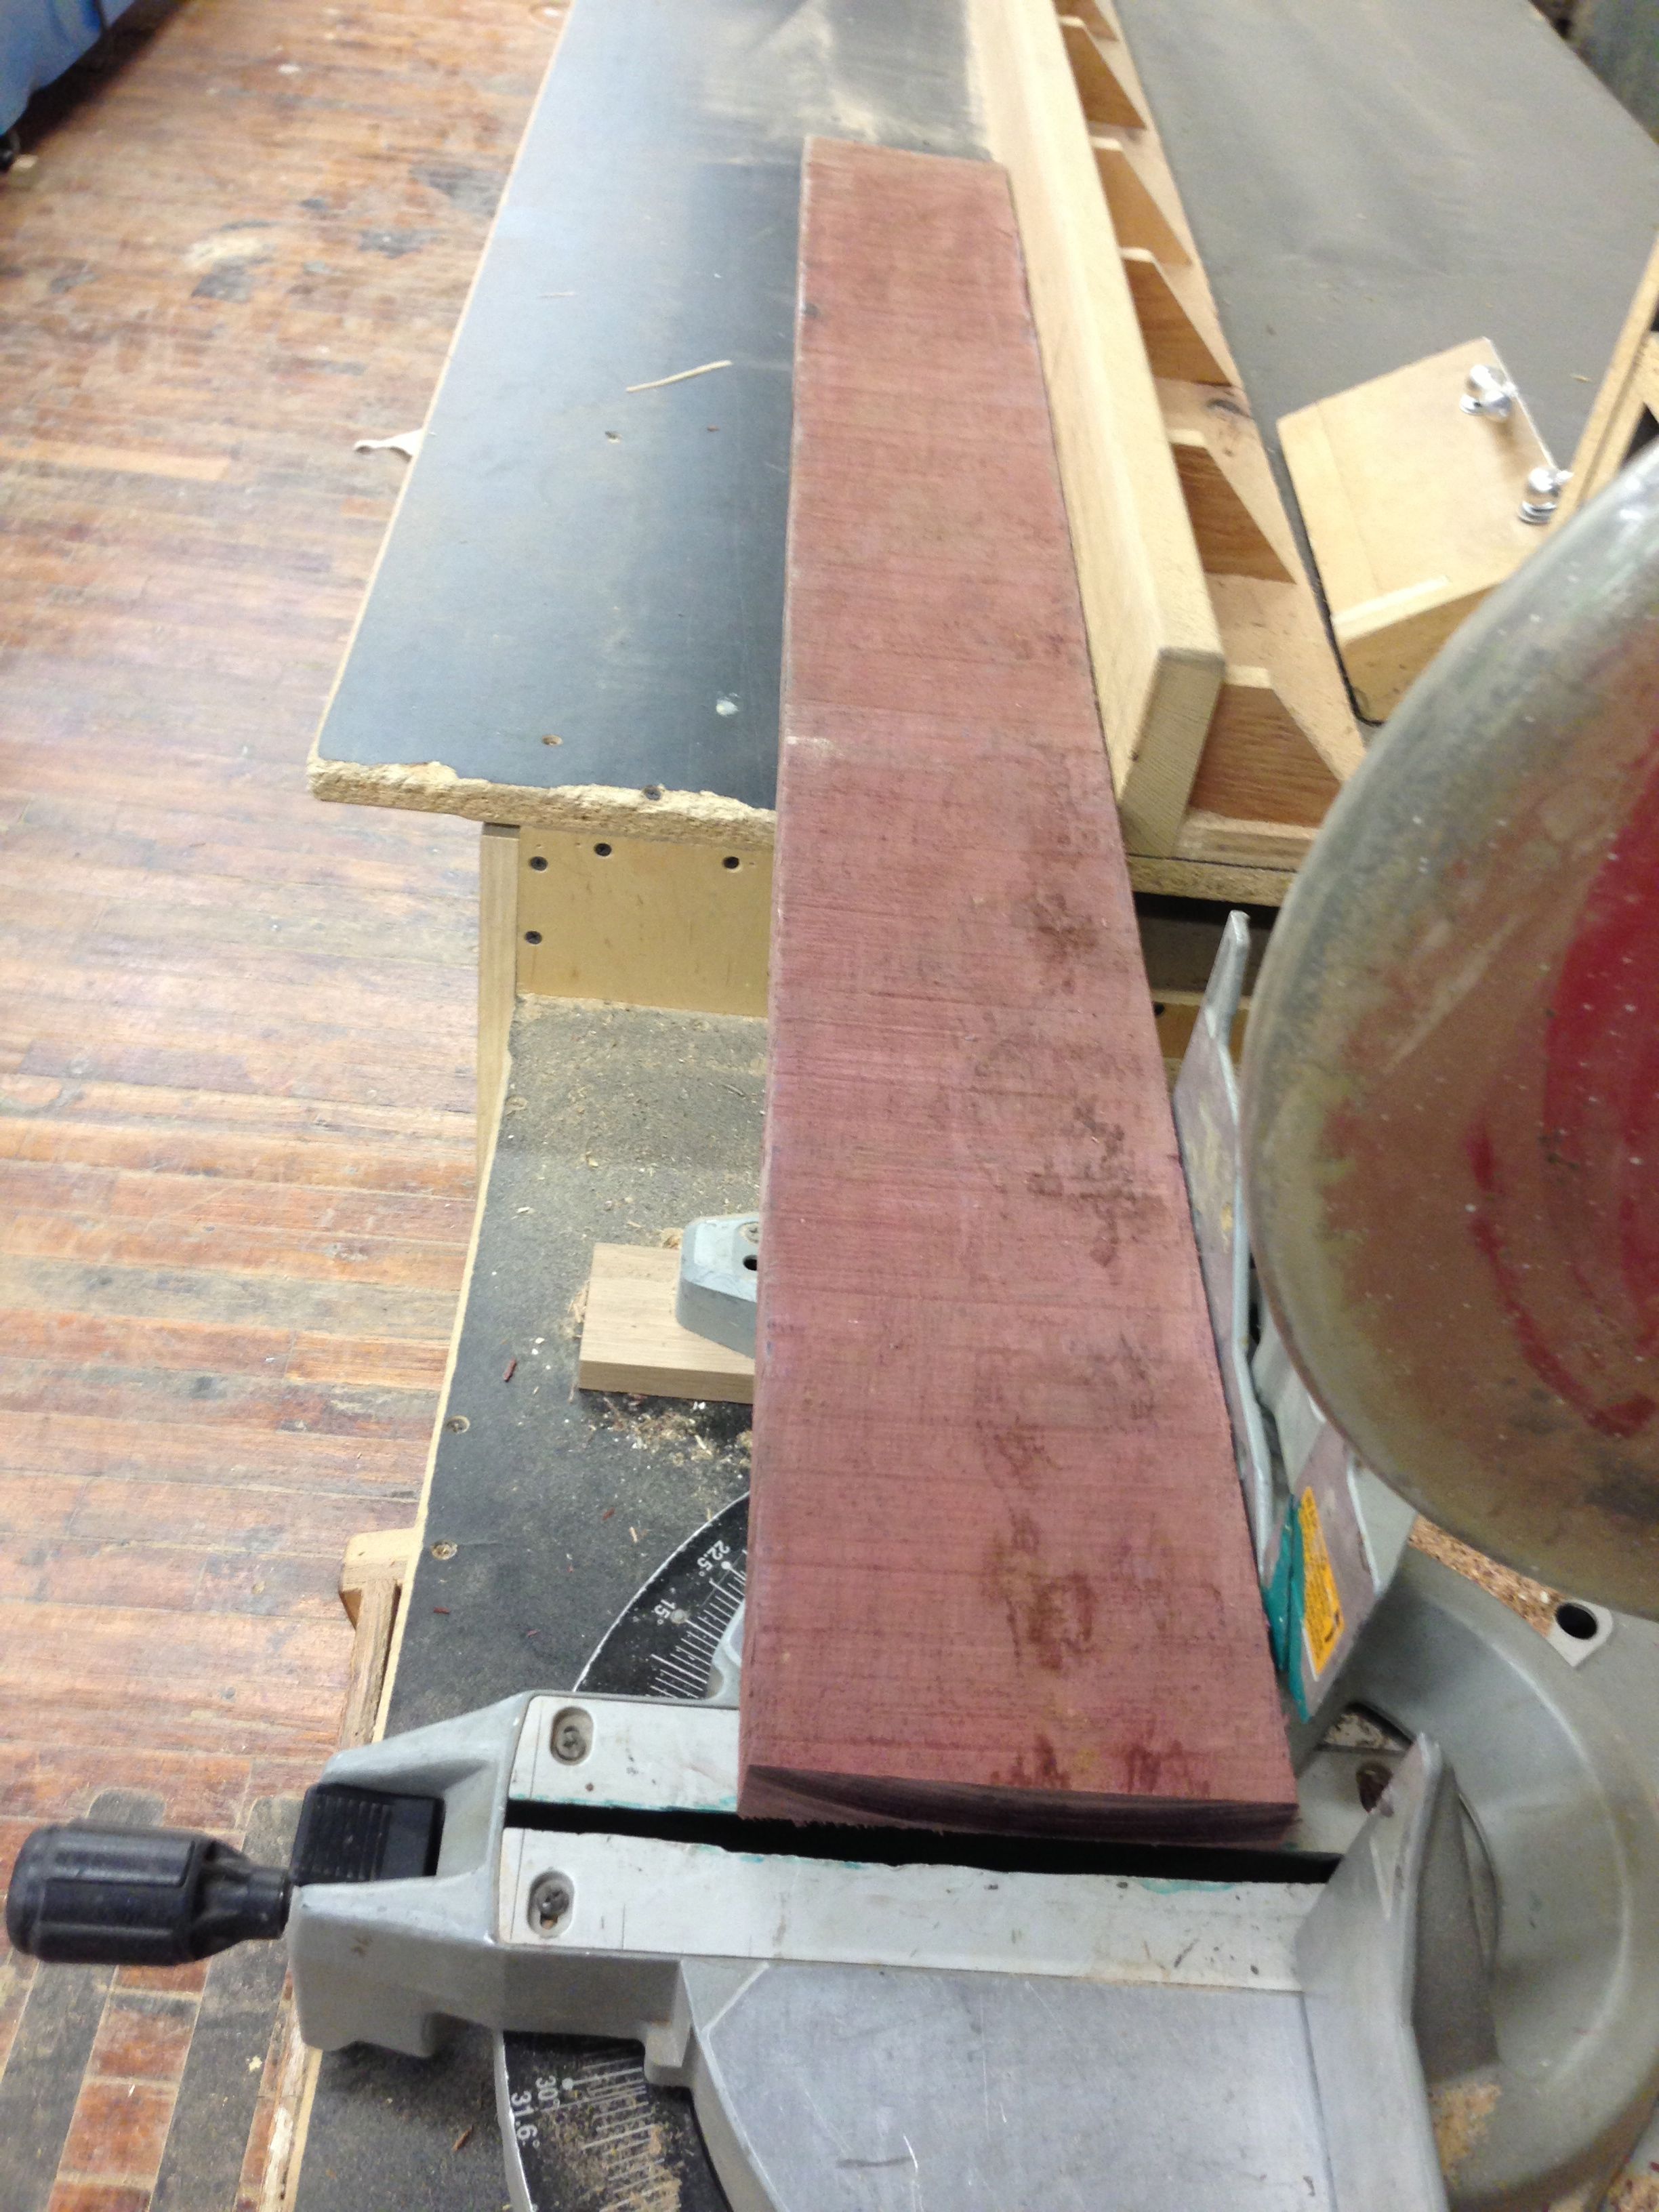
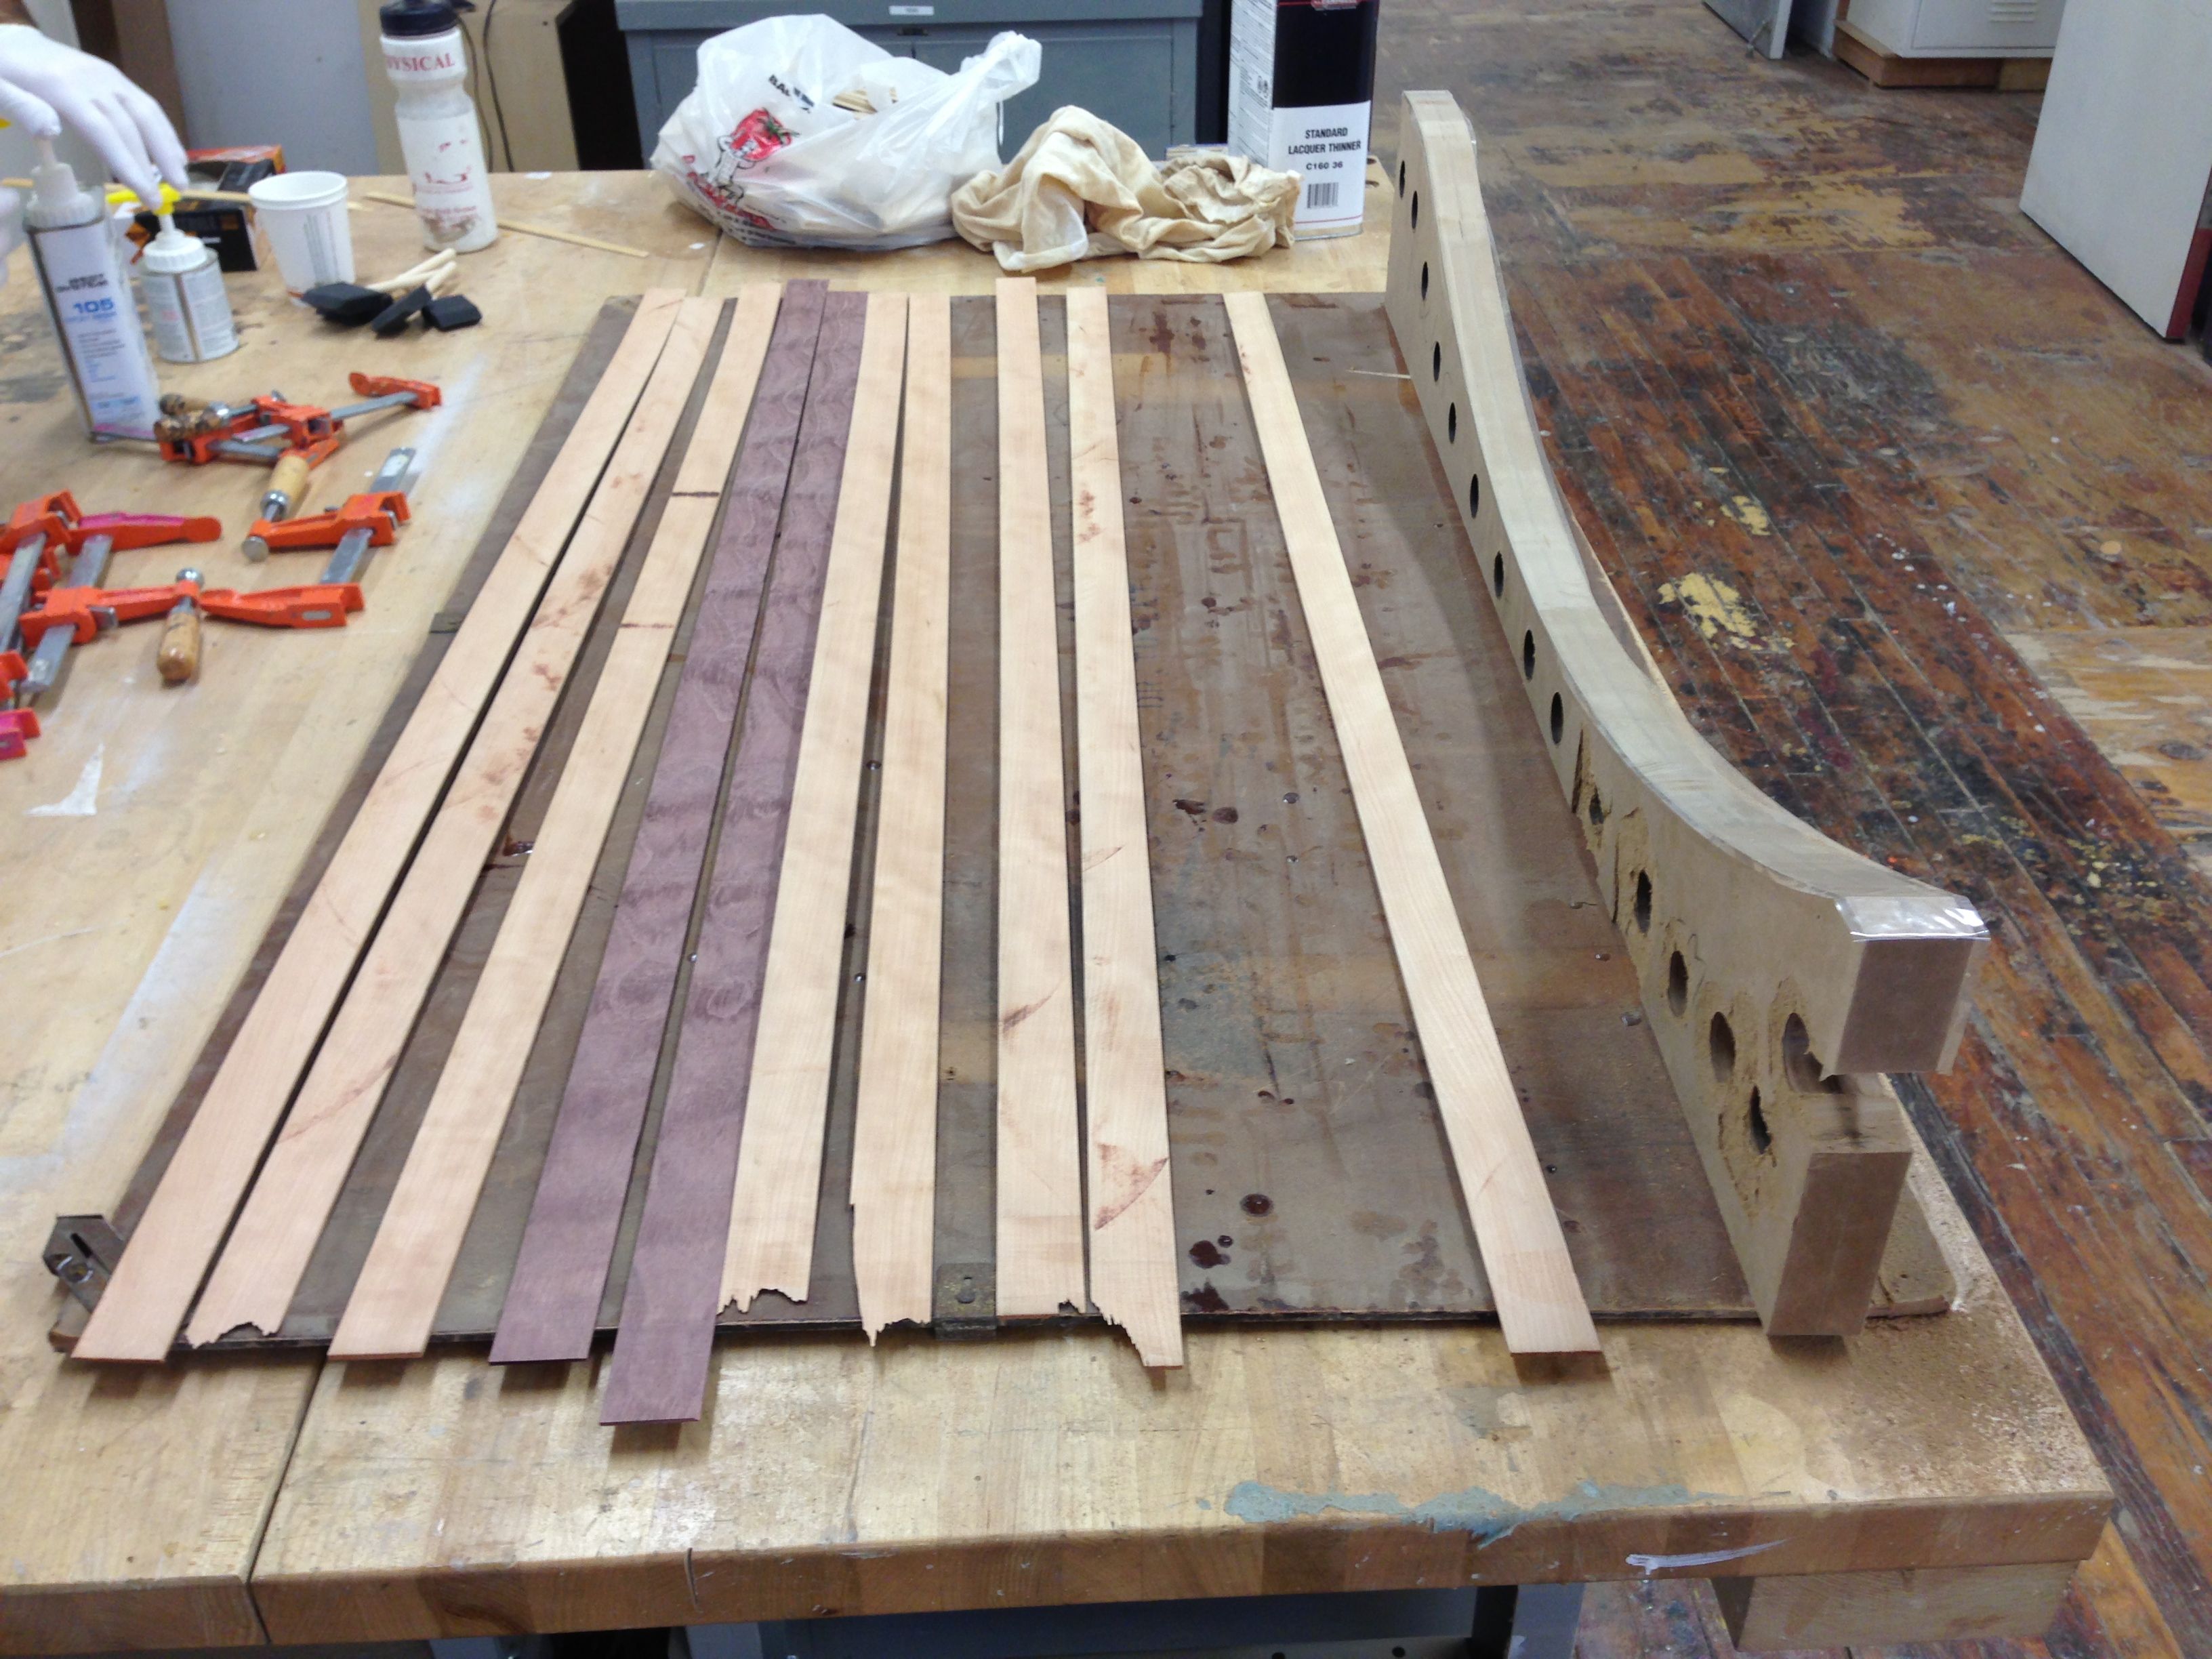
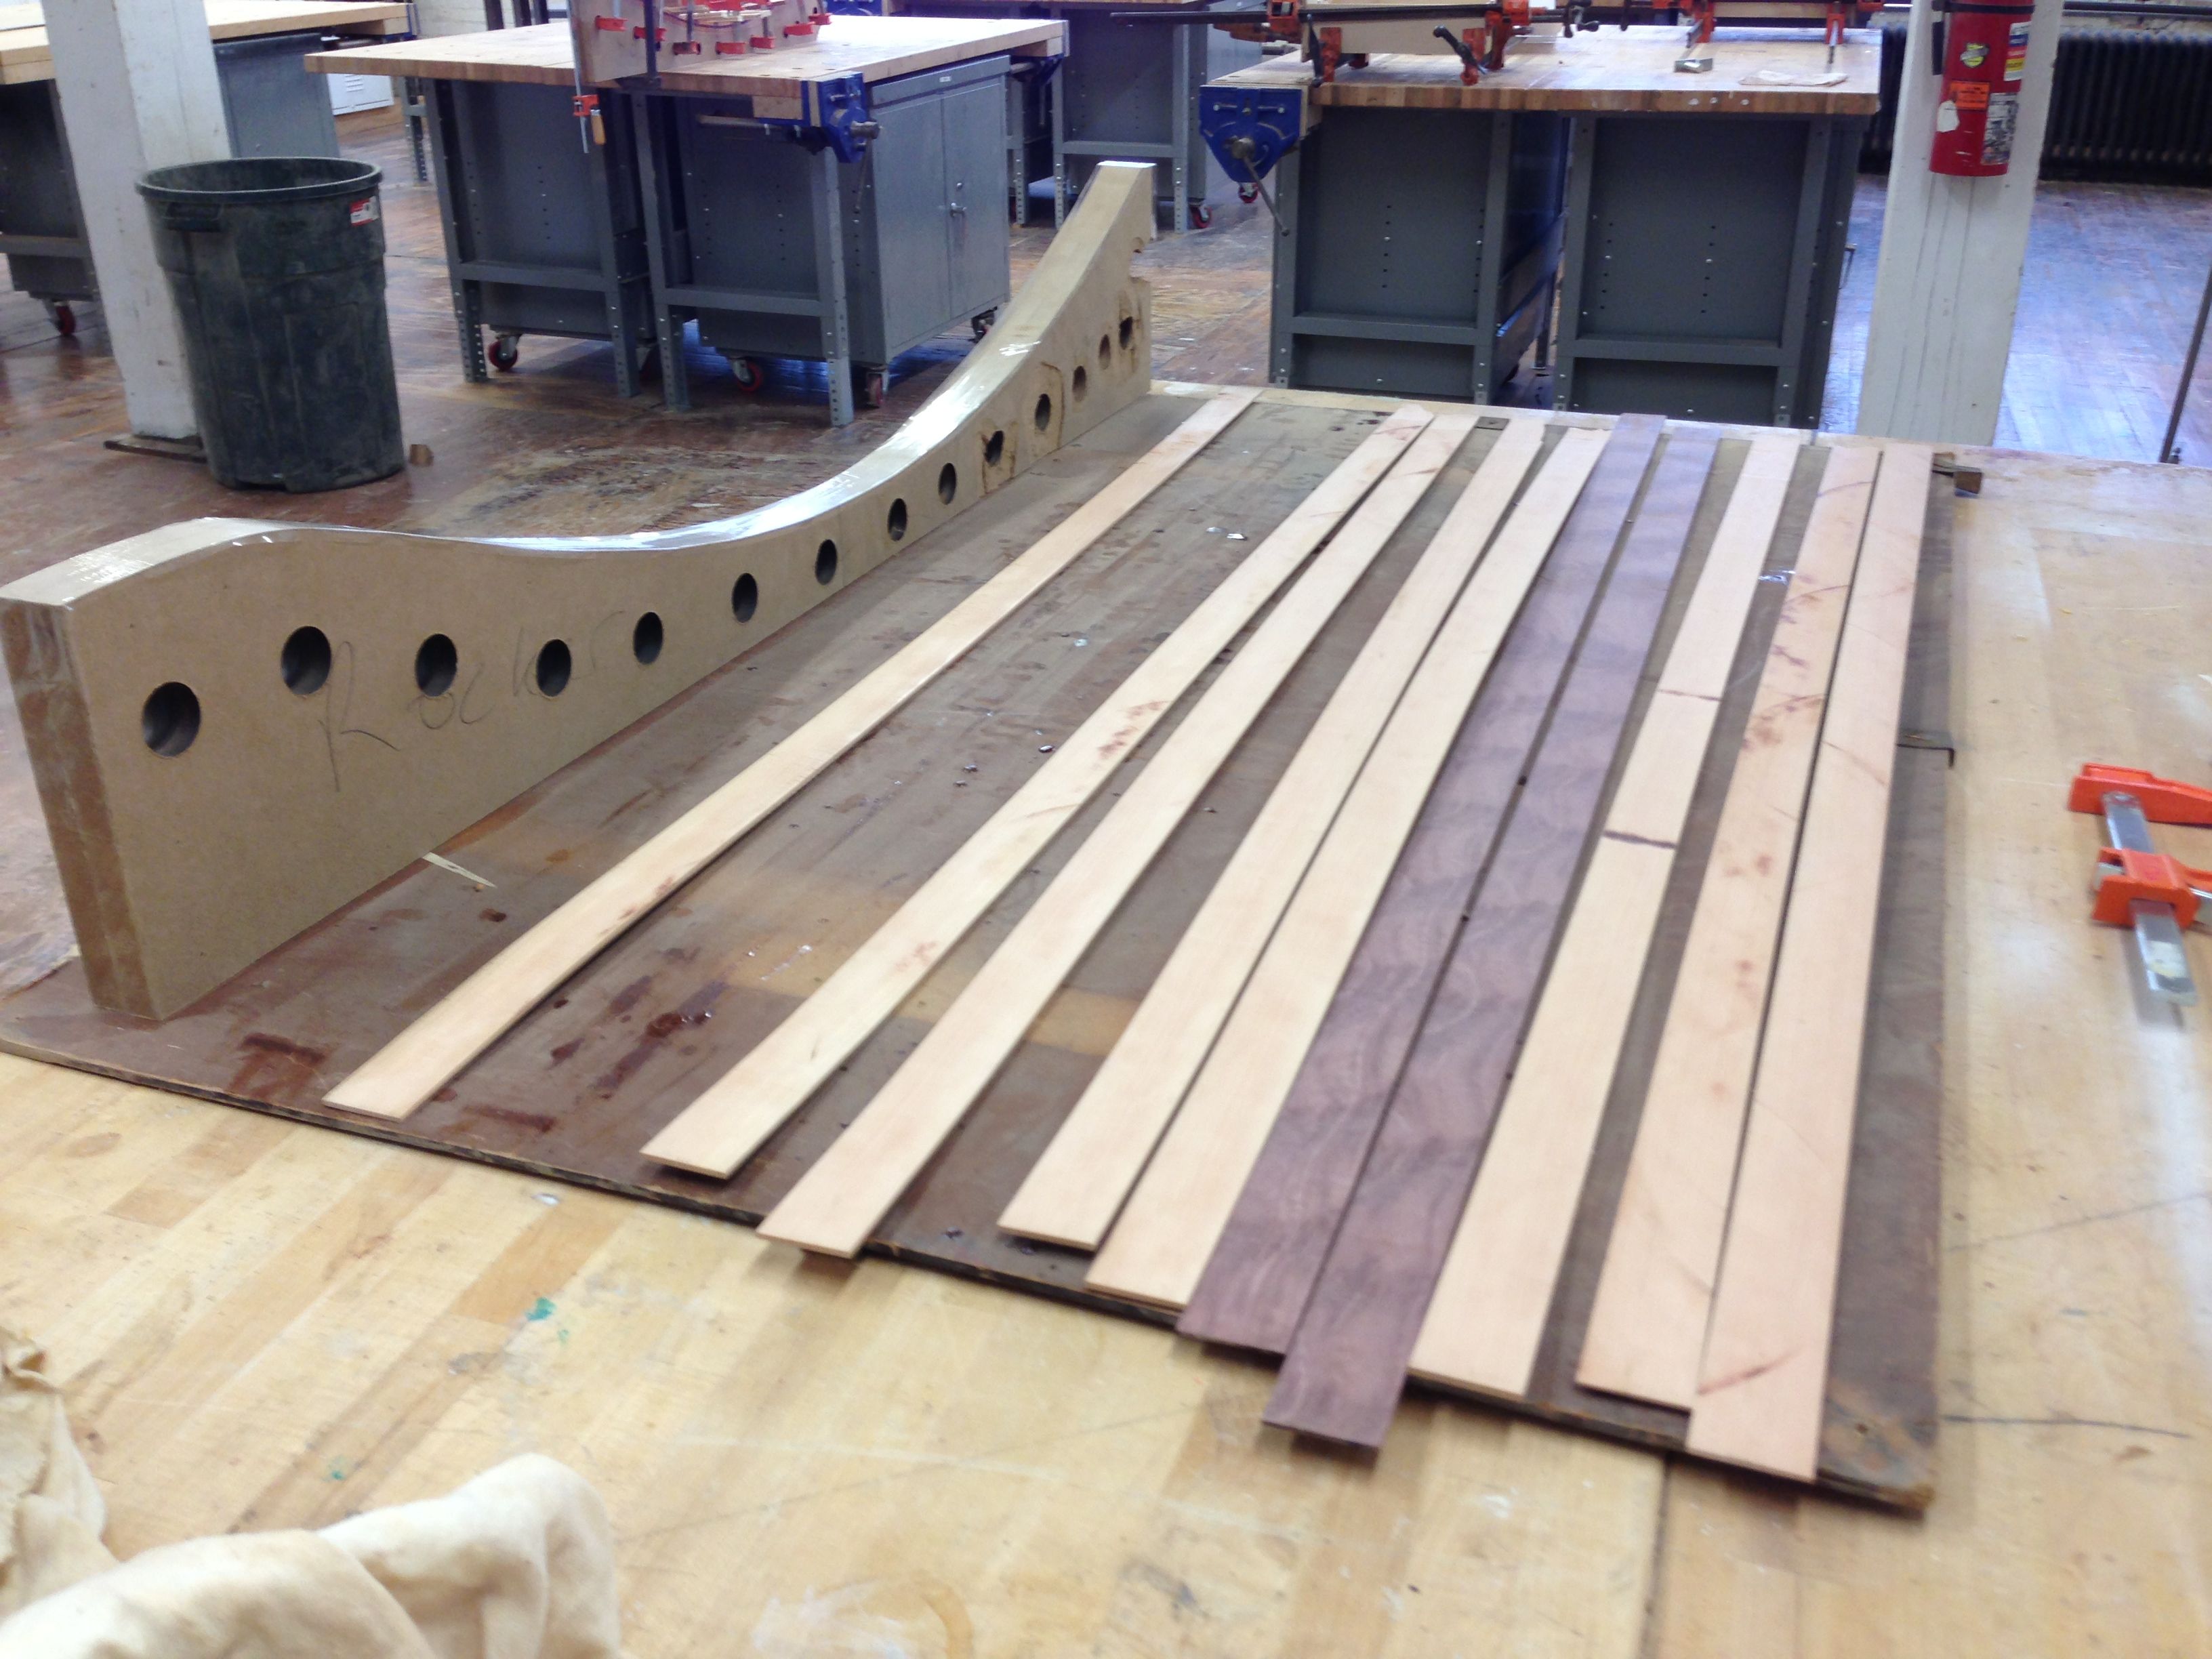
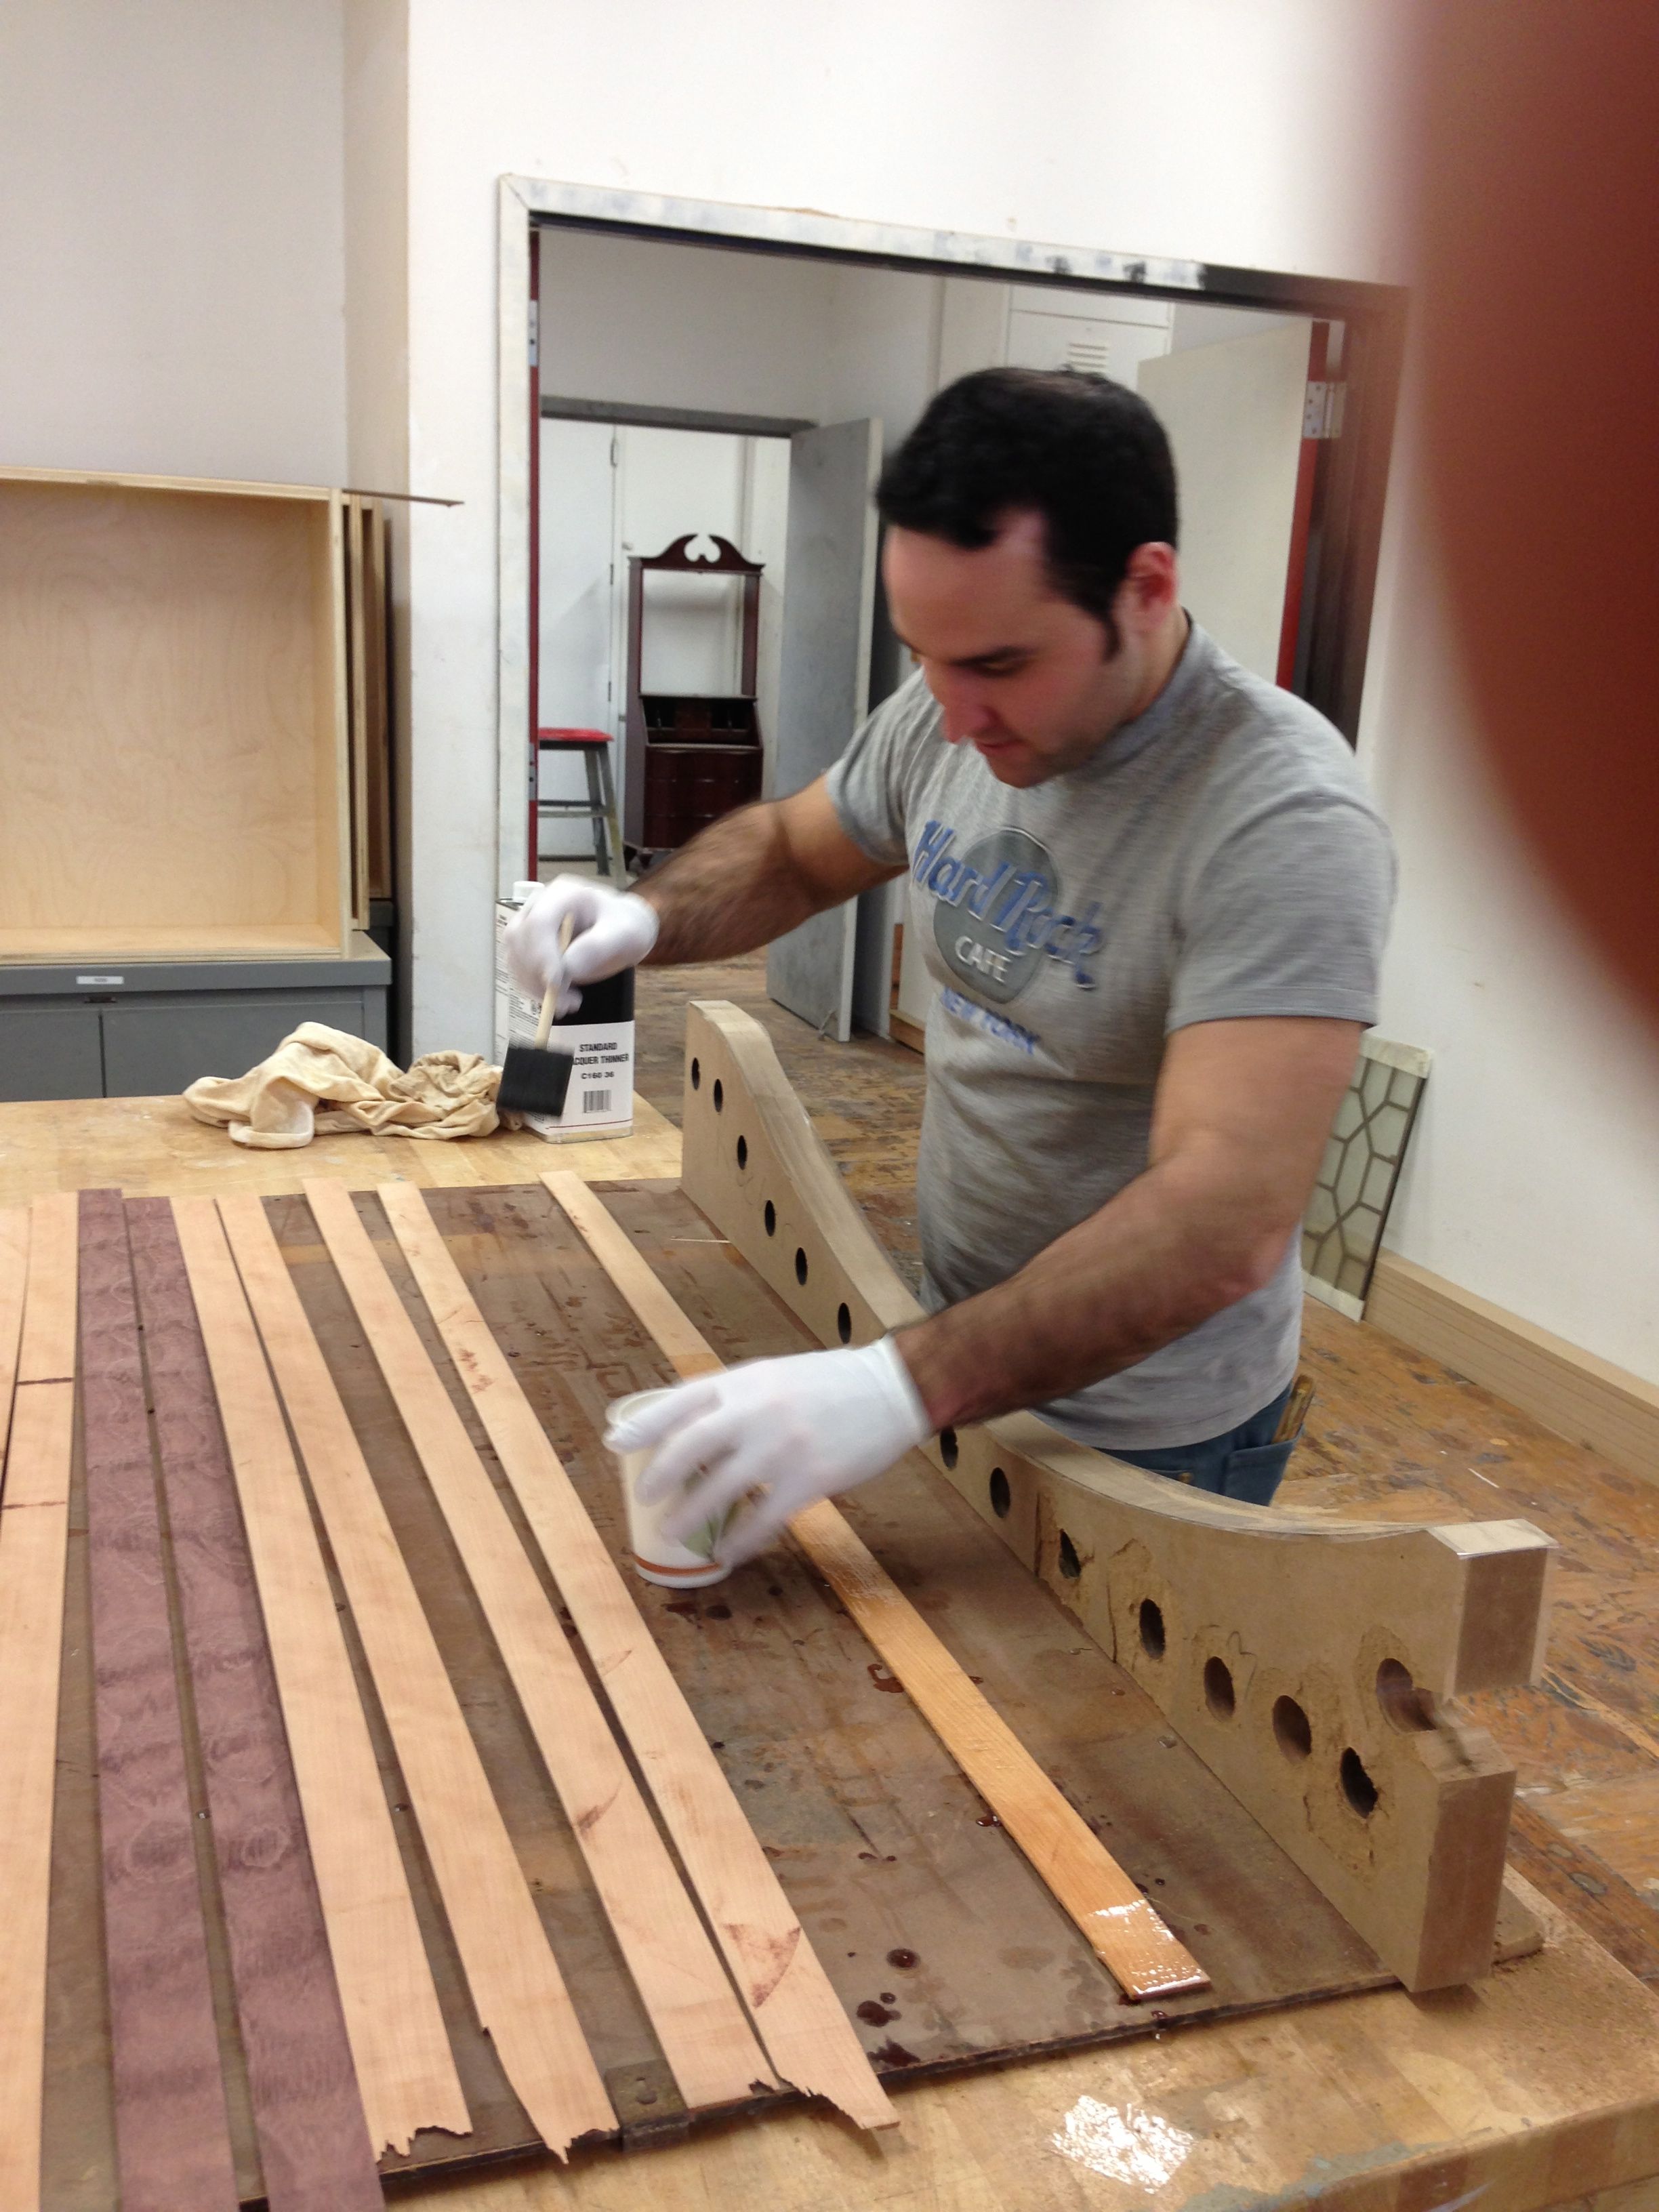
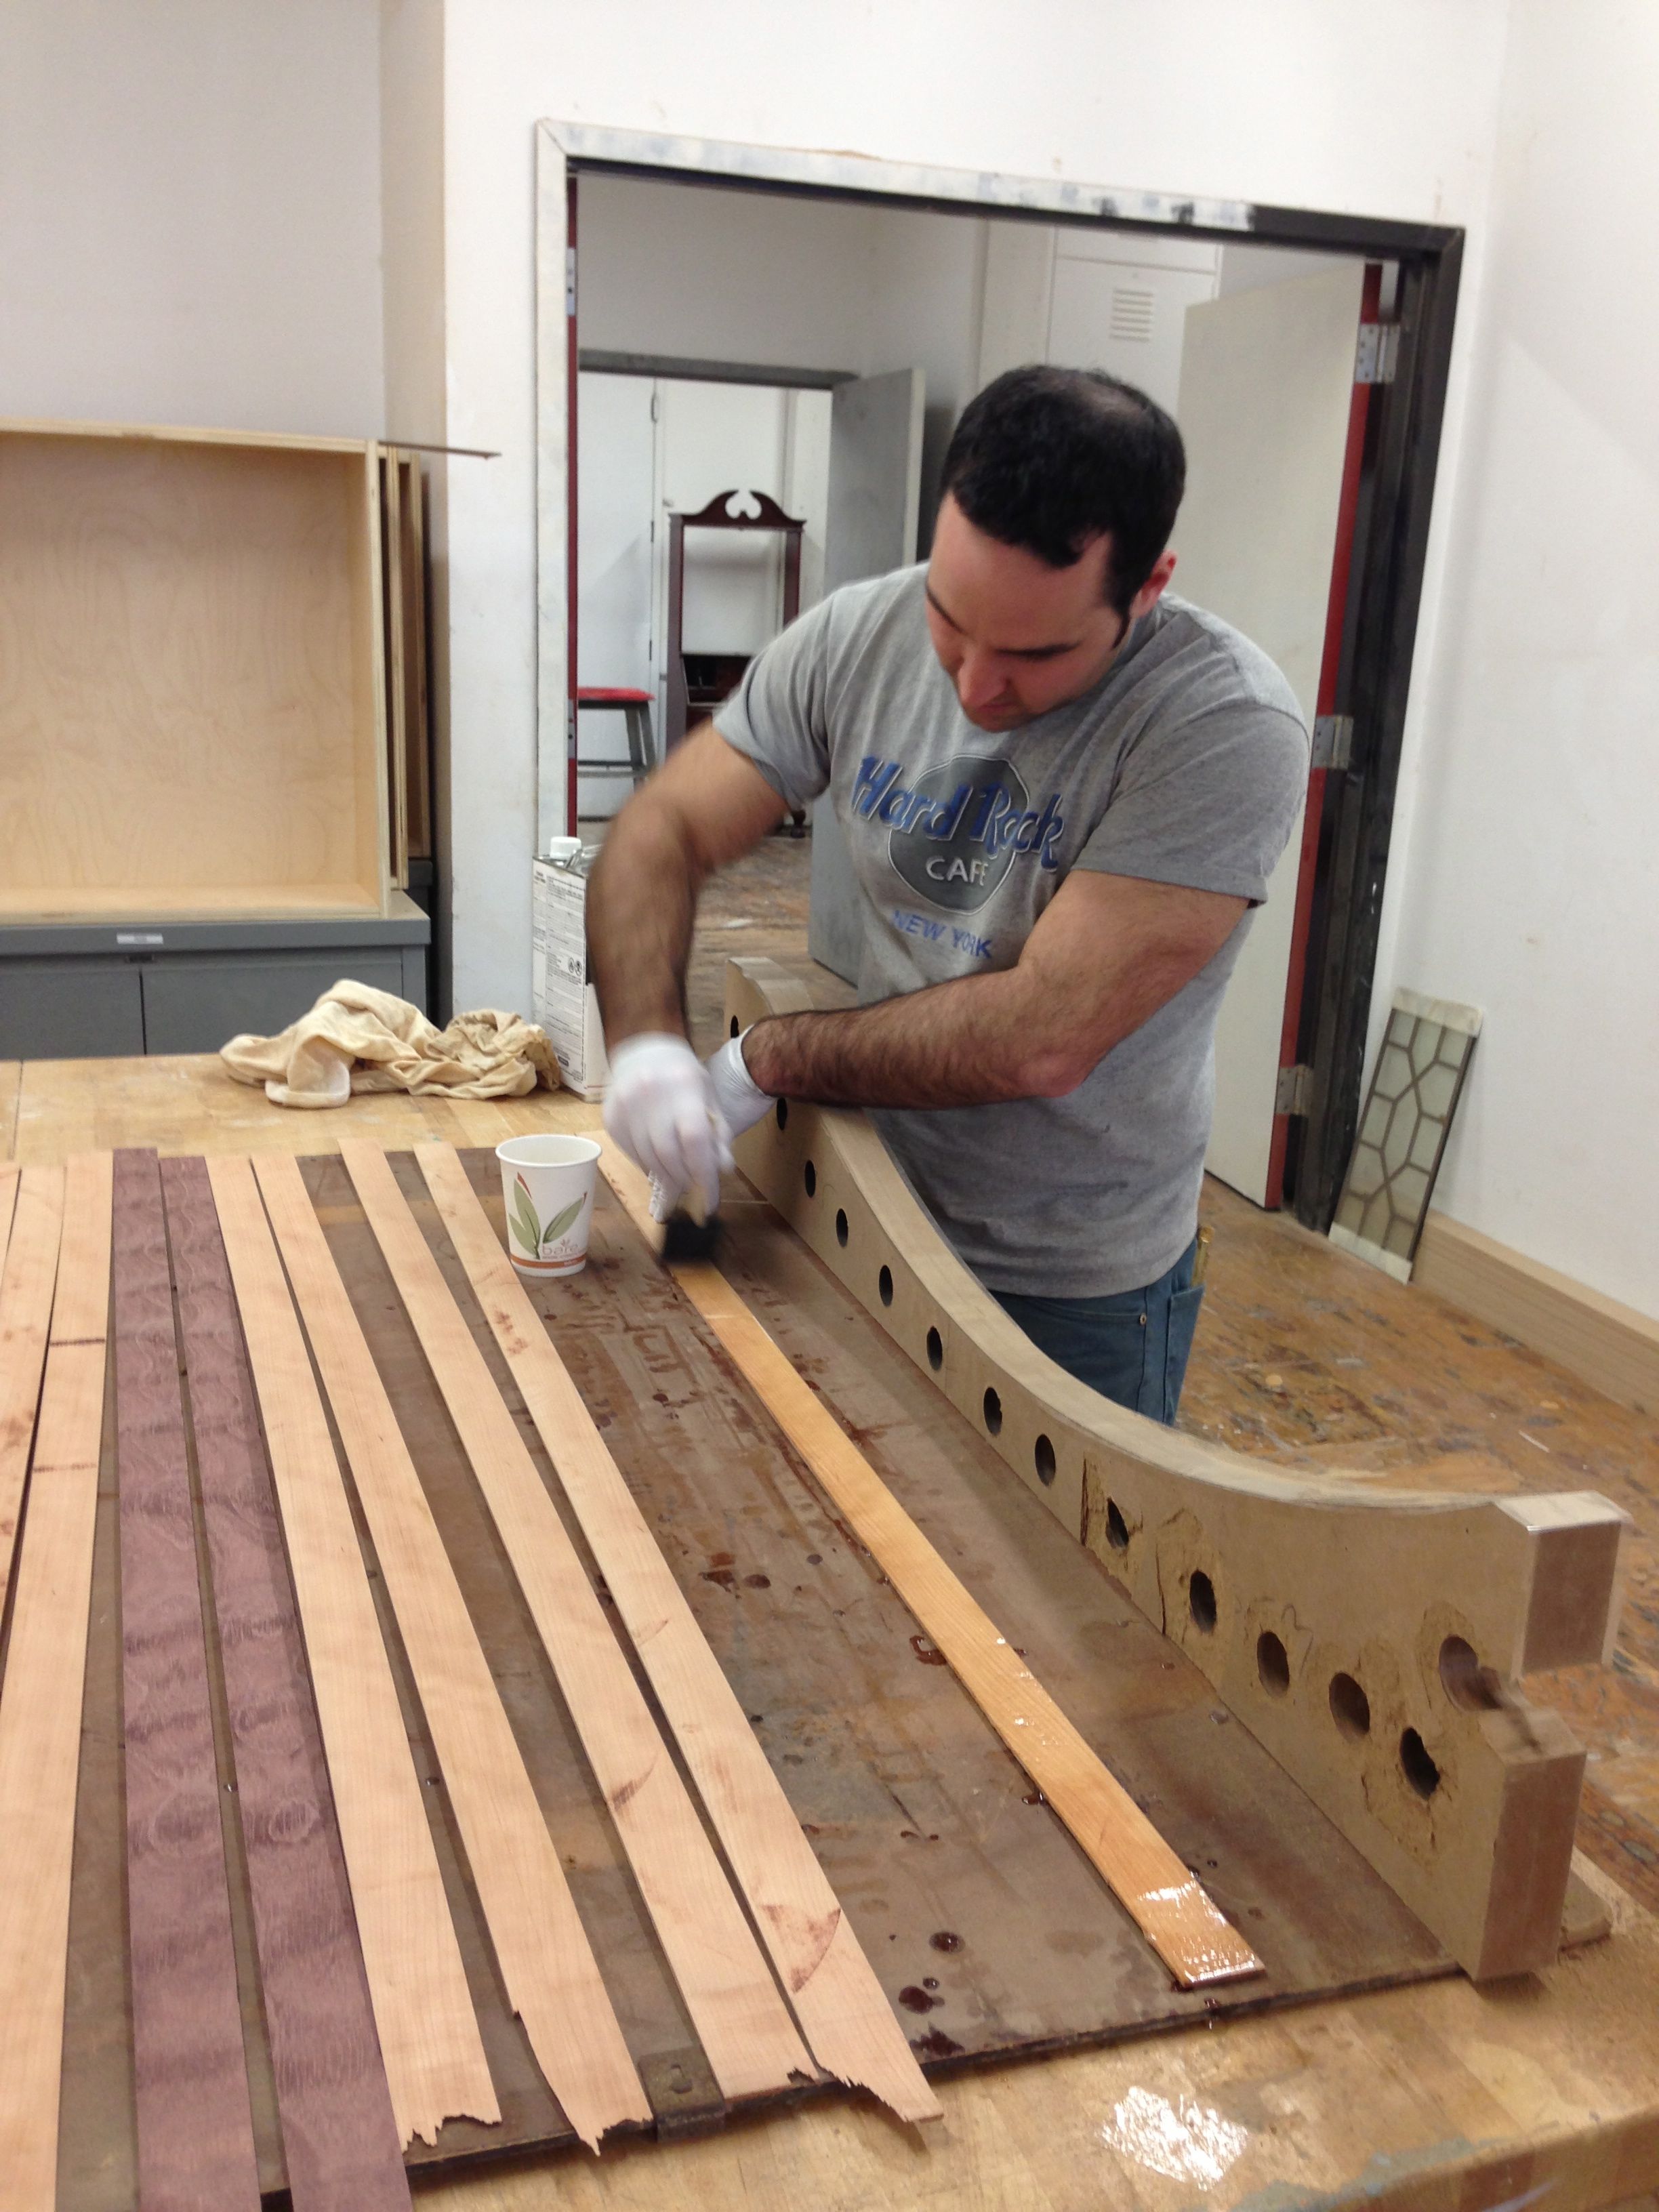
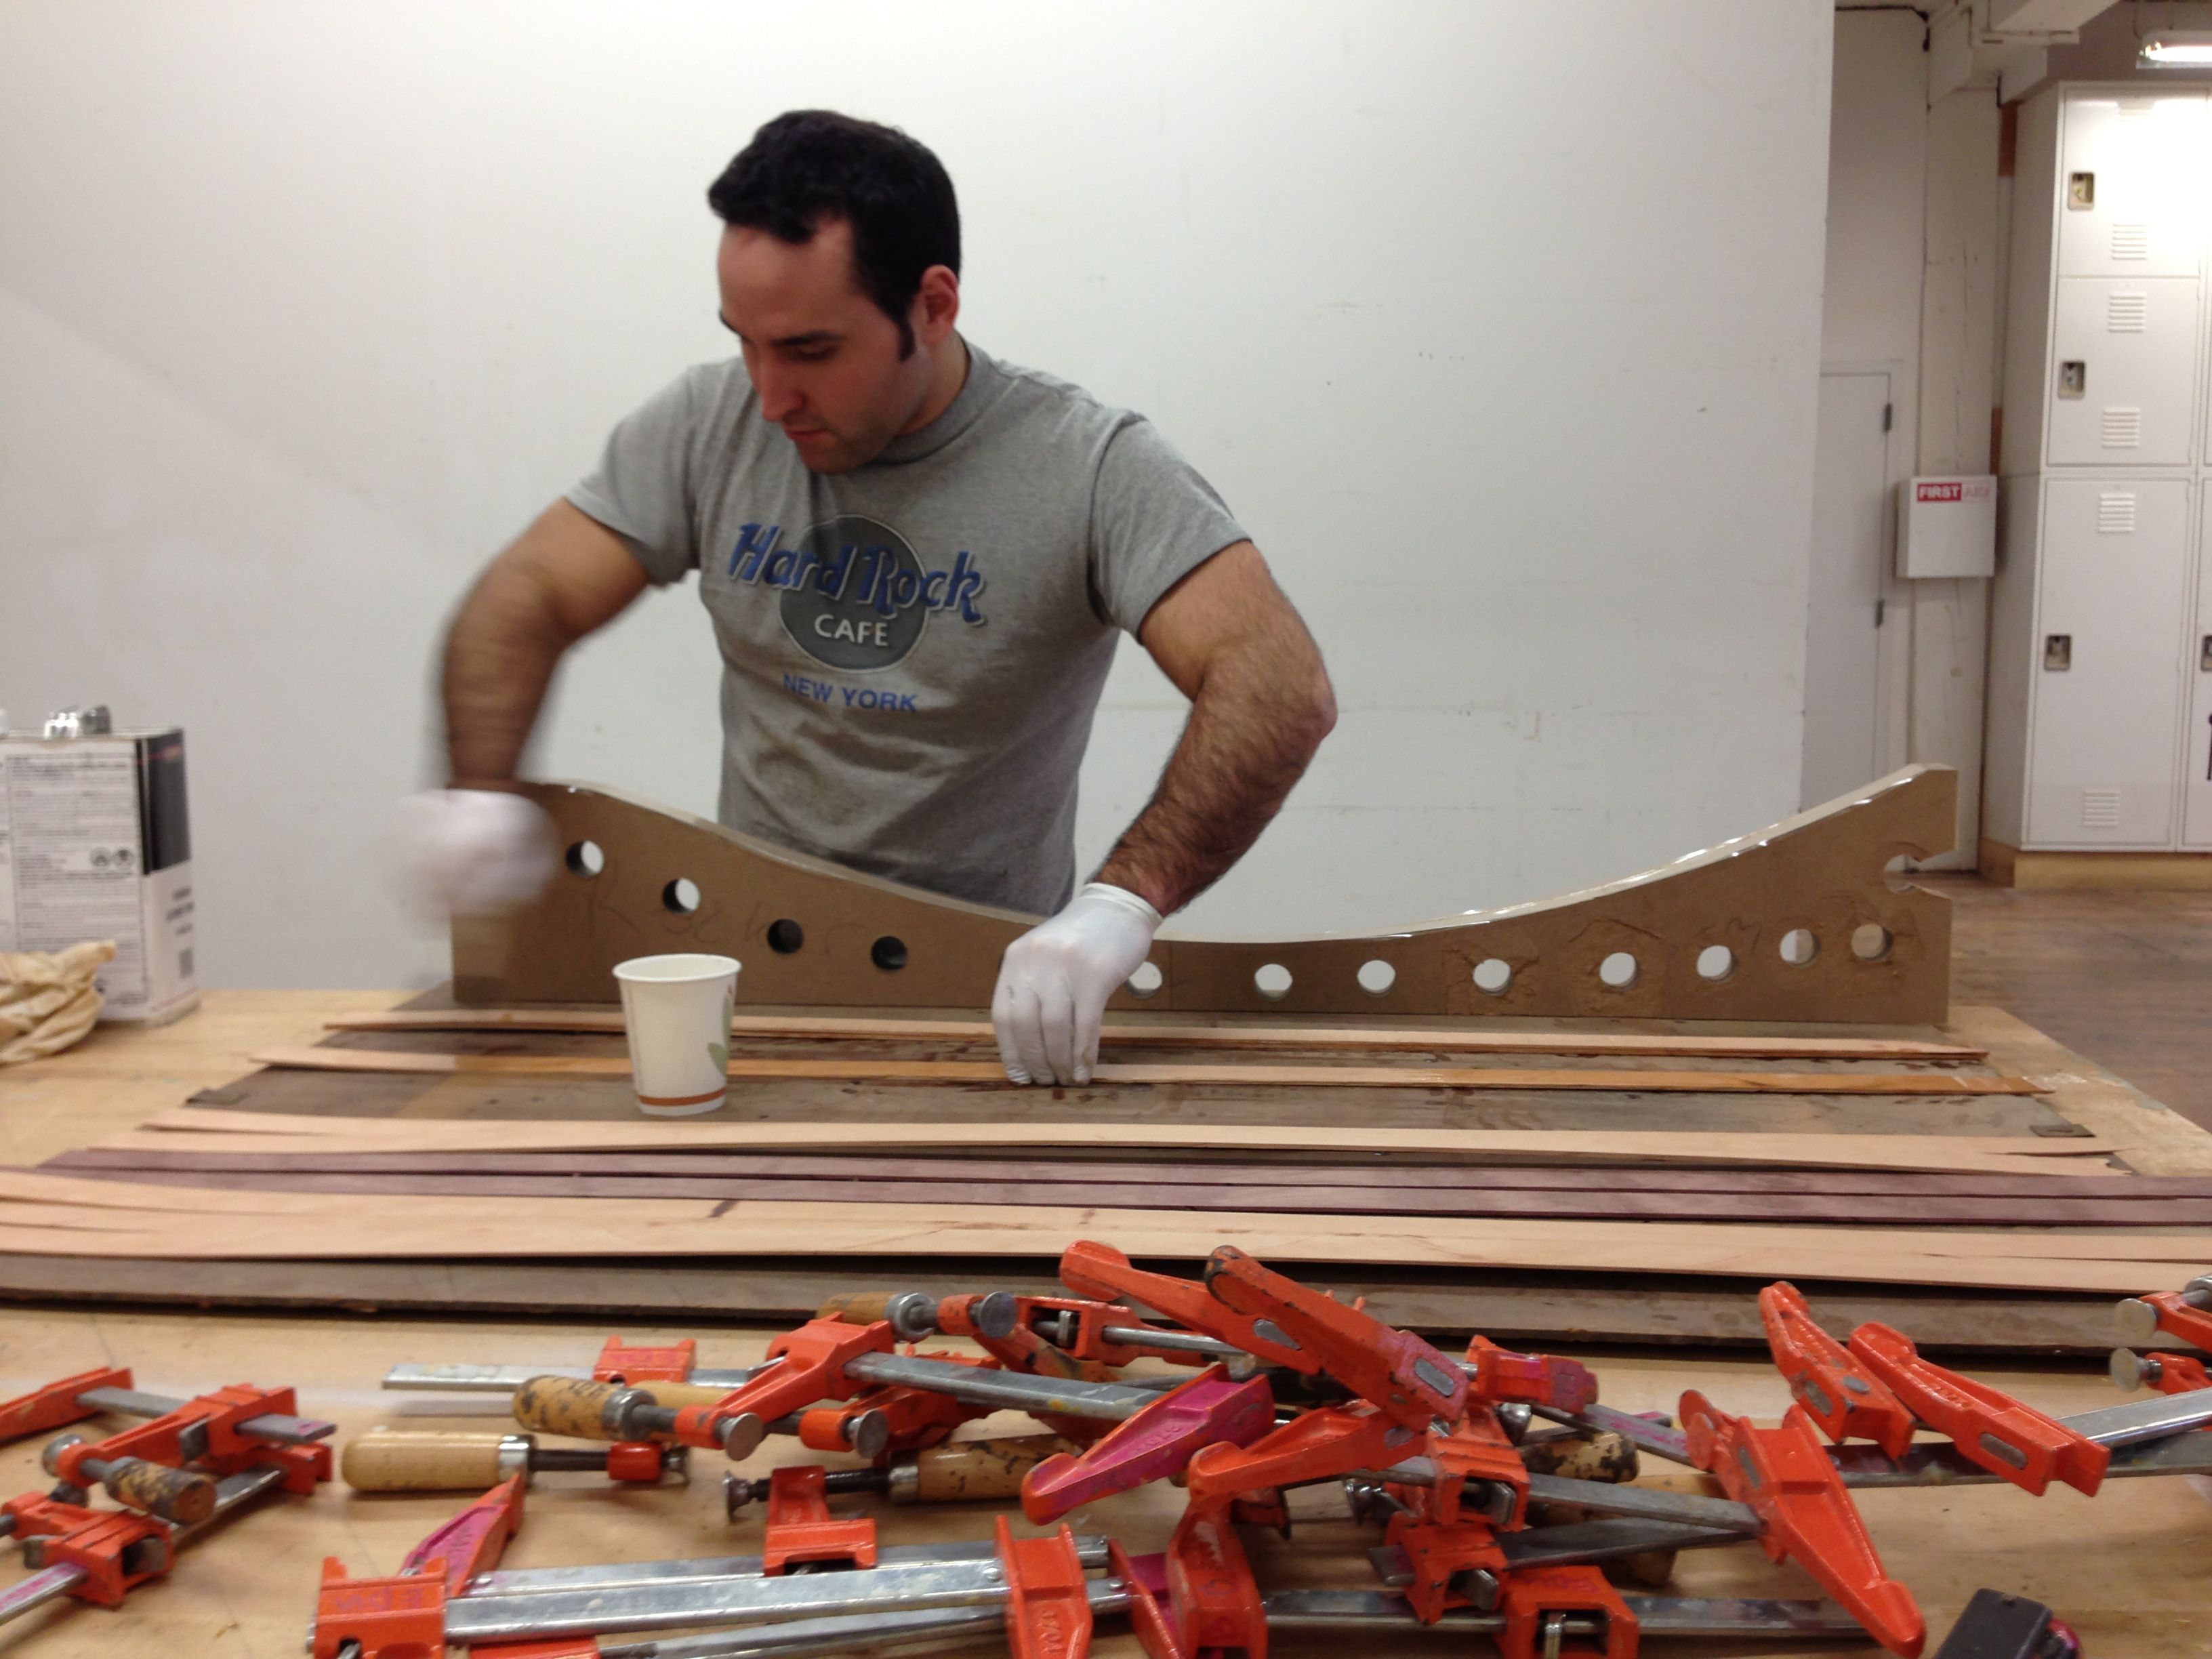
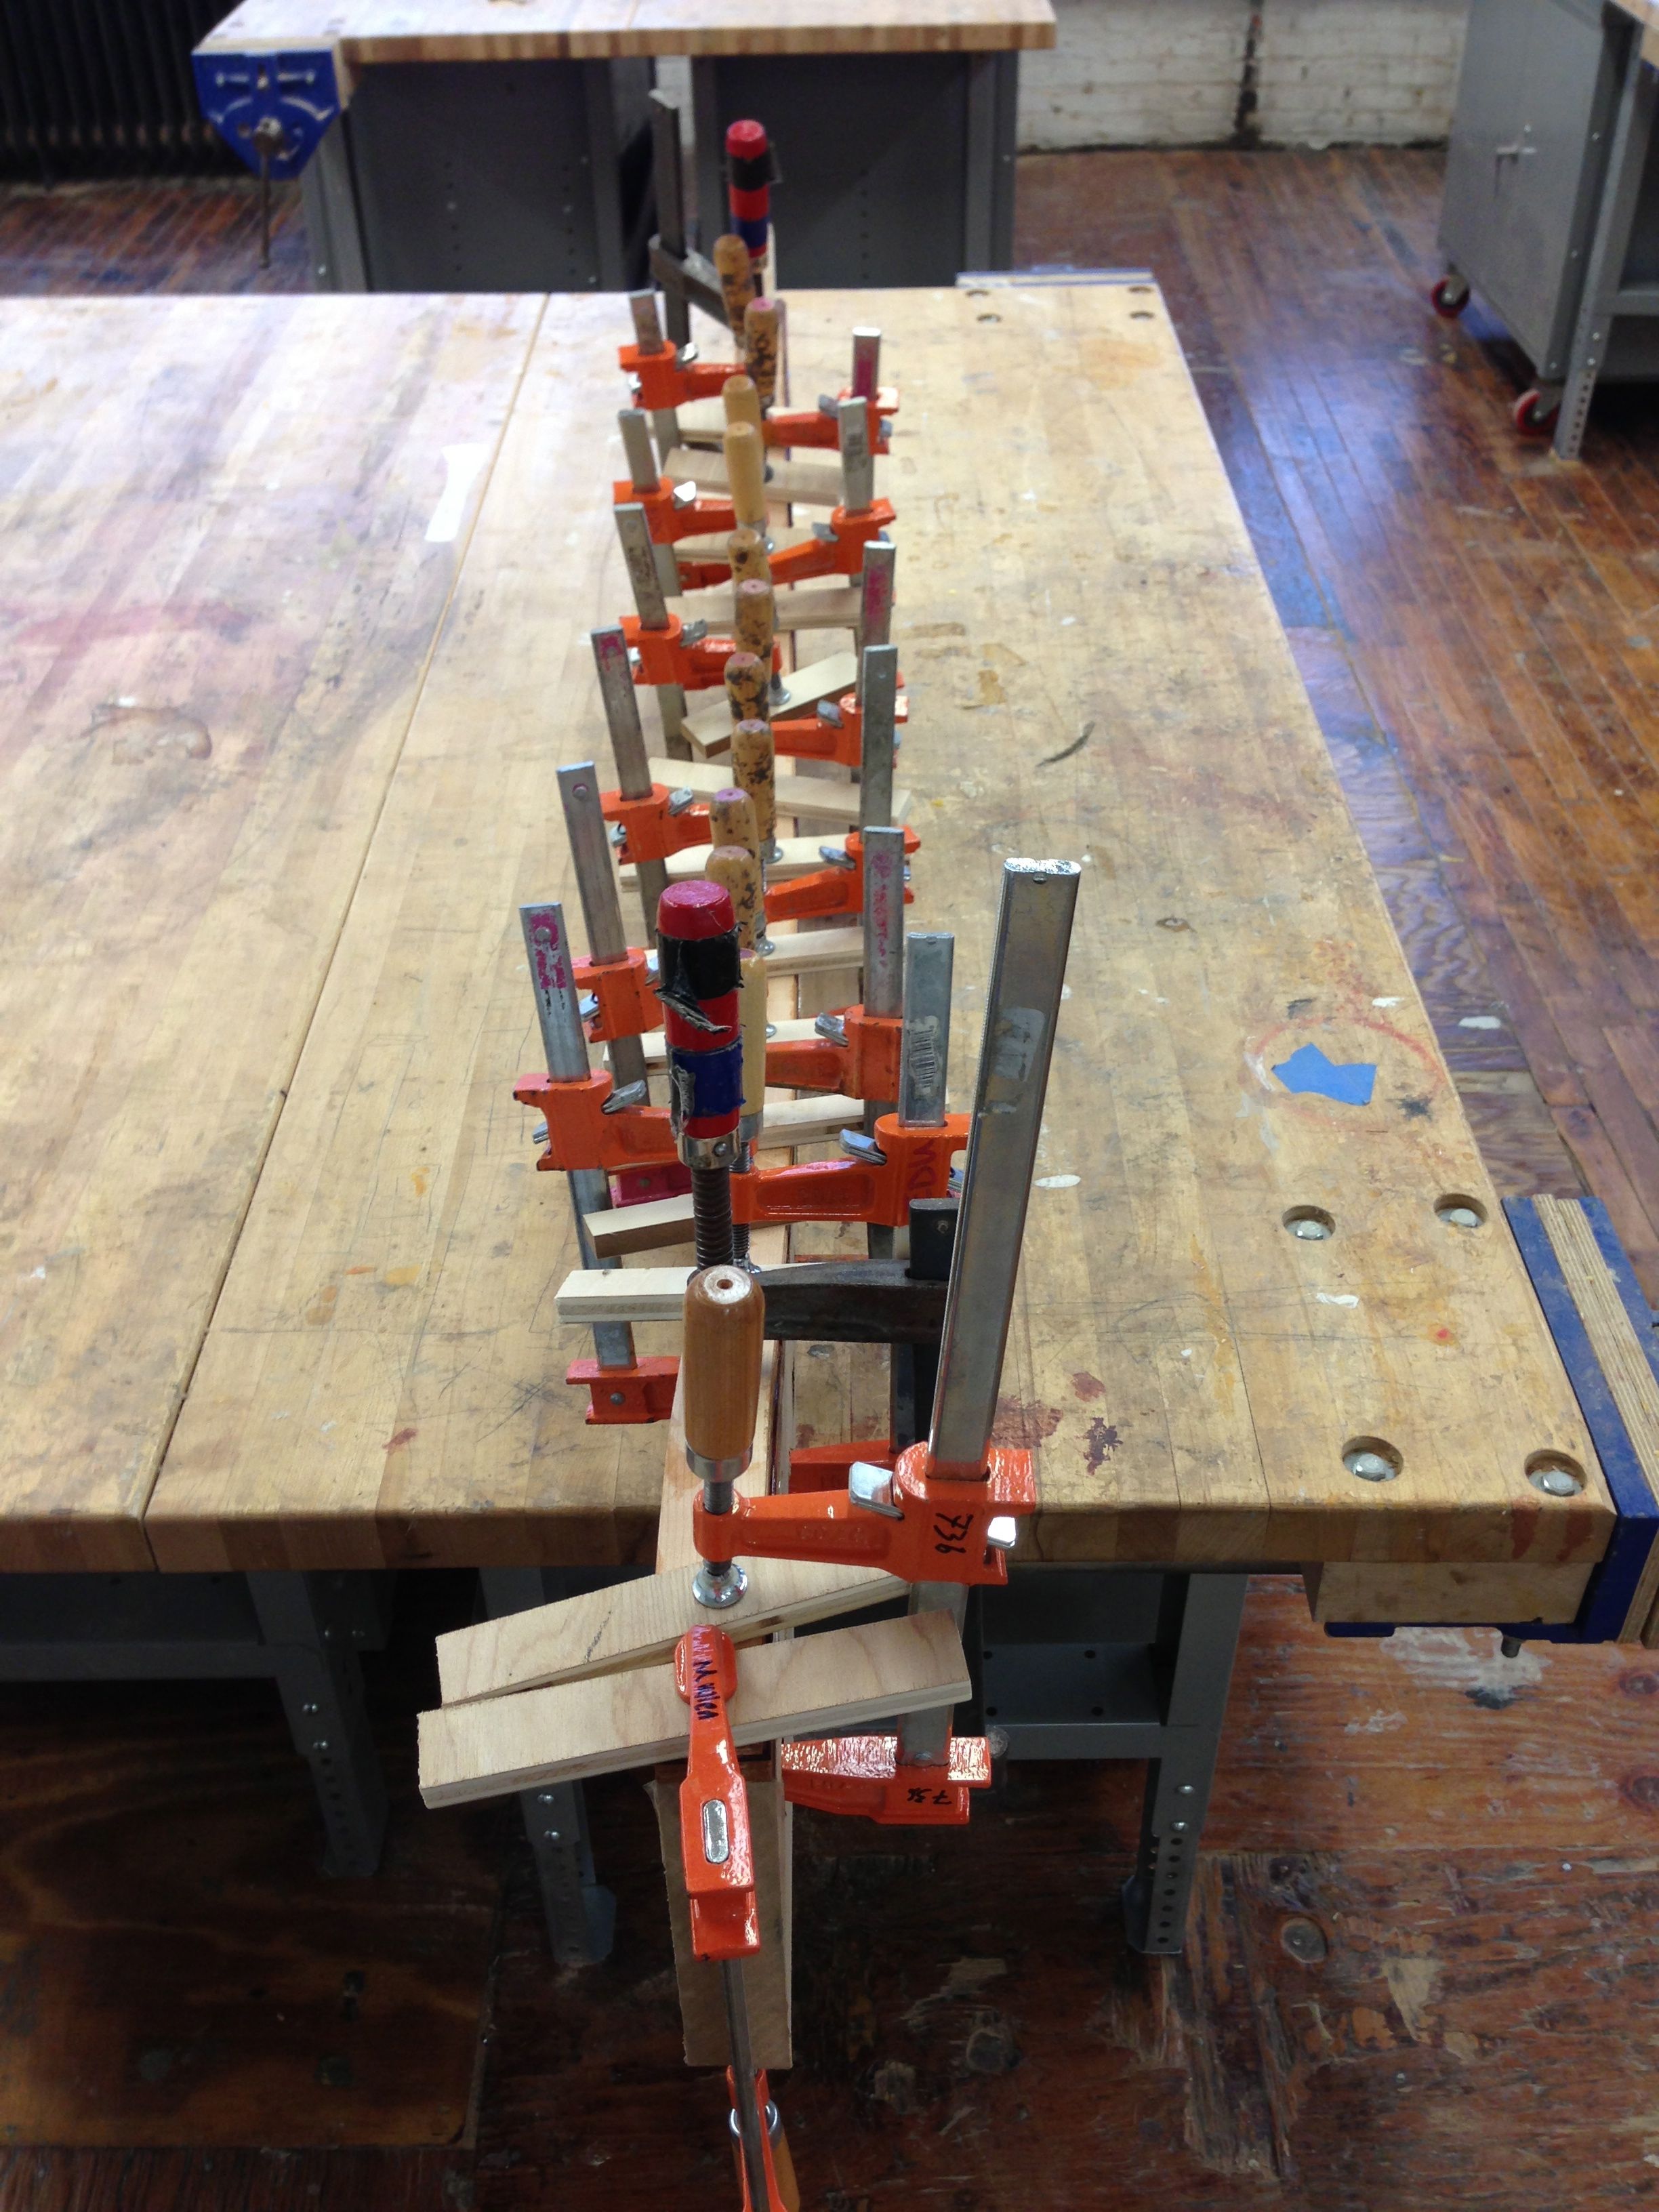
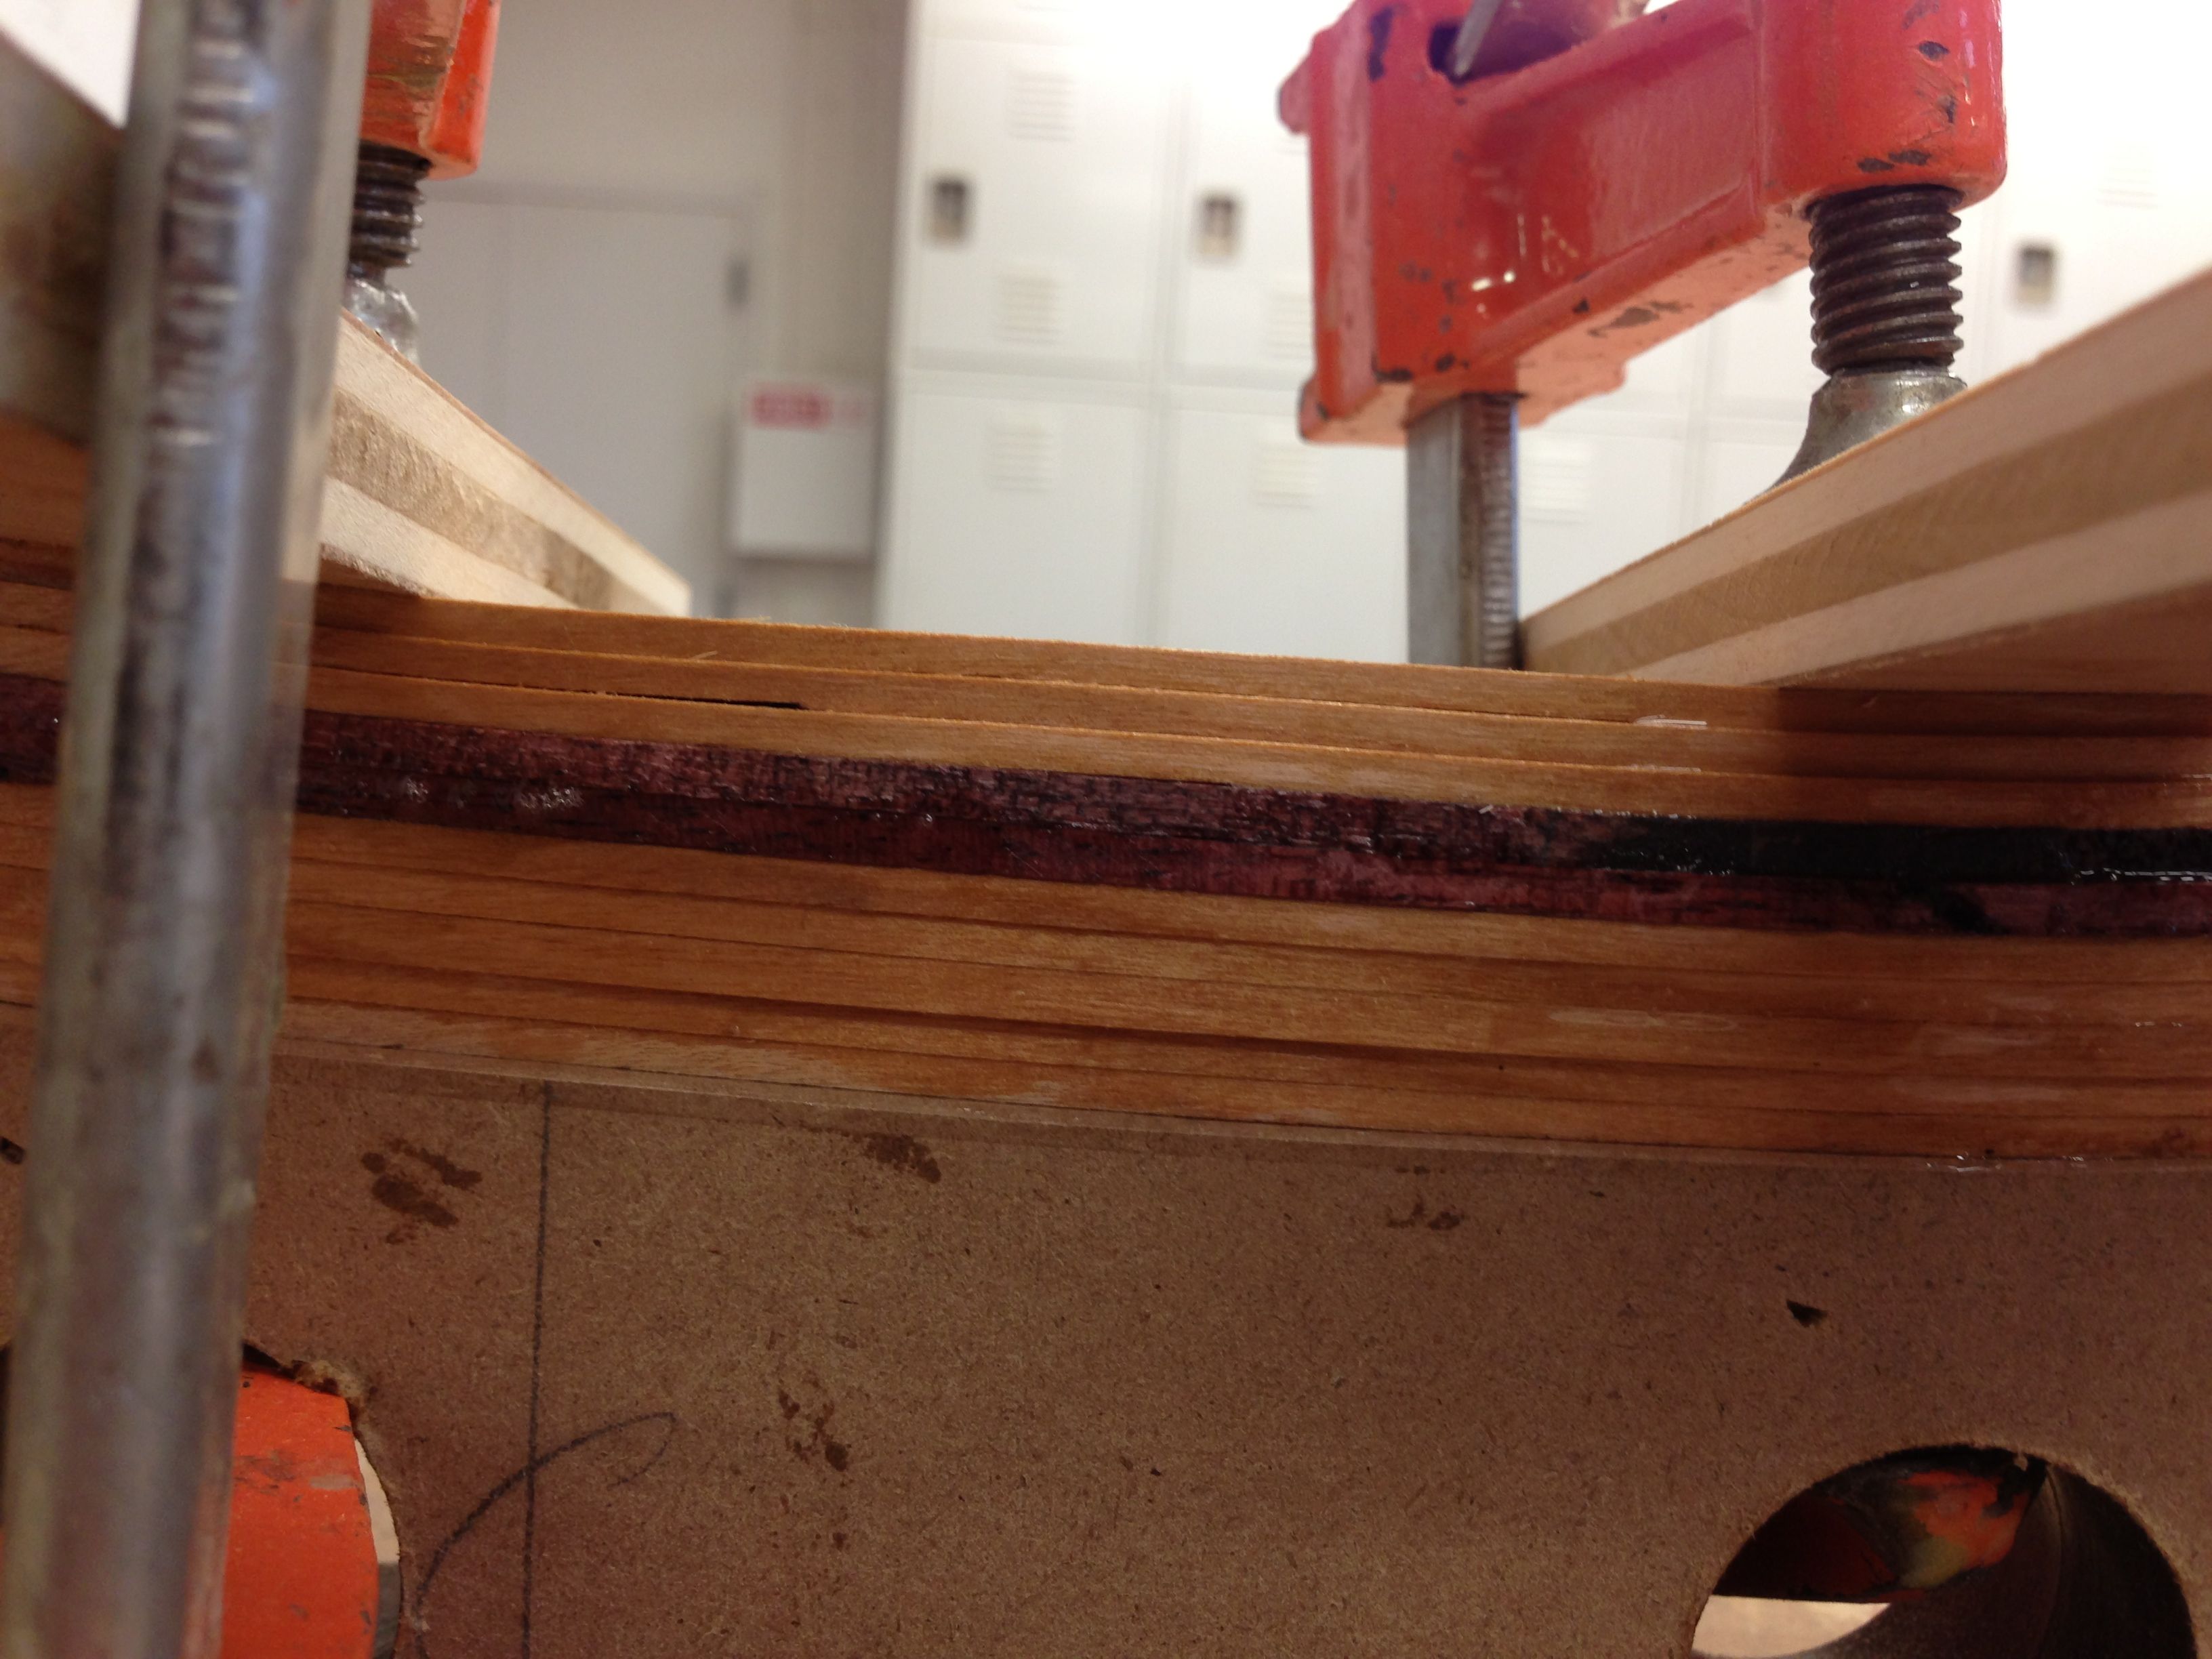
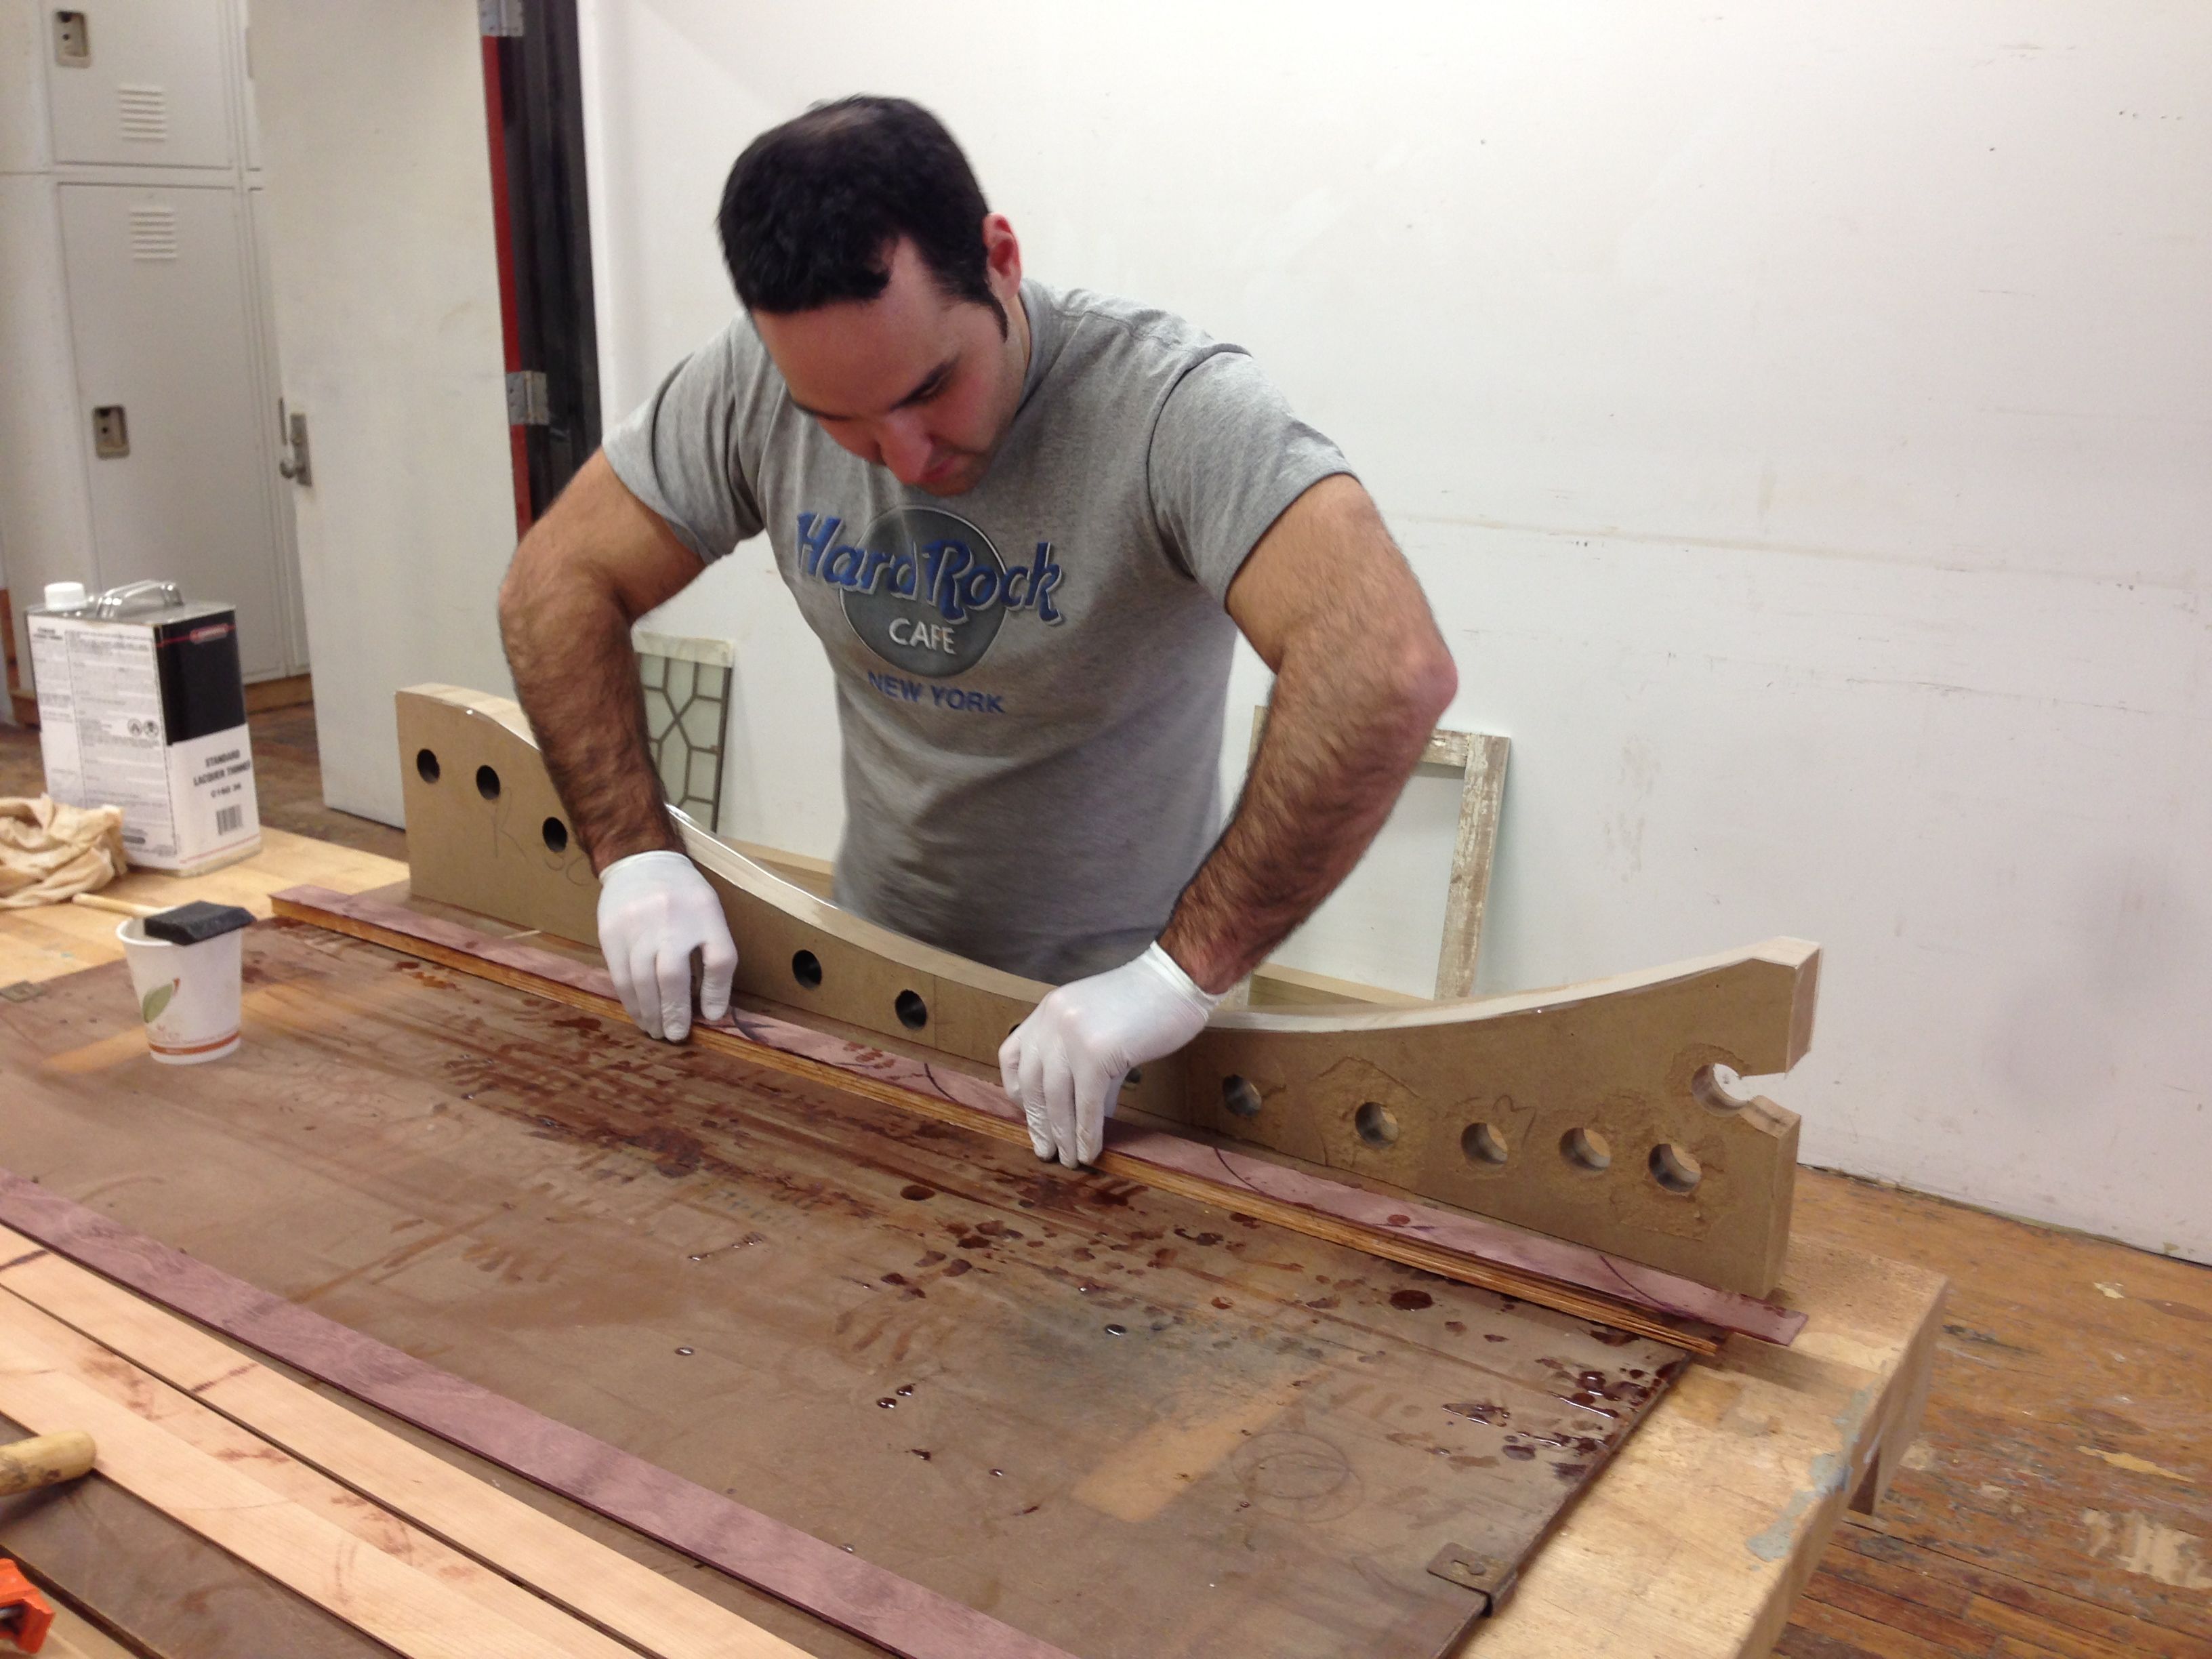
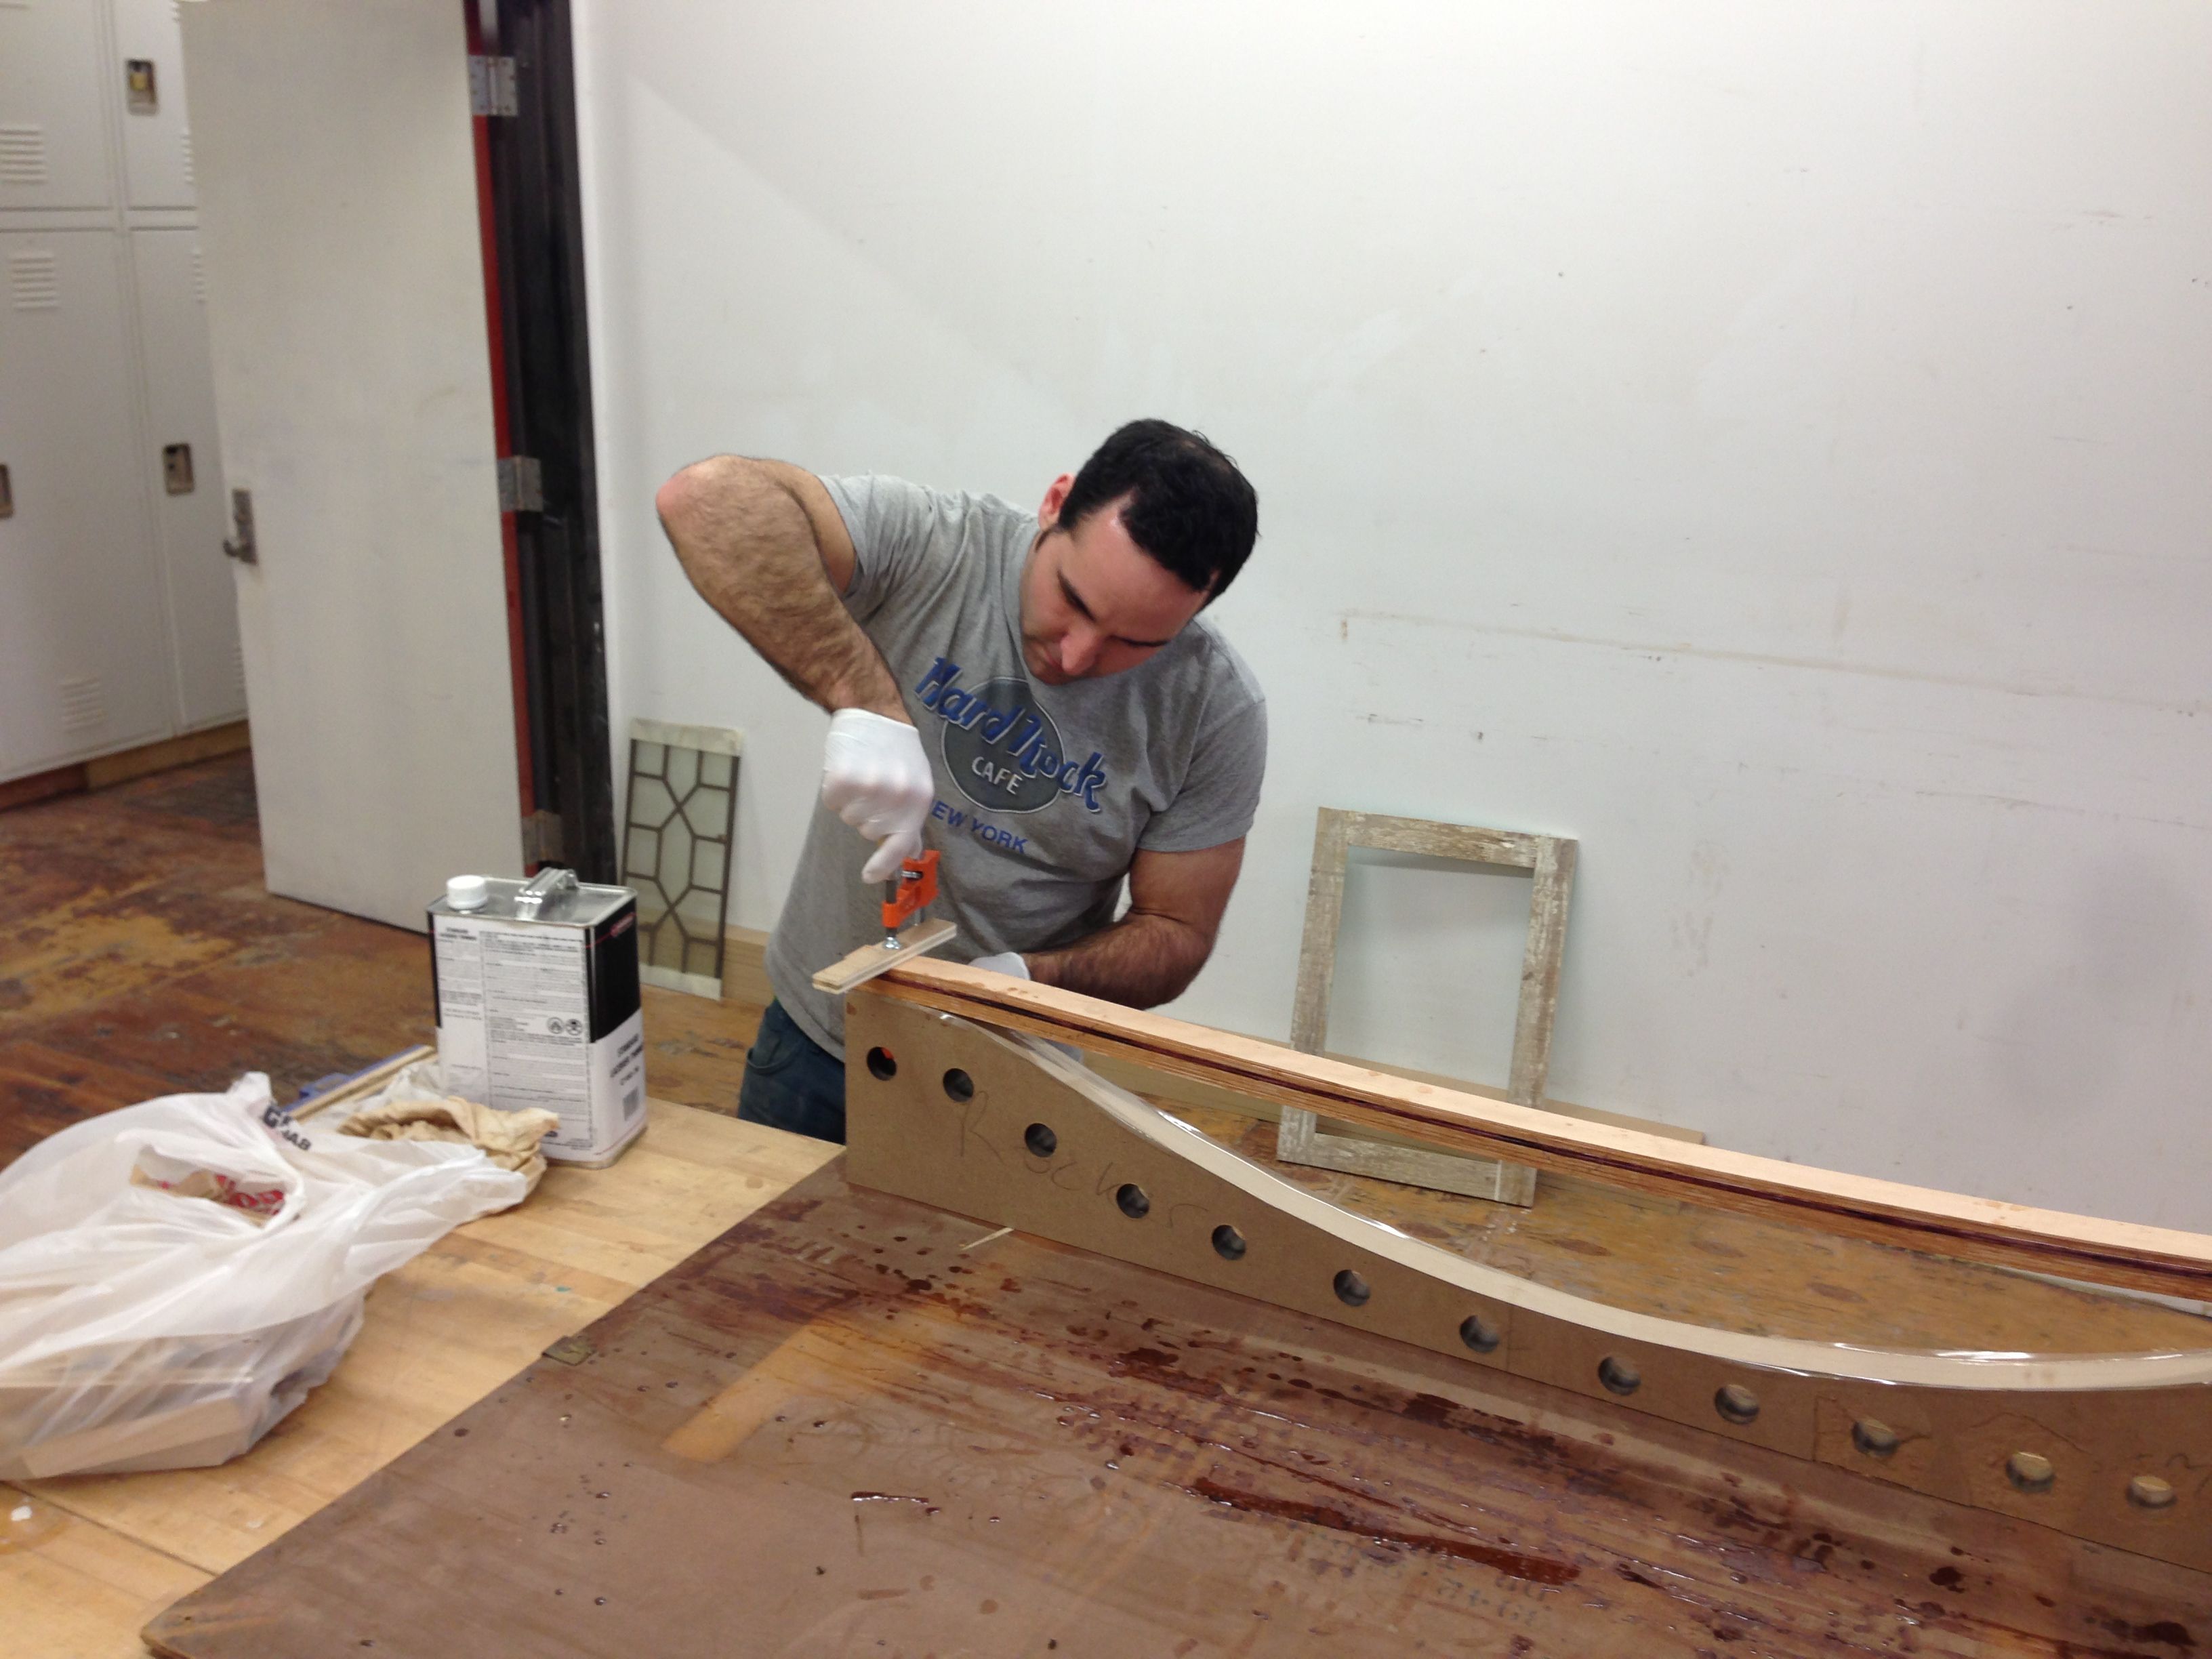
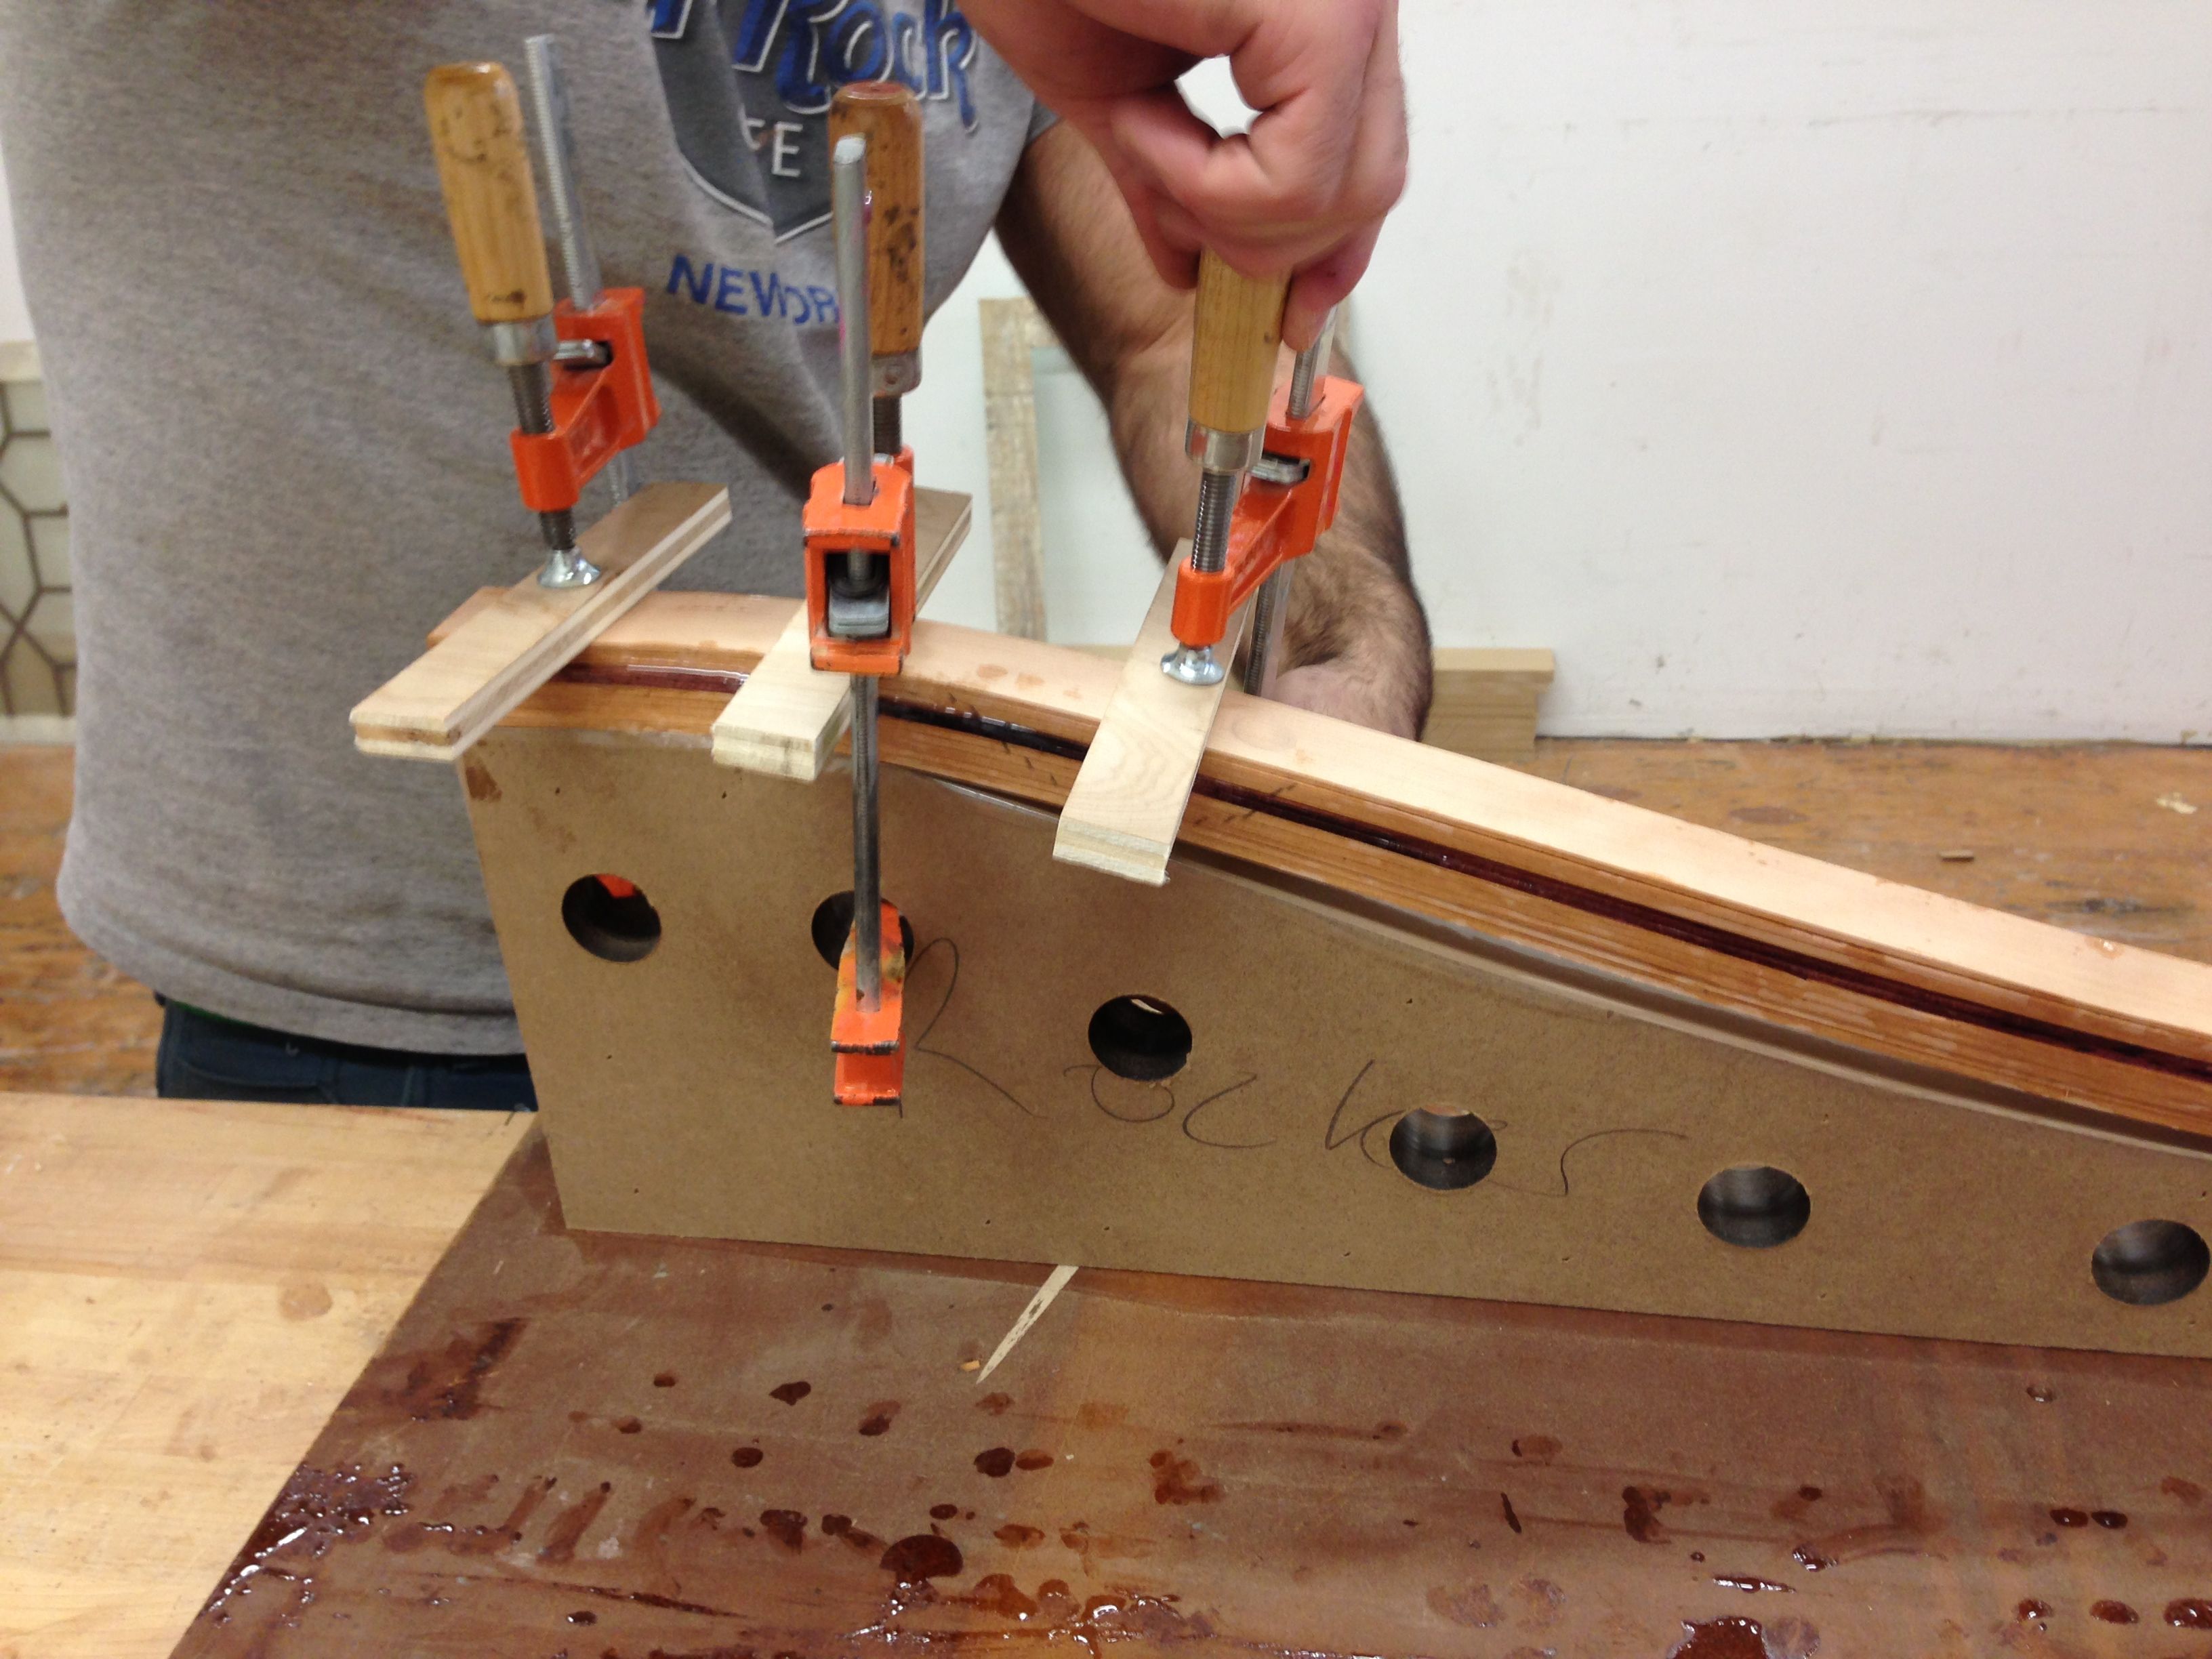
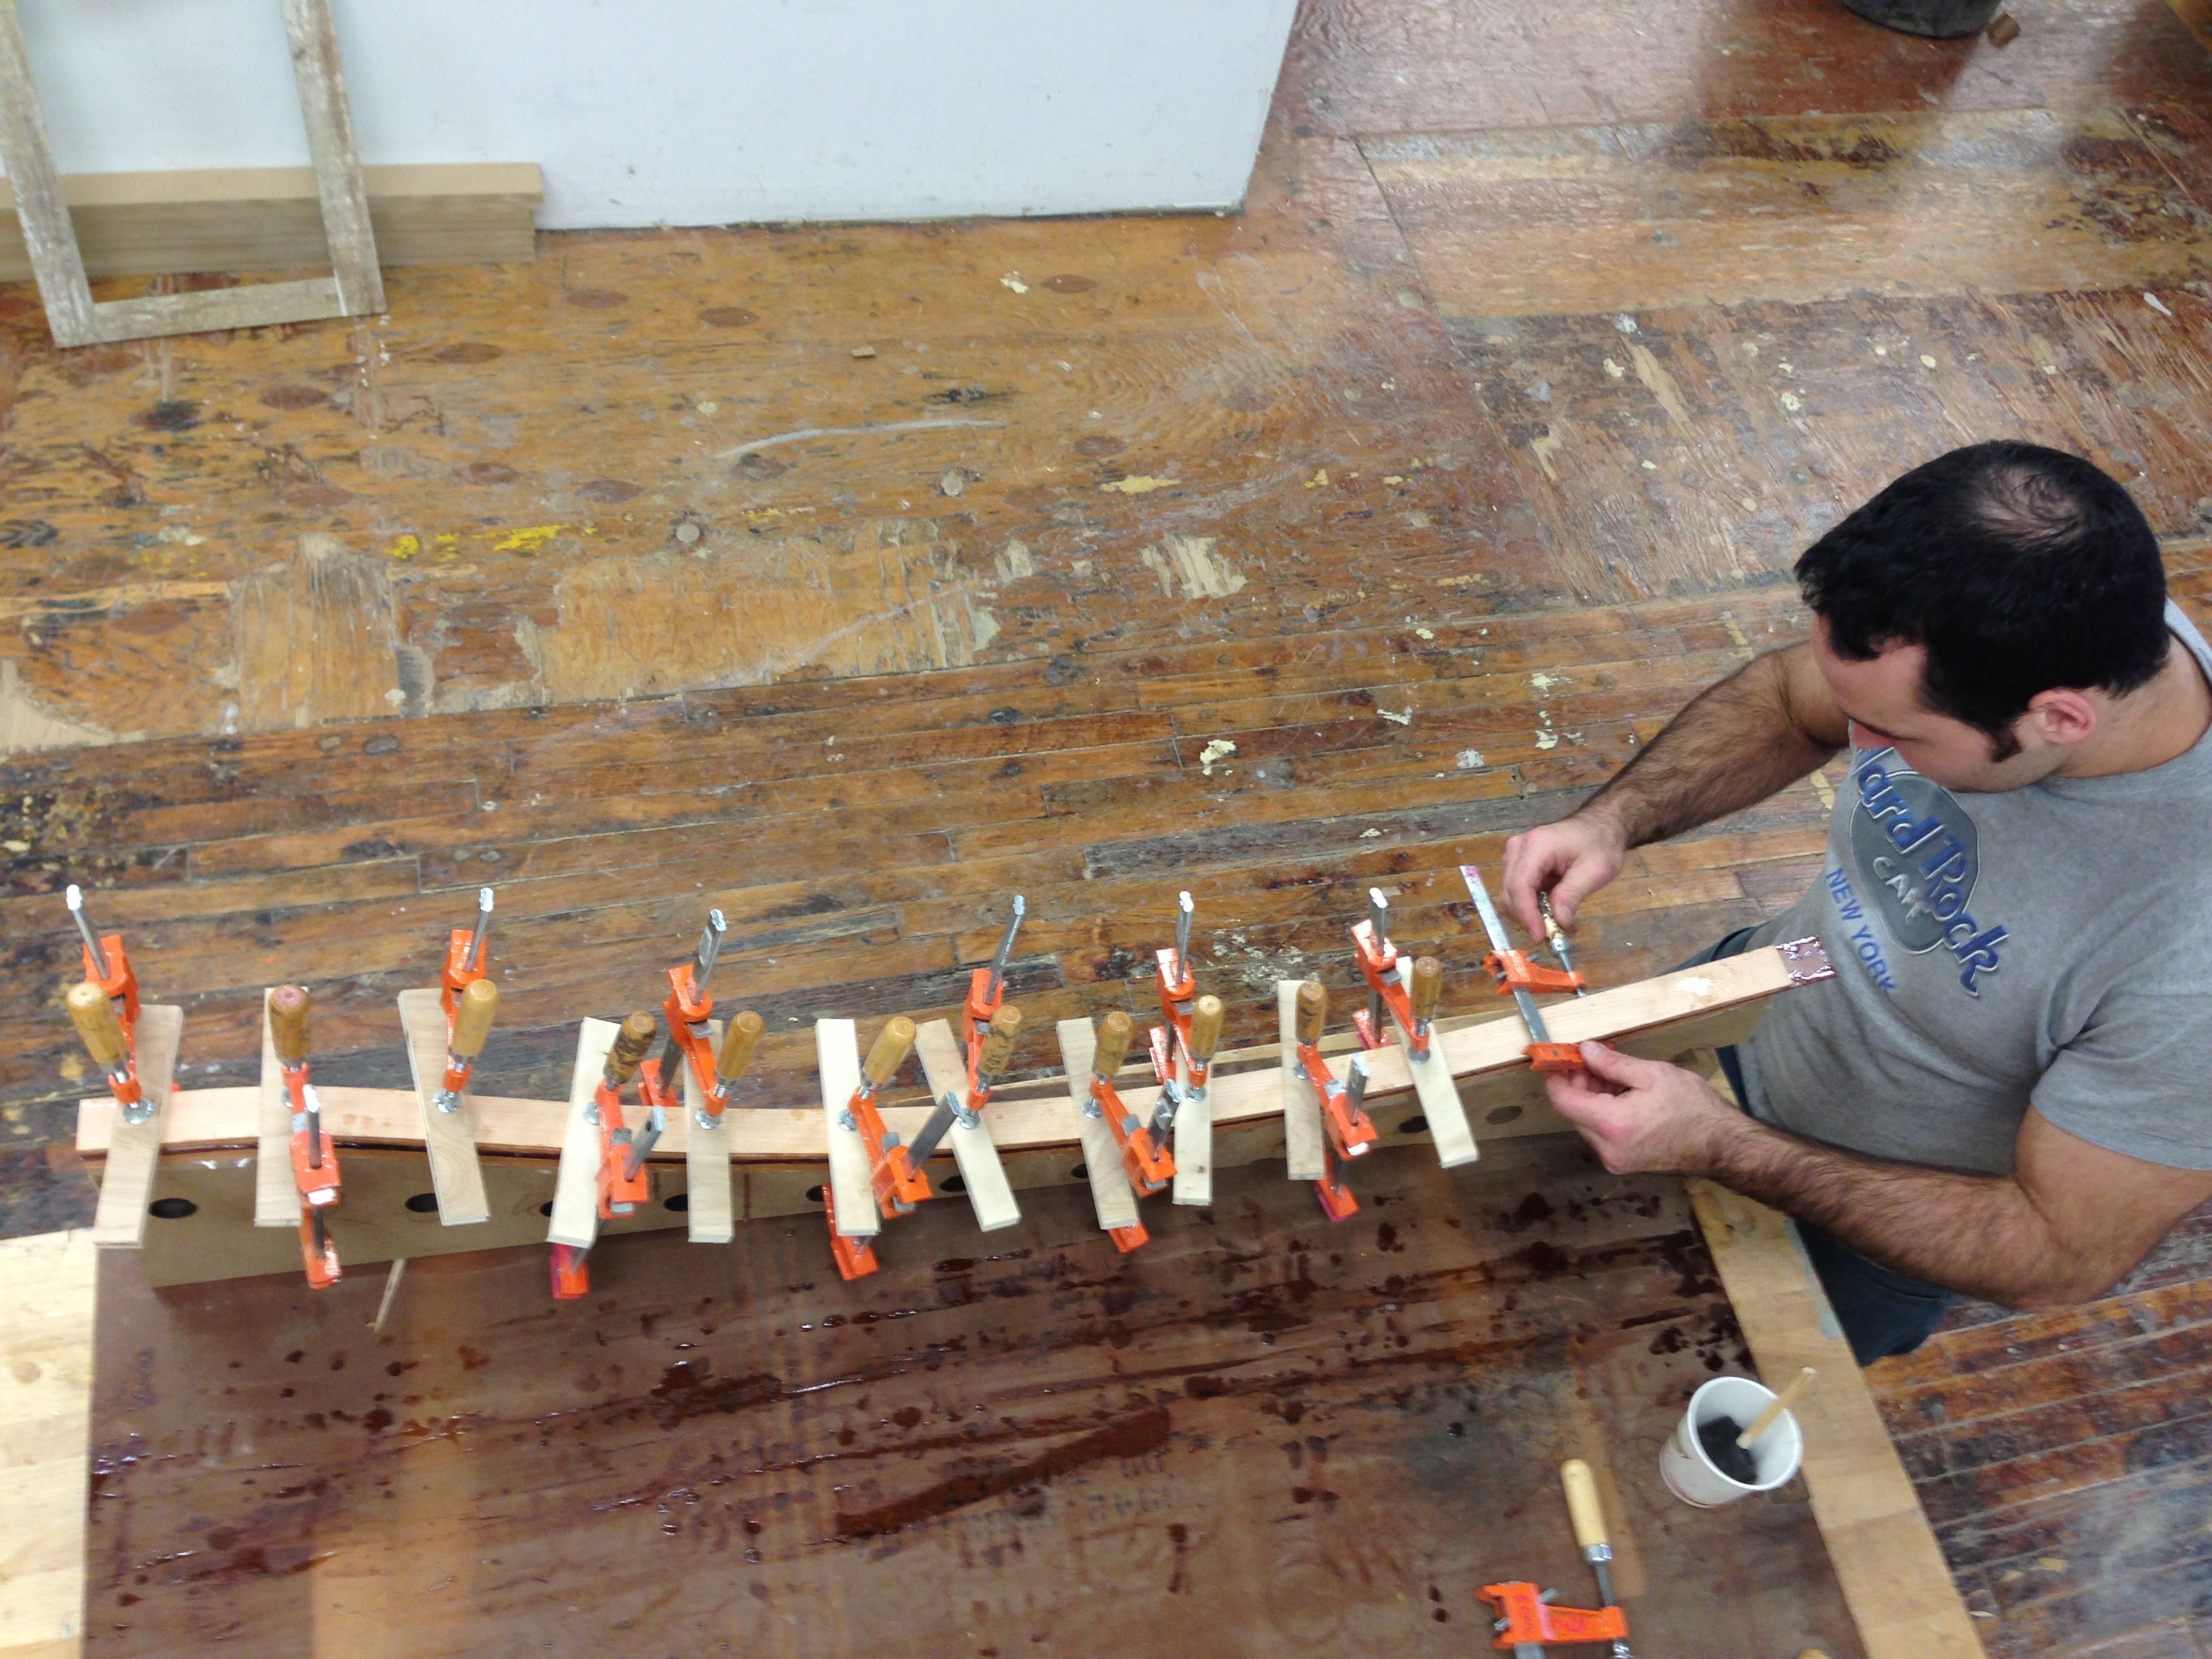
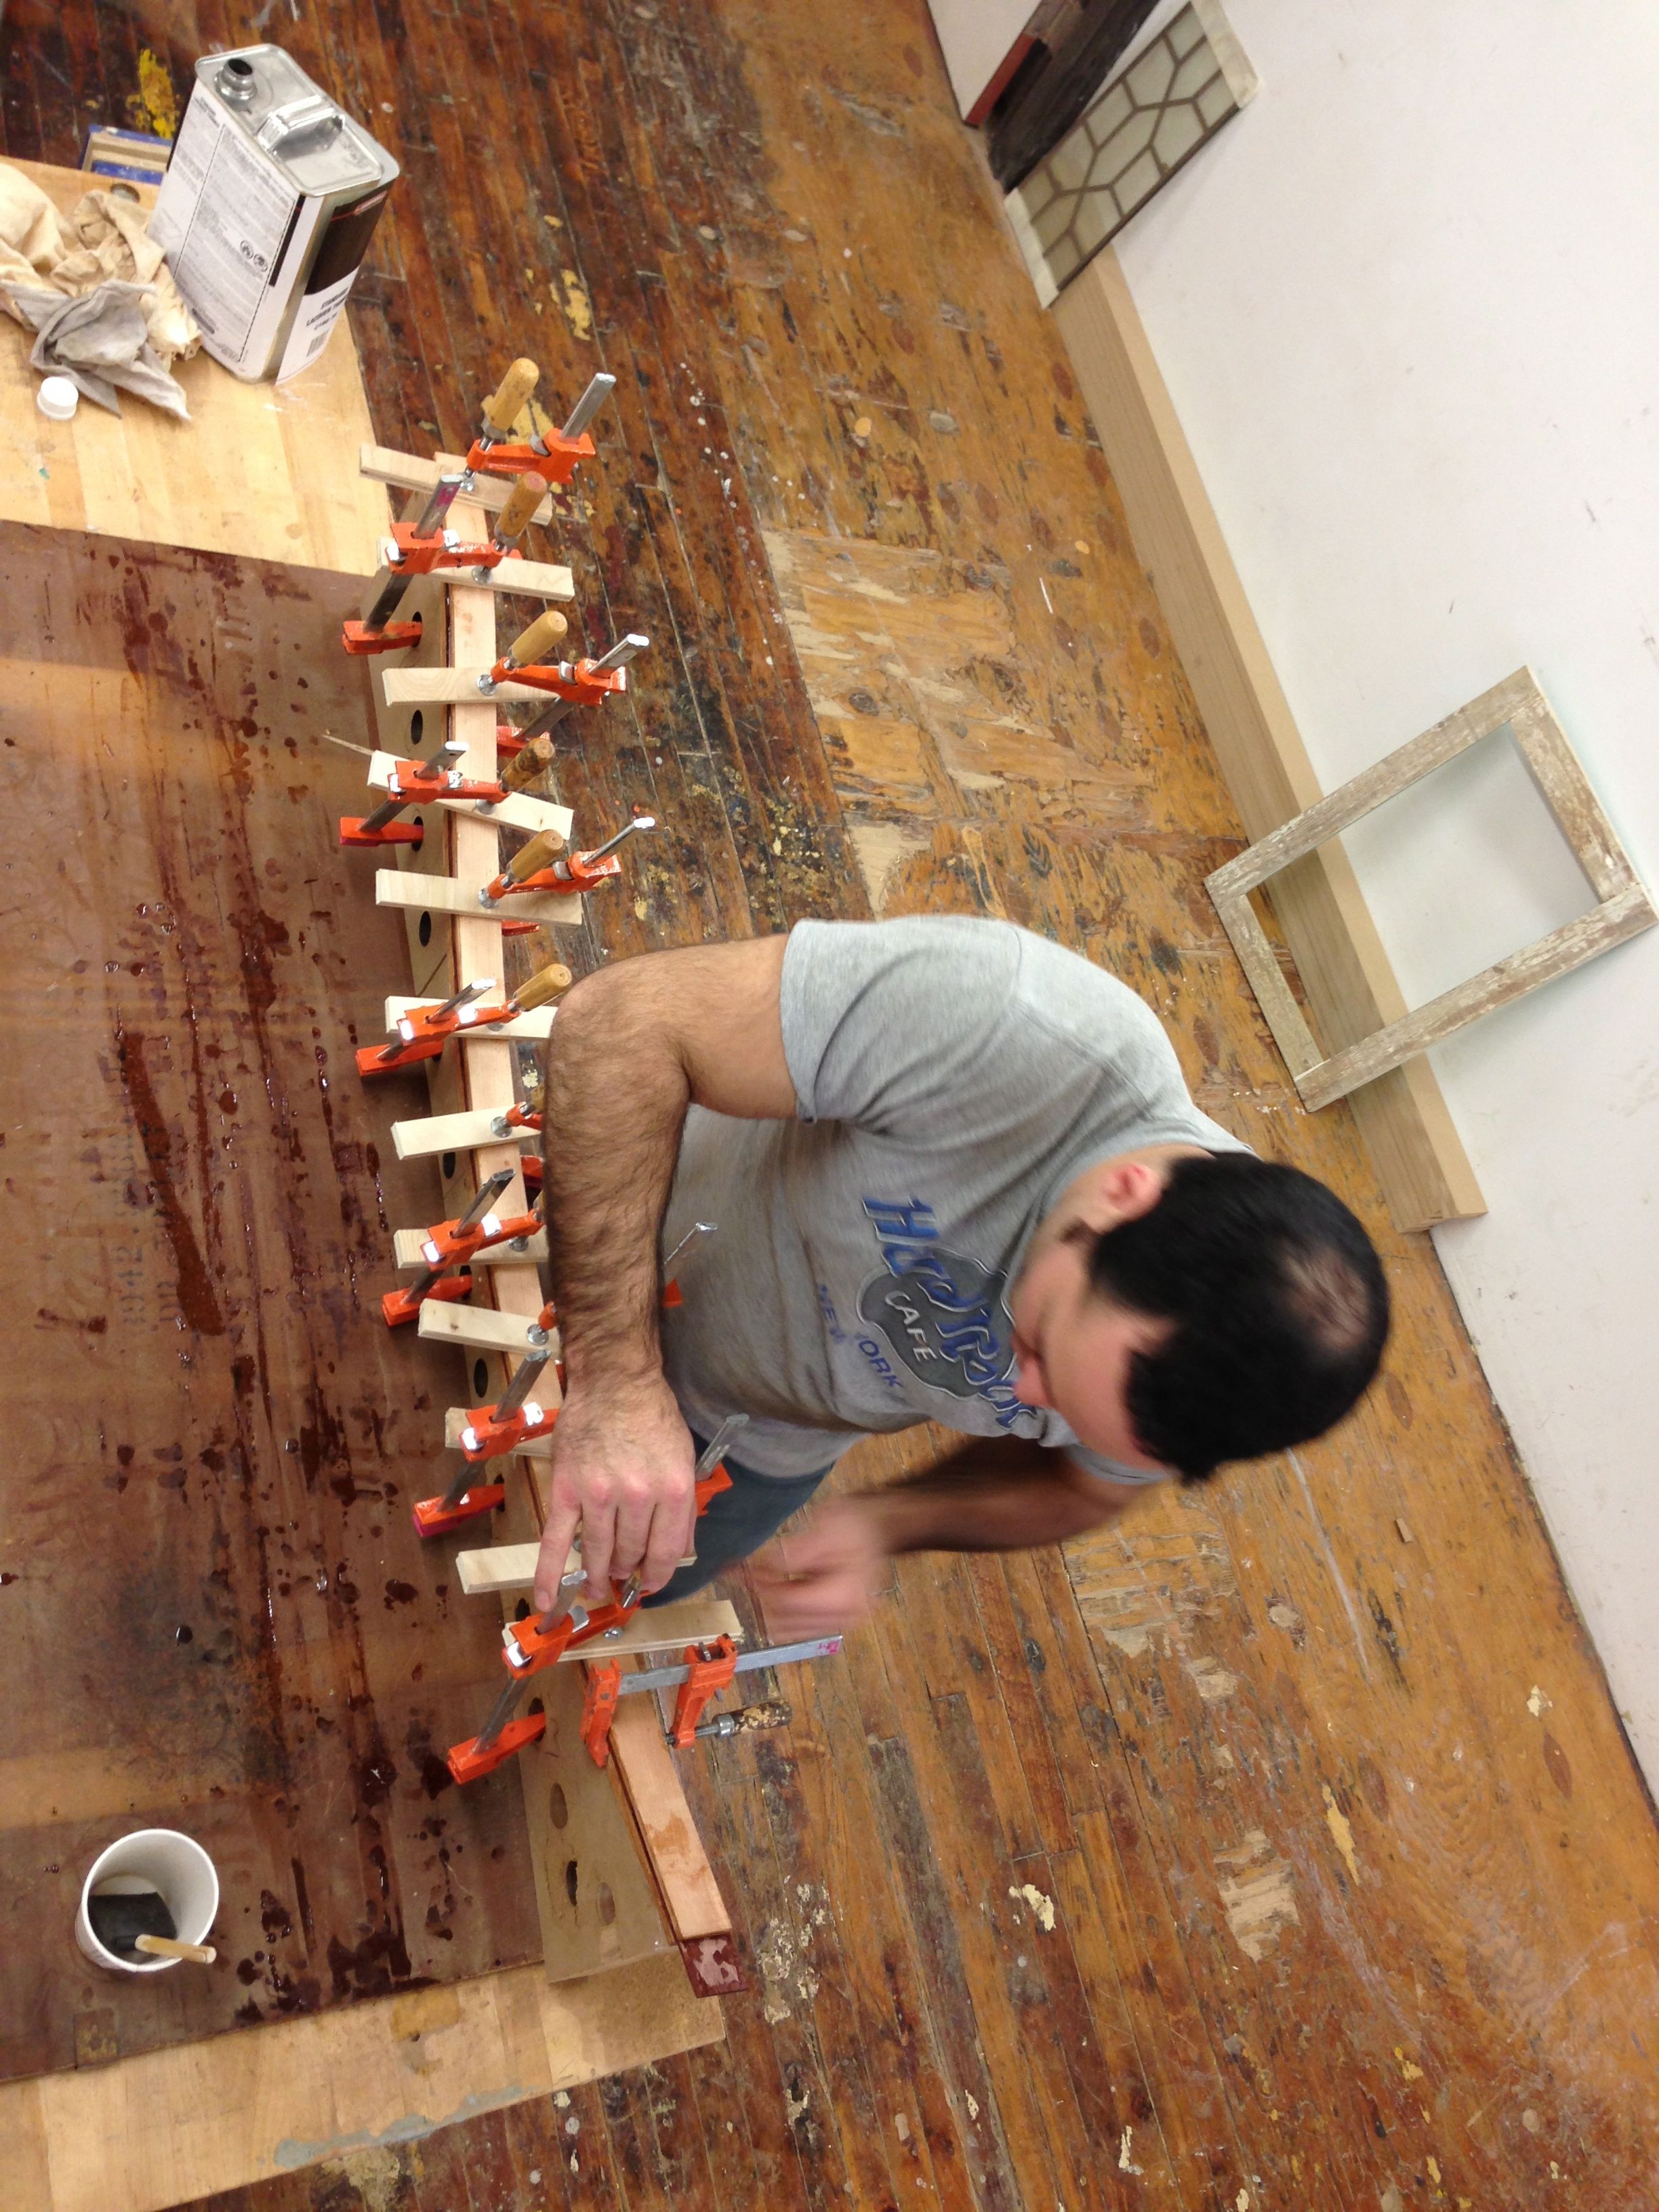
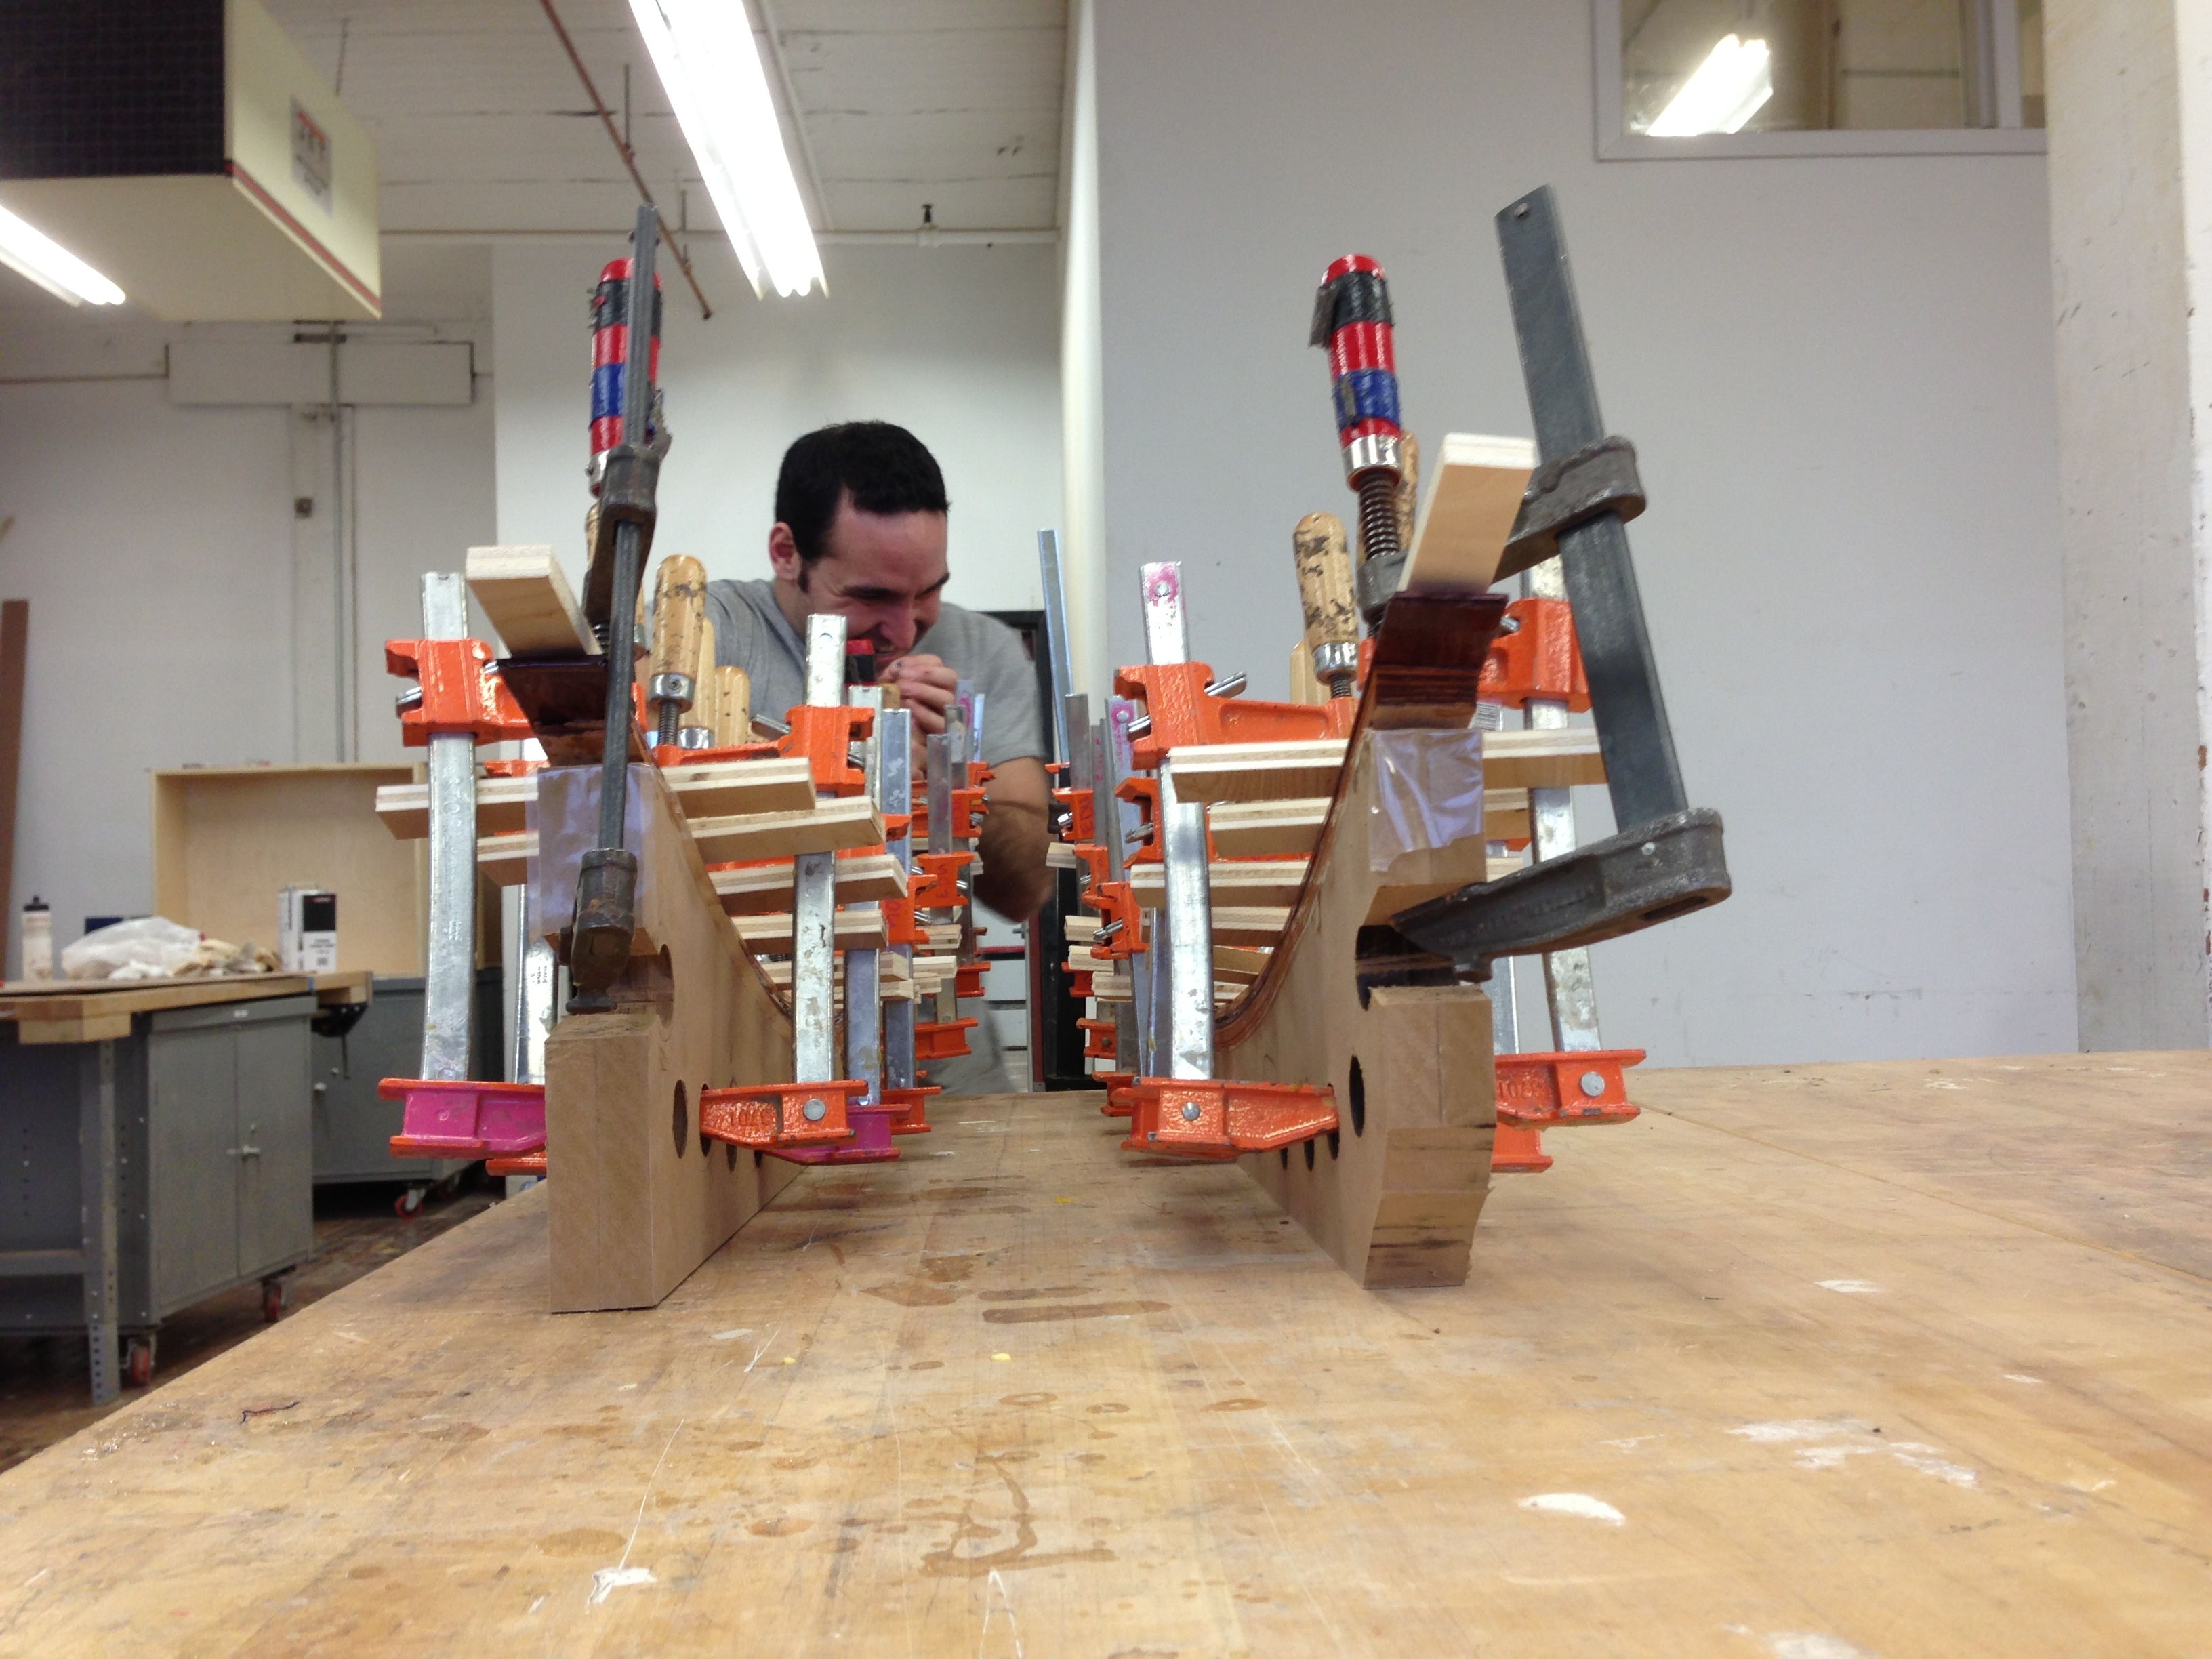
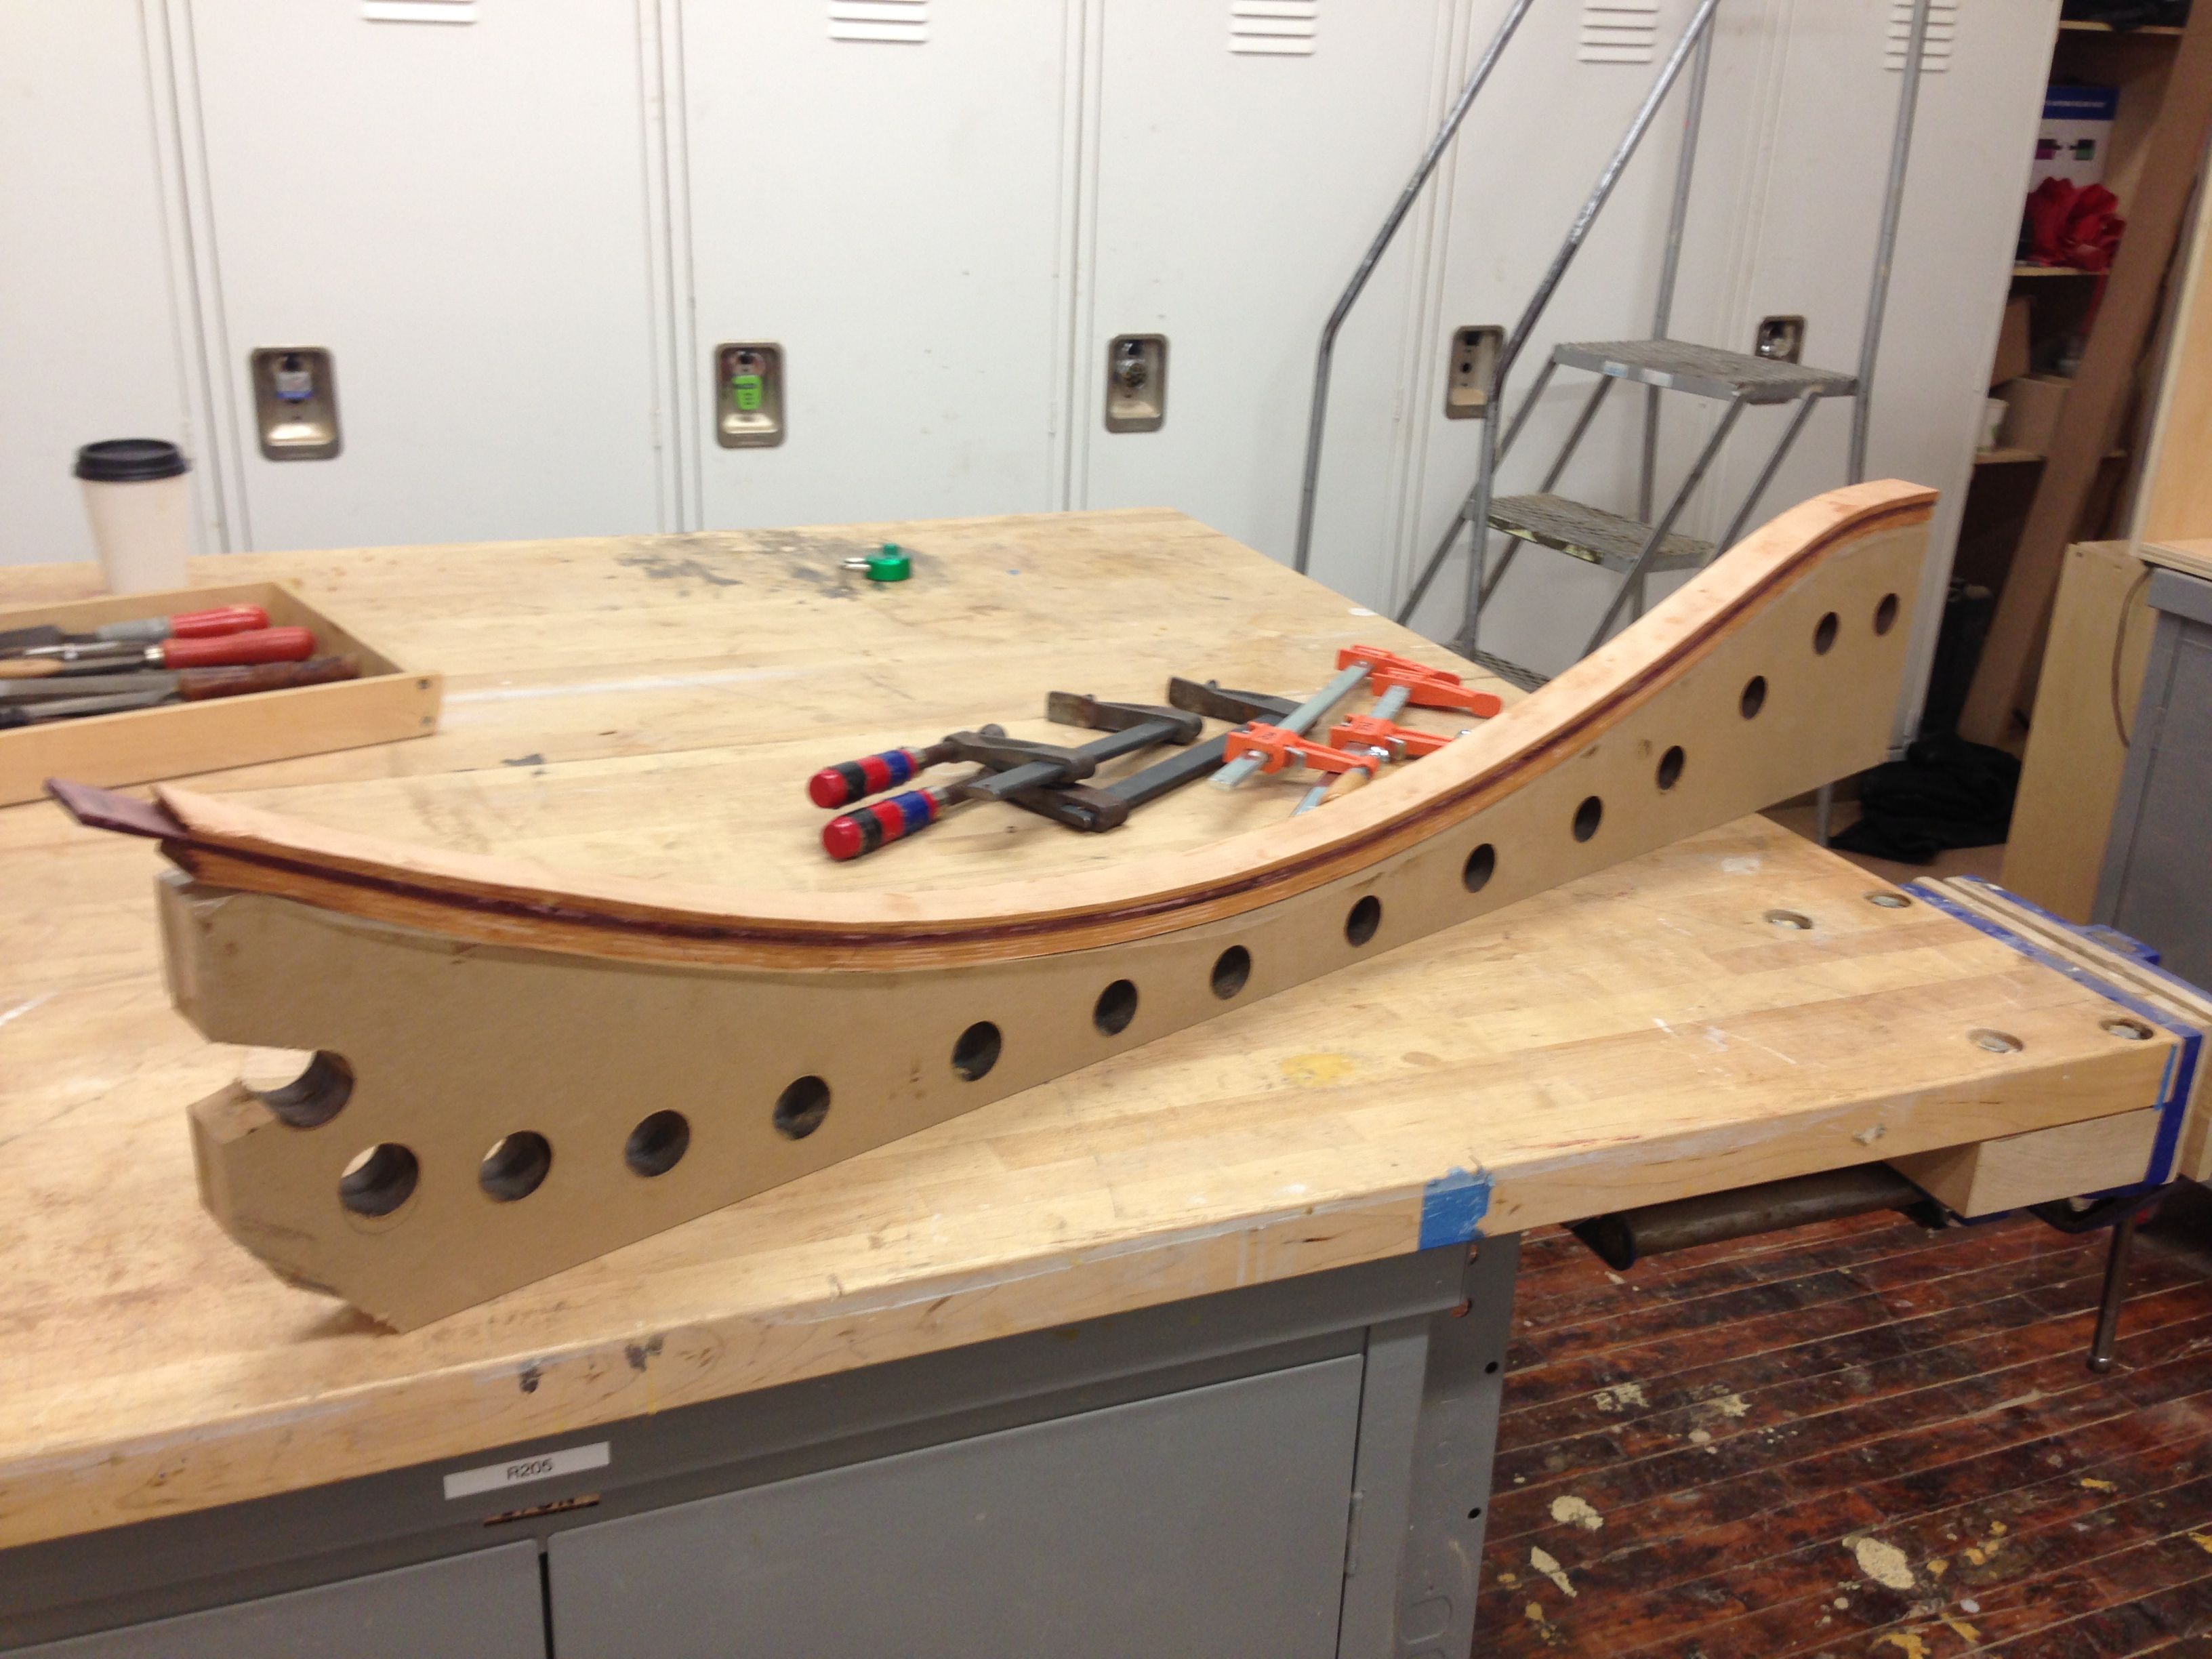
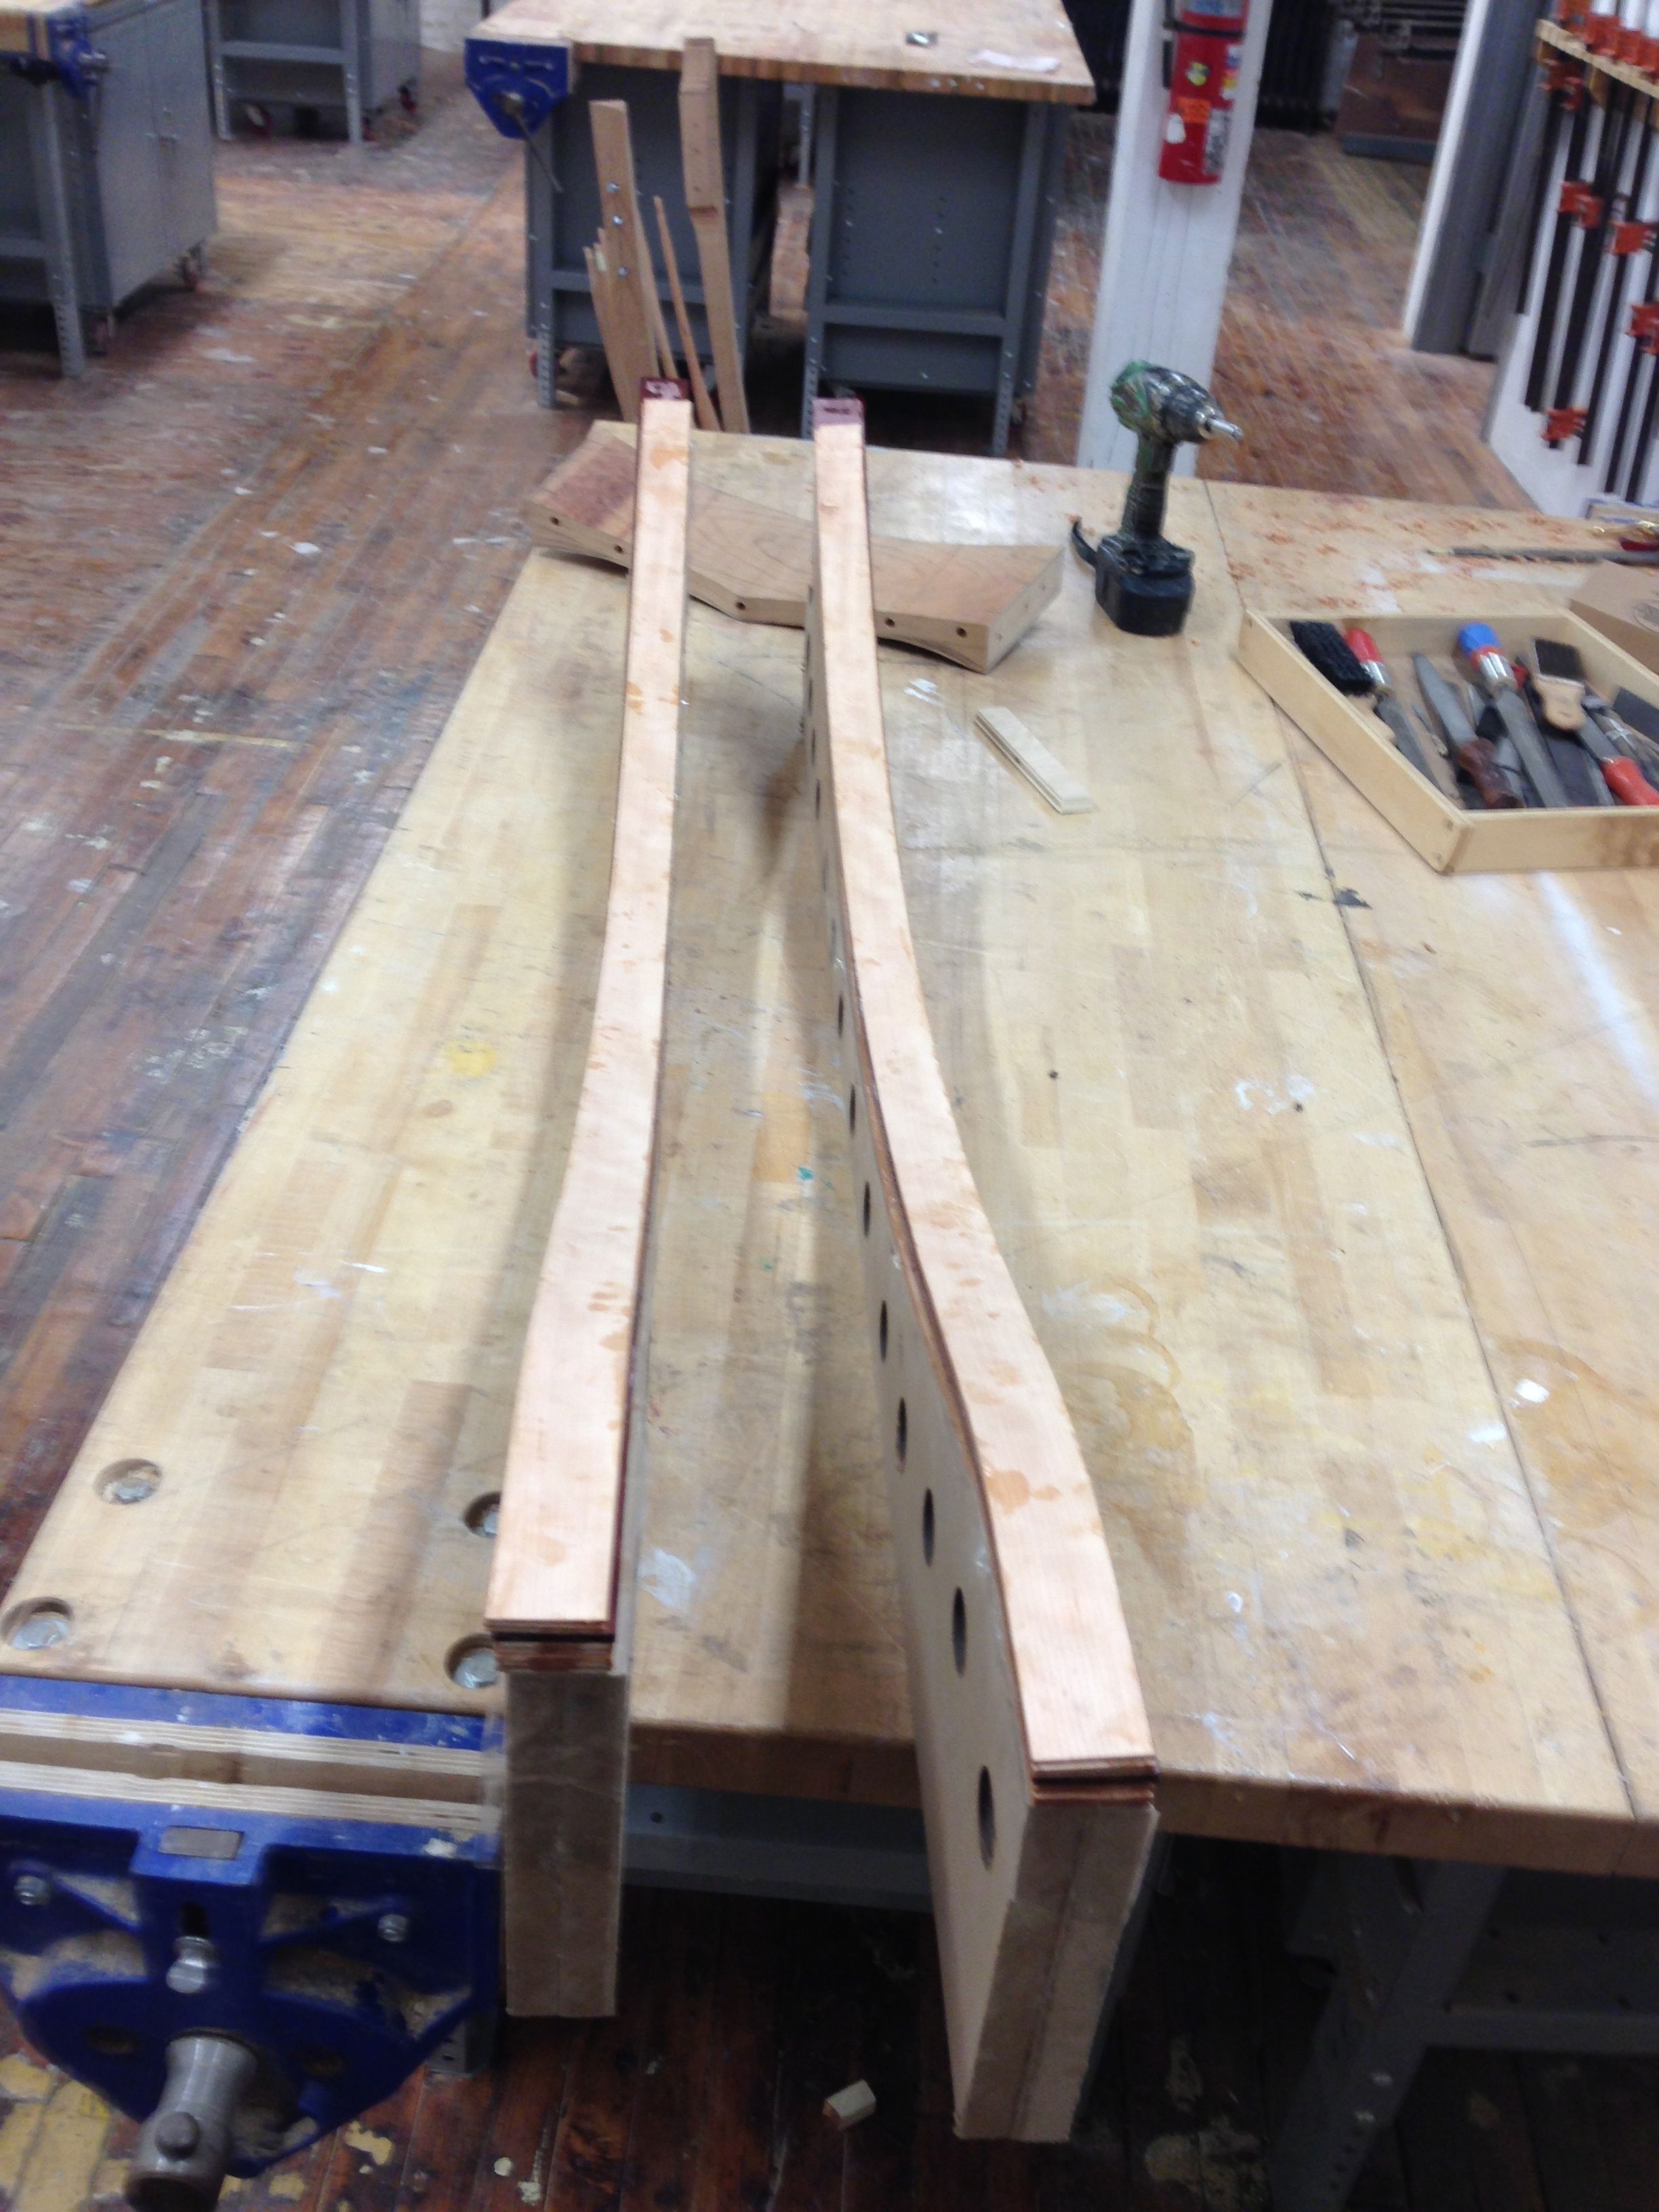
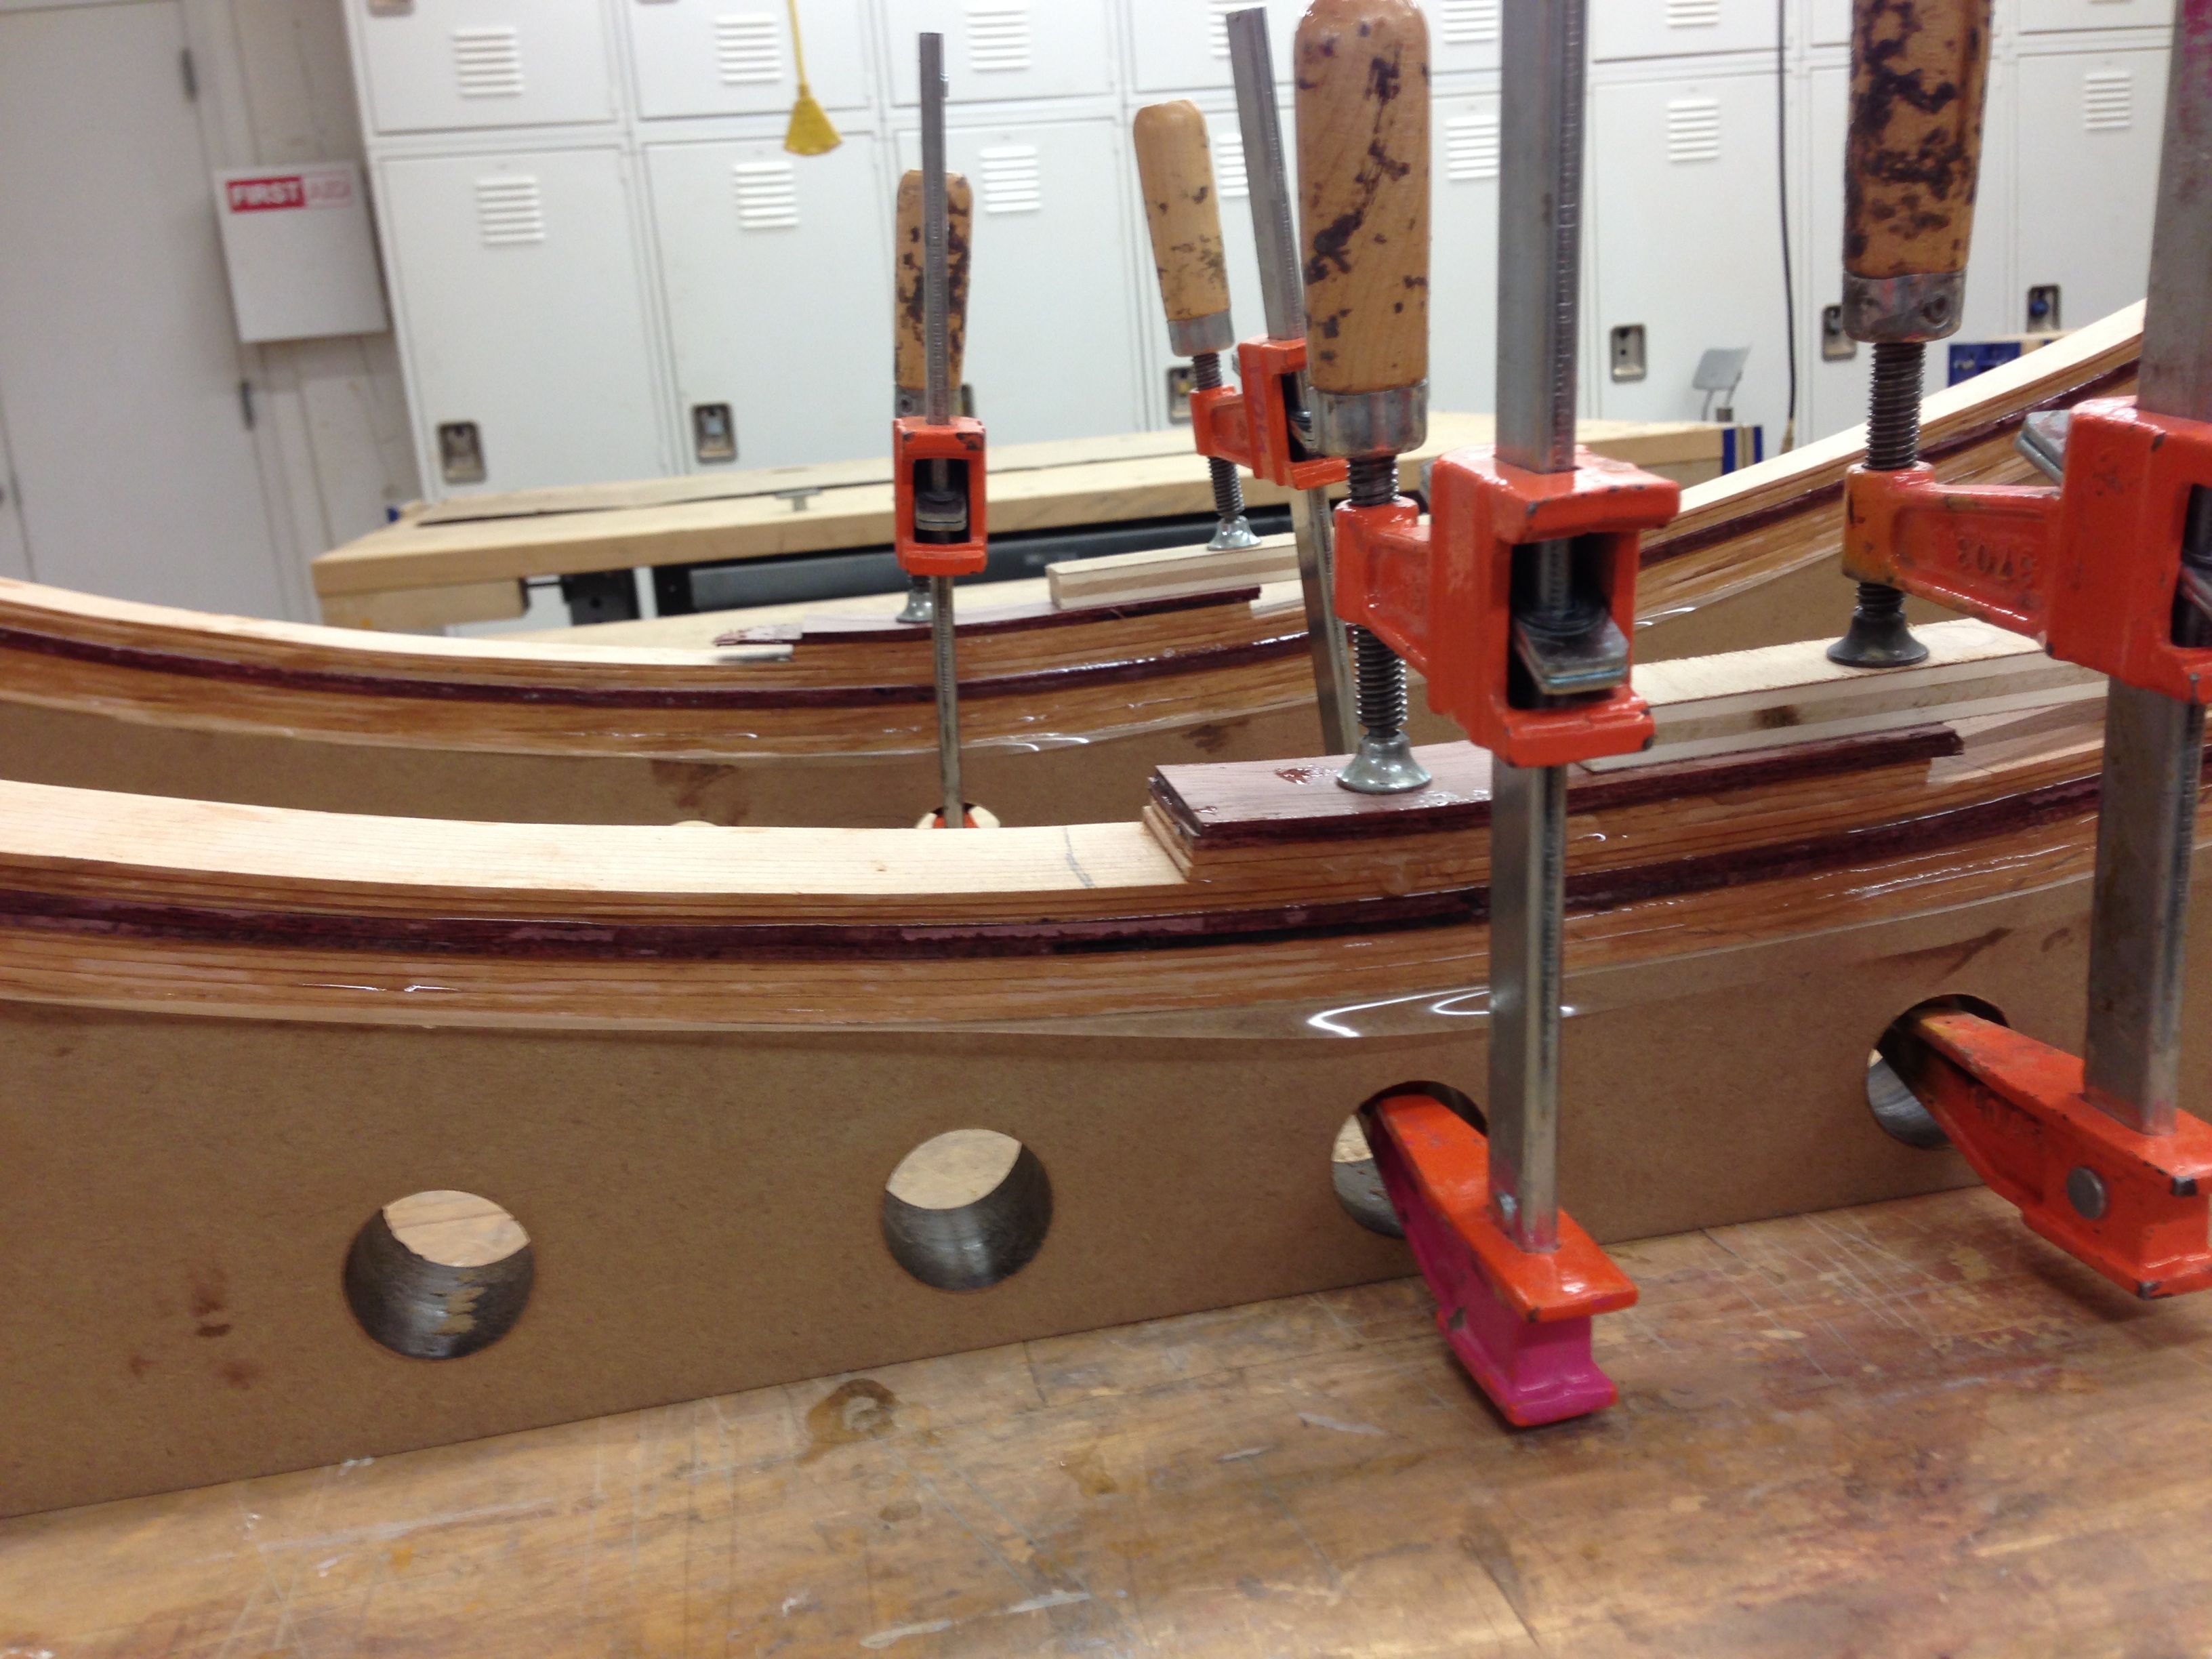
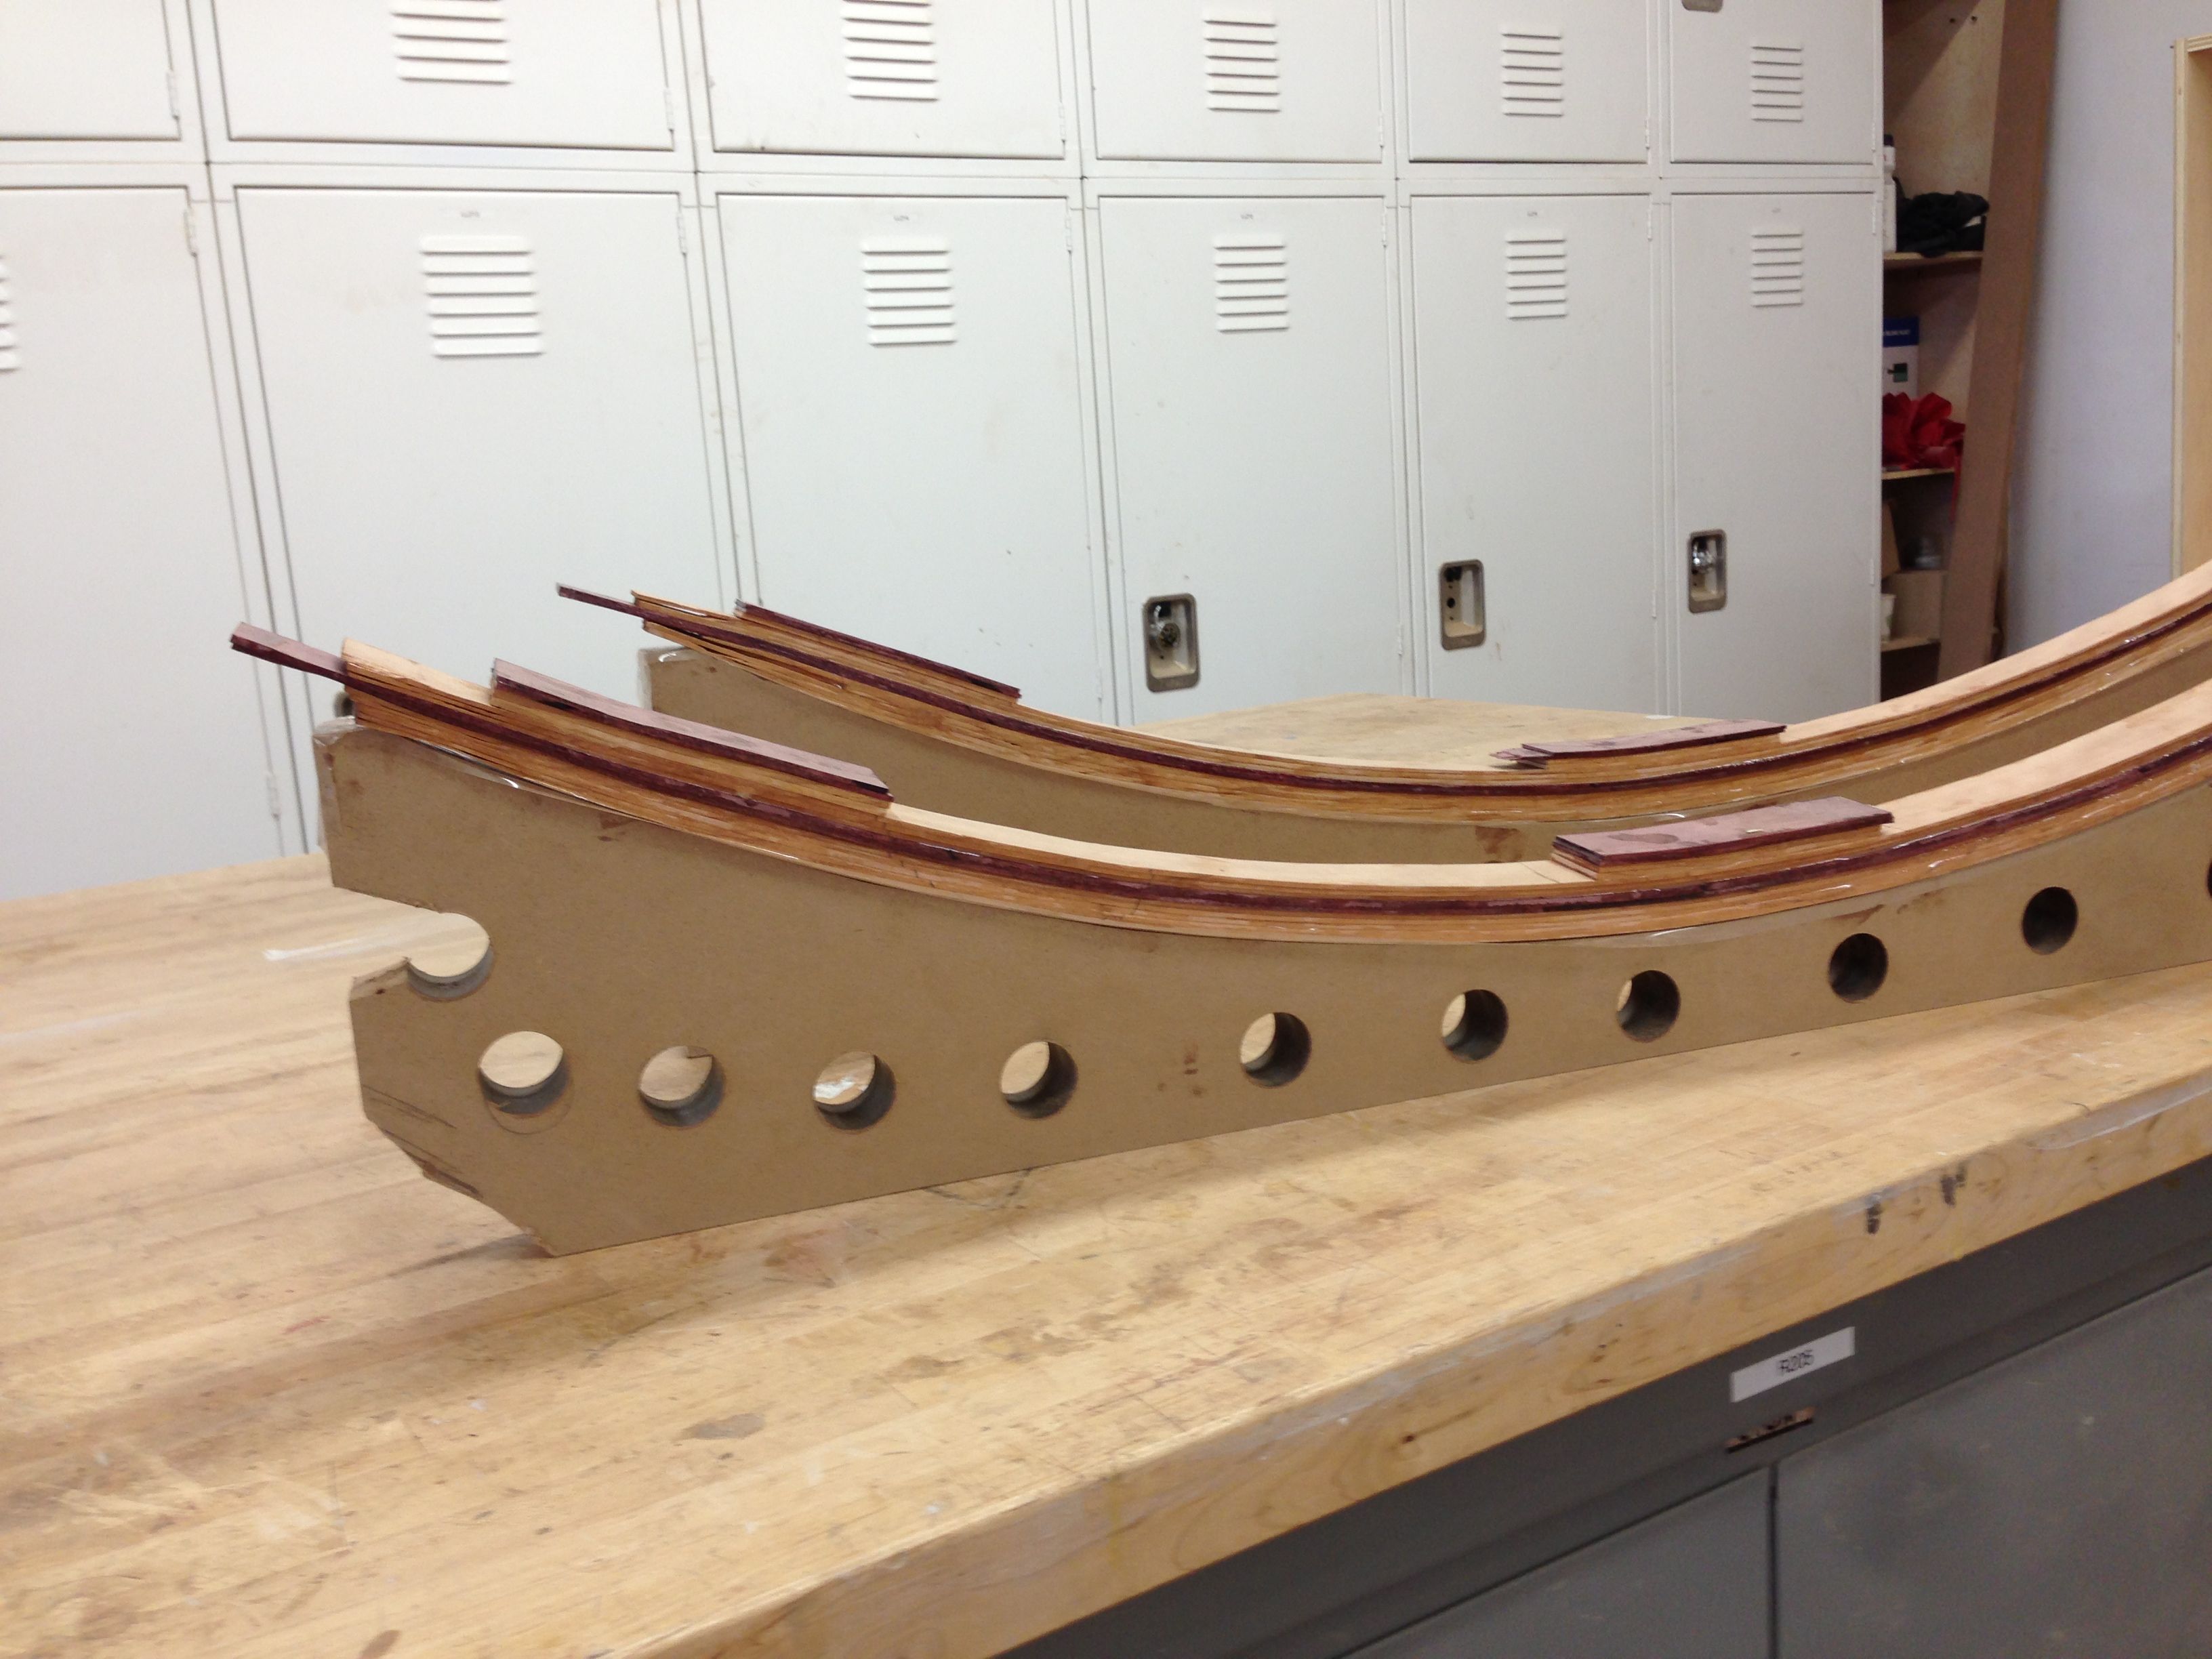
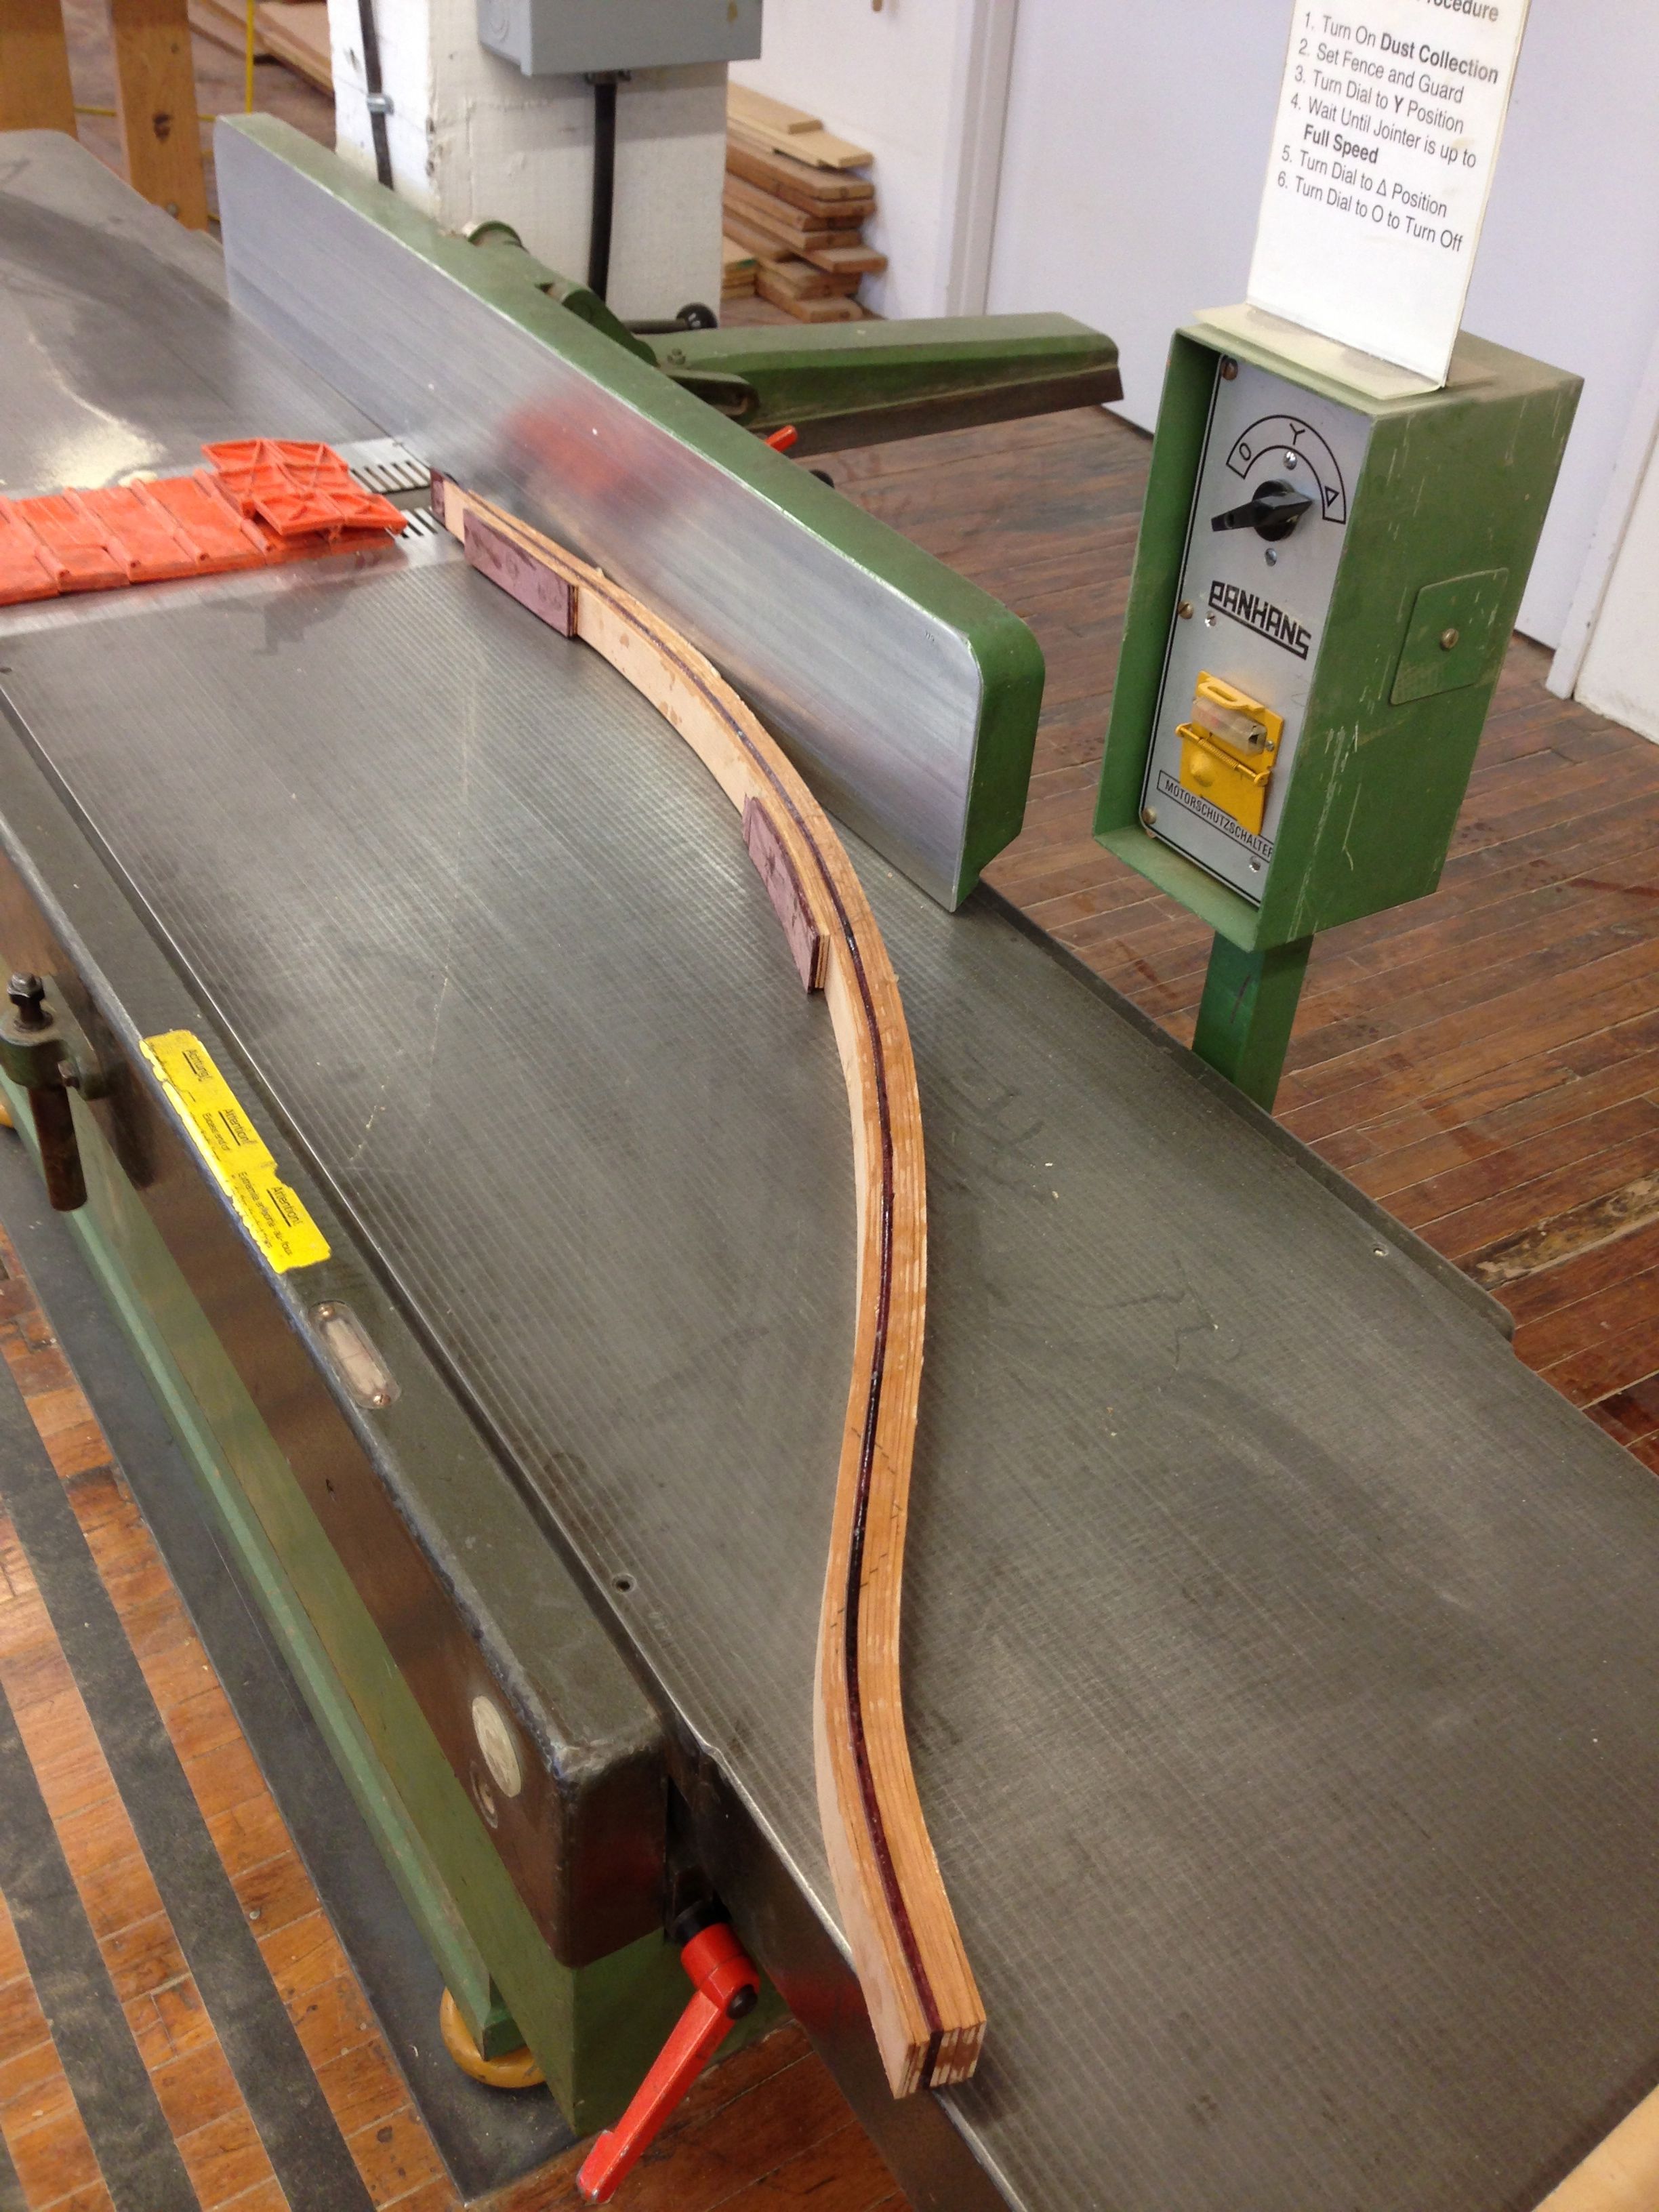
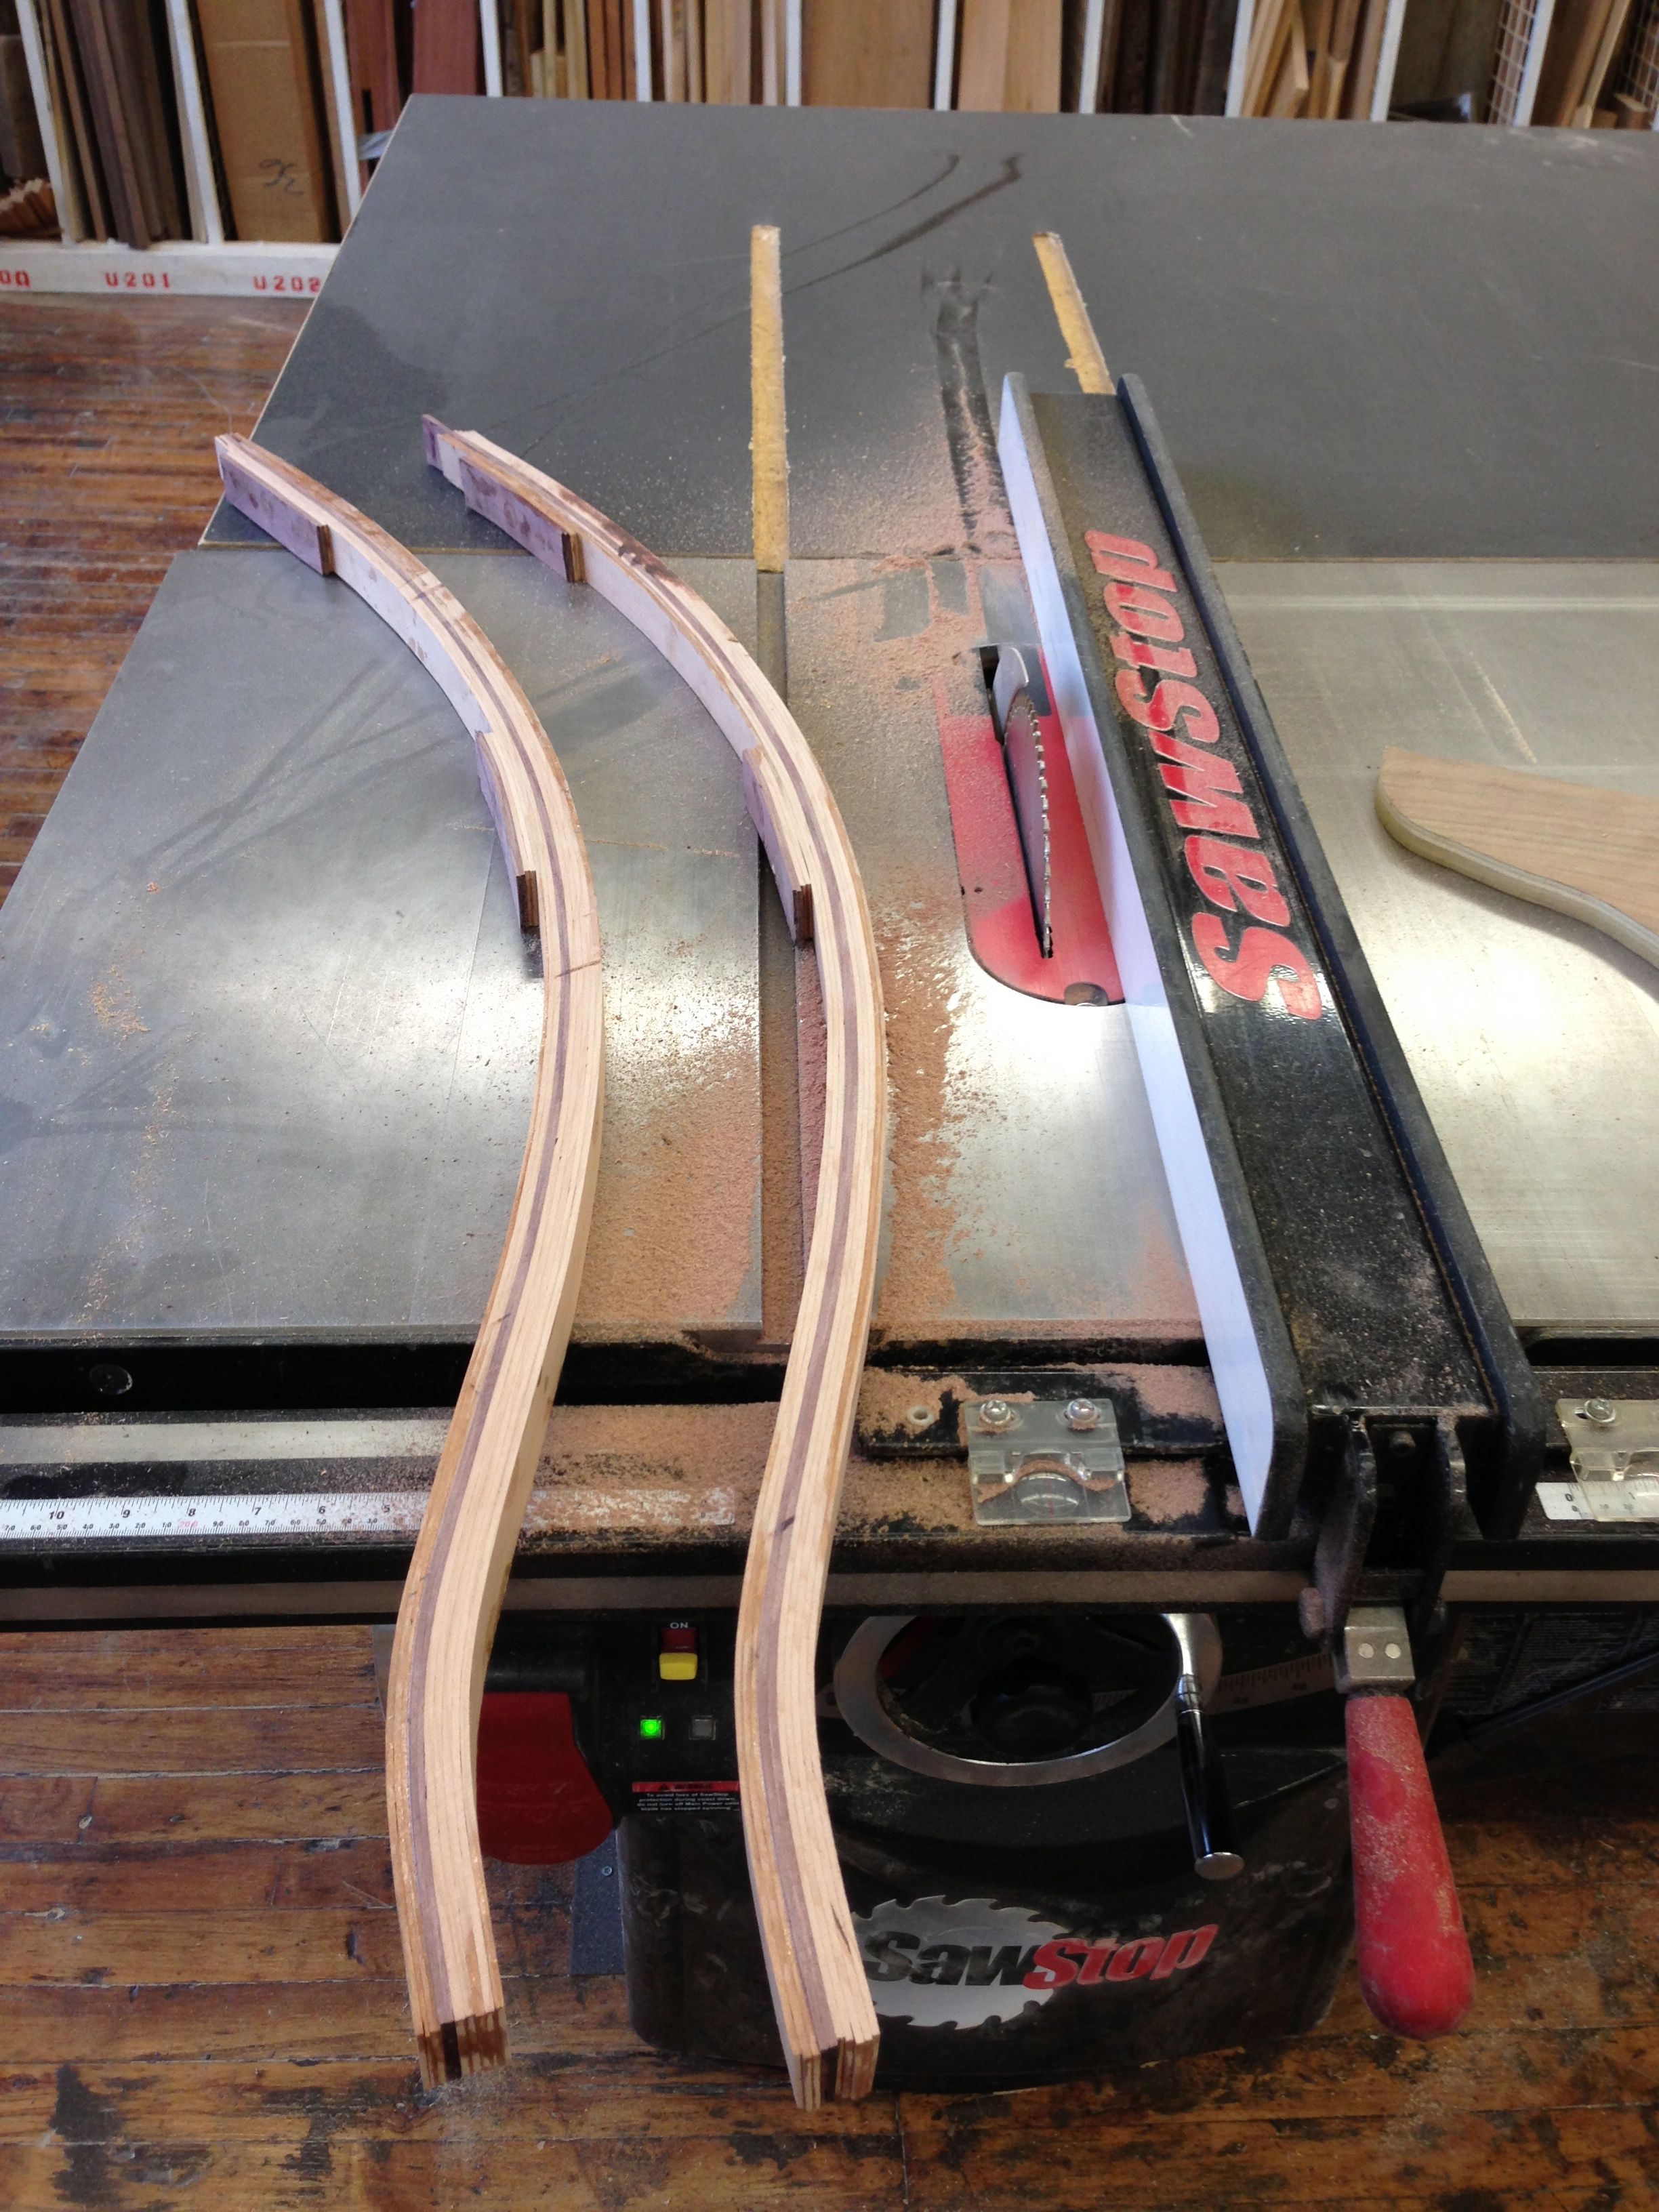
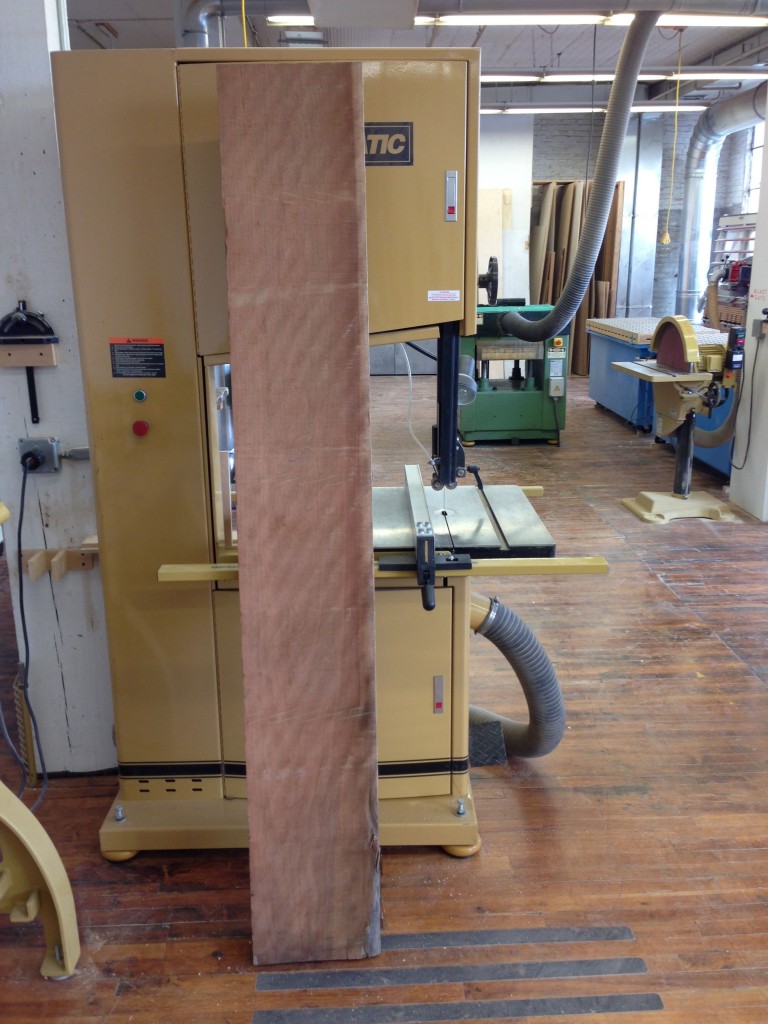
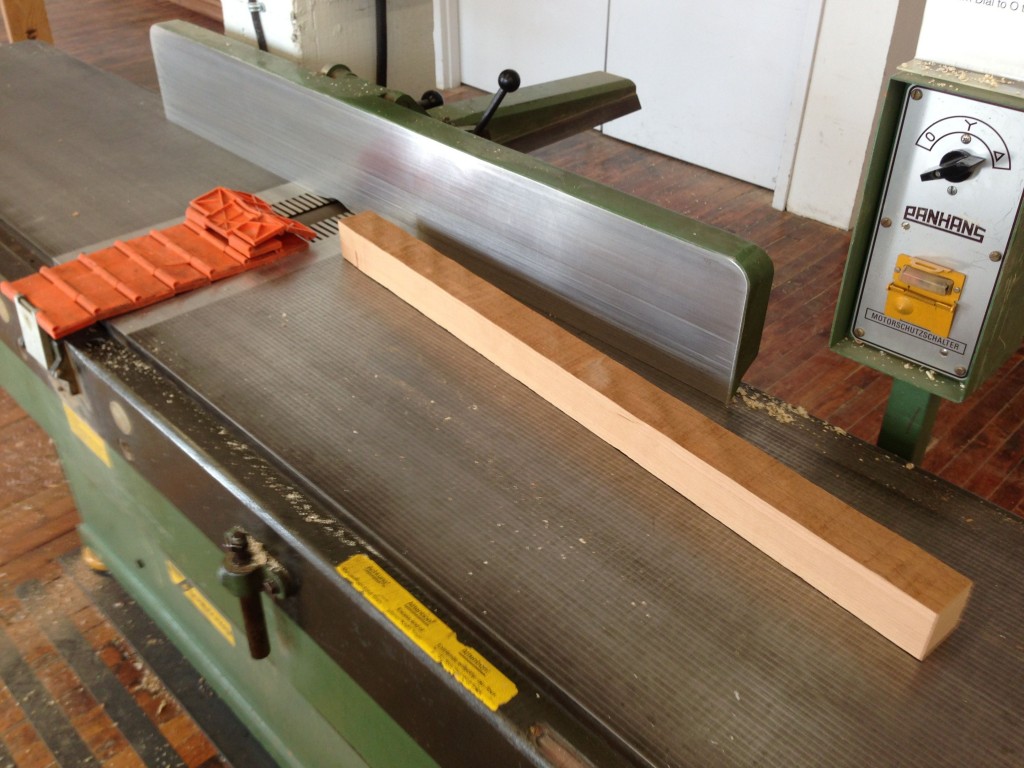
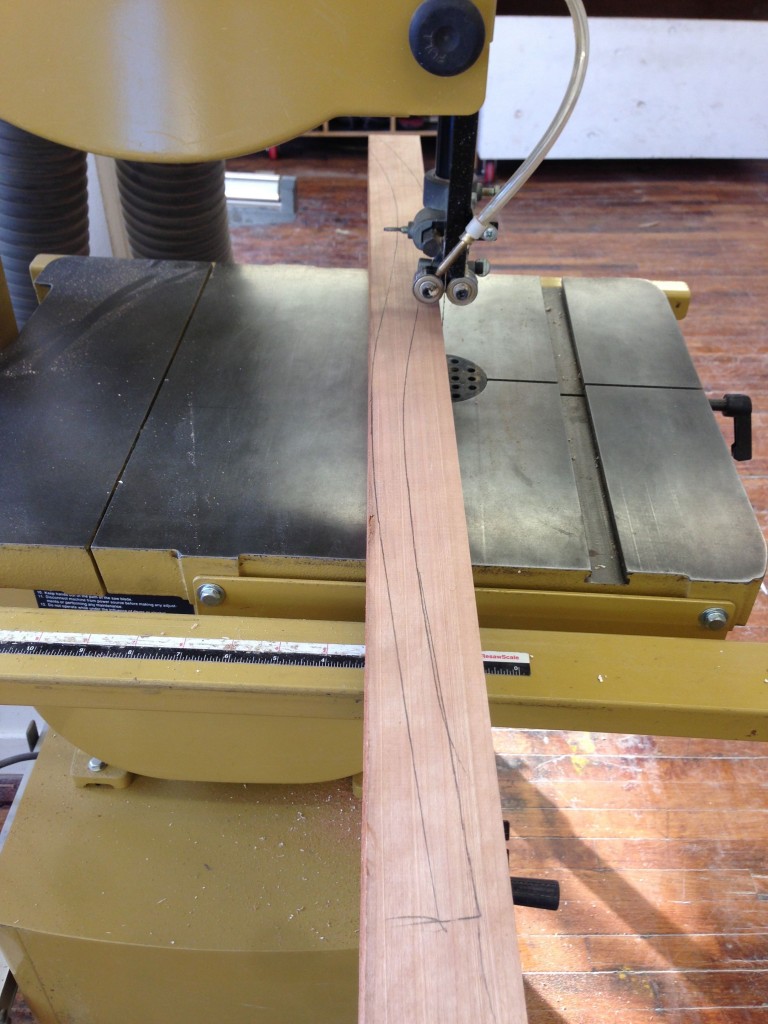
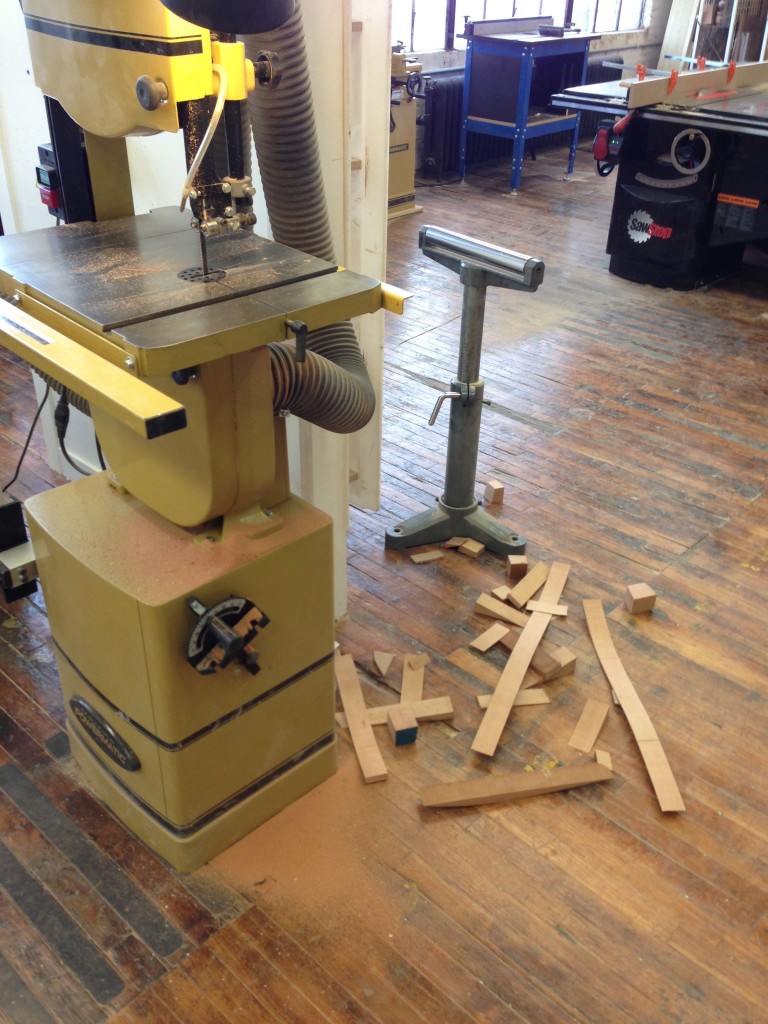
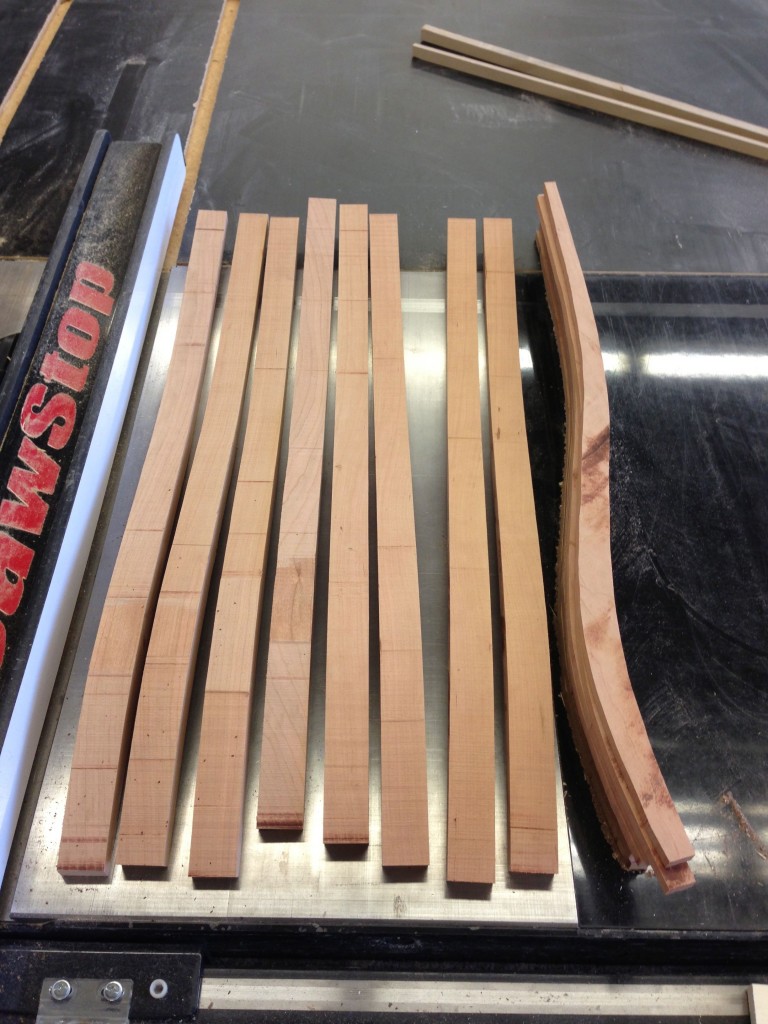
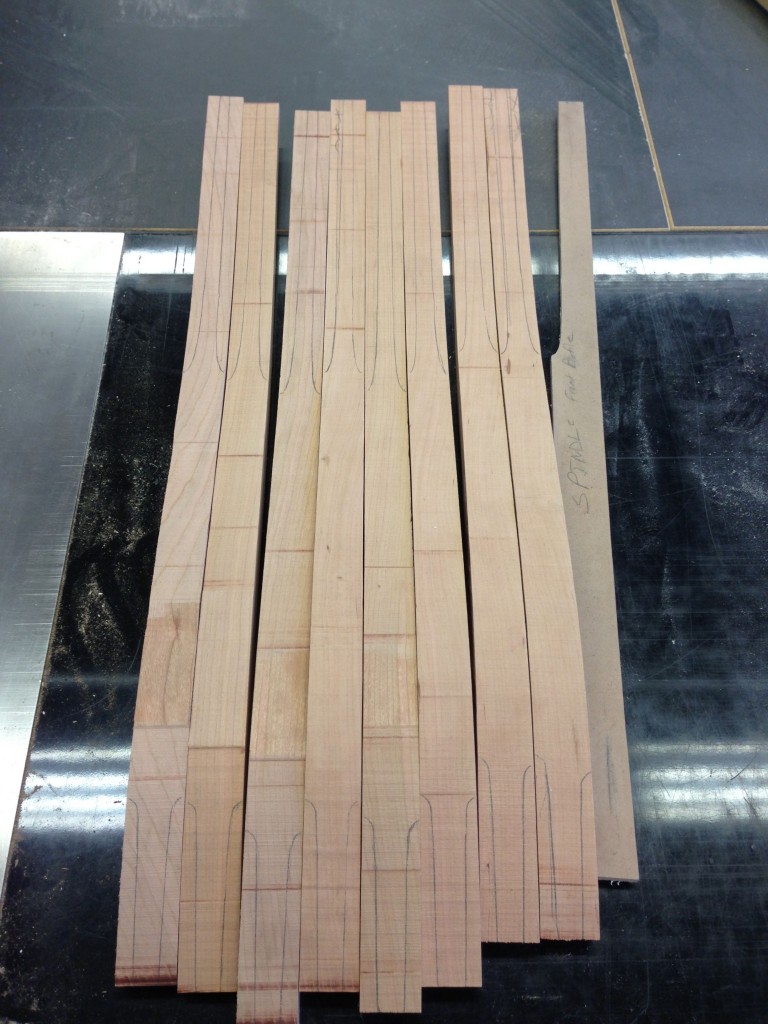
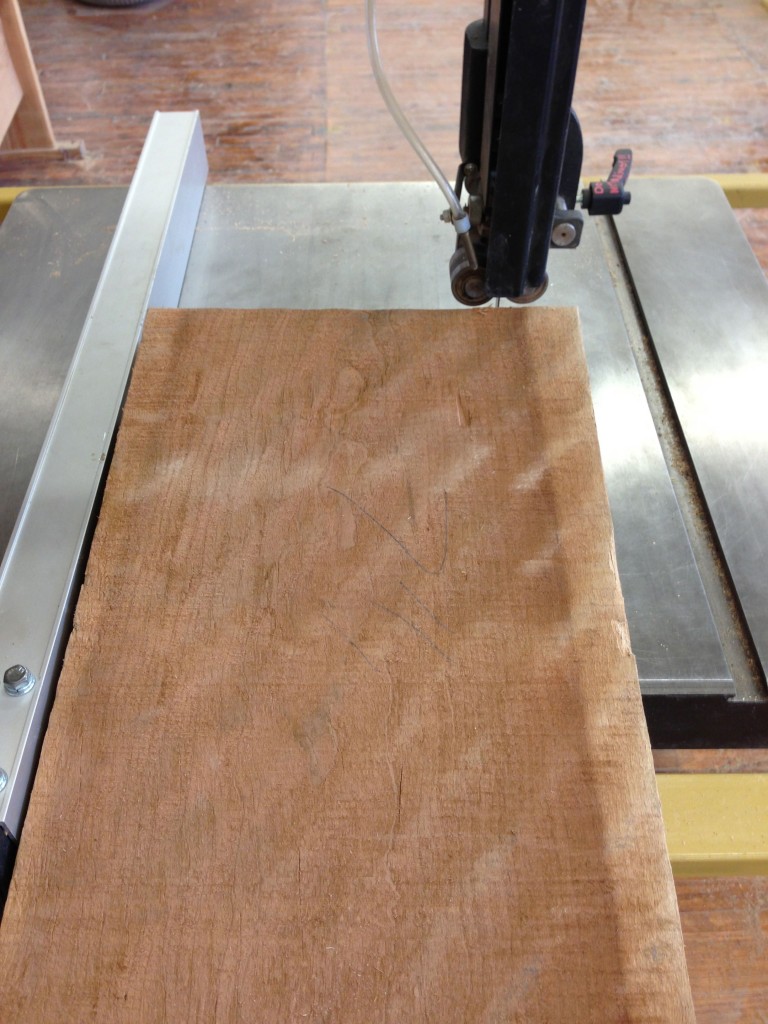
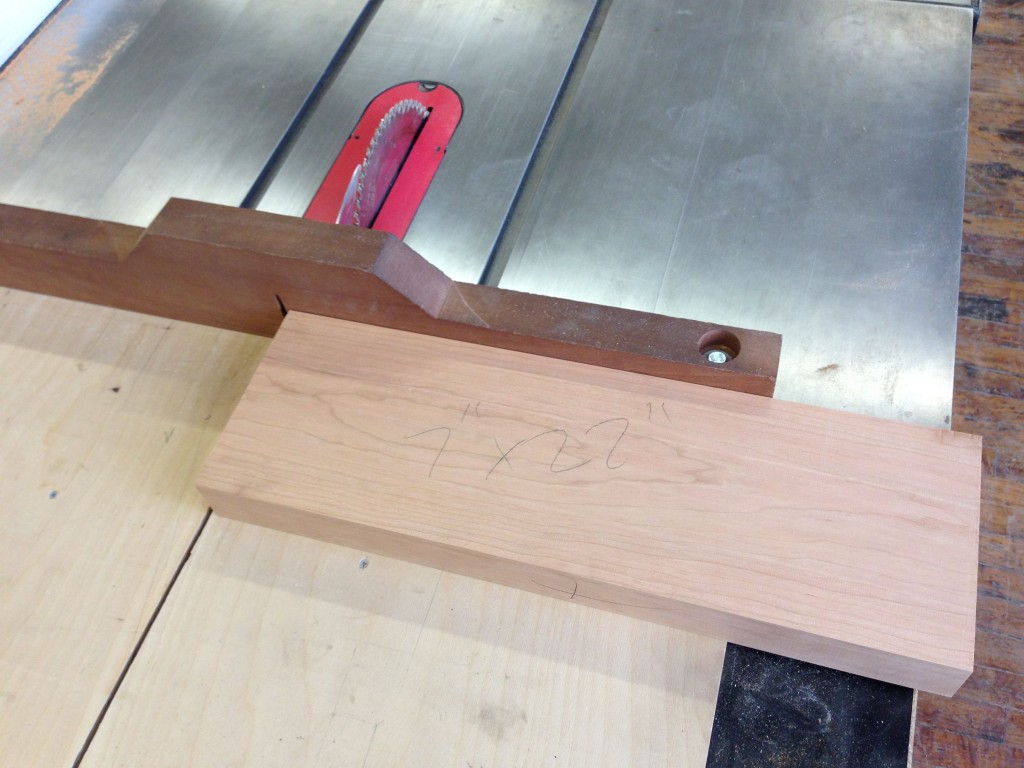
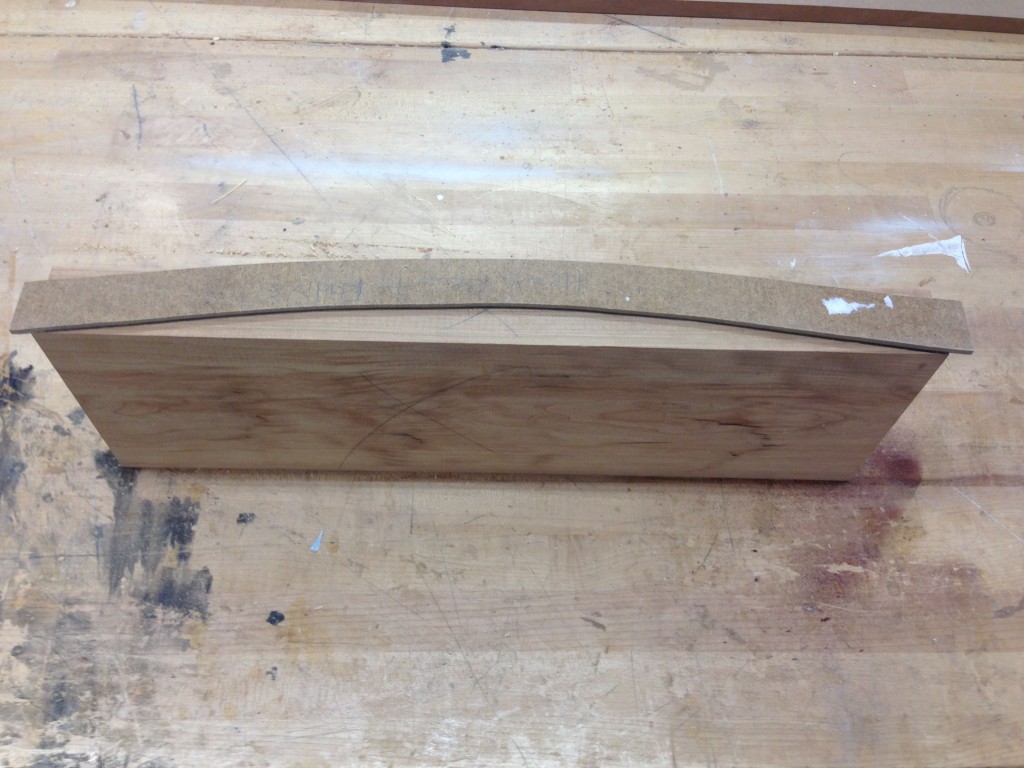
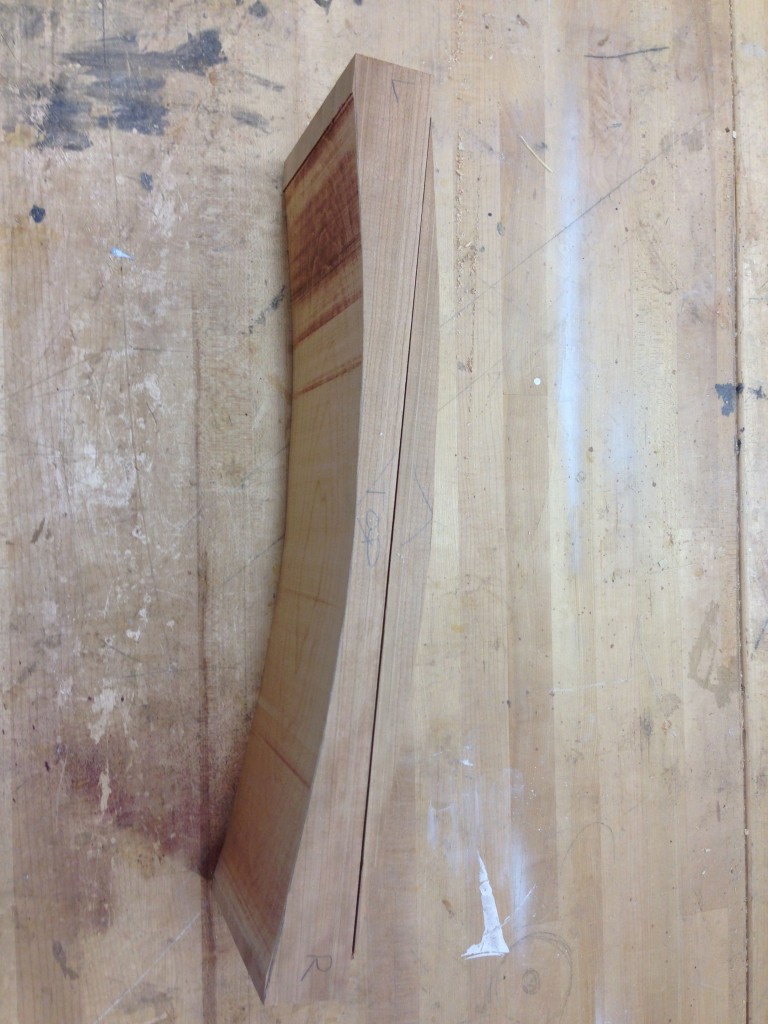
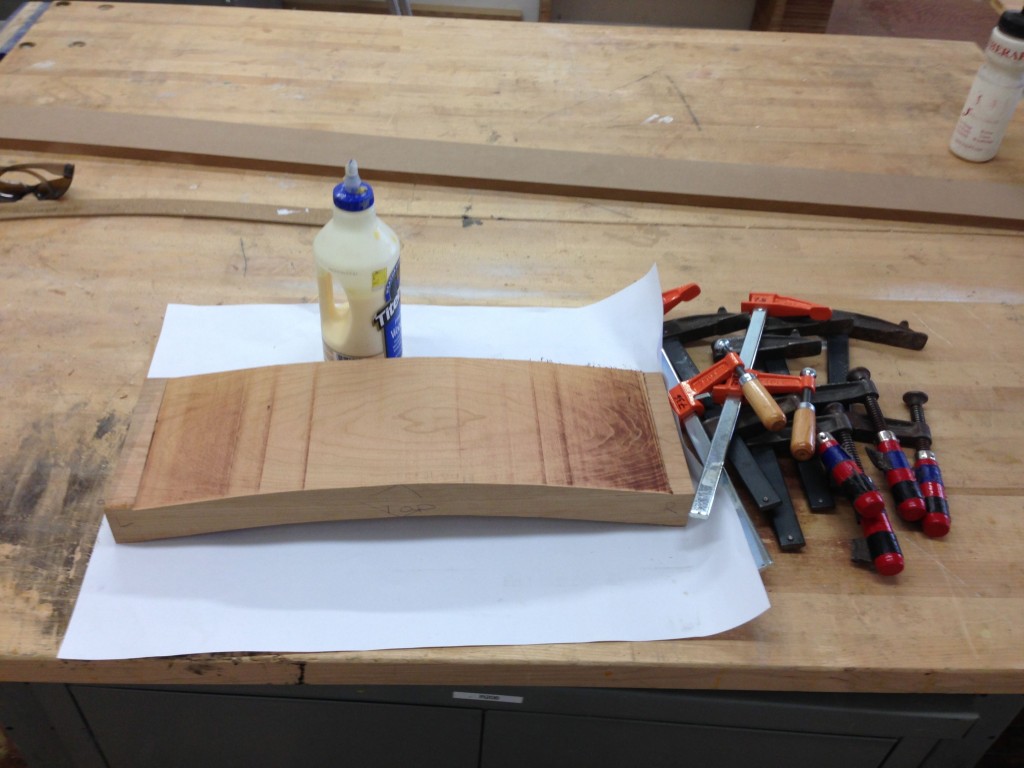
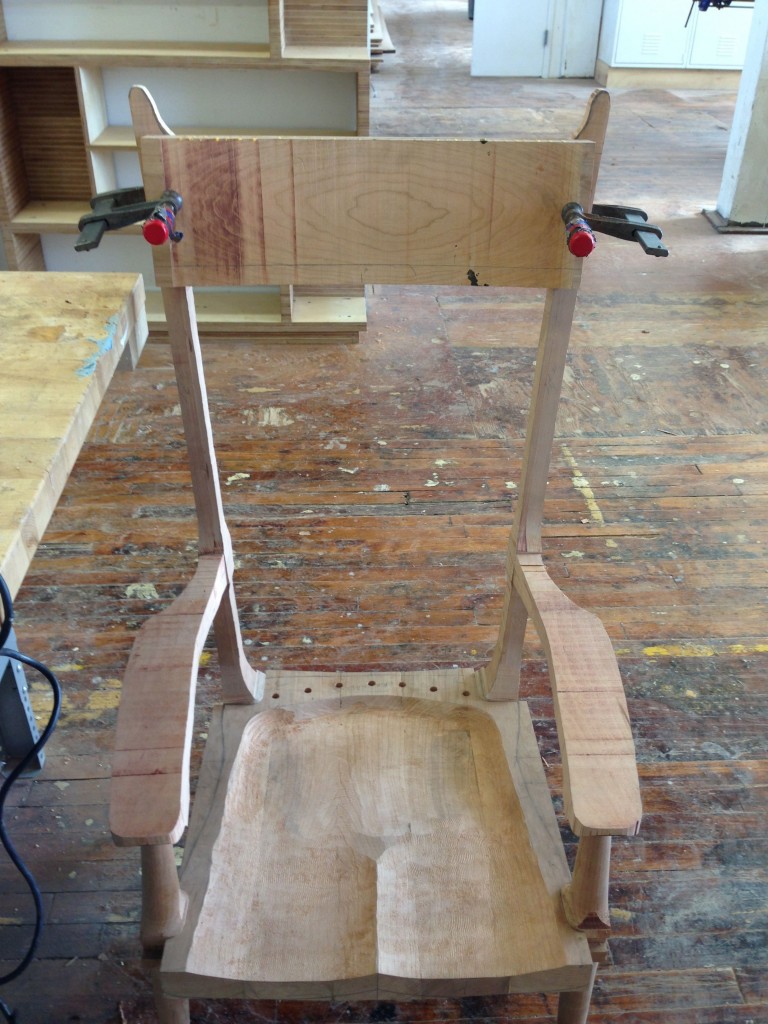
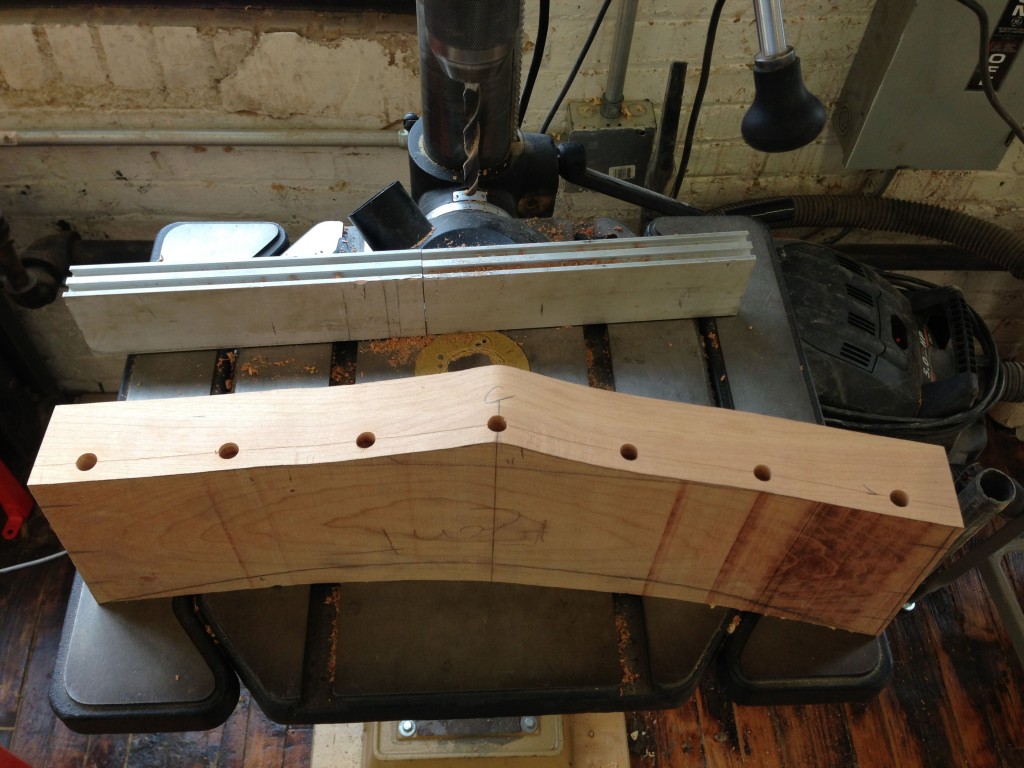
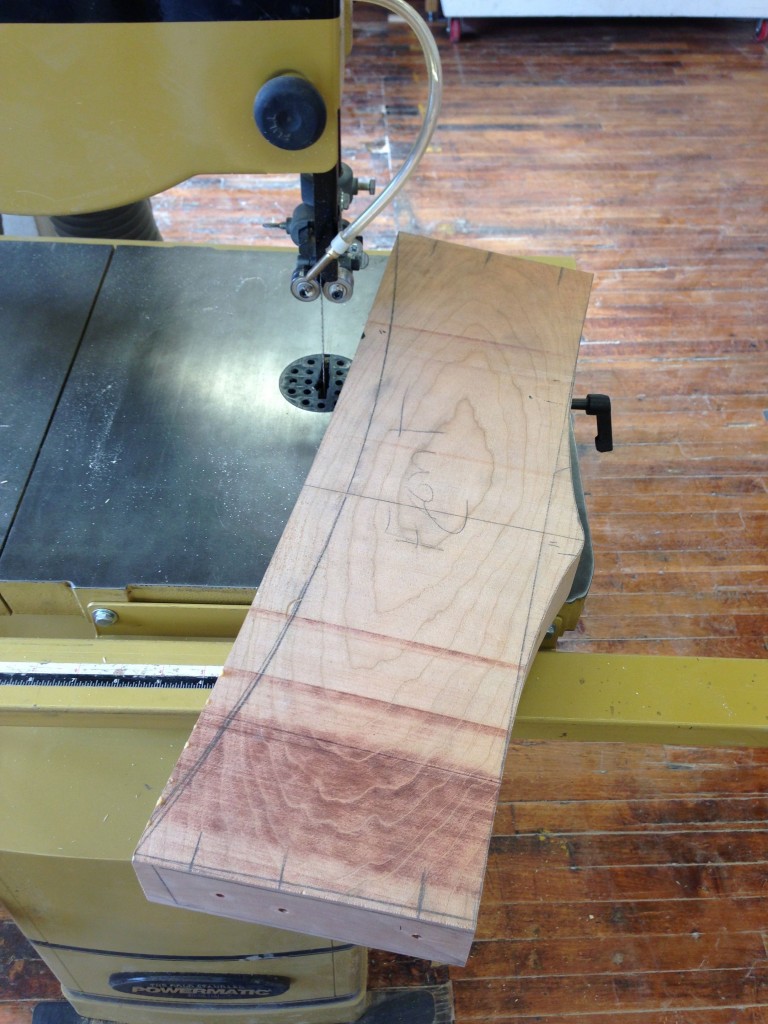
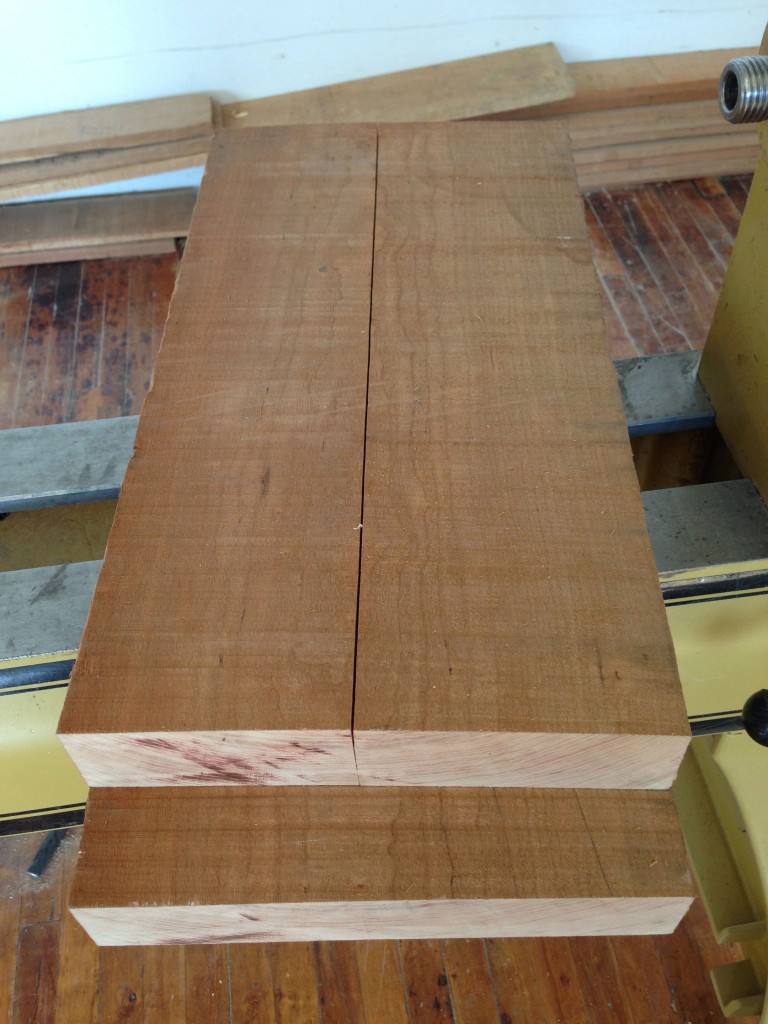
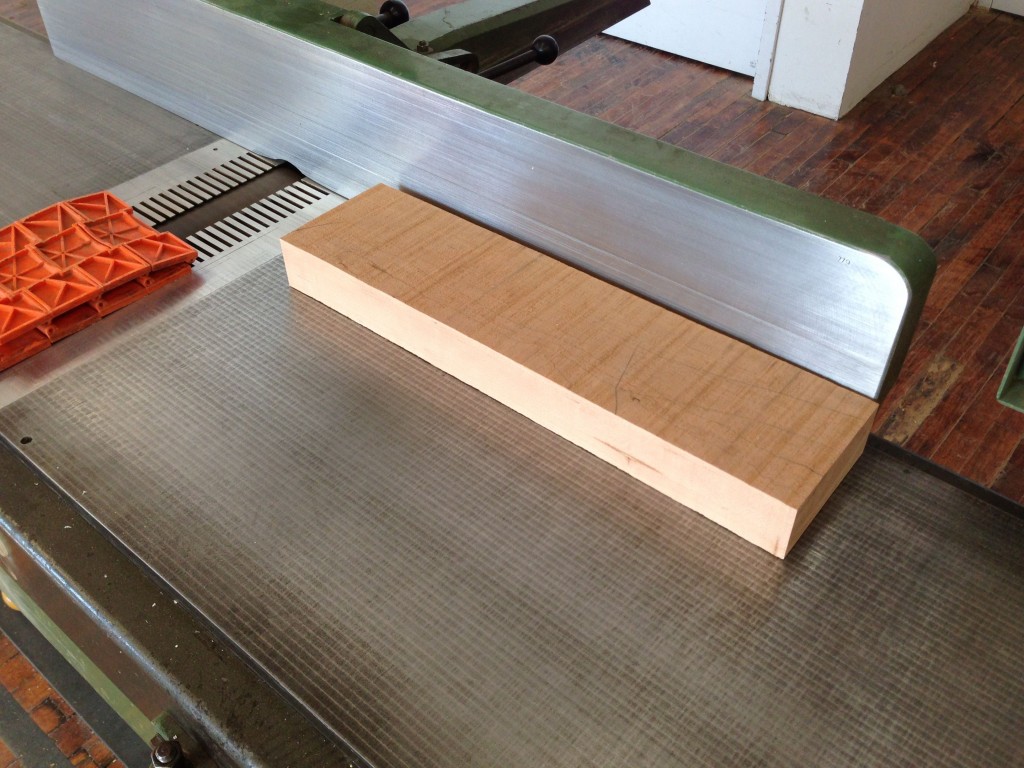
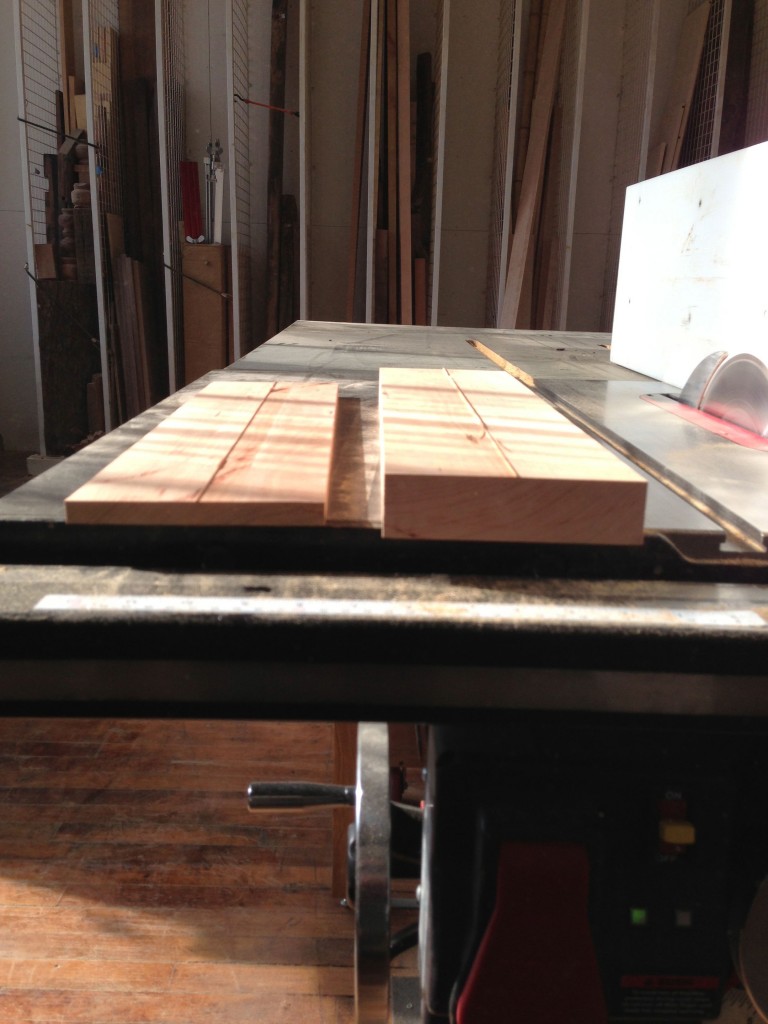
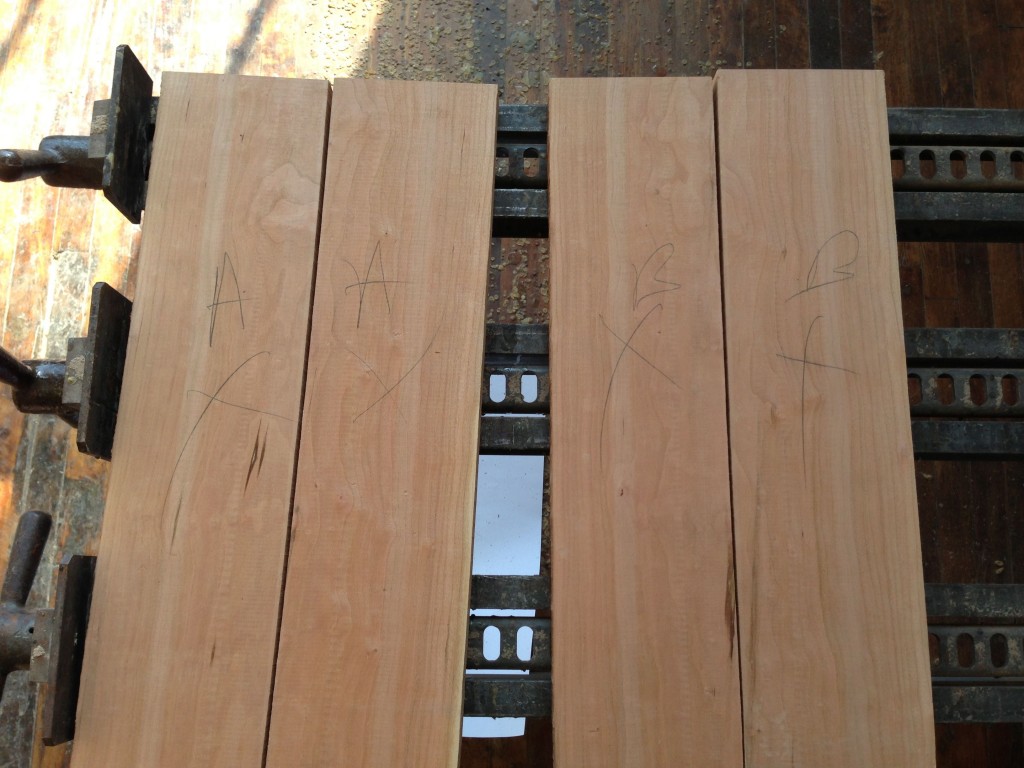
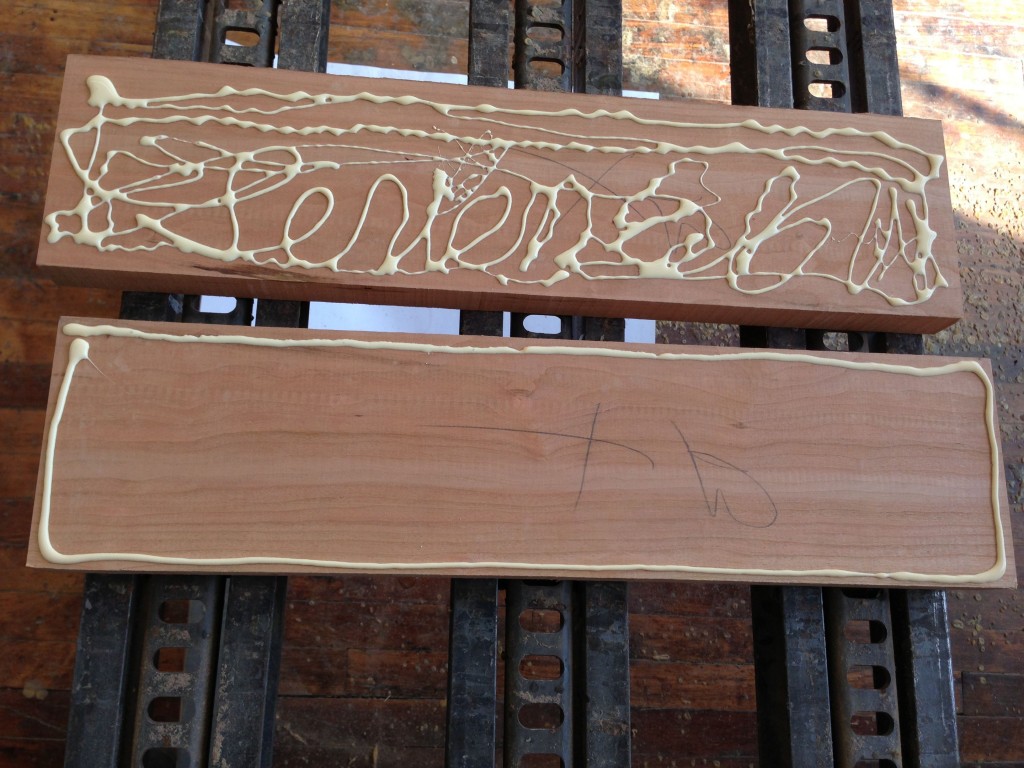
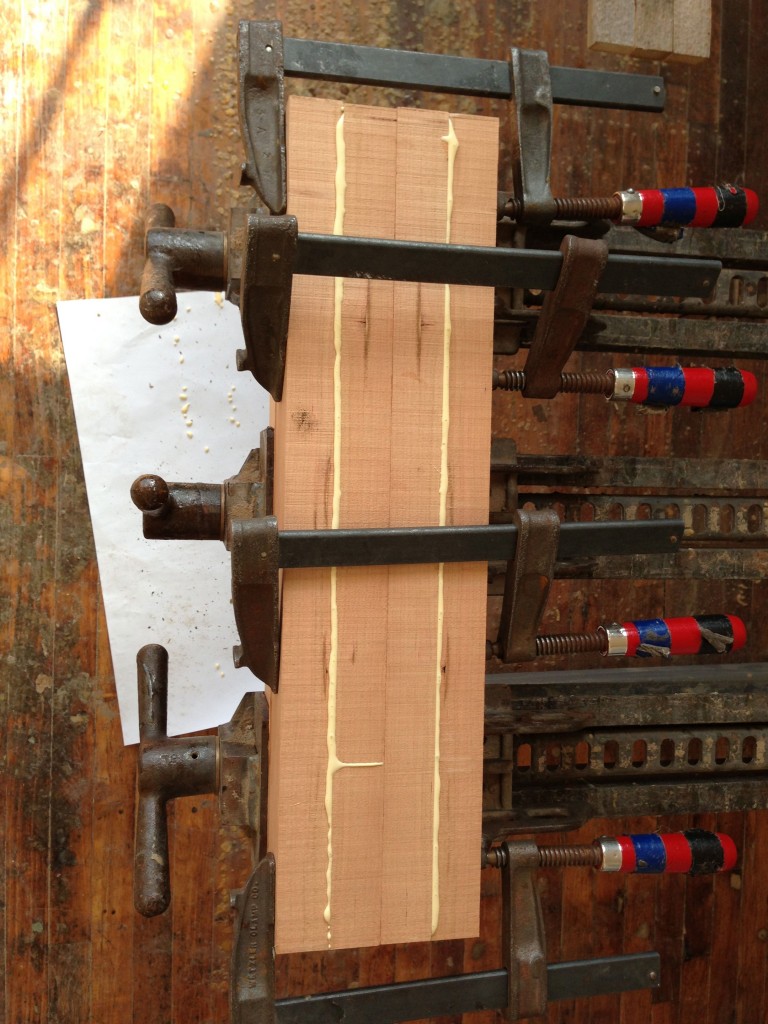
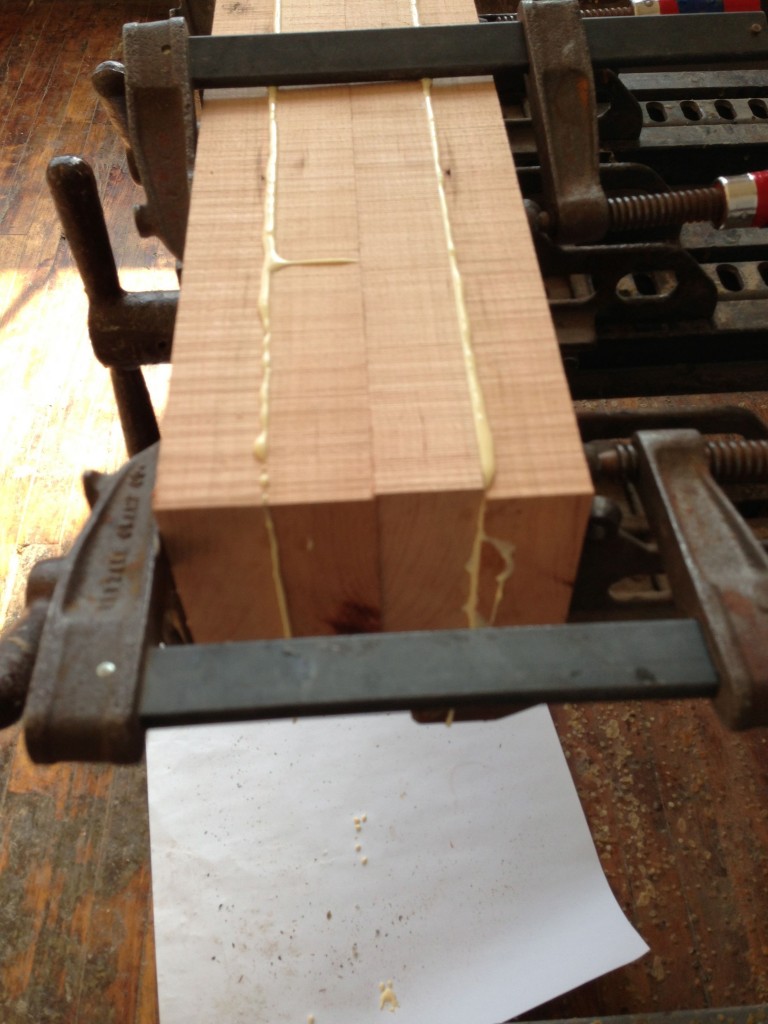
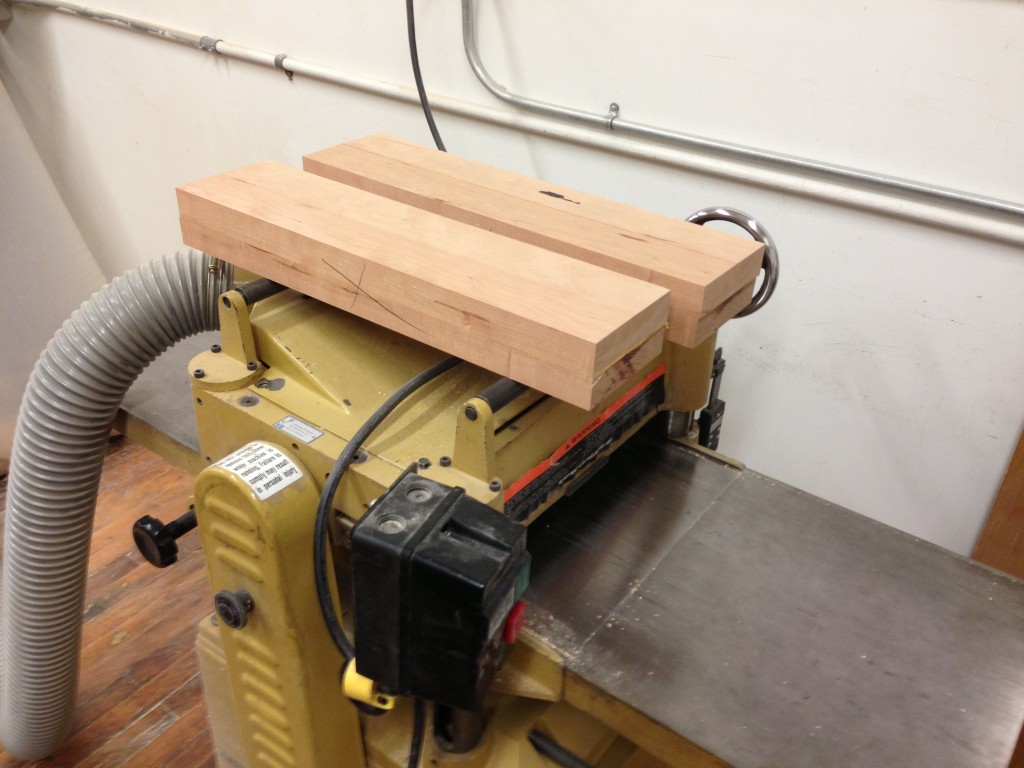
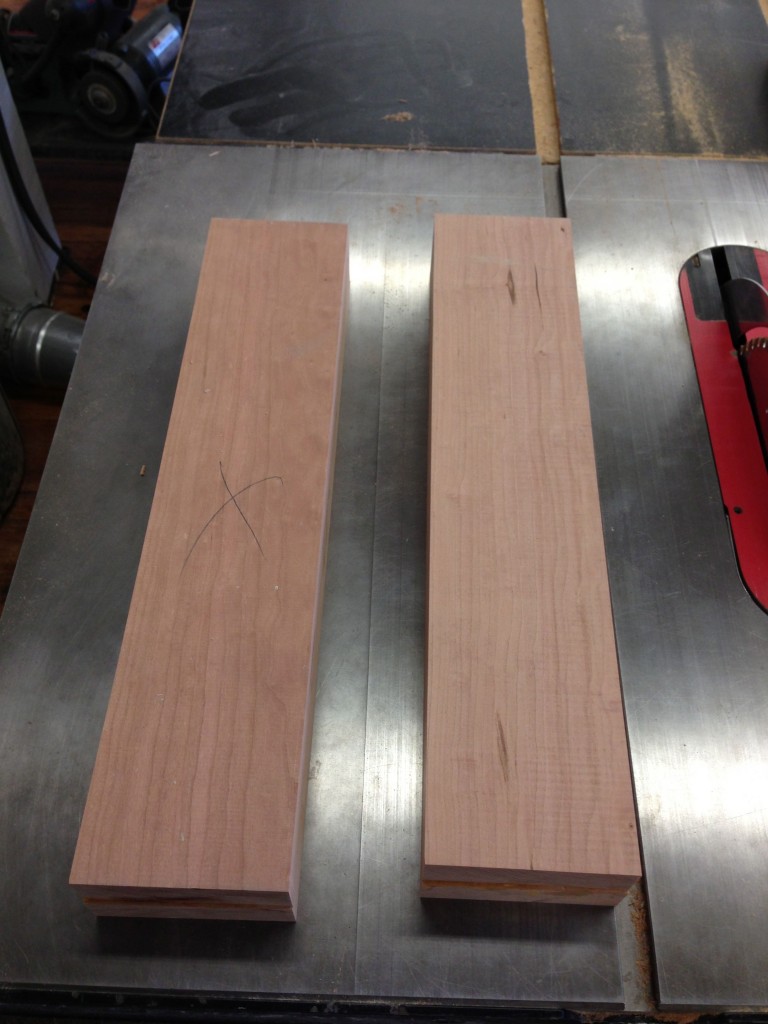
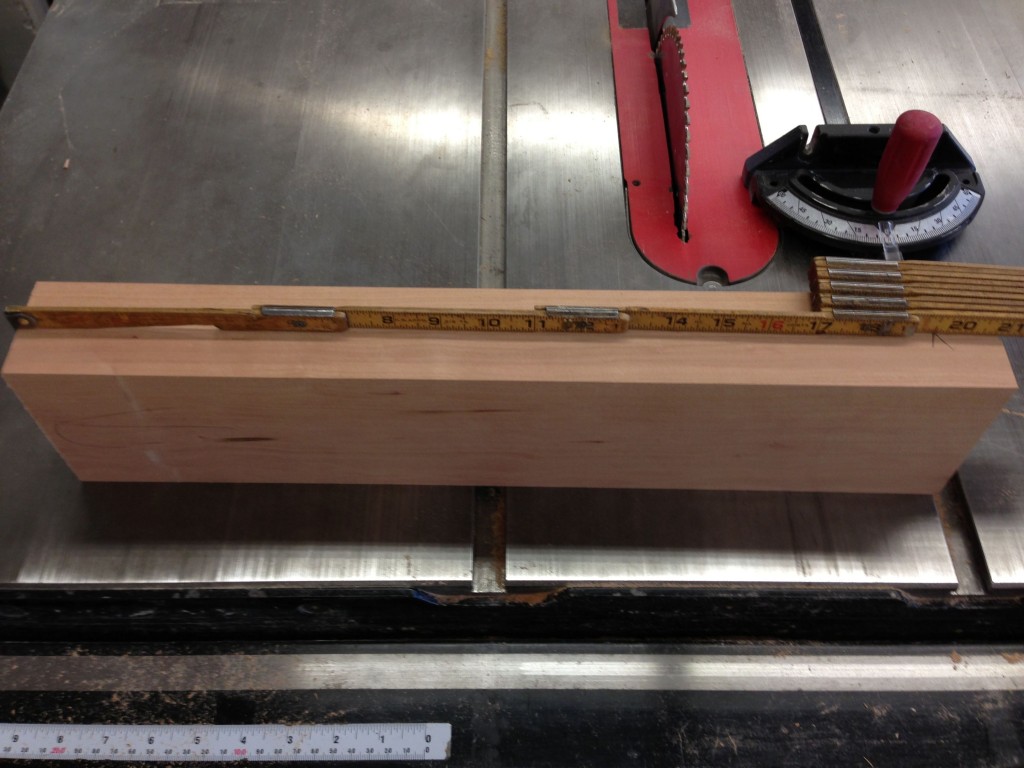
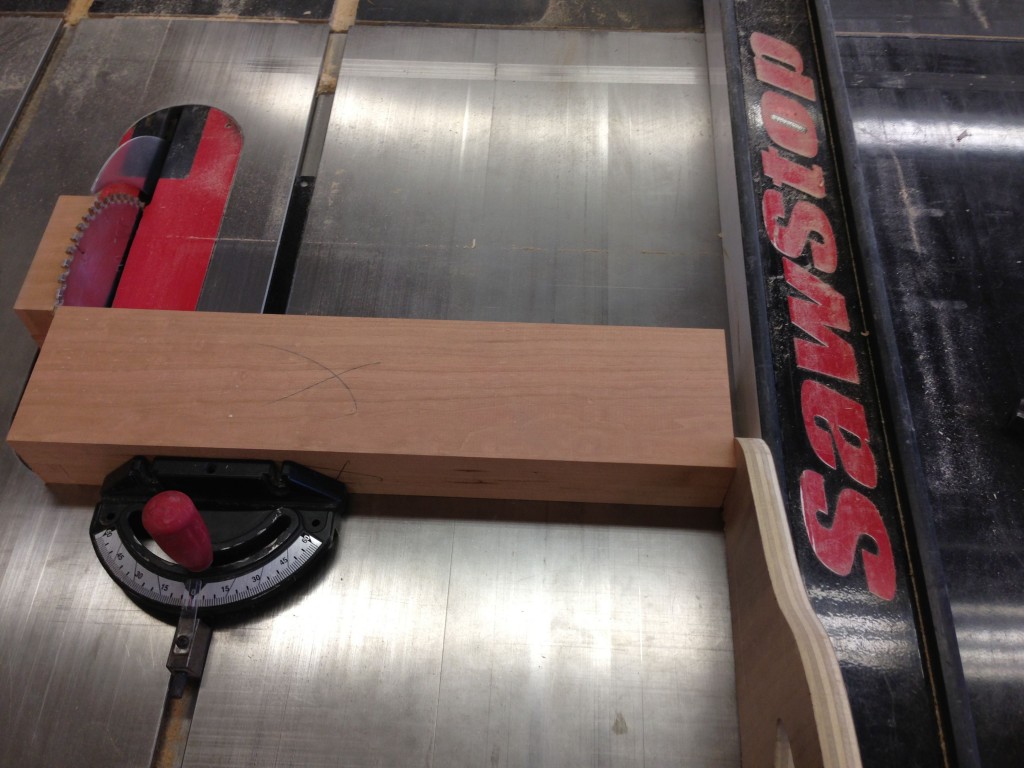
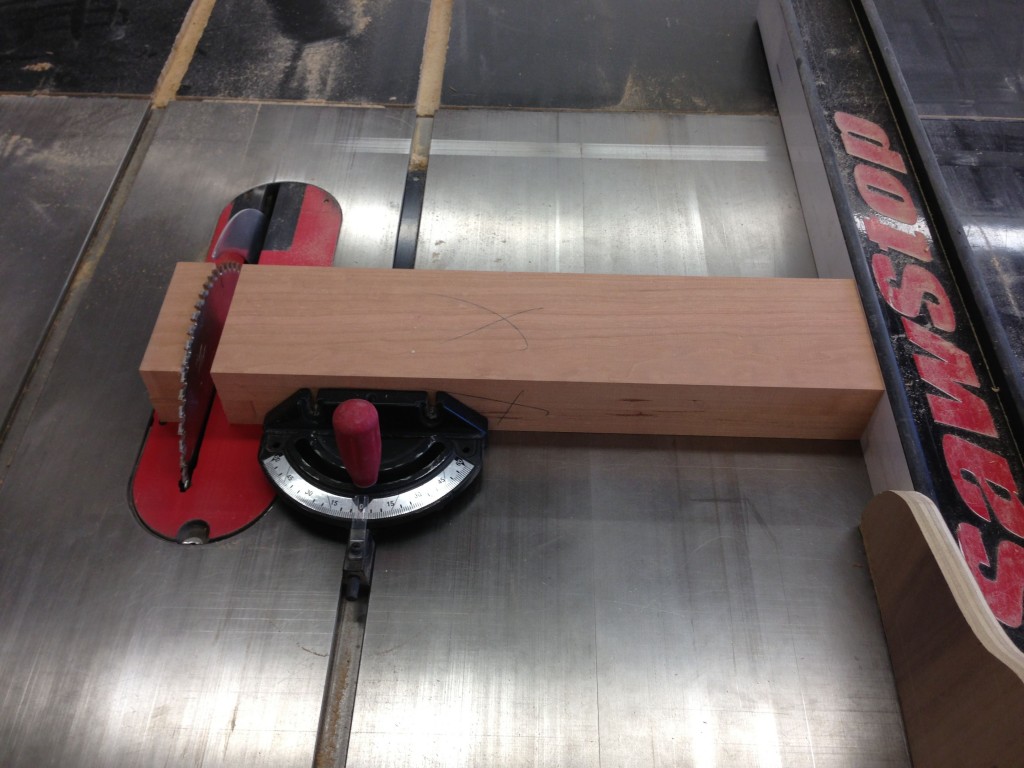
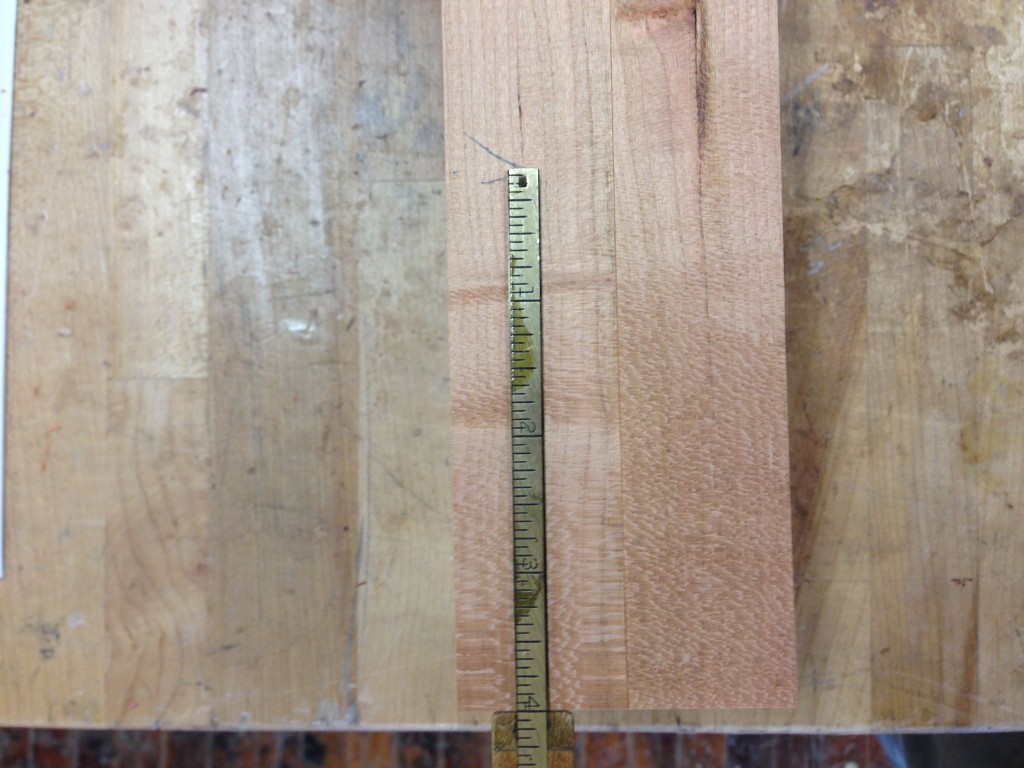
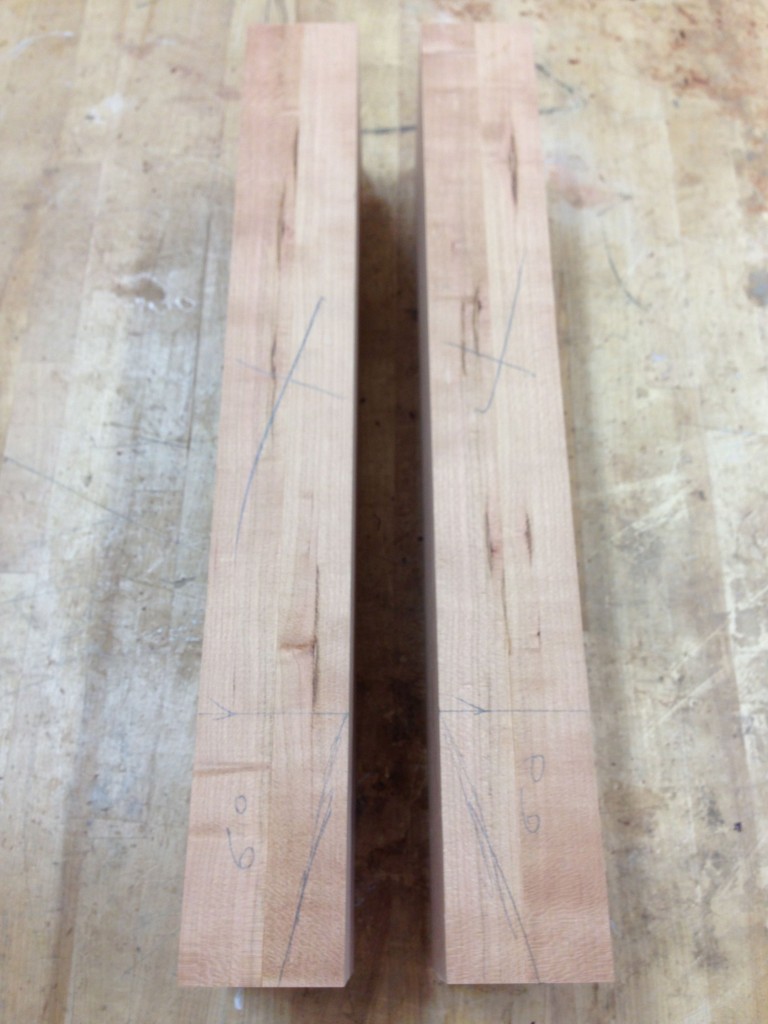
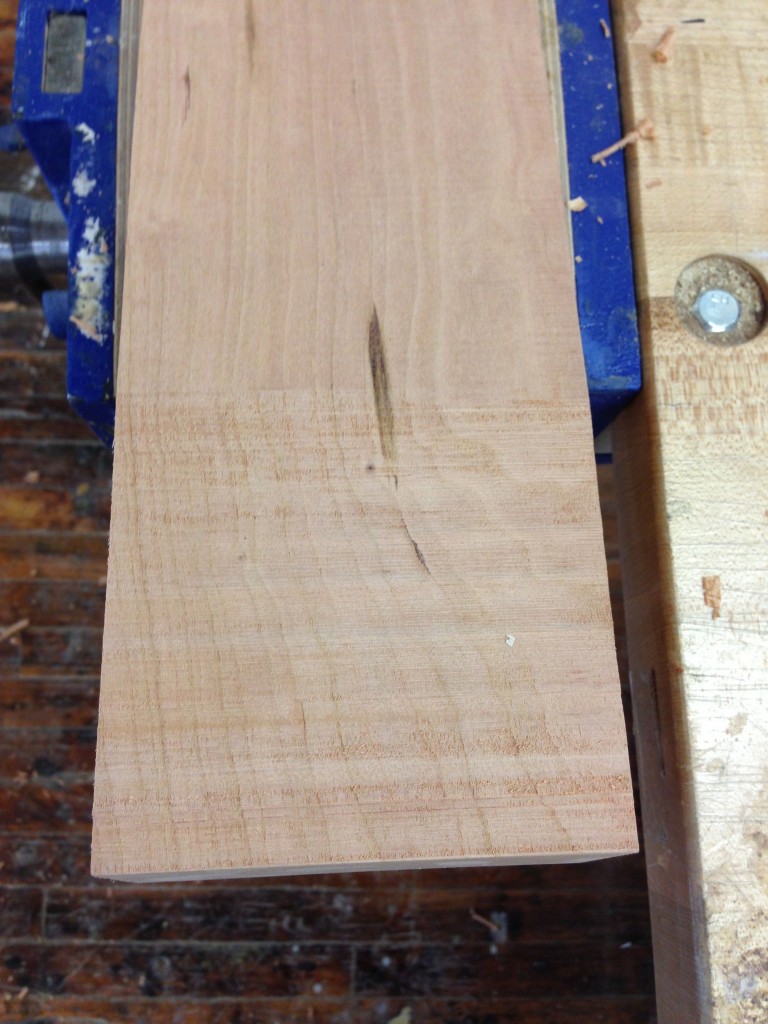
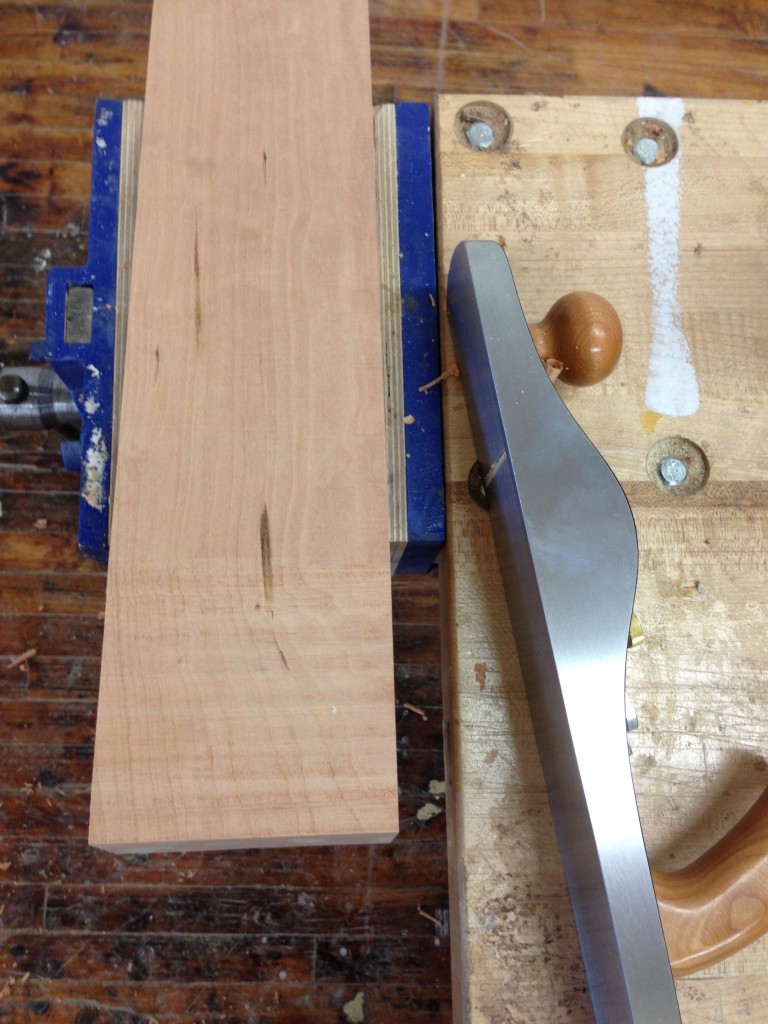
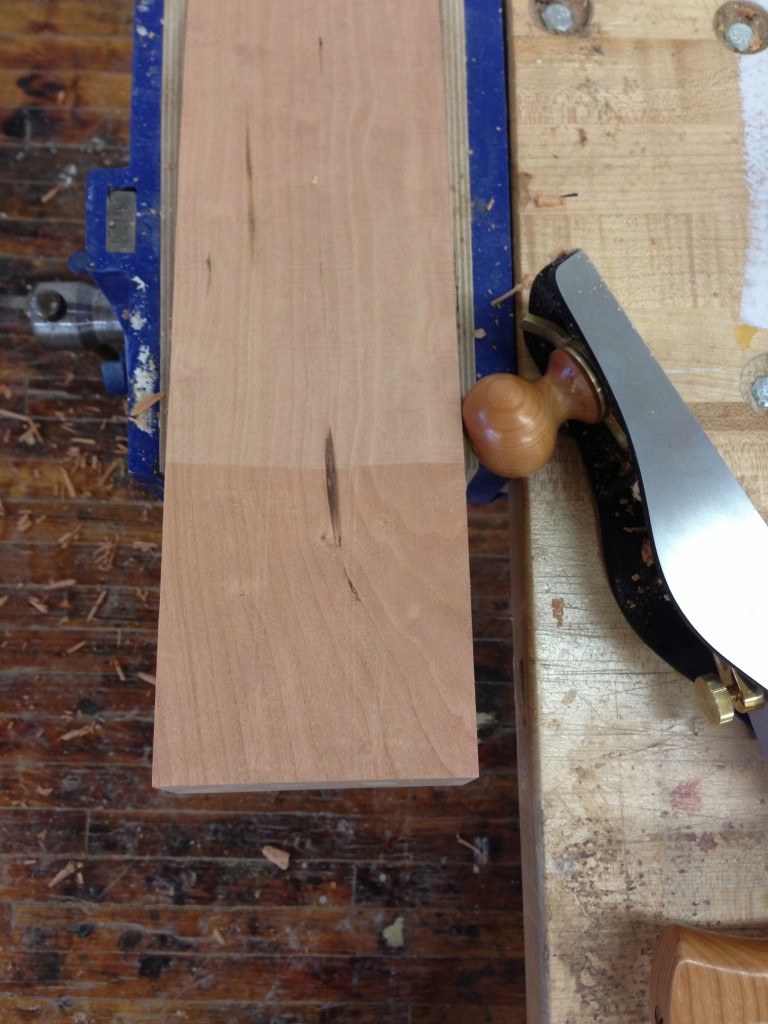
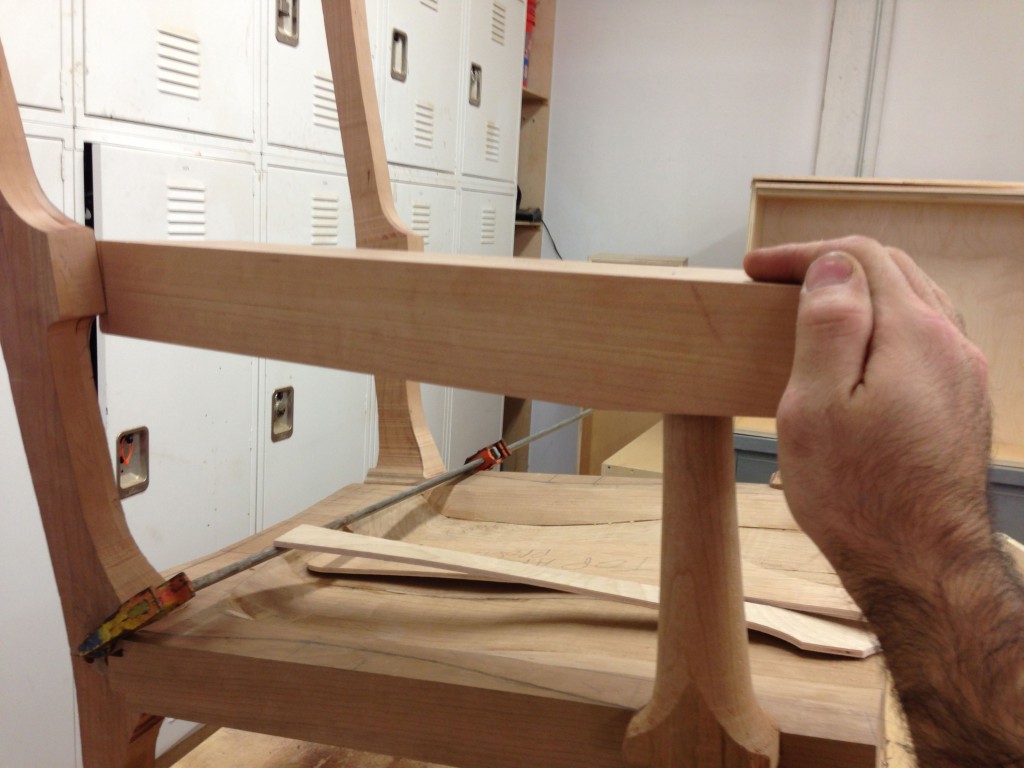
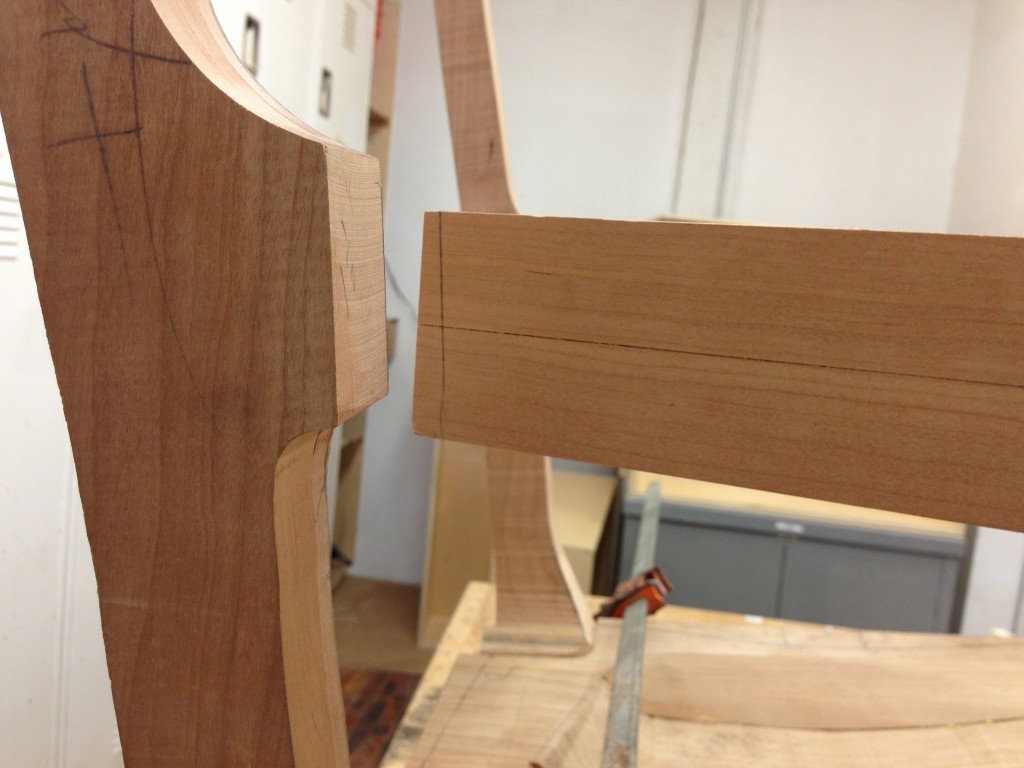
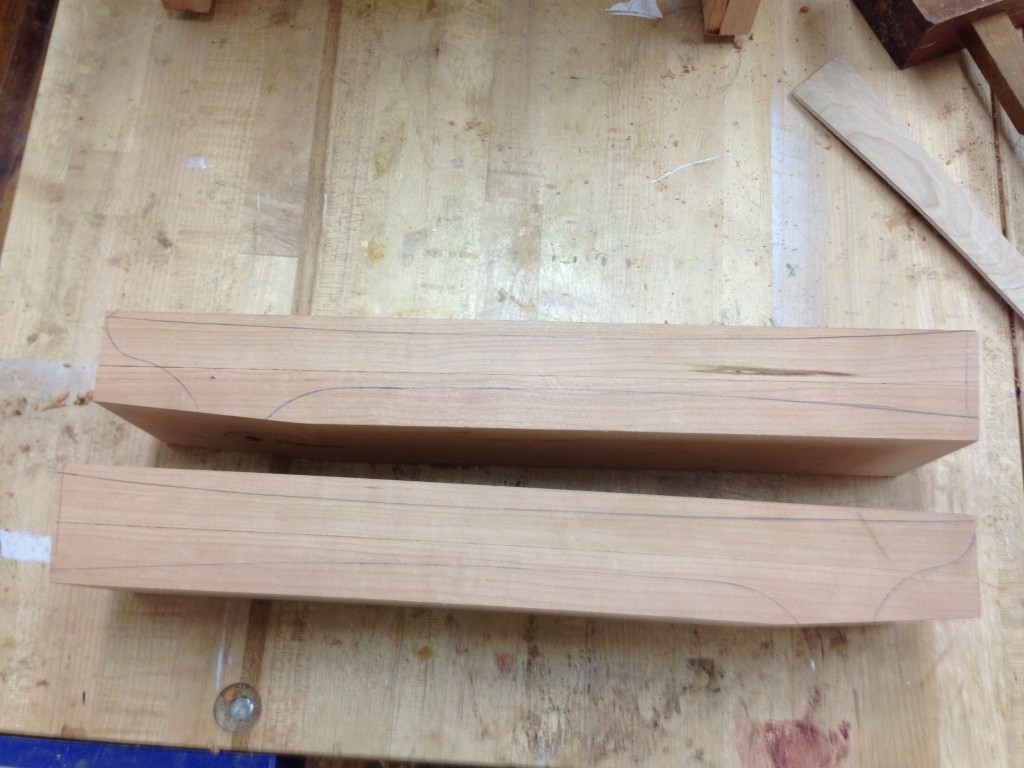
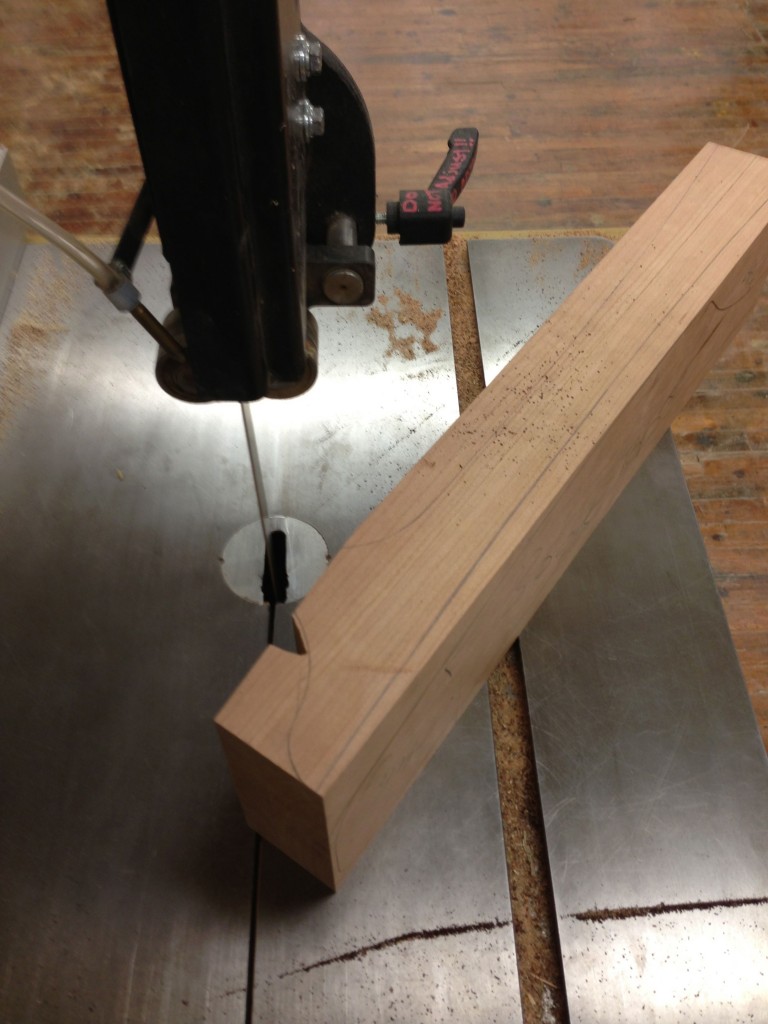
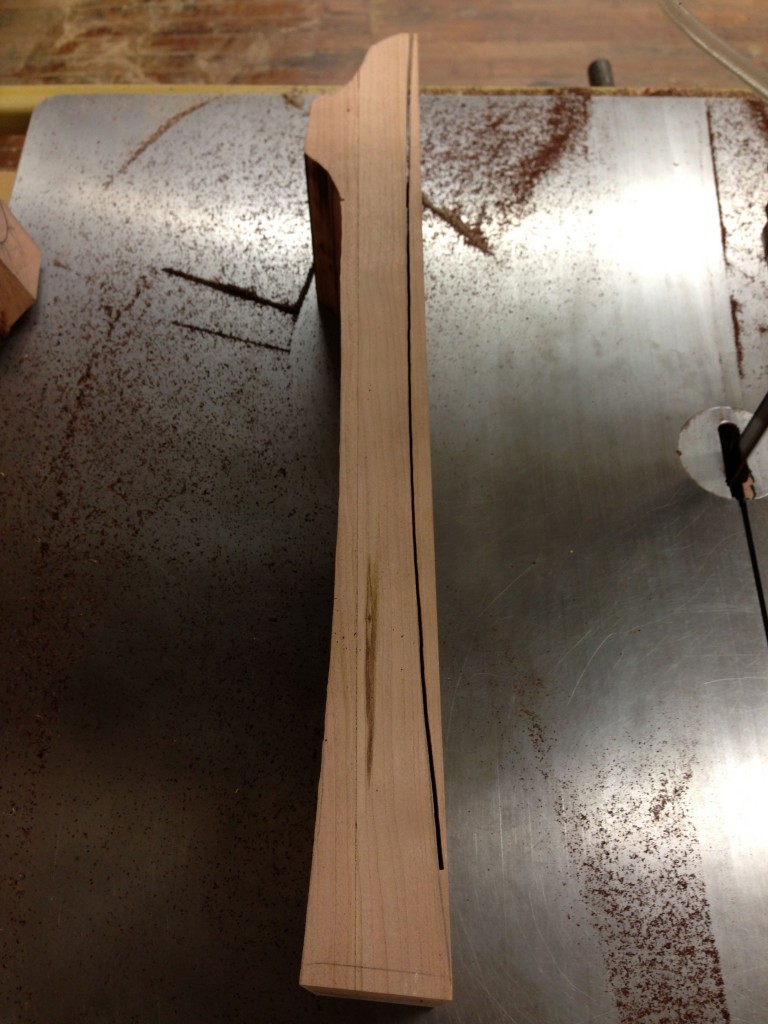
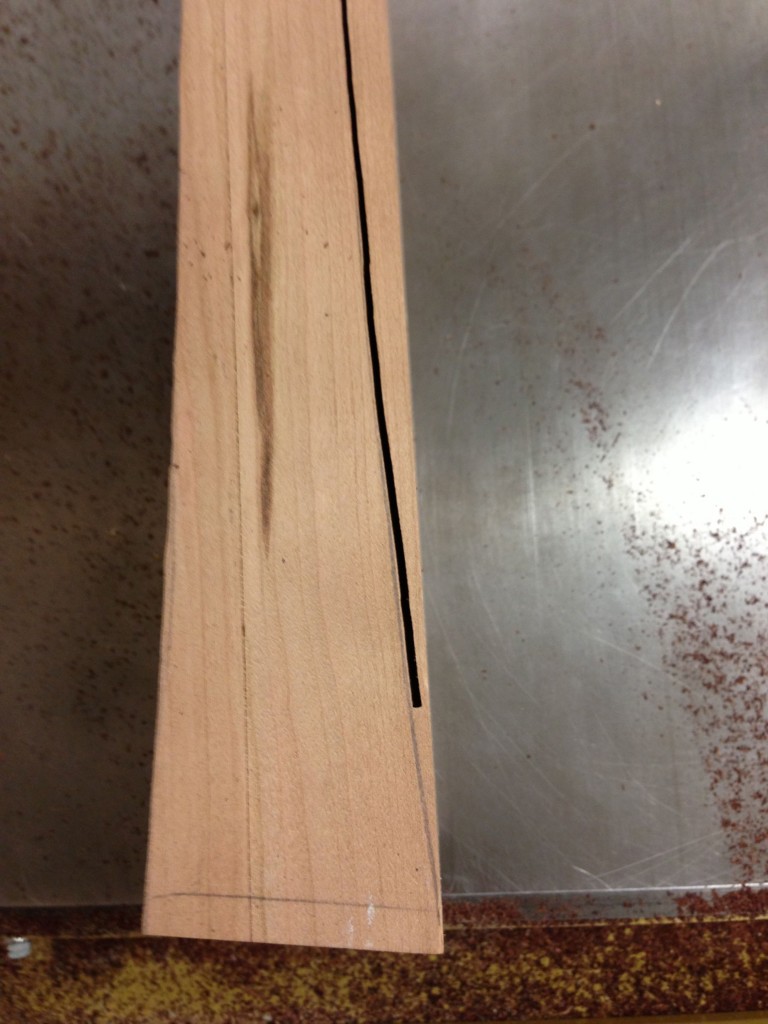
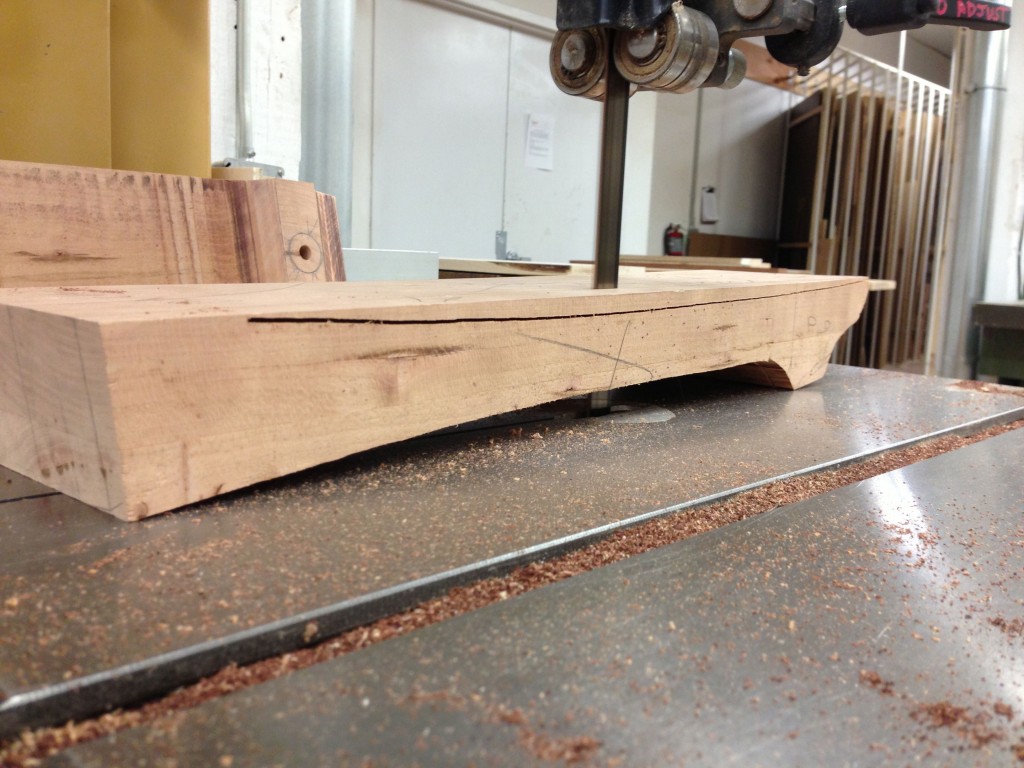
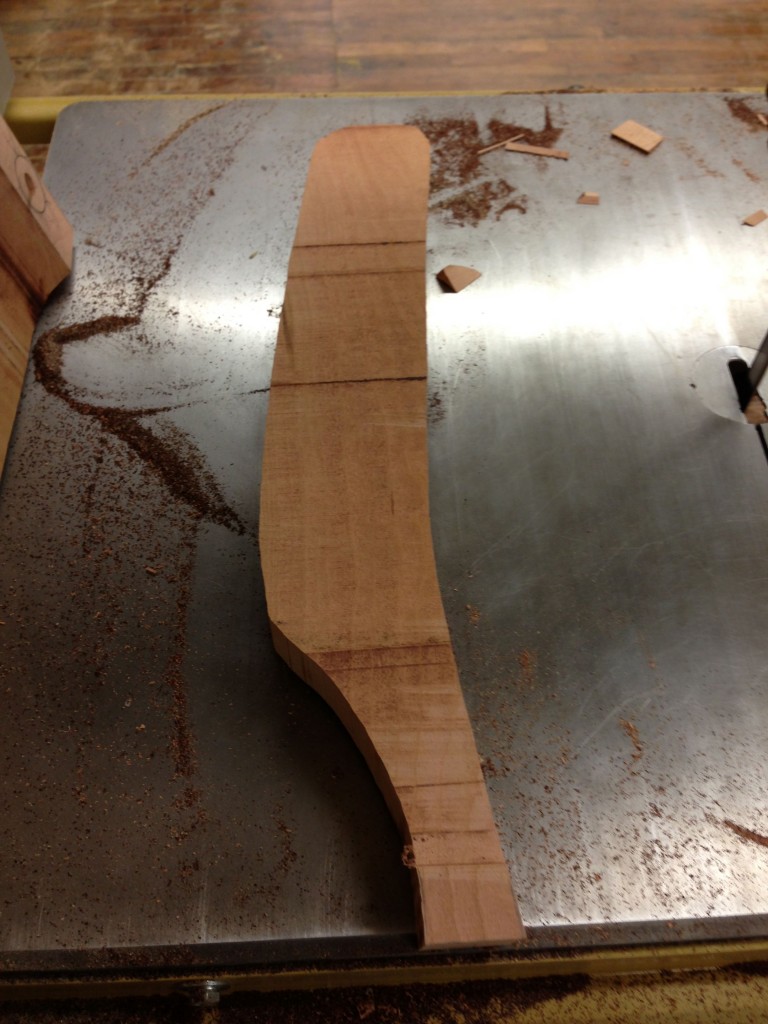
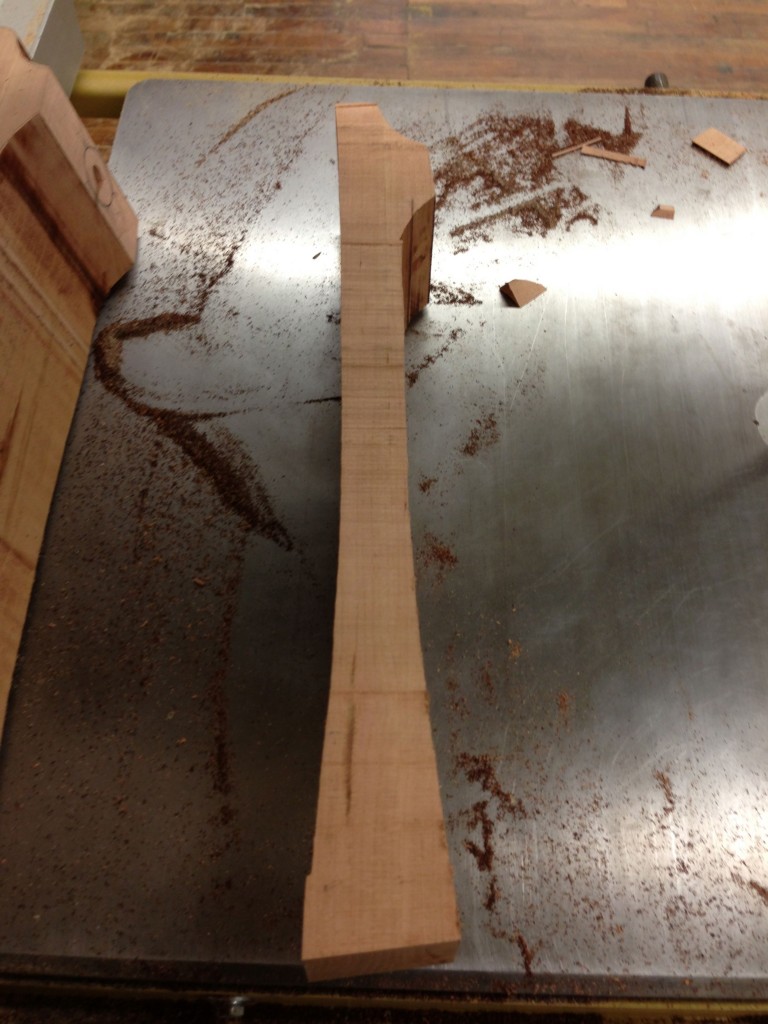
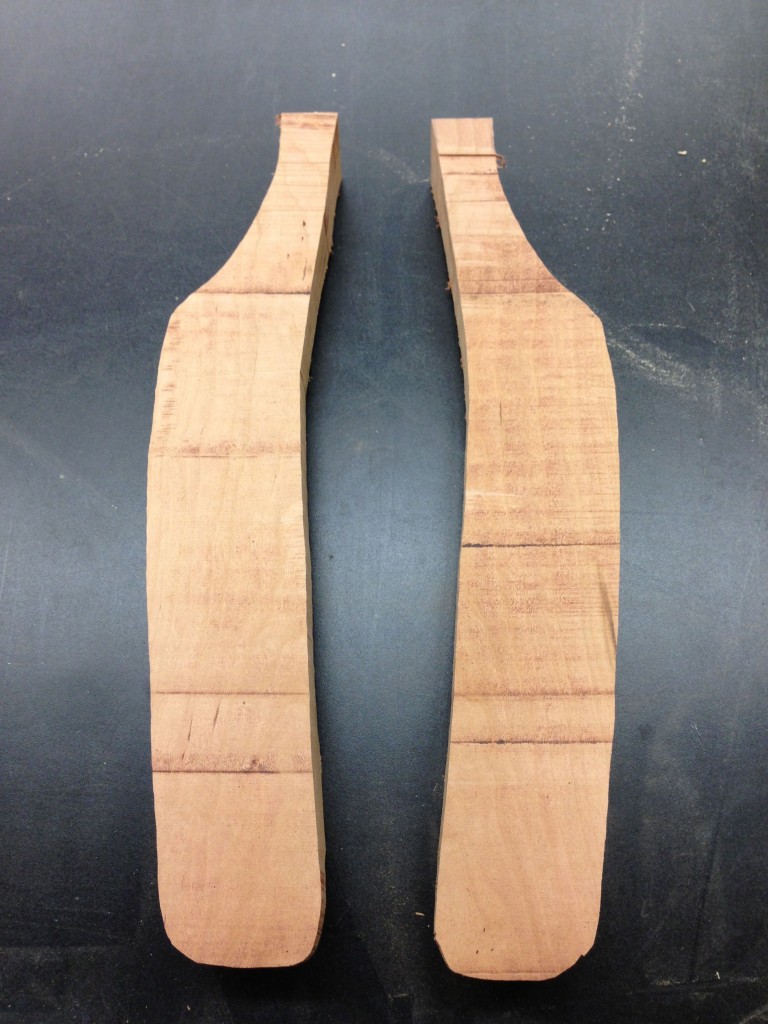
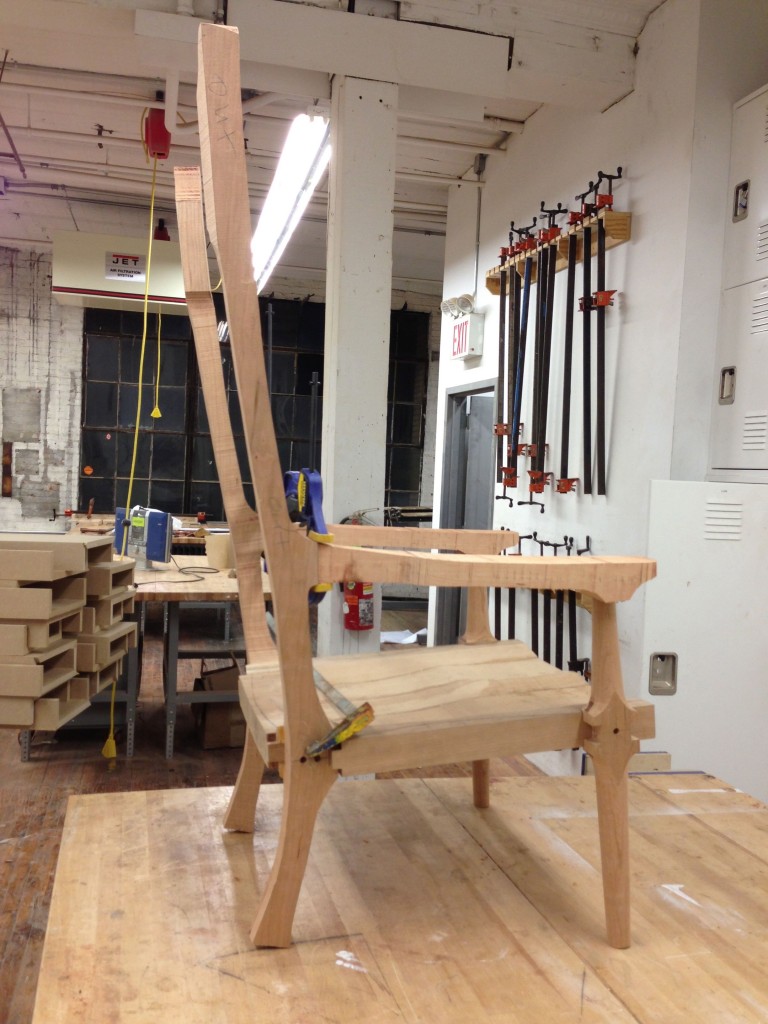
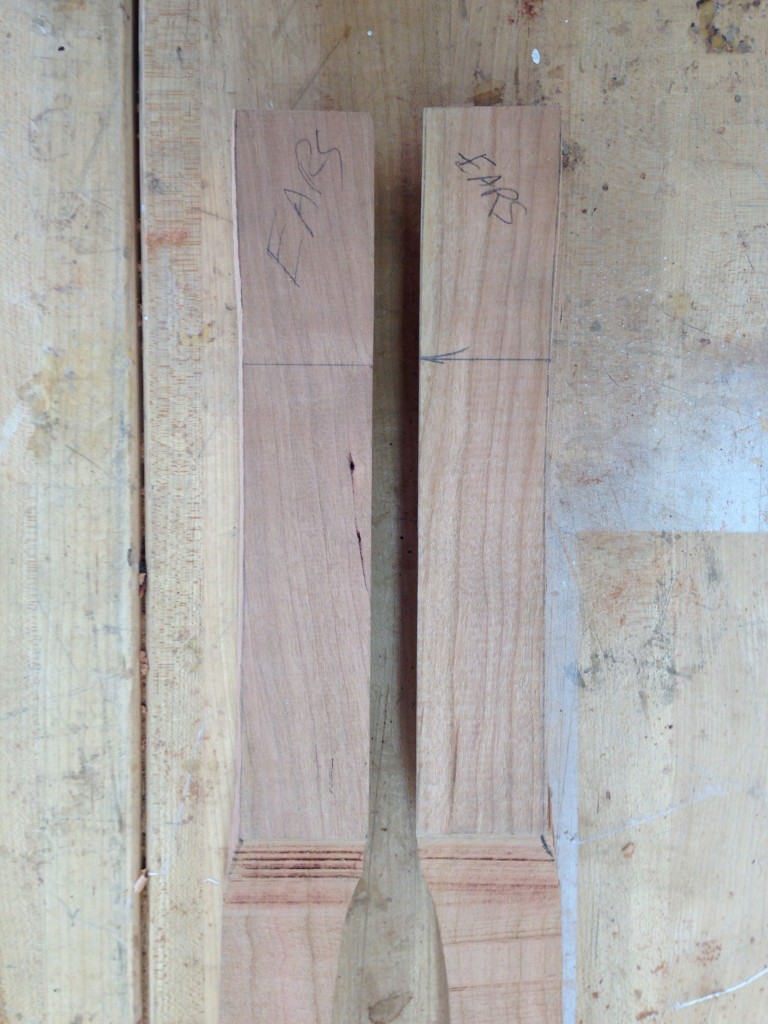
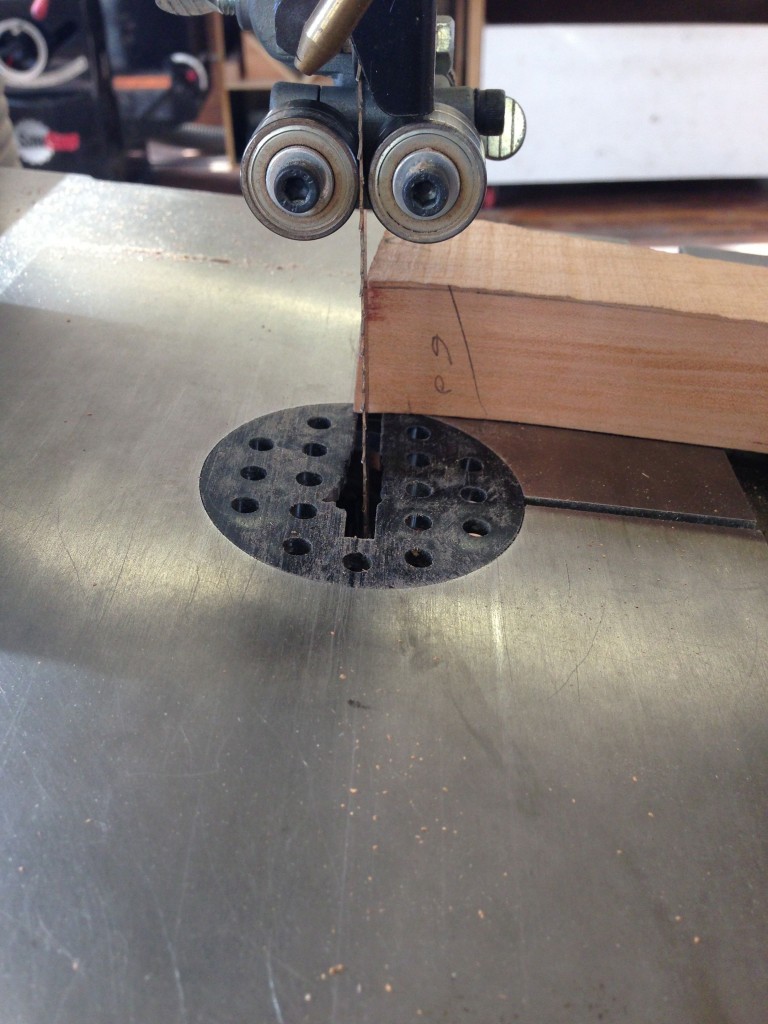
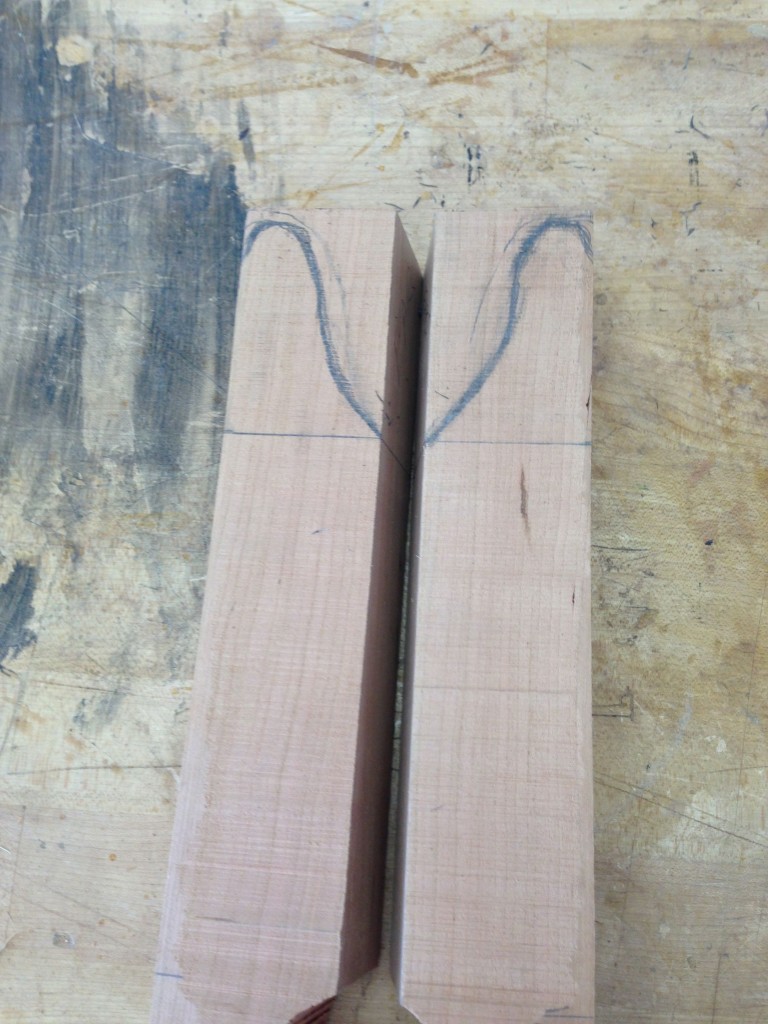
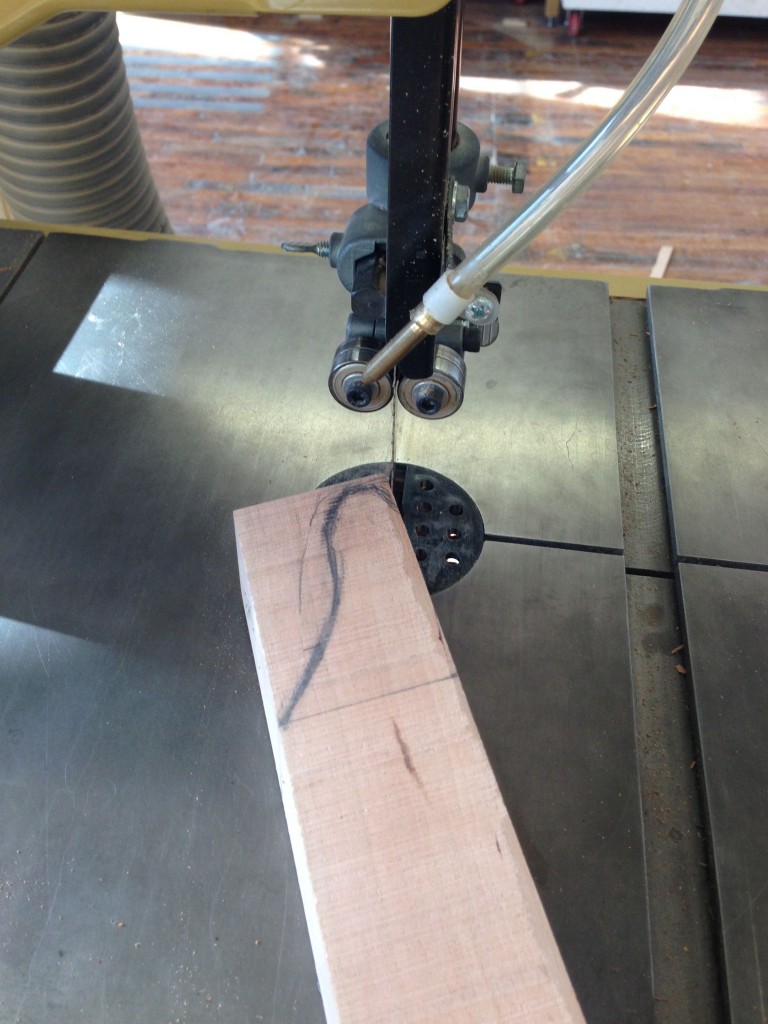
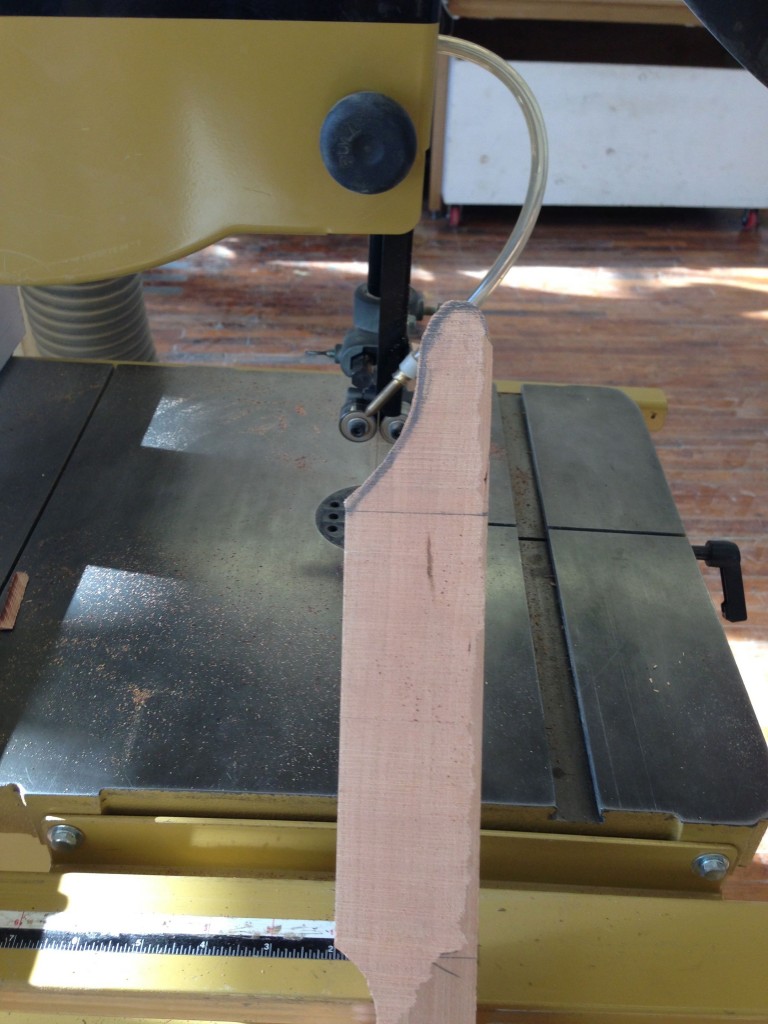
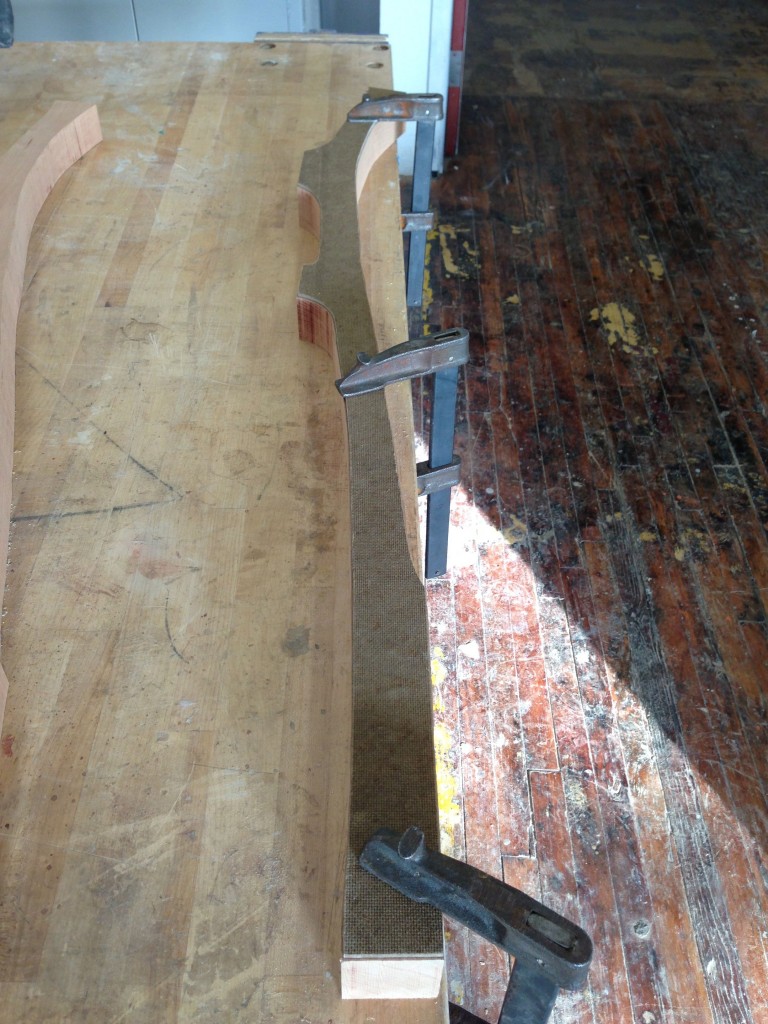
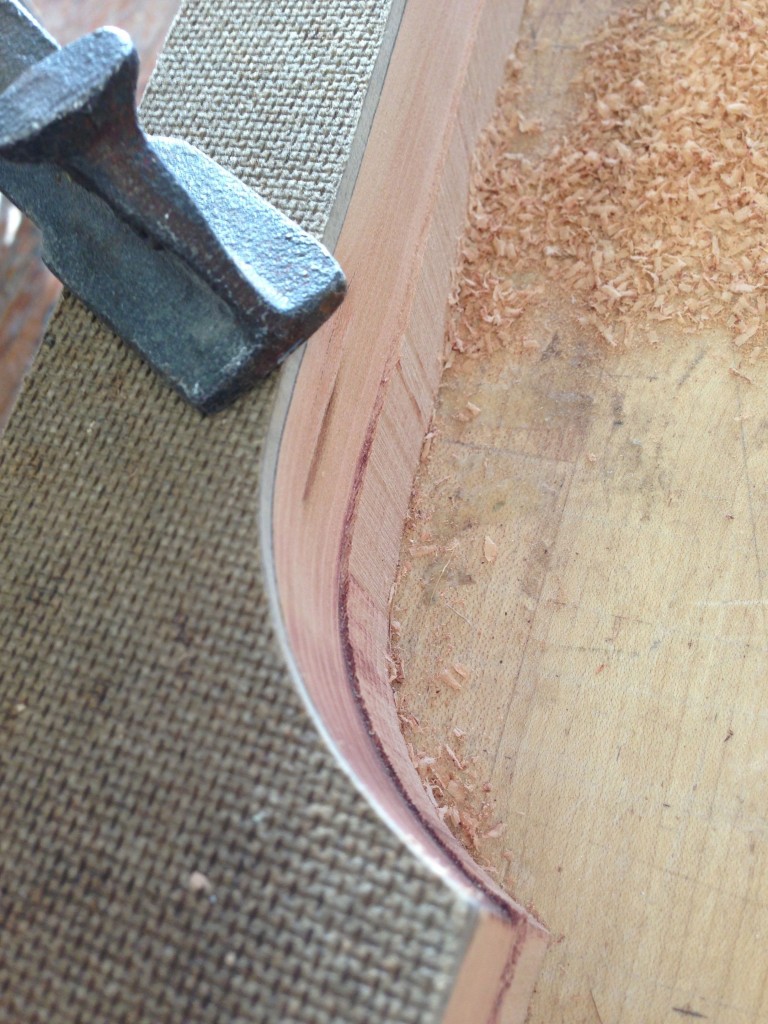
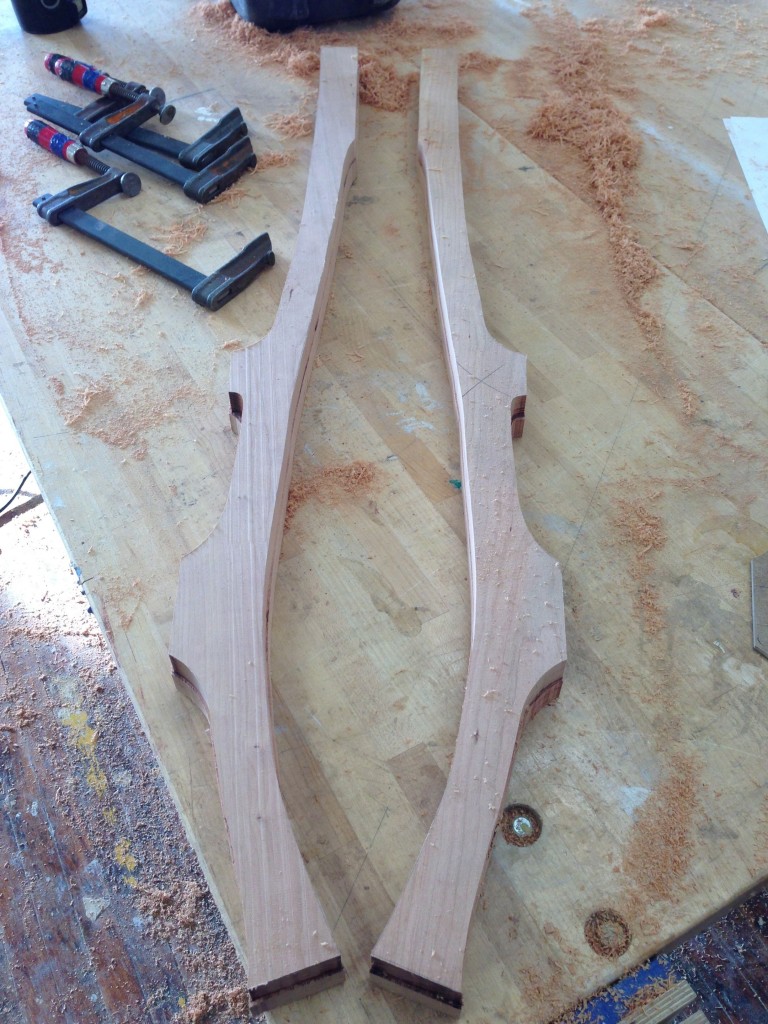
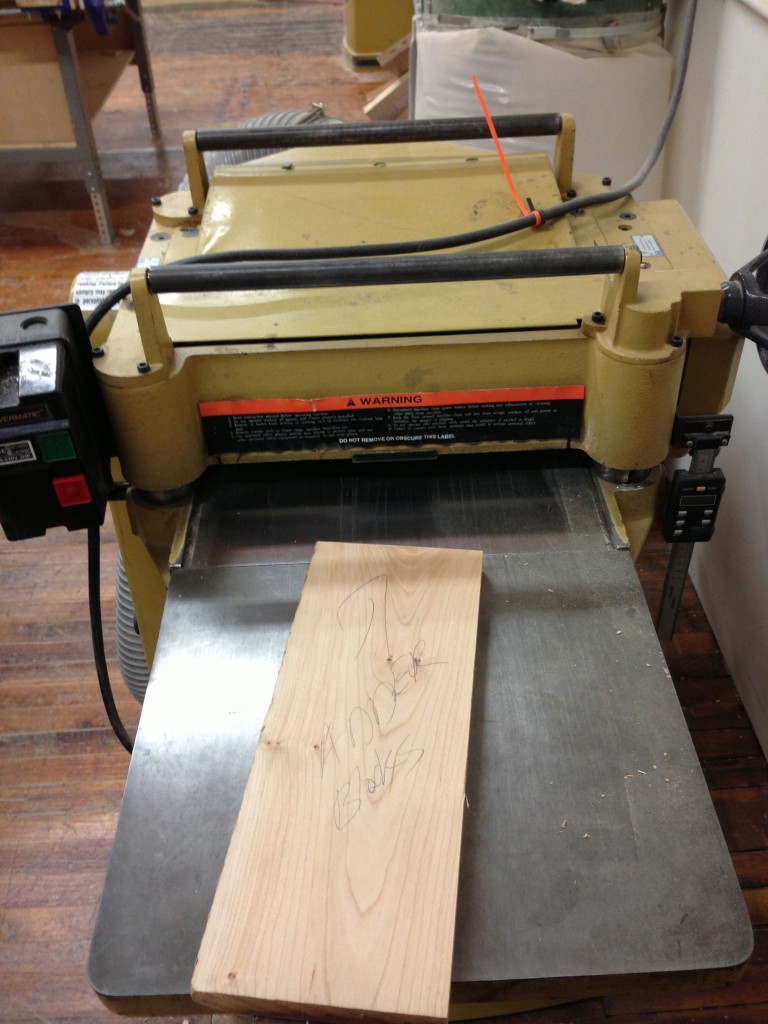
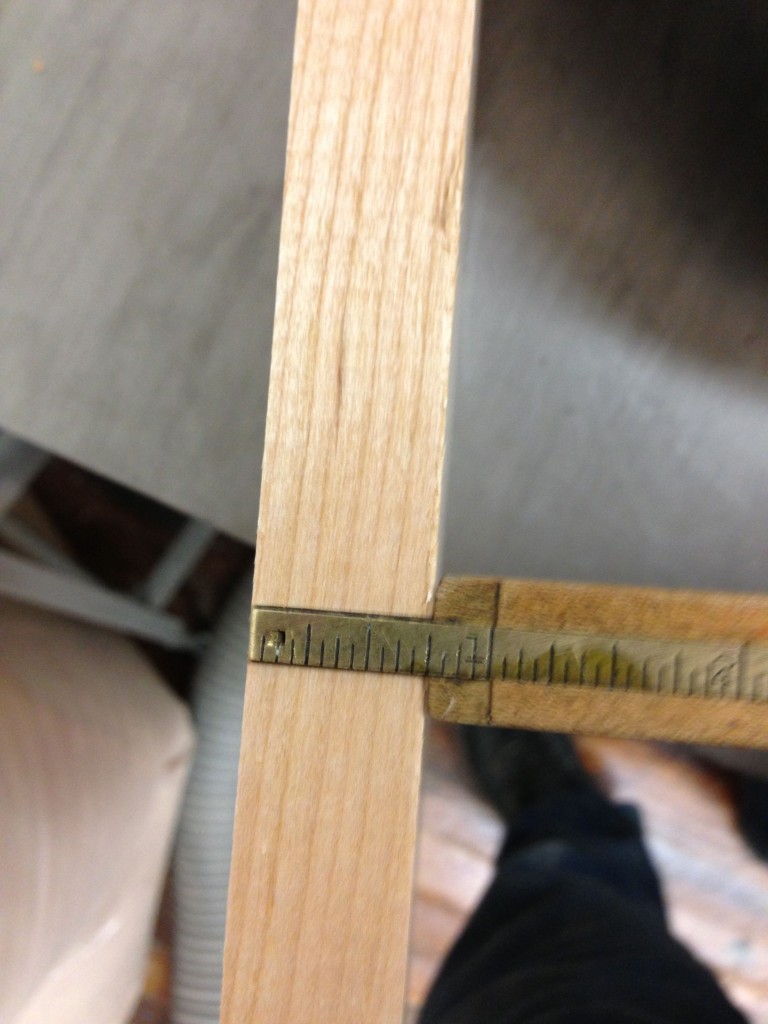
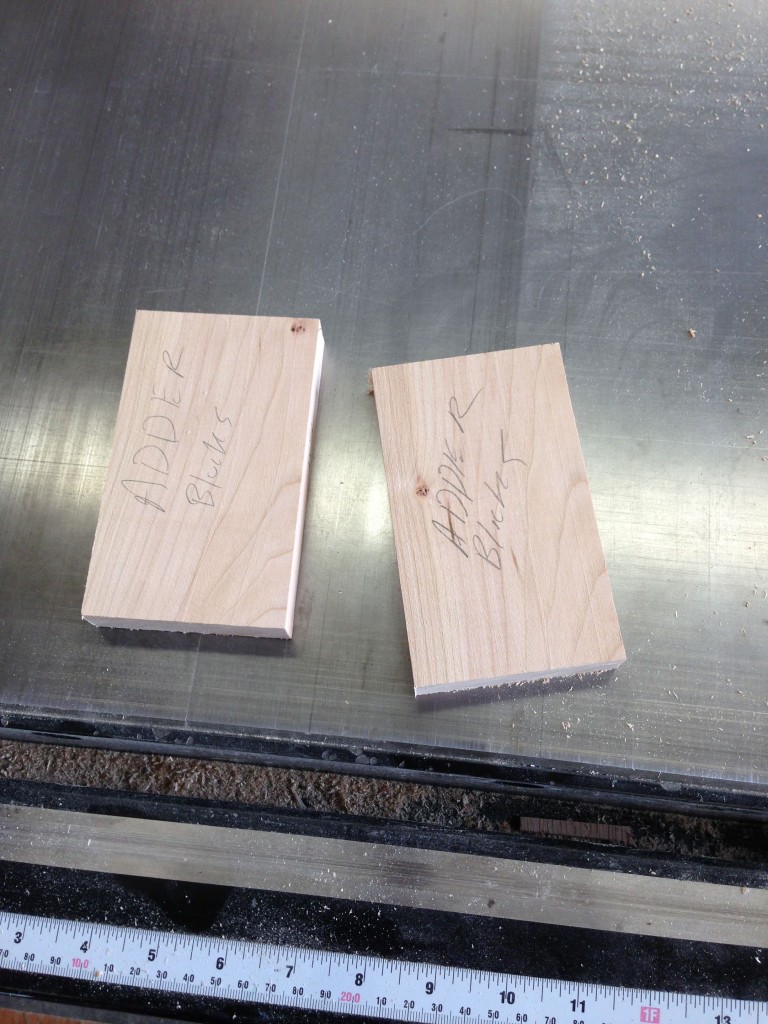
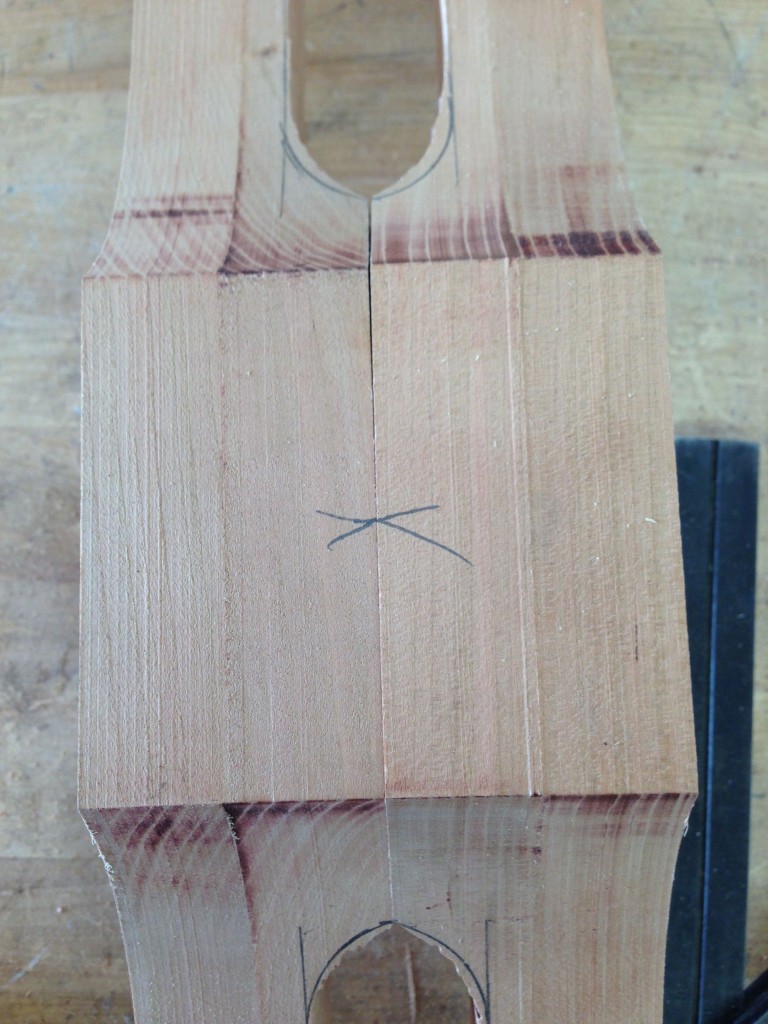
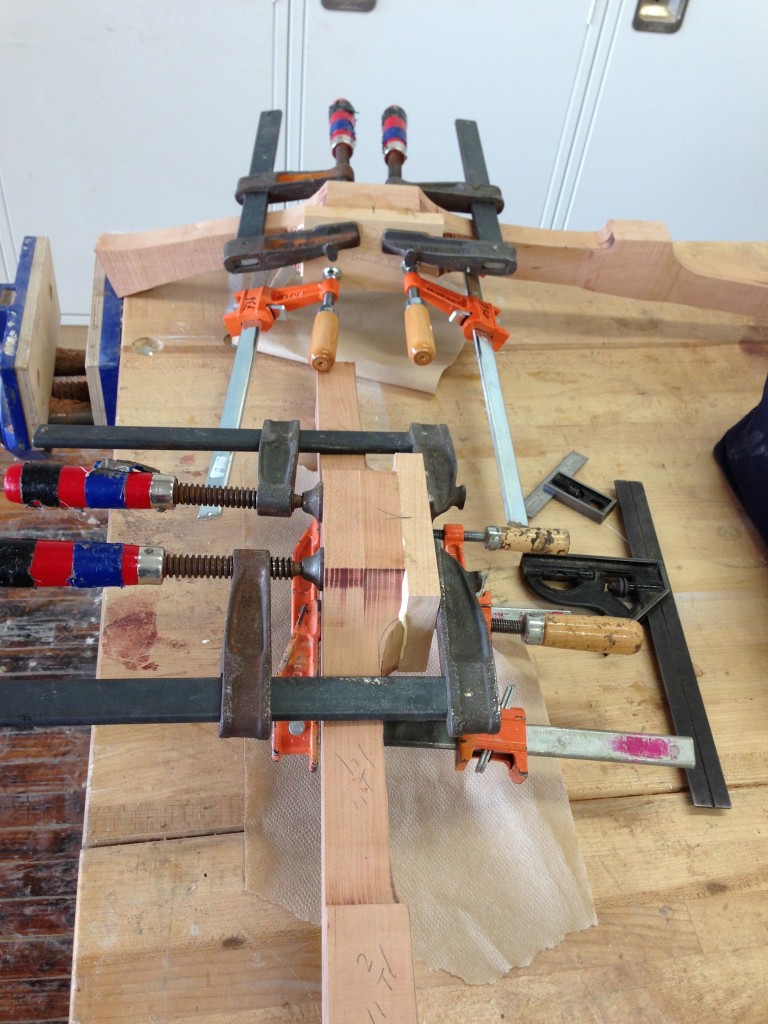
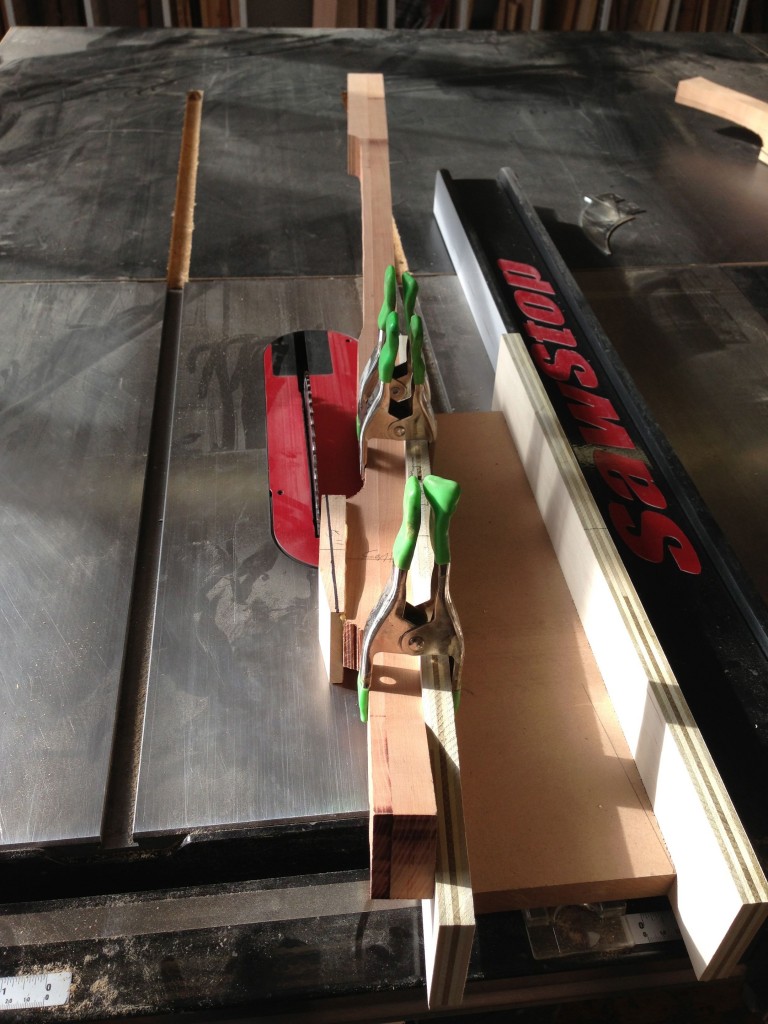
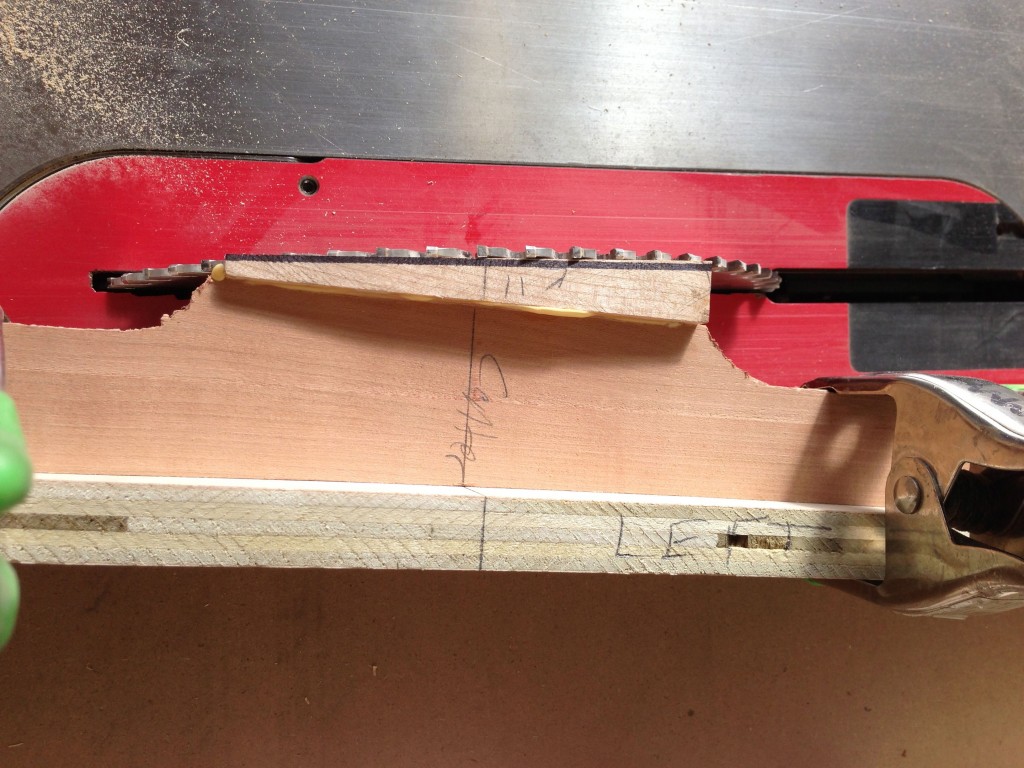
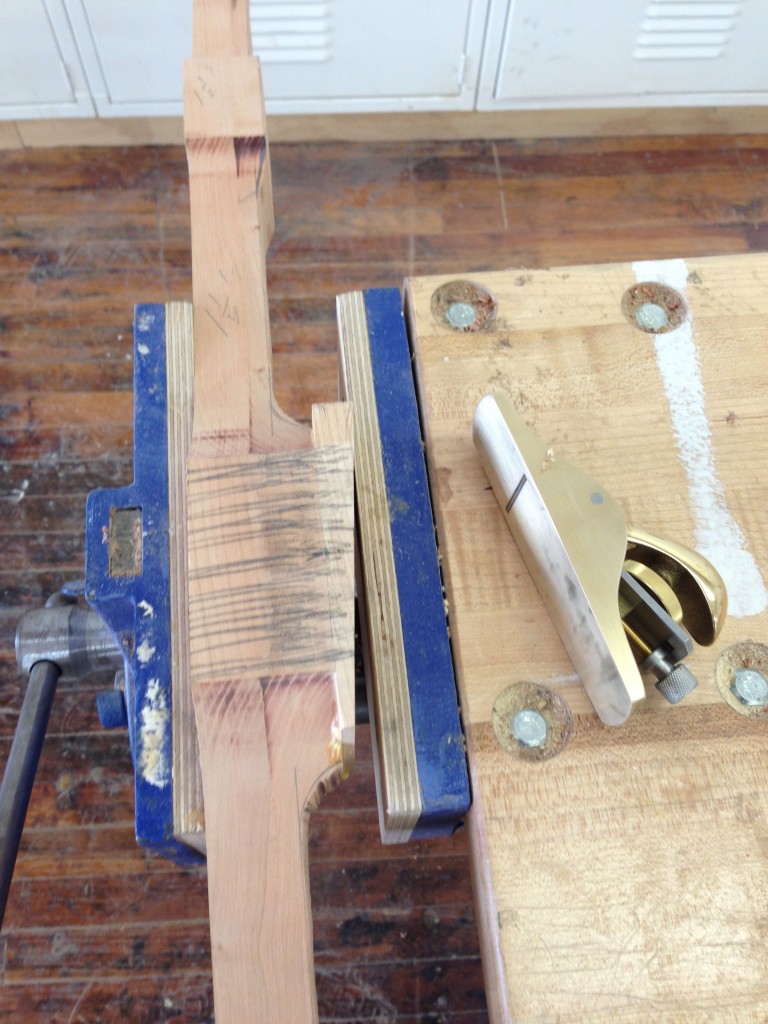
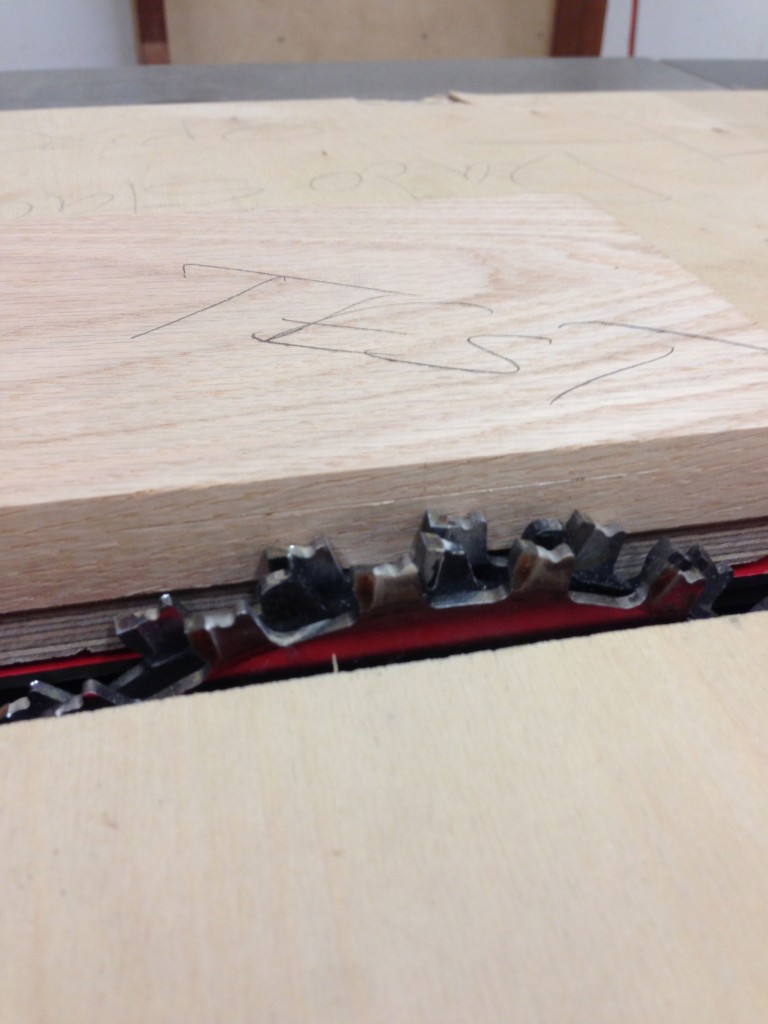
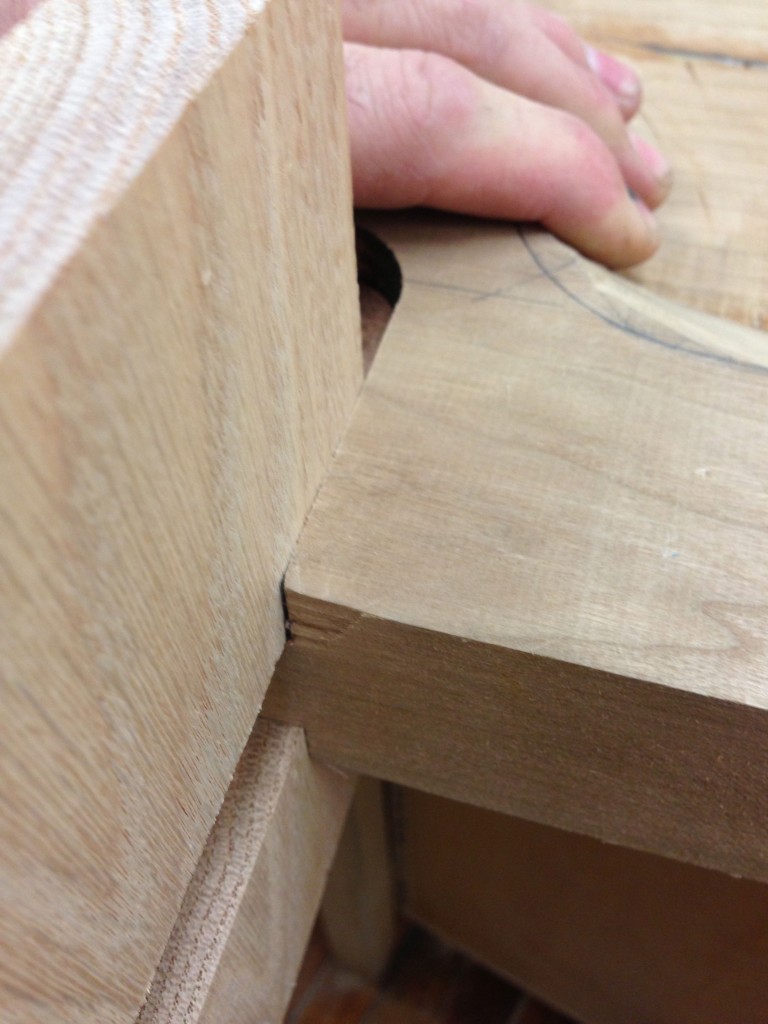
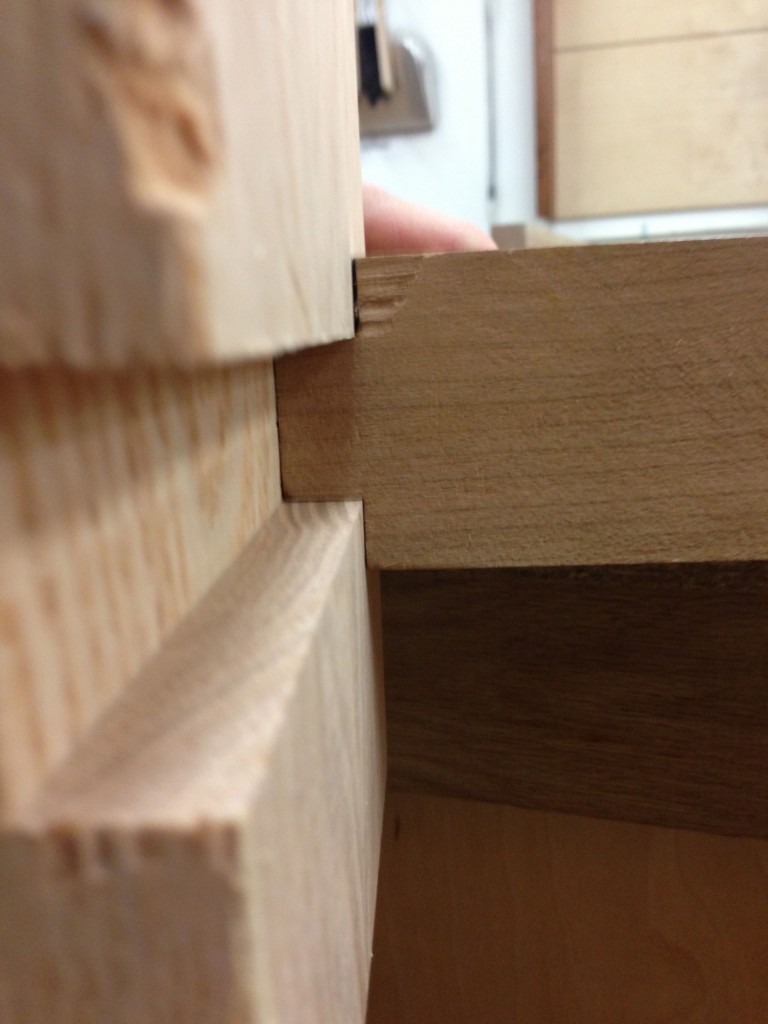
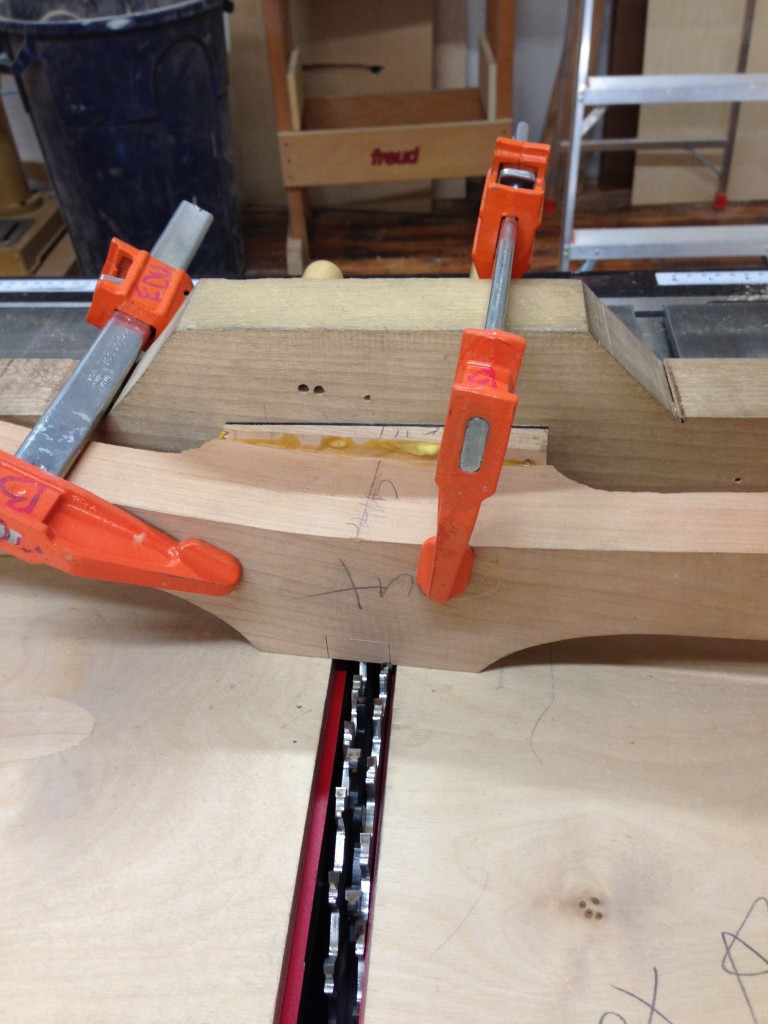
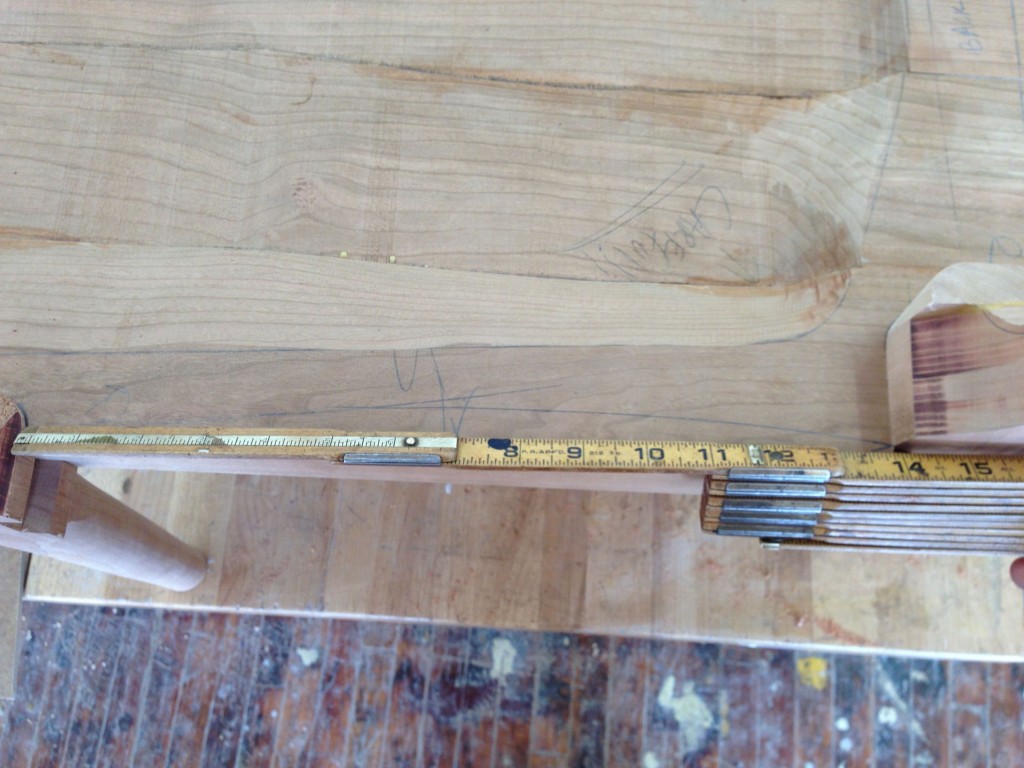
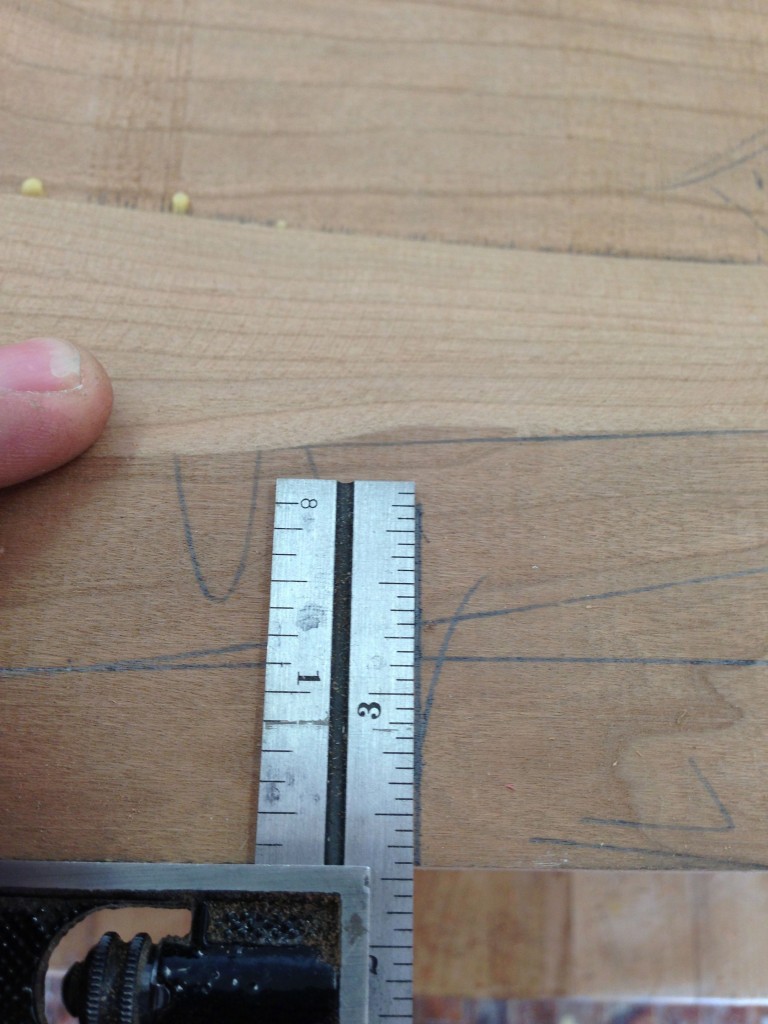
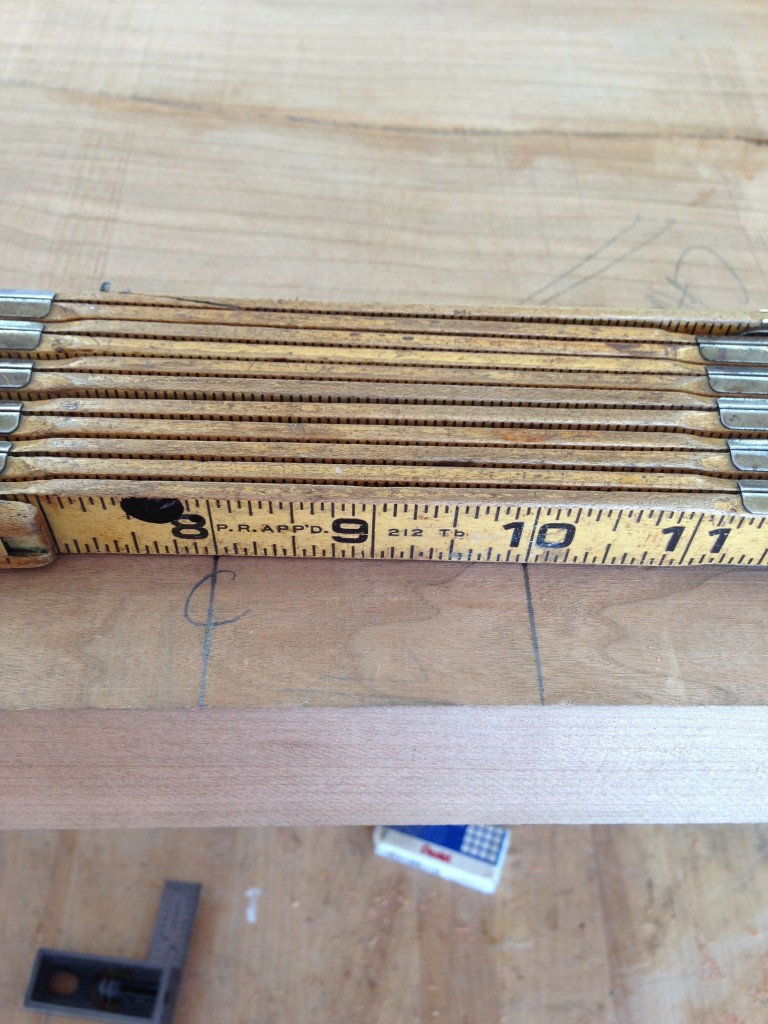
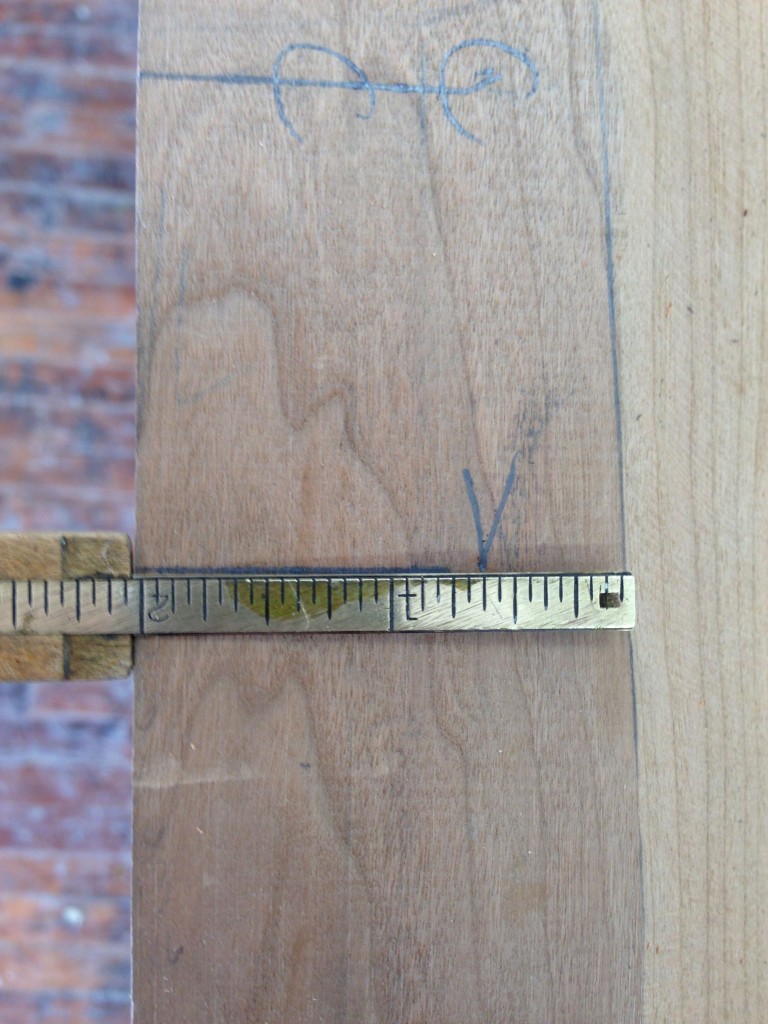
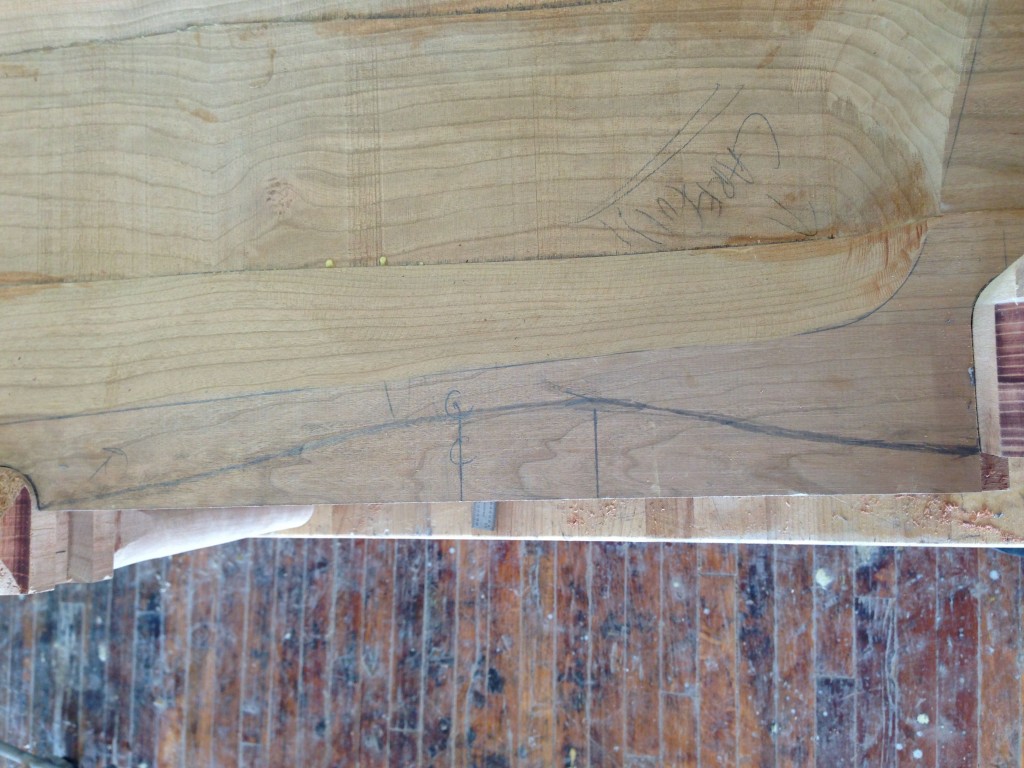
In order to create an arm with a deep sweeping profile and also meet the front leg and back leg joints, the stock needed to be 2 1/2″ thick or 10/4.  The boards I purchased were only 8/4 requiring me to do a glue up to achieve the appropriate thickness.  Instead of gluing two, 2″ thick boards together and cutting off a lot of waste, I decided to cut into one of my 10″+ boards to create 4, 5″ wide pieces.  I then re-sawed them using the table saw to 1 5/16″.  The picture gallery the will be posted next shows them being glued up and then jointed and planed to 2 1/2″.  The arms are also book matched, meaning the two blanks were originally connected across their width as one 10″ wide board.  Enjoy.

YouTube Preview Image
Share

Rocker Back Leg Joinery

The previous back leg post ended at the rough blanks being cut out of the bigger stock of lumber.  This gallery picks up with the flush trim routing to the leg pattern.  Then adder blocks must be milled and glued on to accommodate the angle that occurs at the seat to back leg joint.  Once they are added and squared, layout of the mortise joinery occurs.  After the table saw, the inside corner must be rounded over on the router table.  The next update will begin with the fine tuning of the round over.

RockerBackLegJoinery


Share