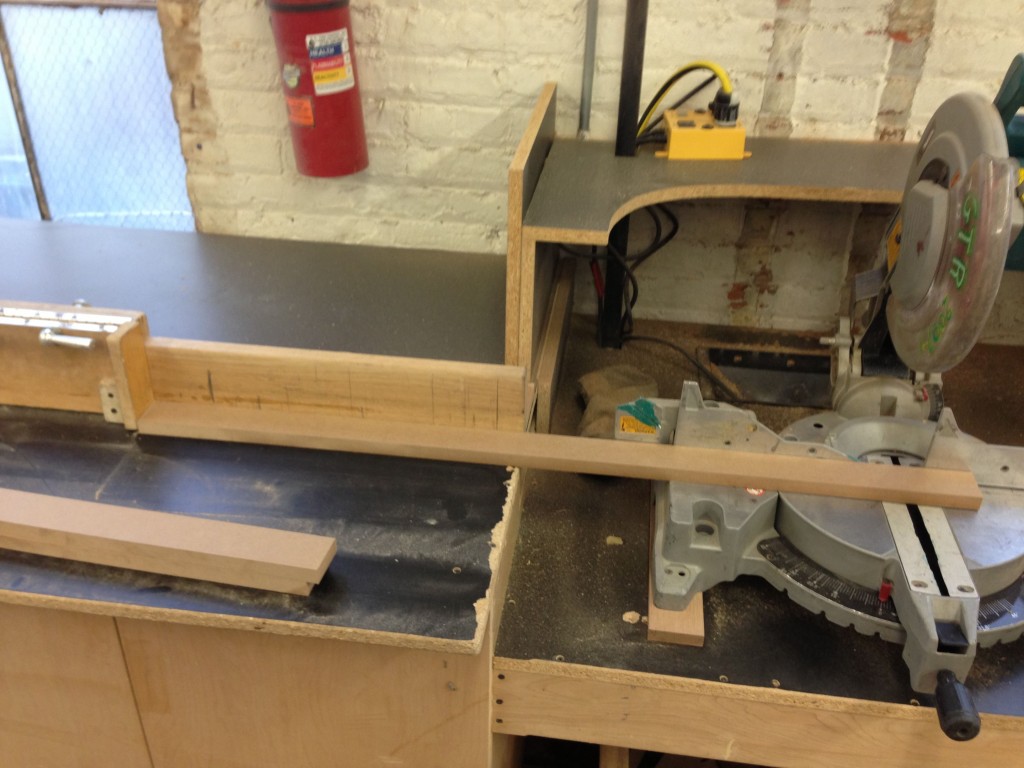
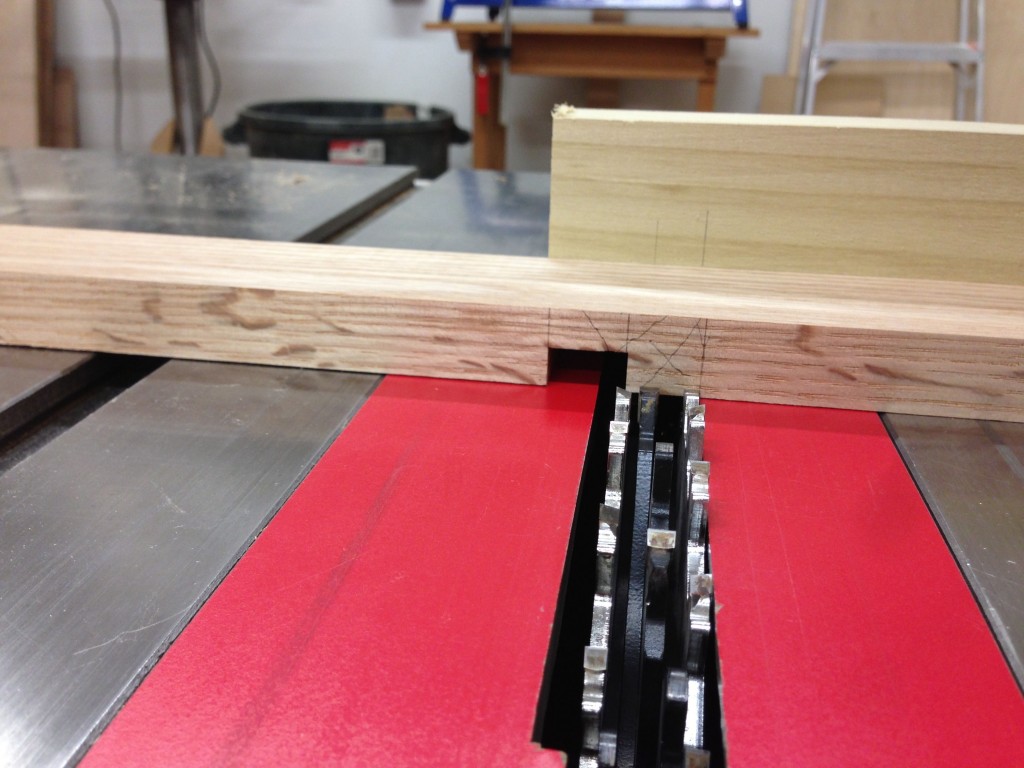
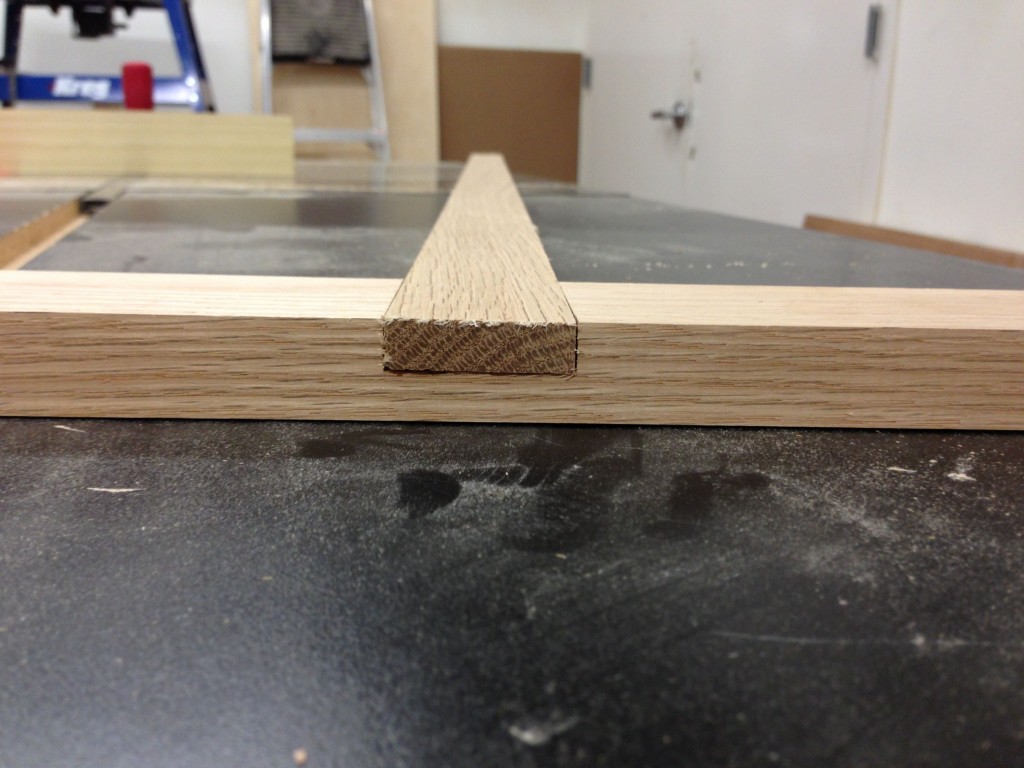
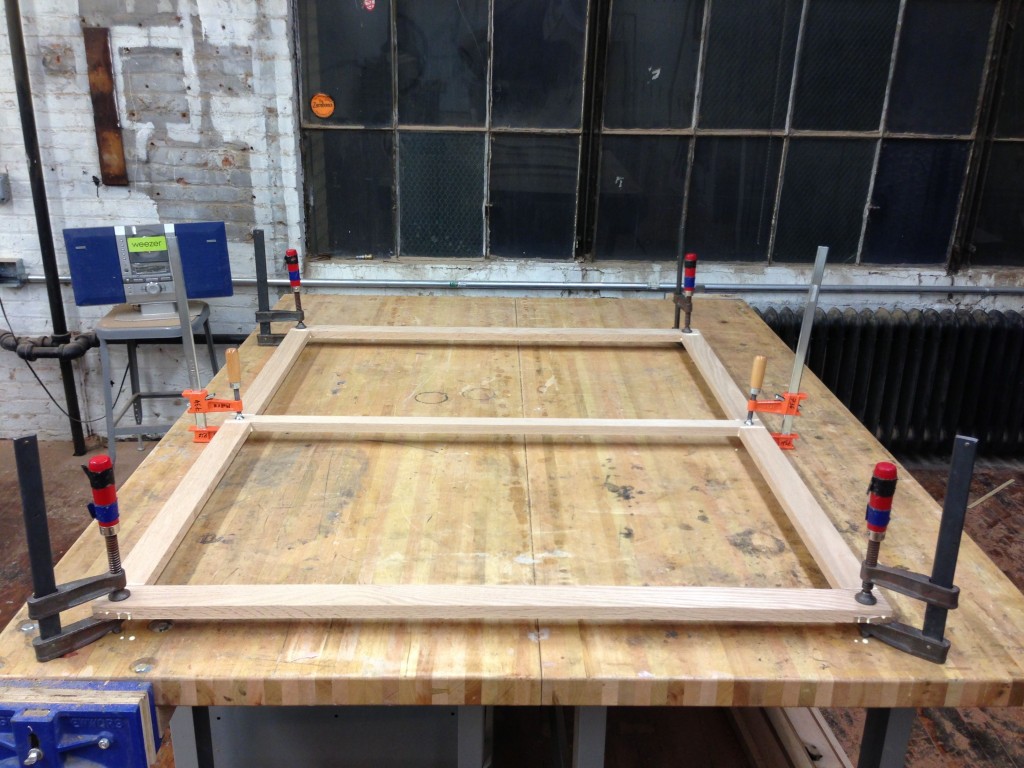
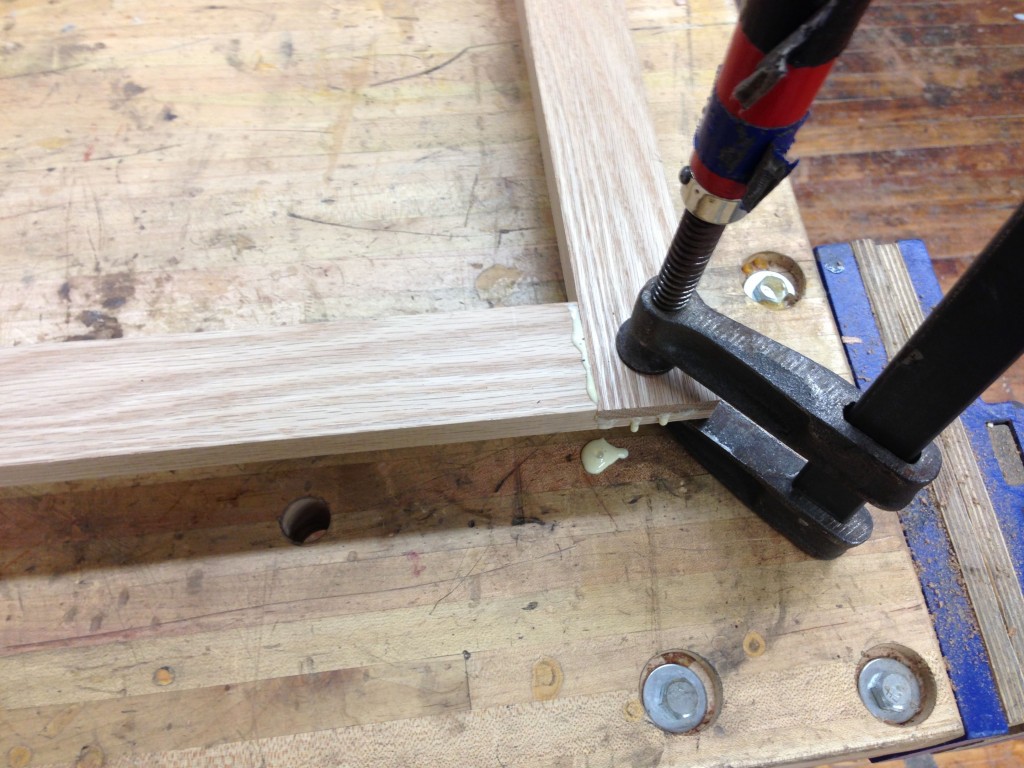
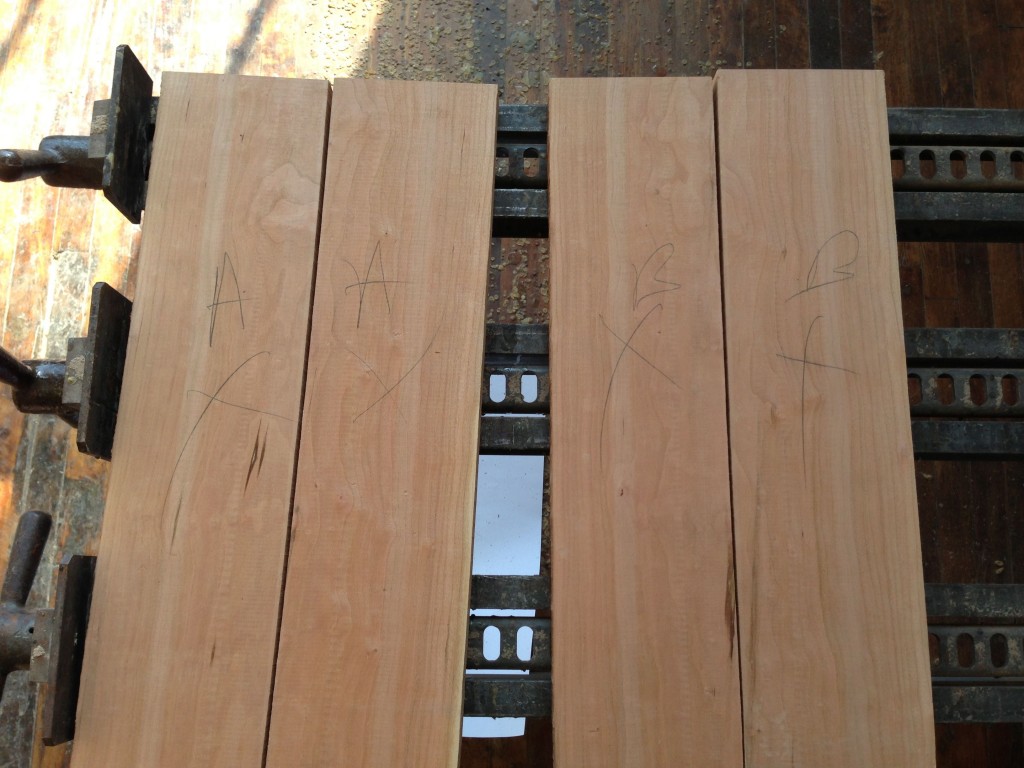
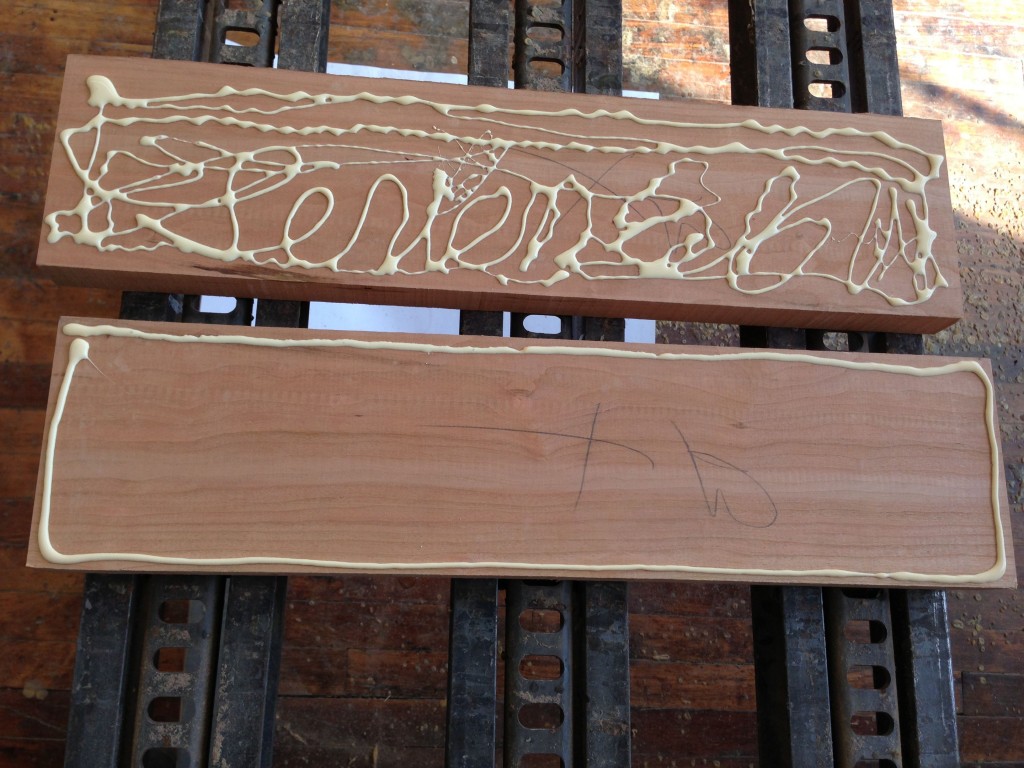
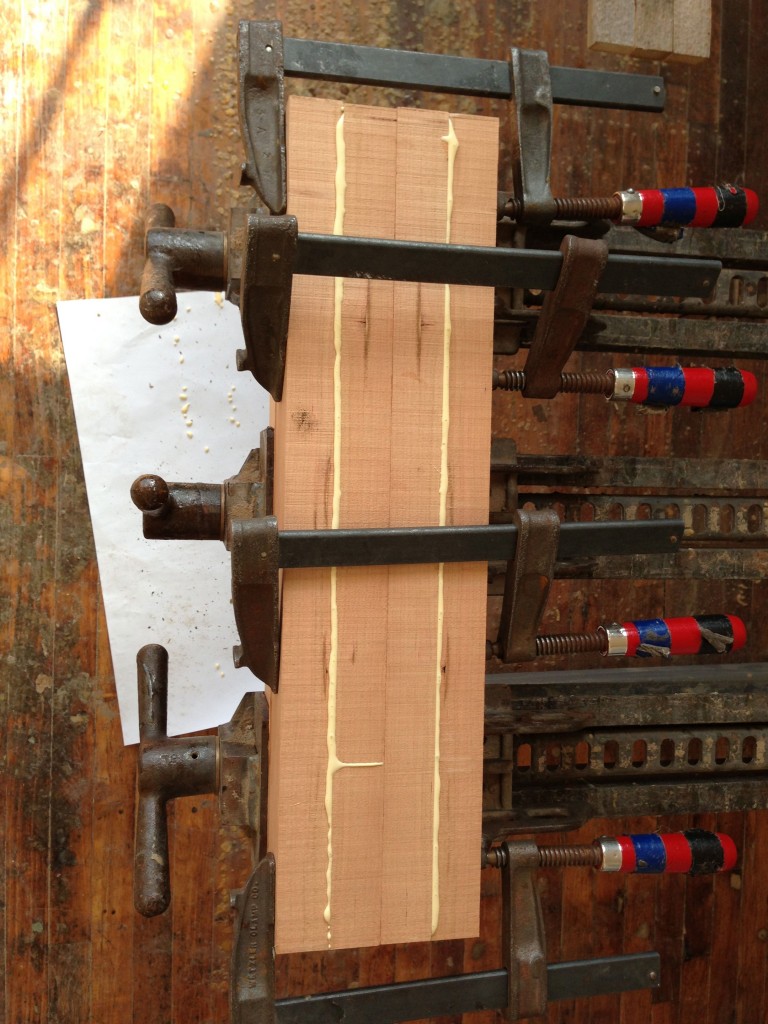
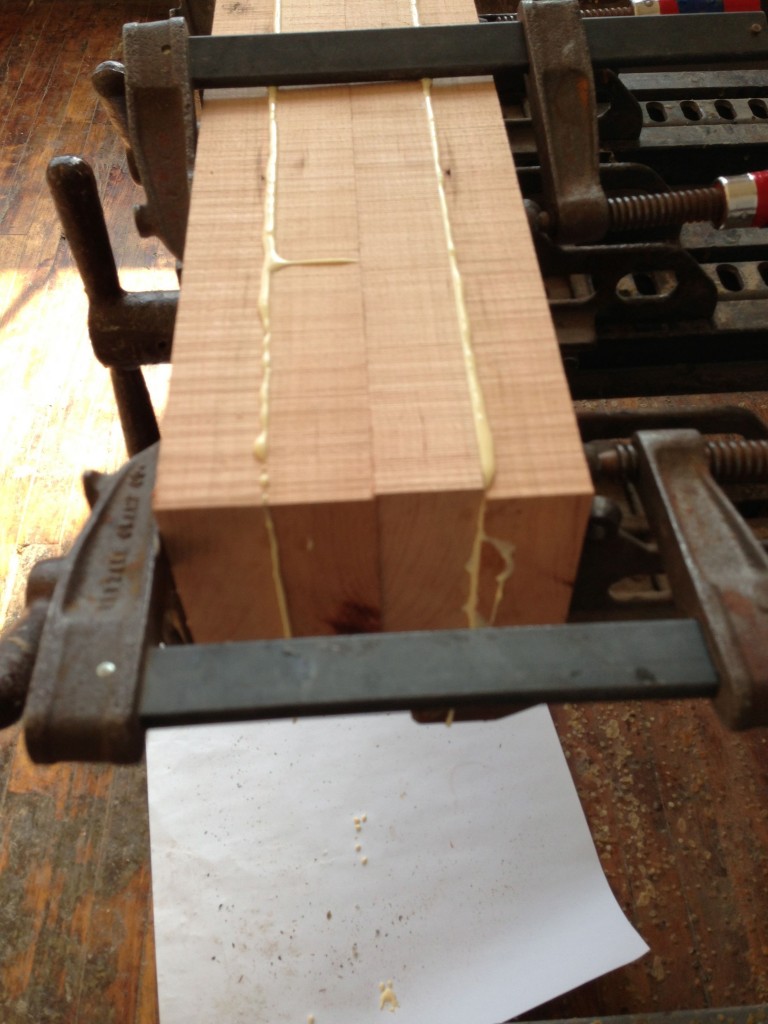
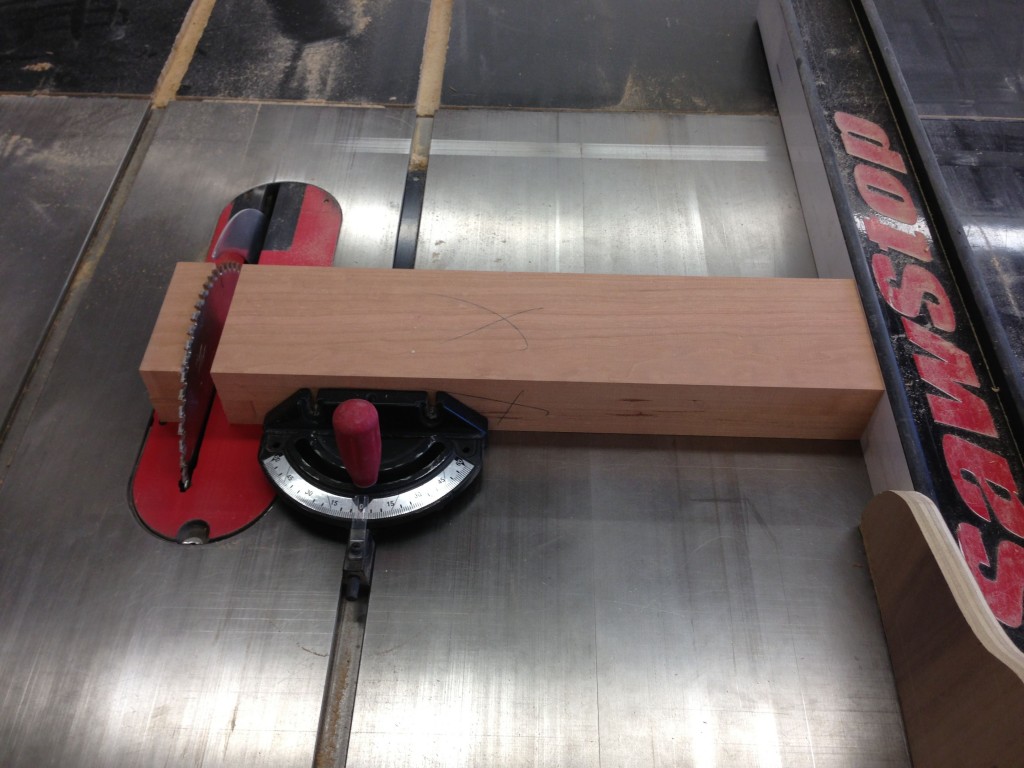
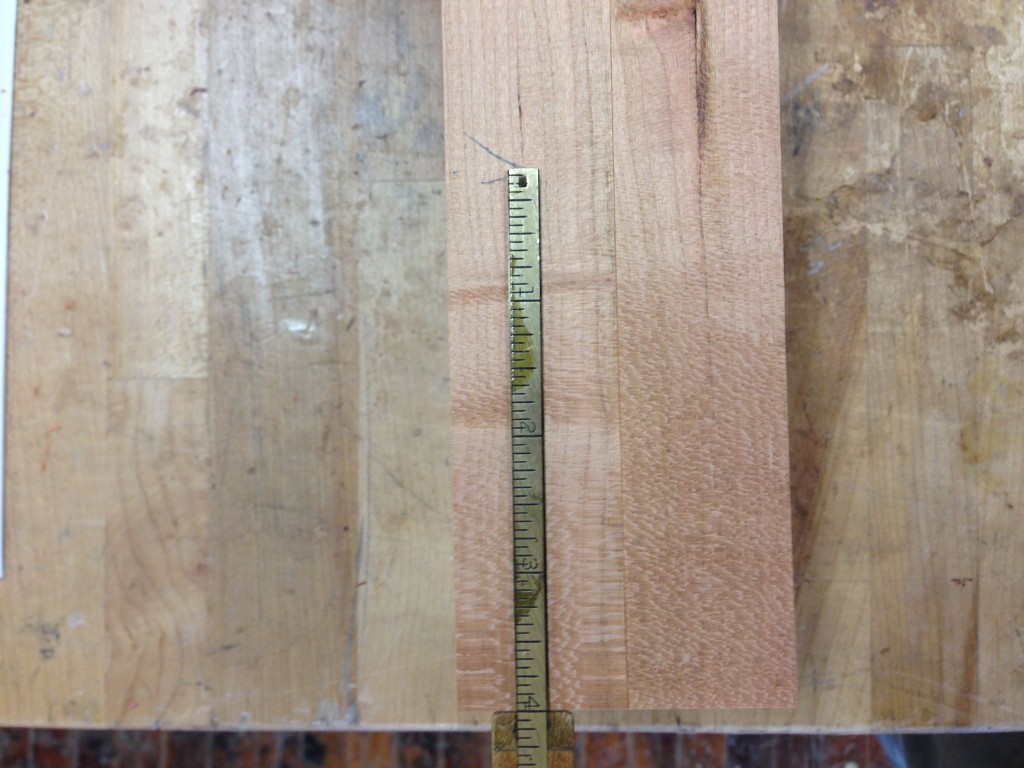
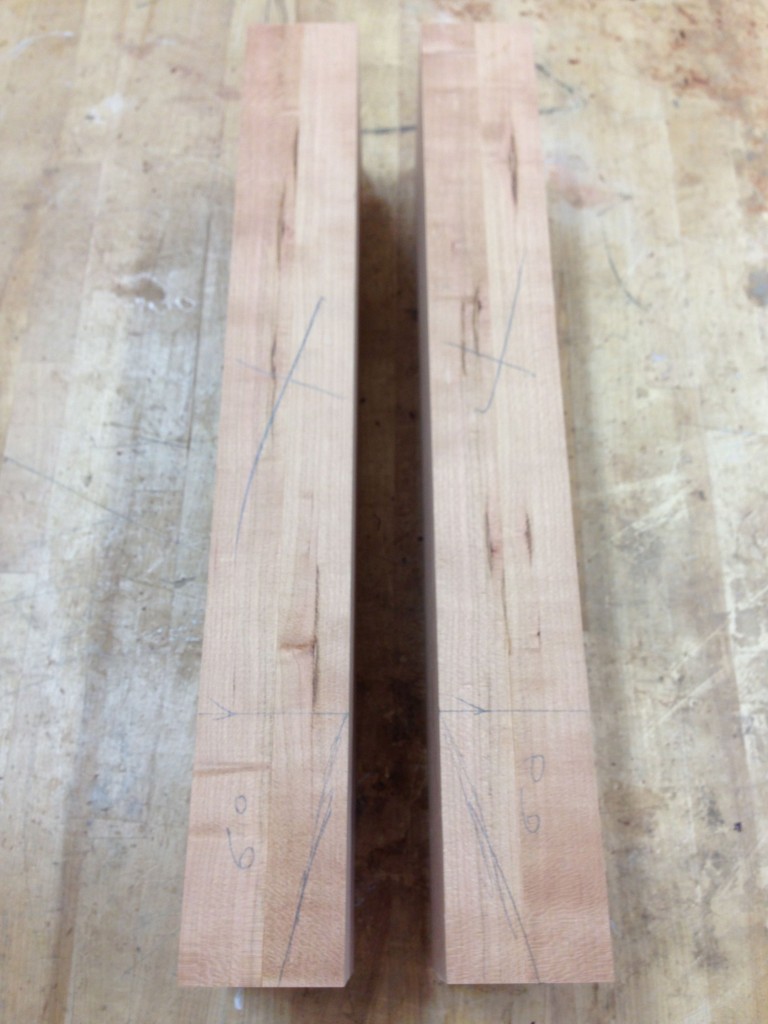
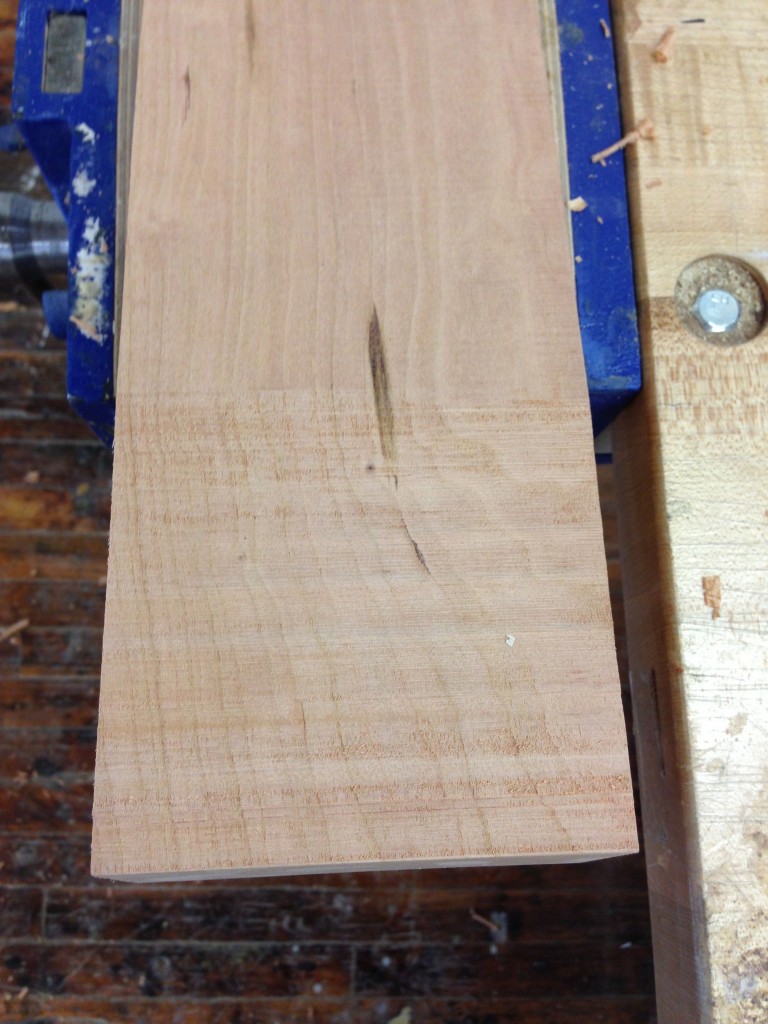
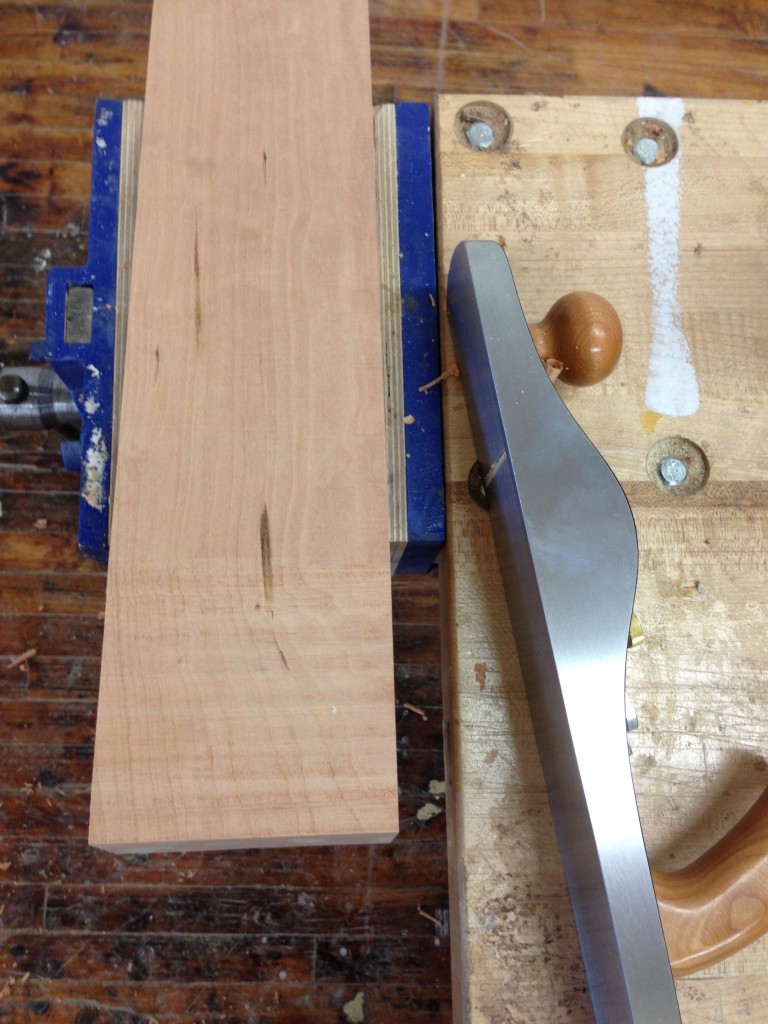
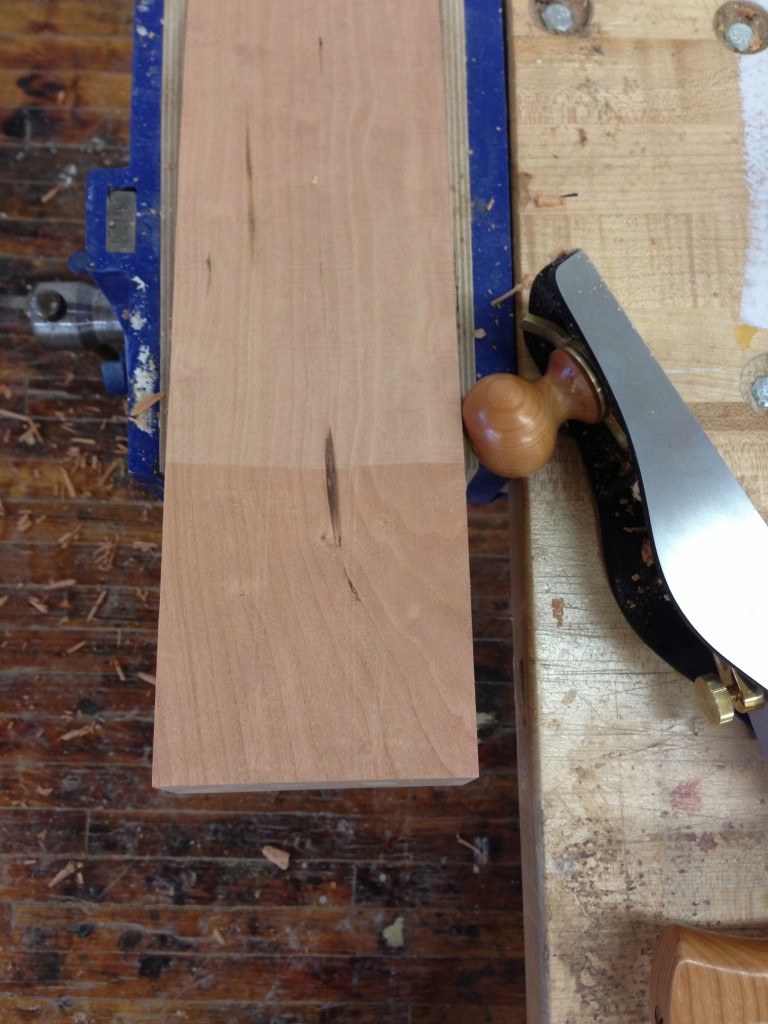
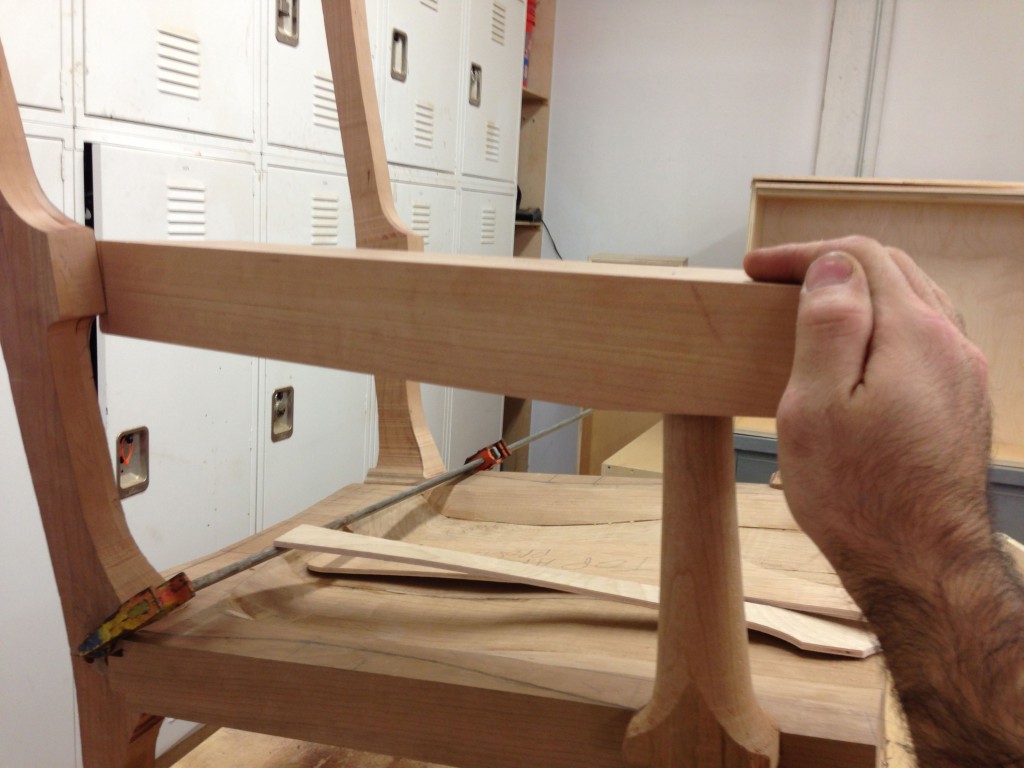
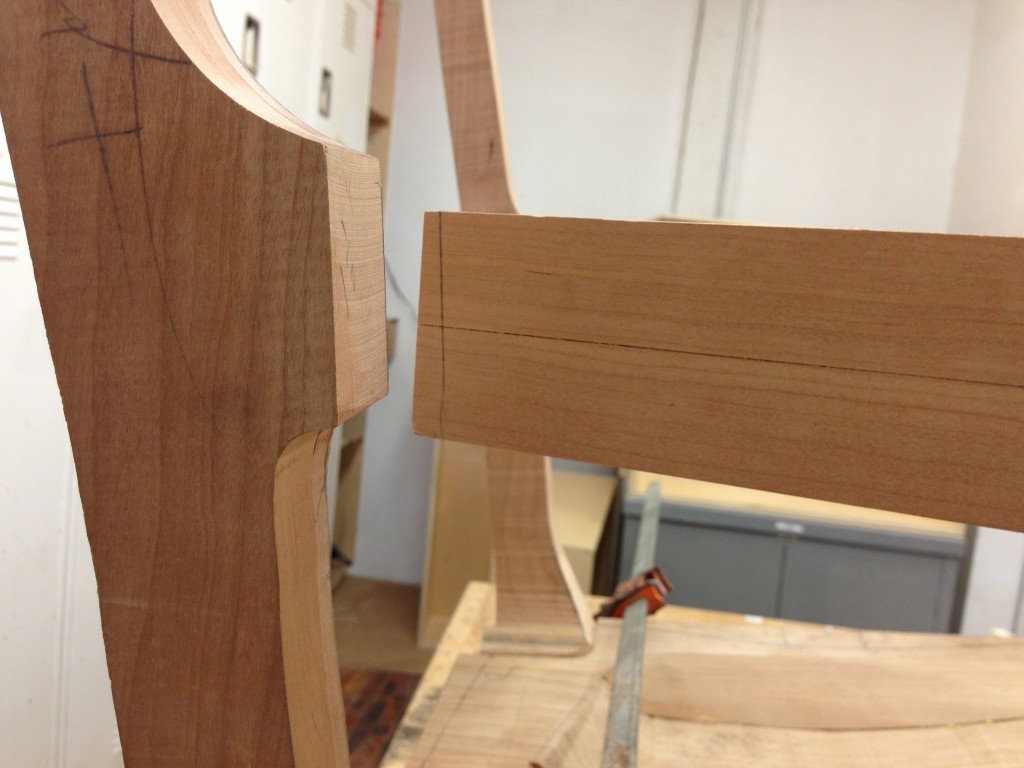
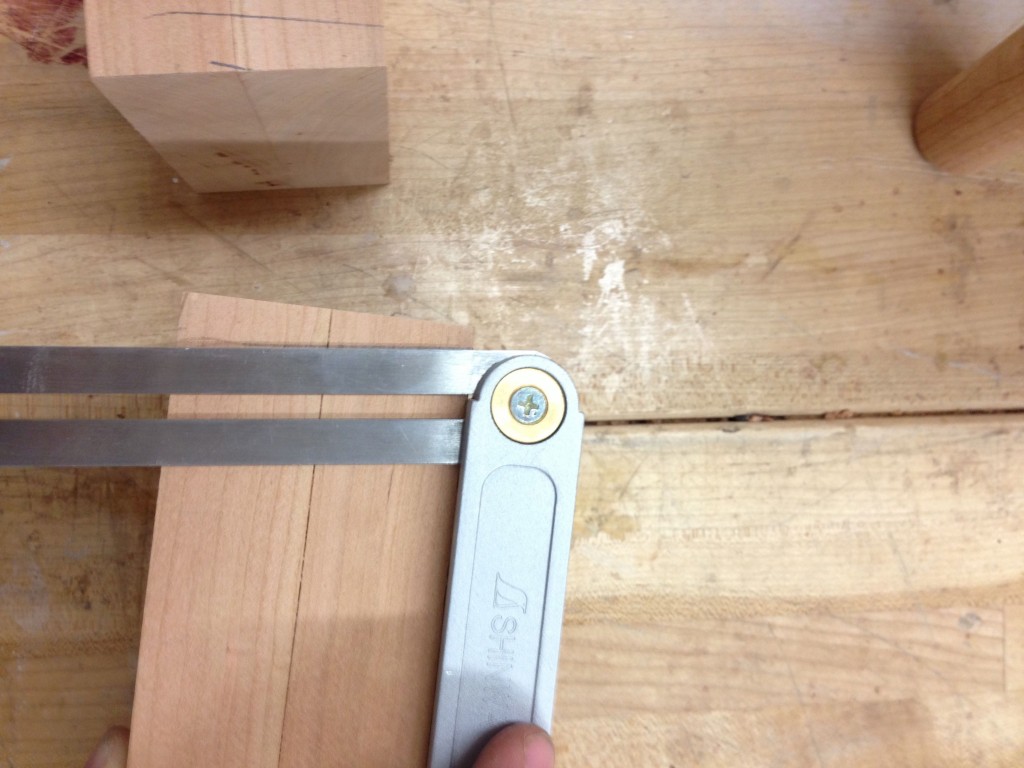
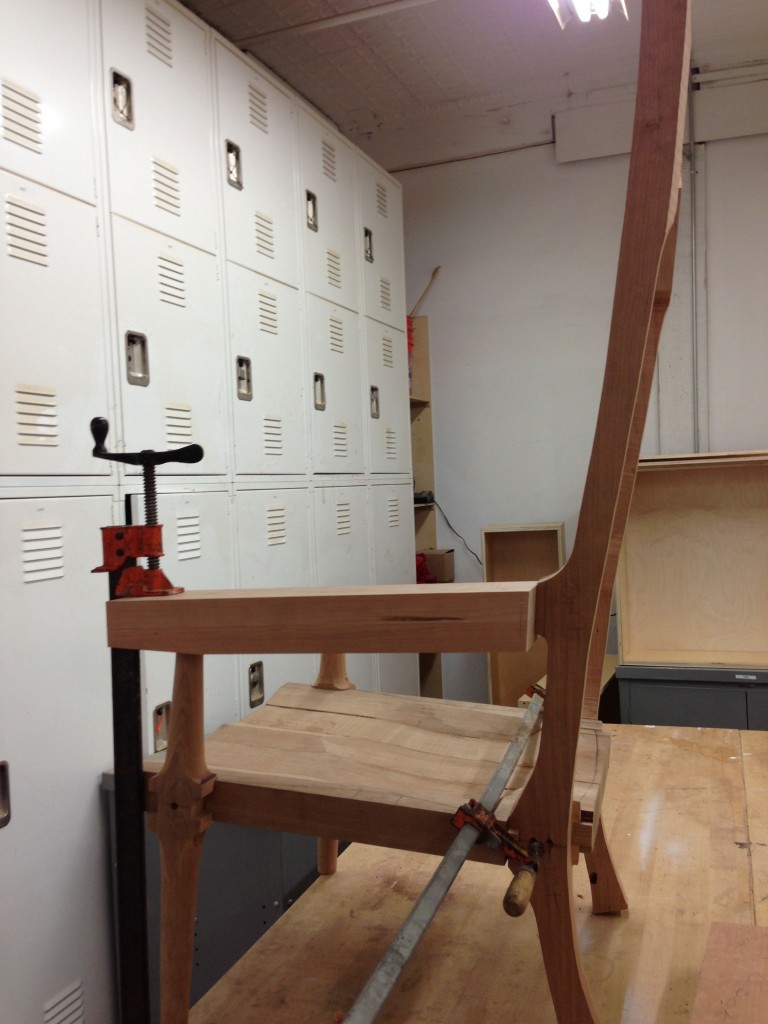
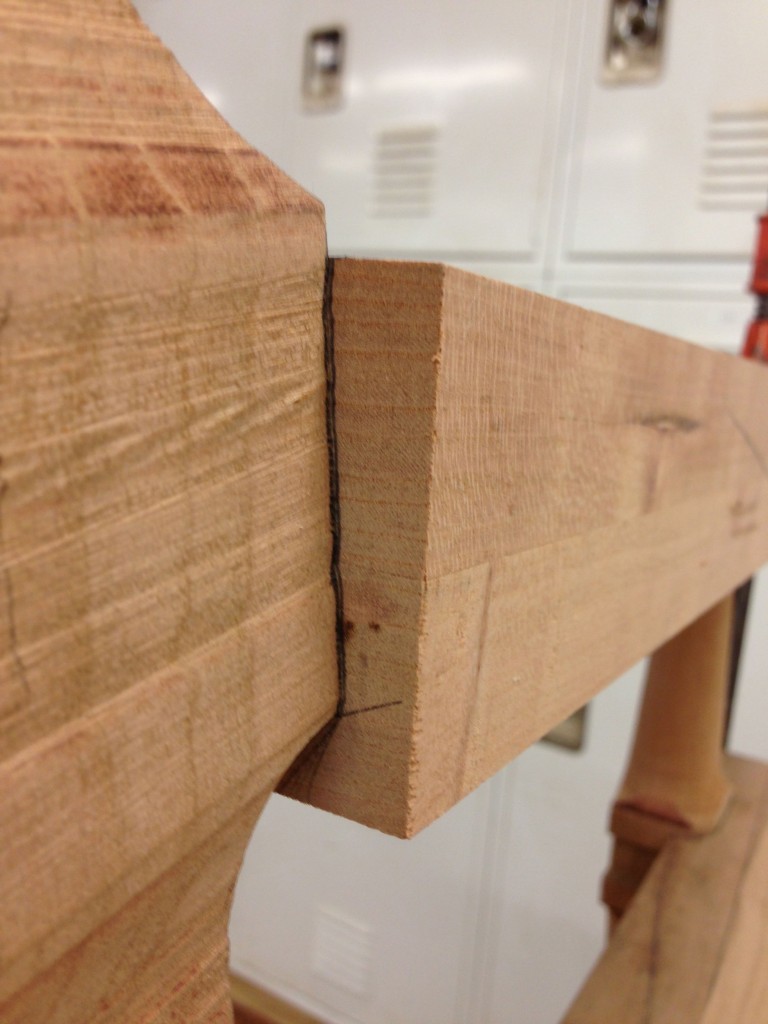
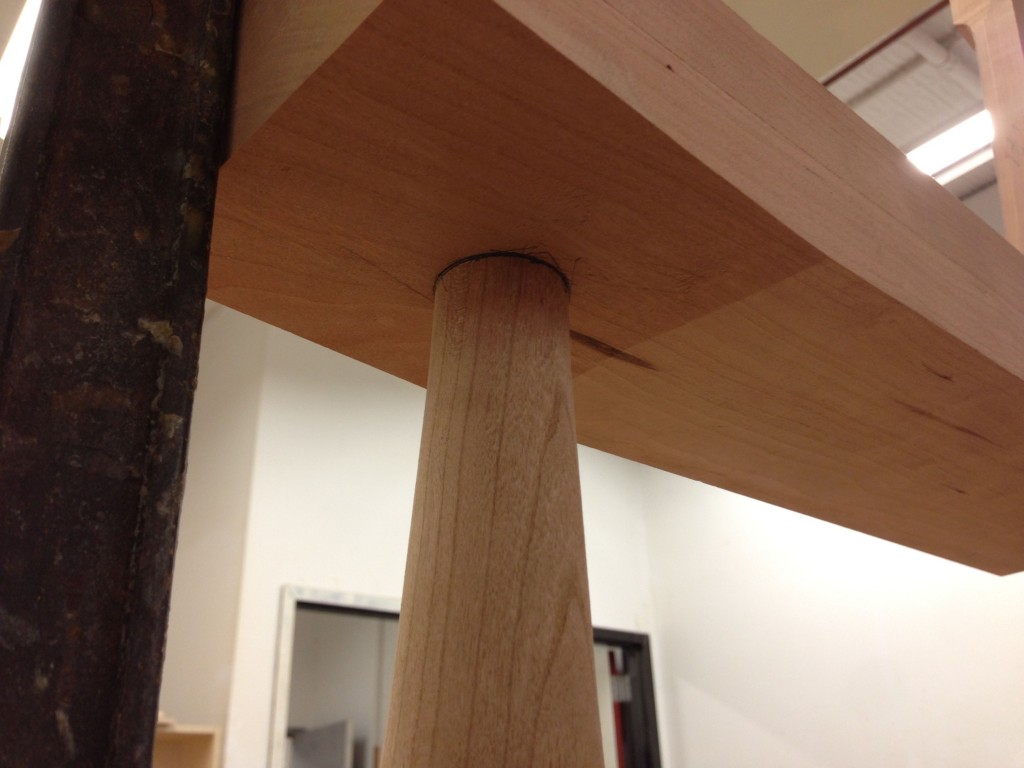
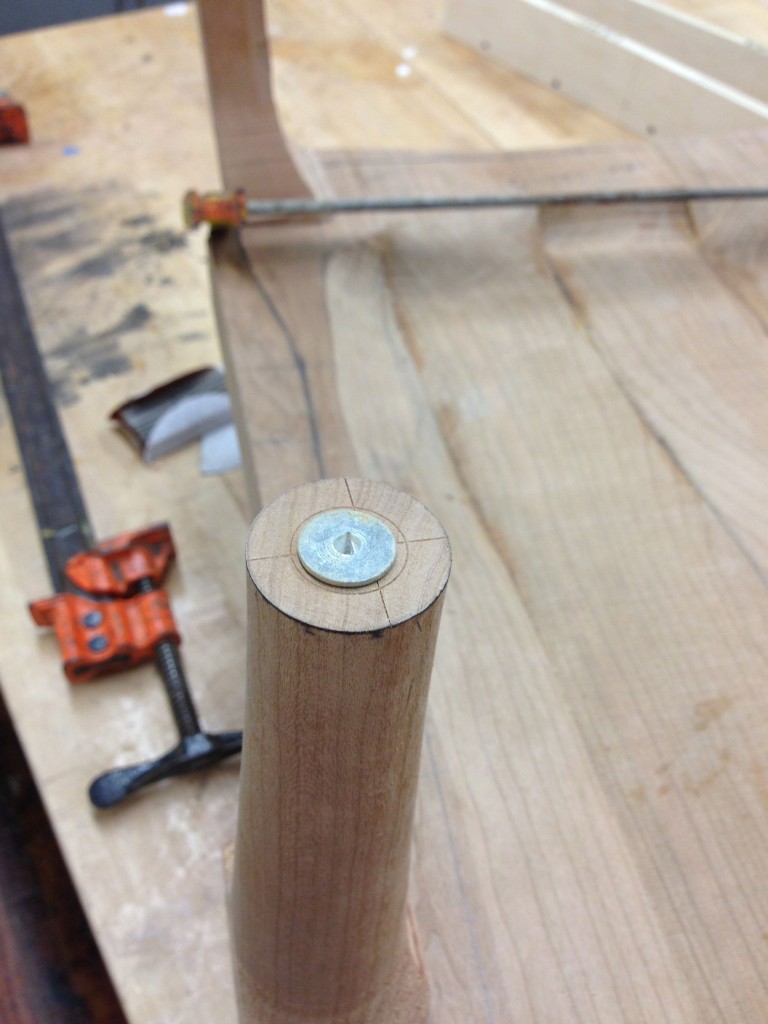
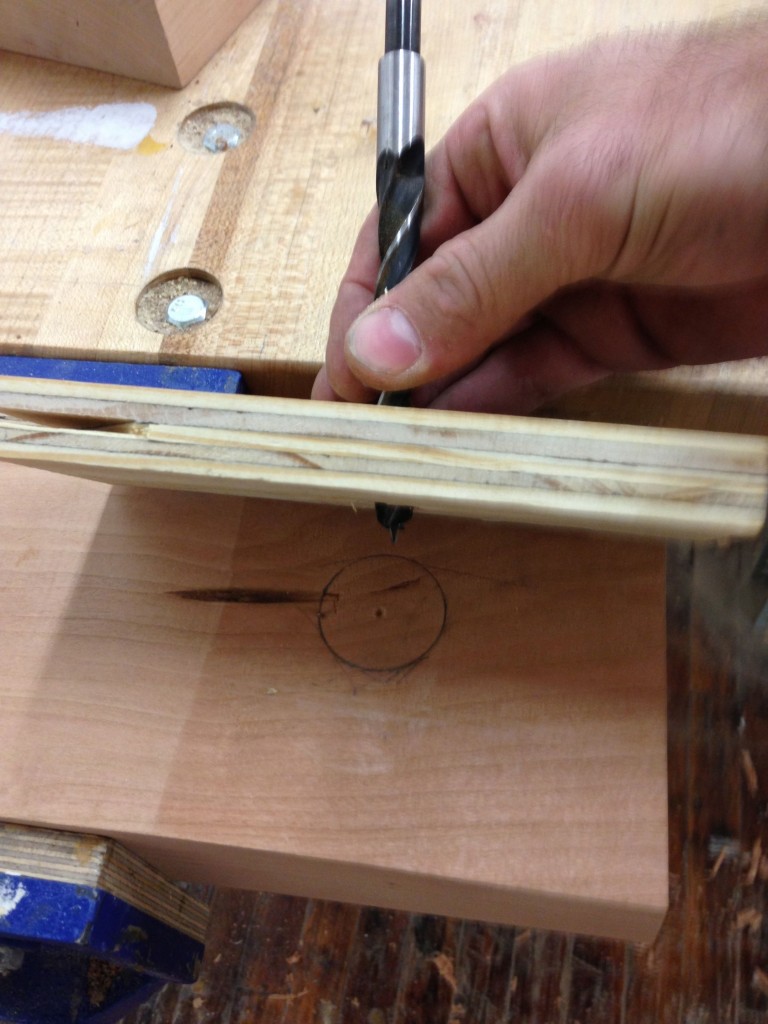
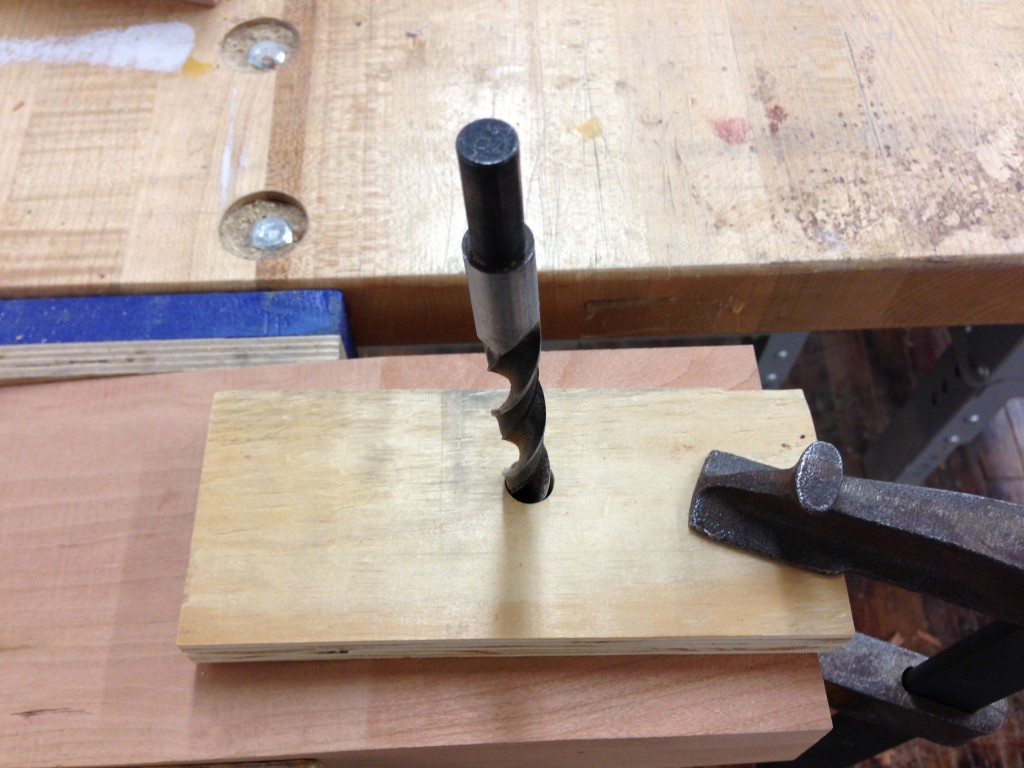
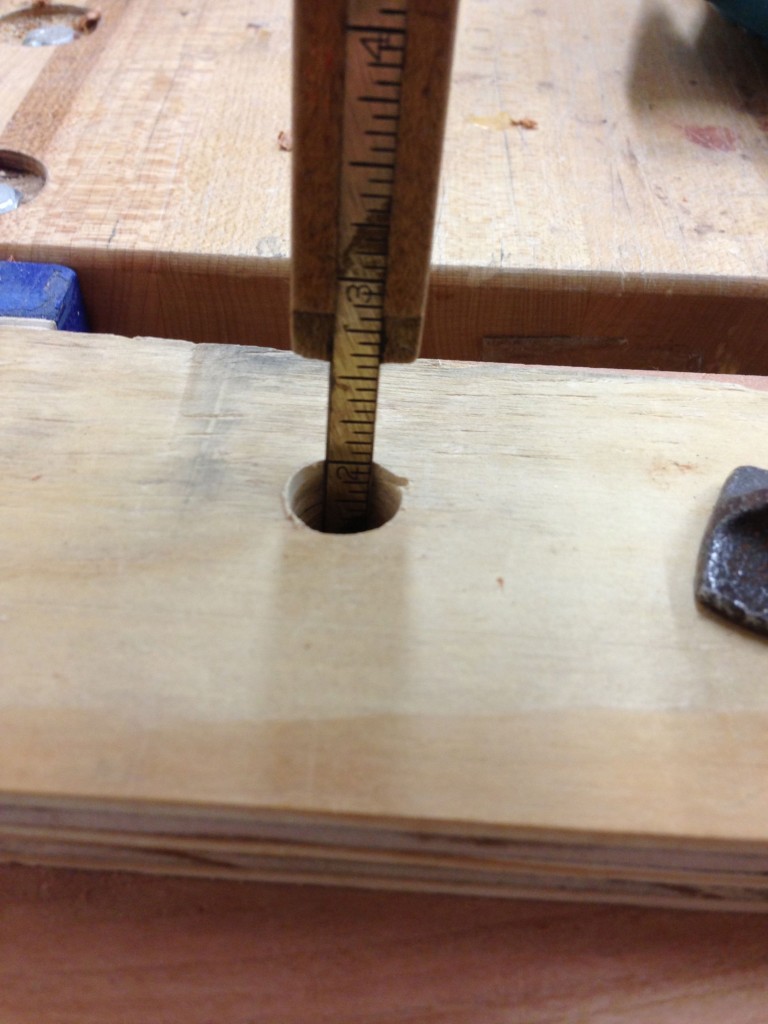
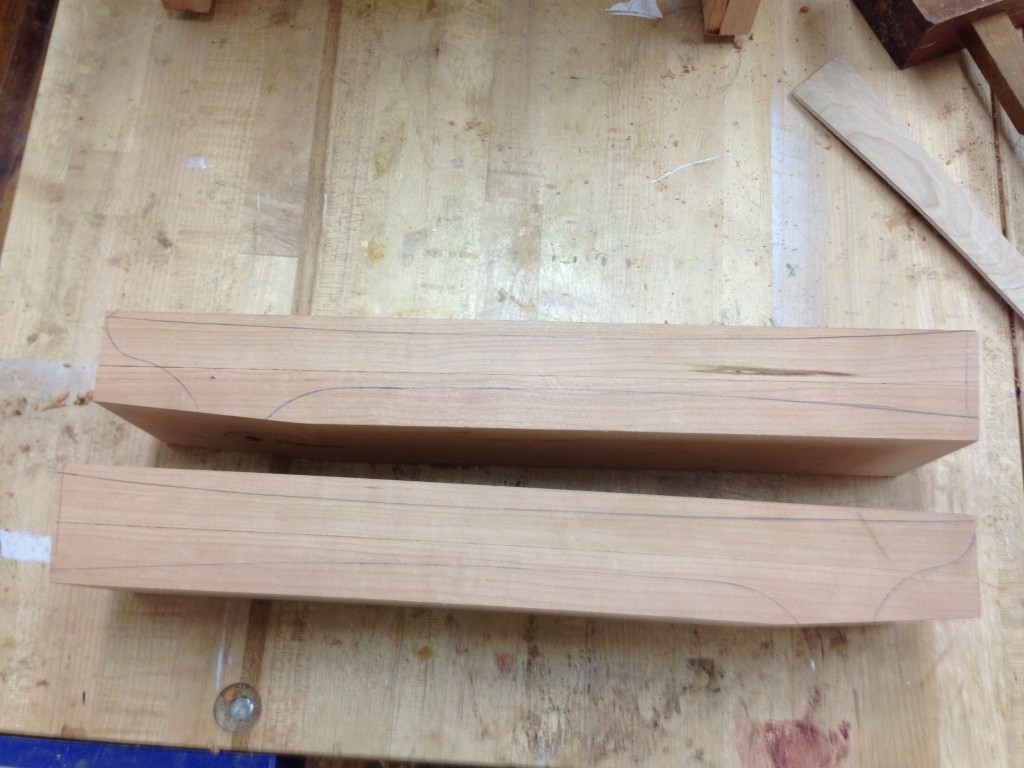
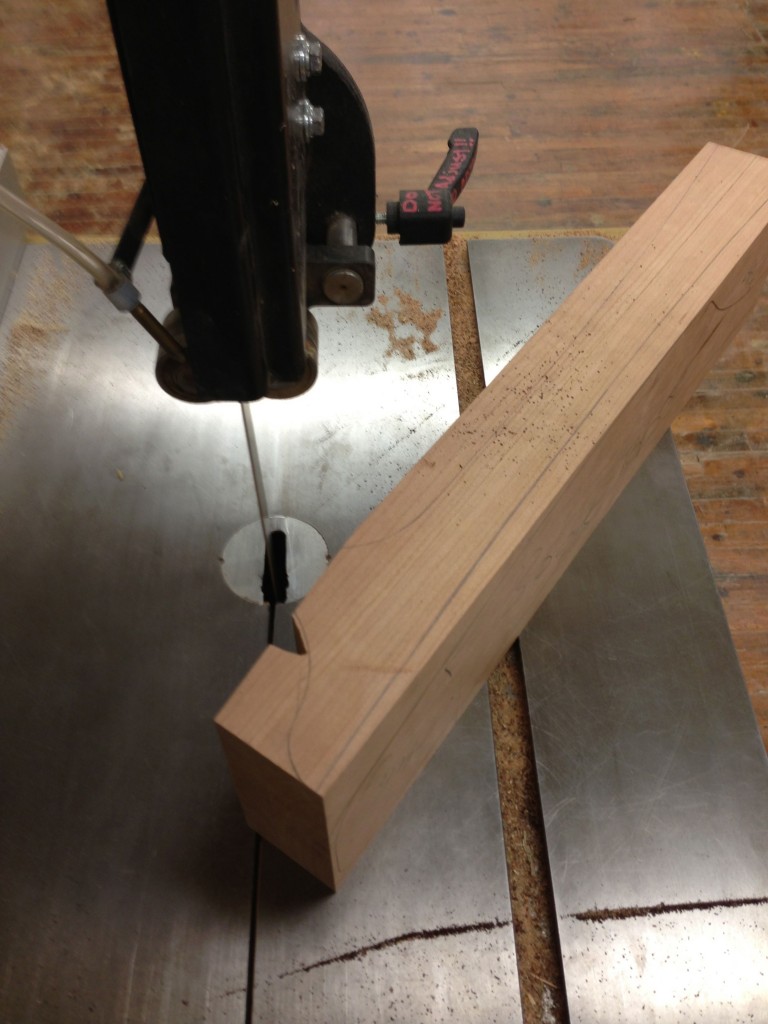
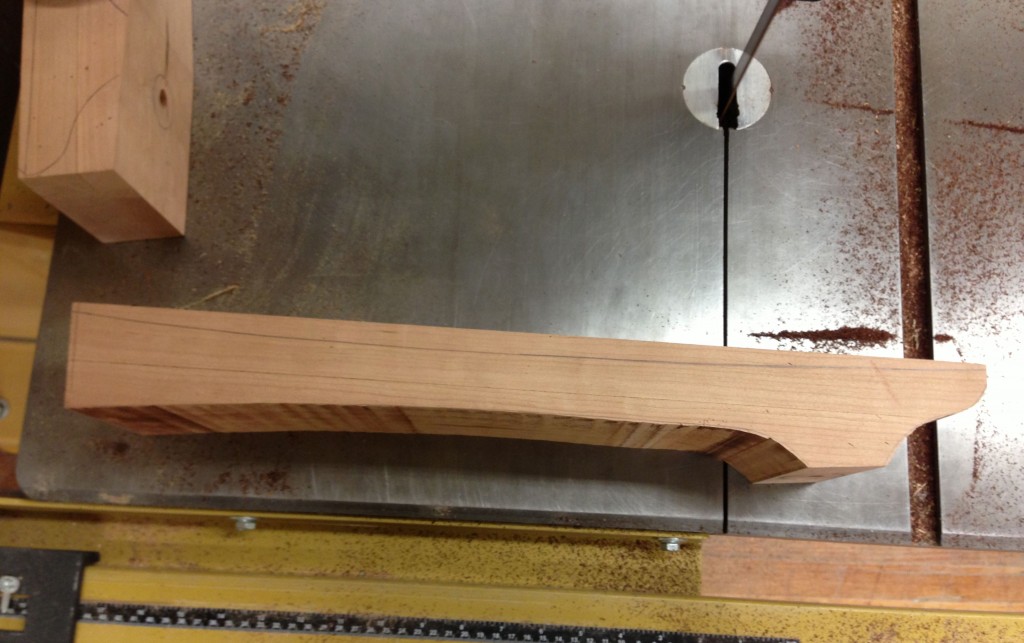
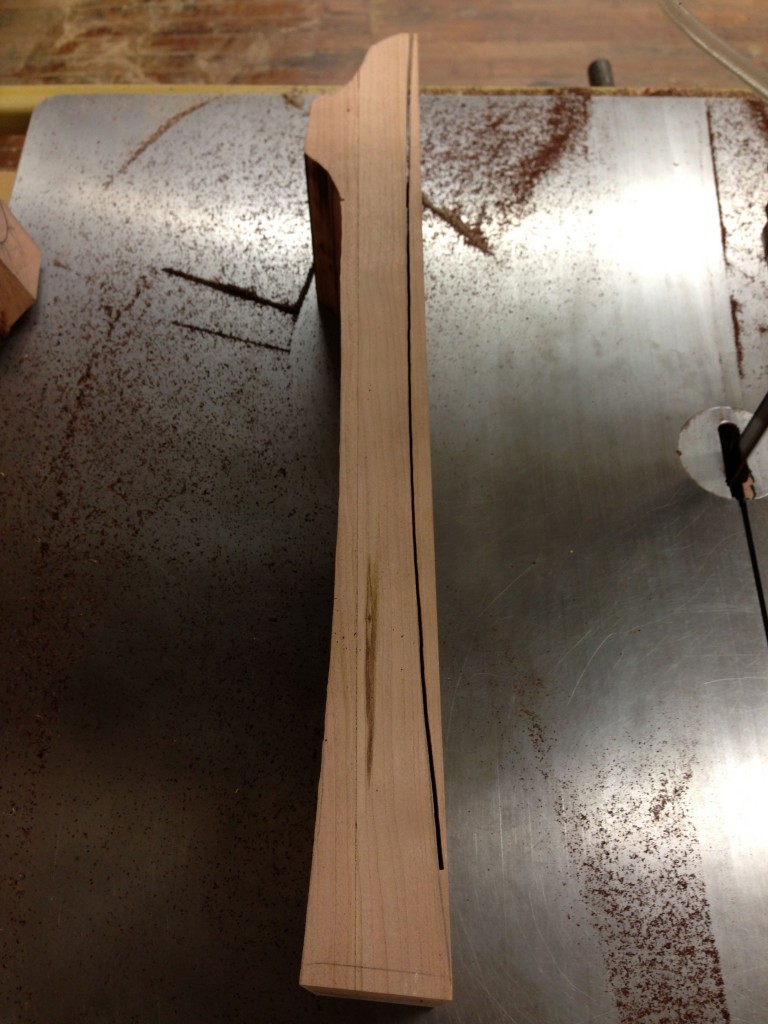
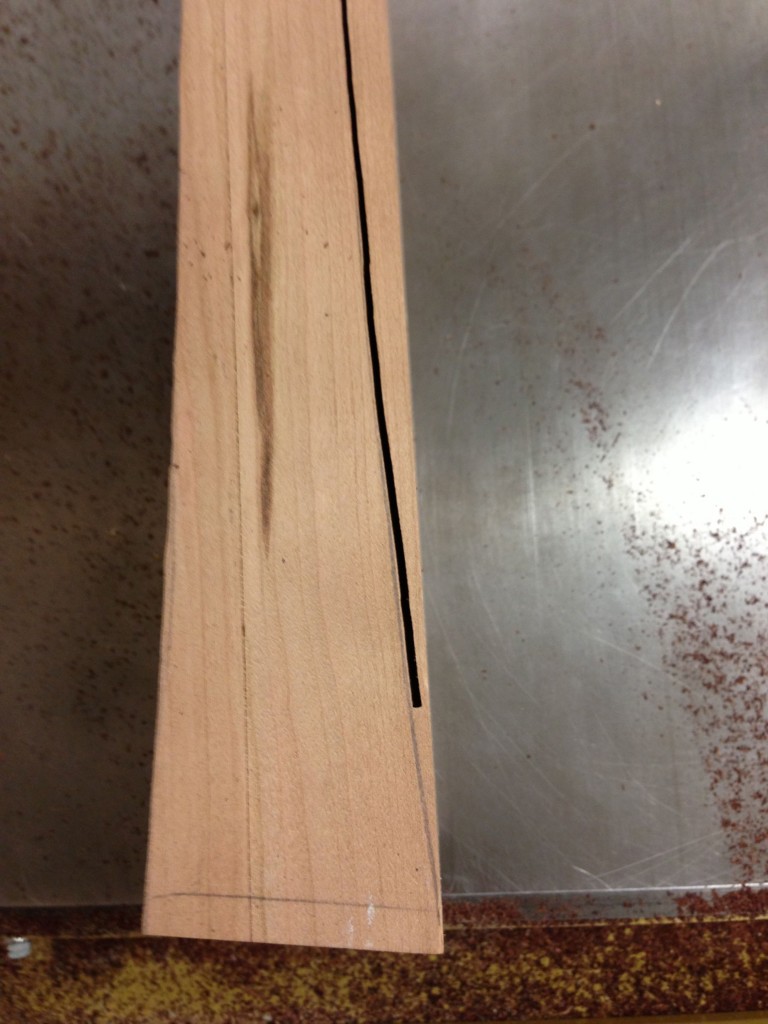
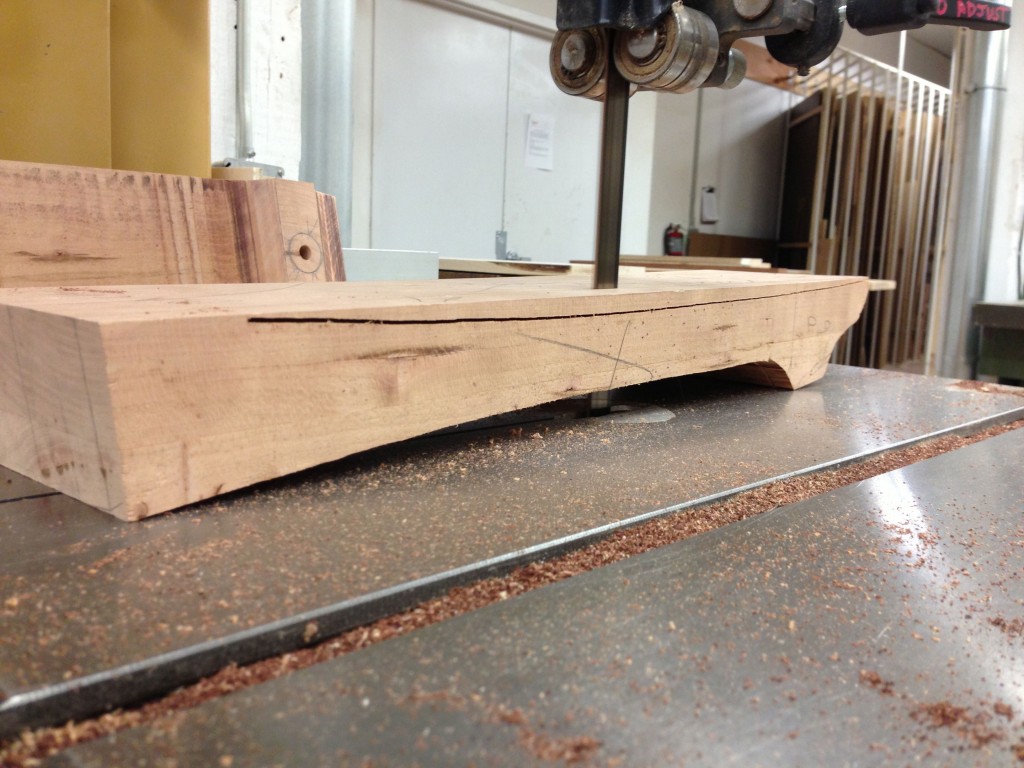
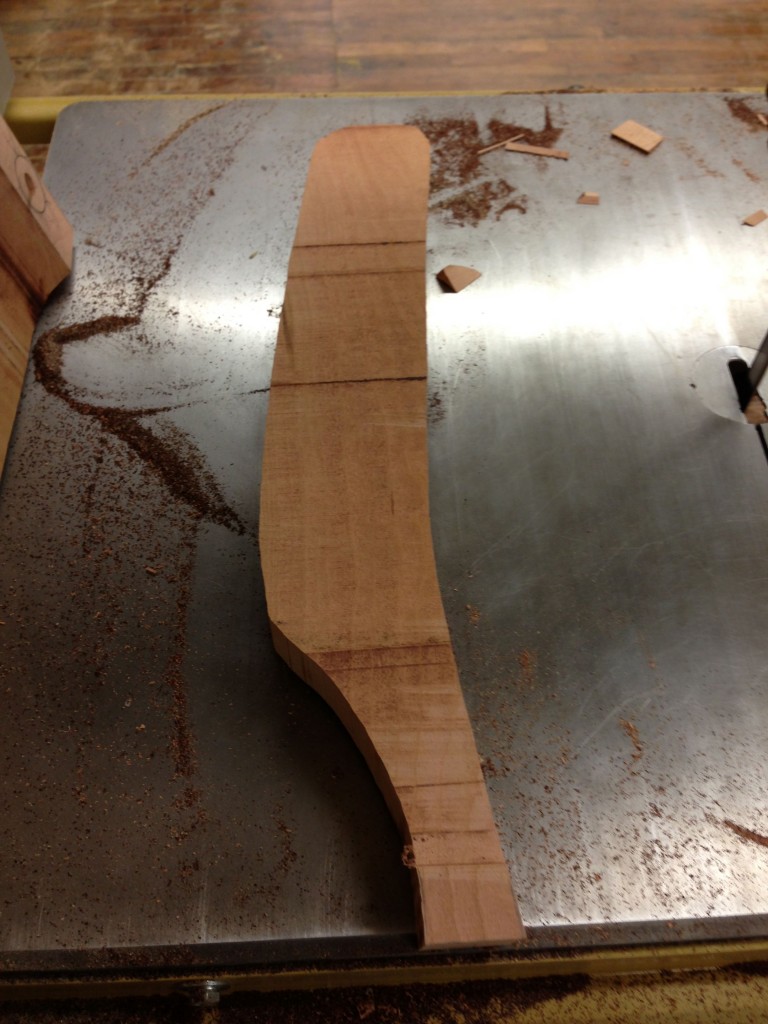
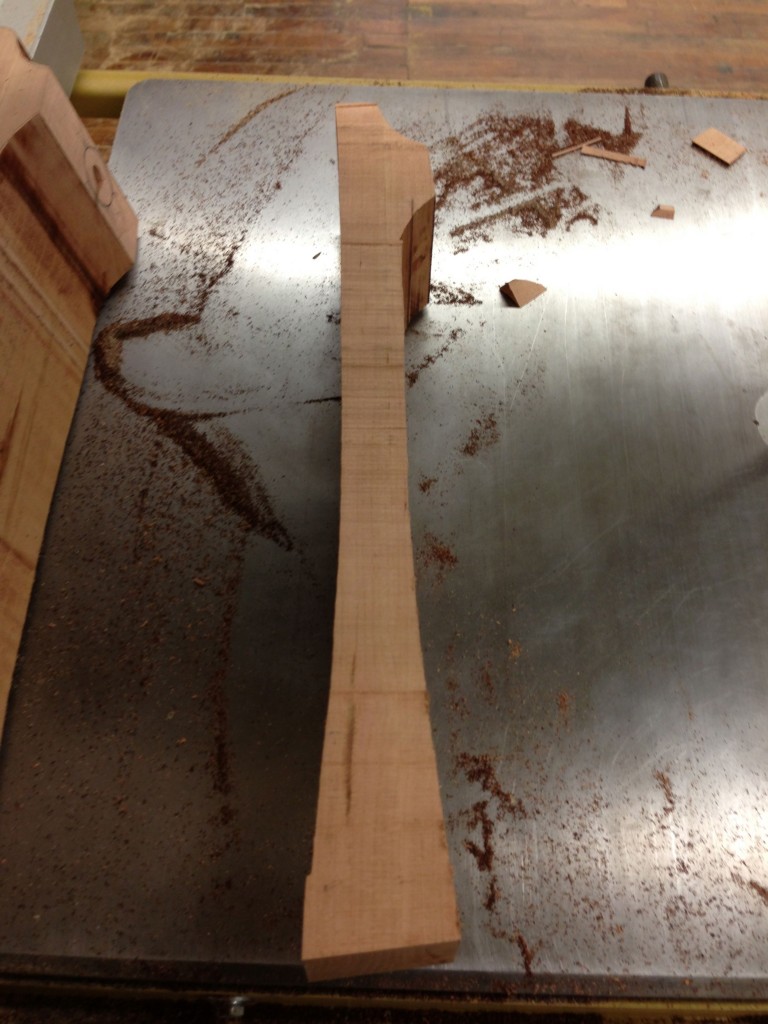
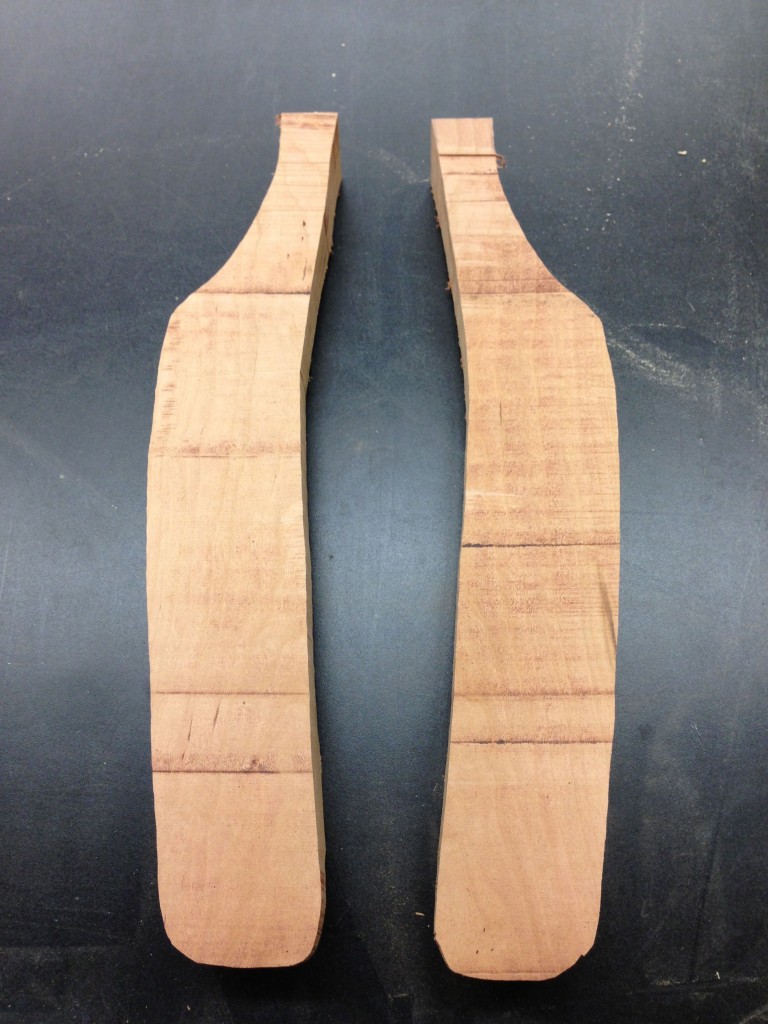
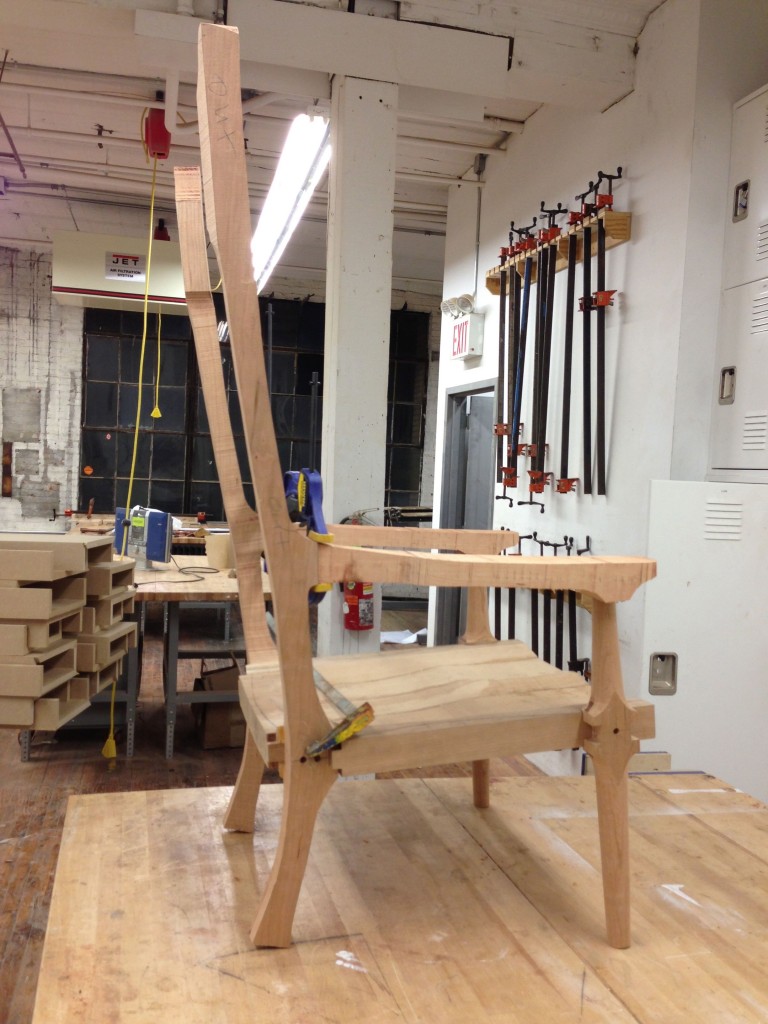
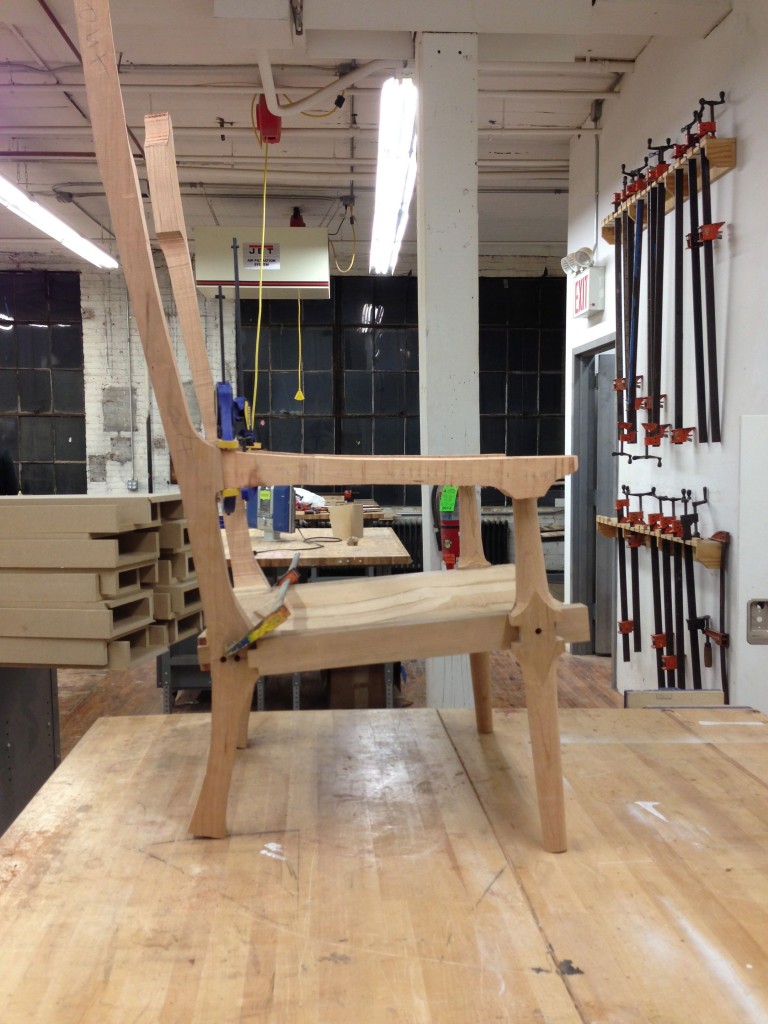
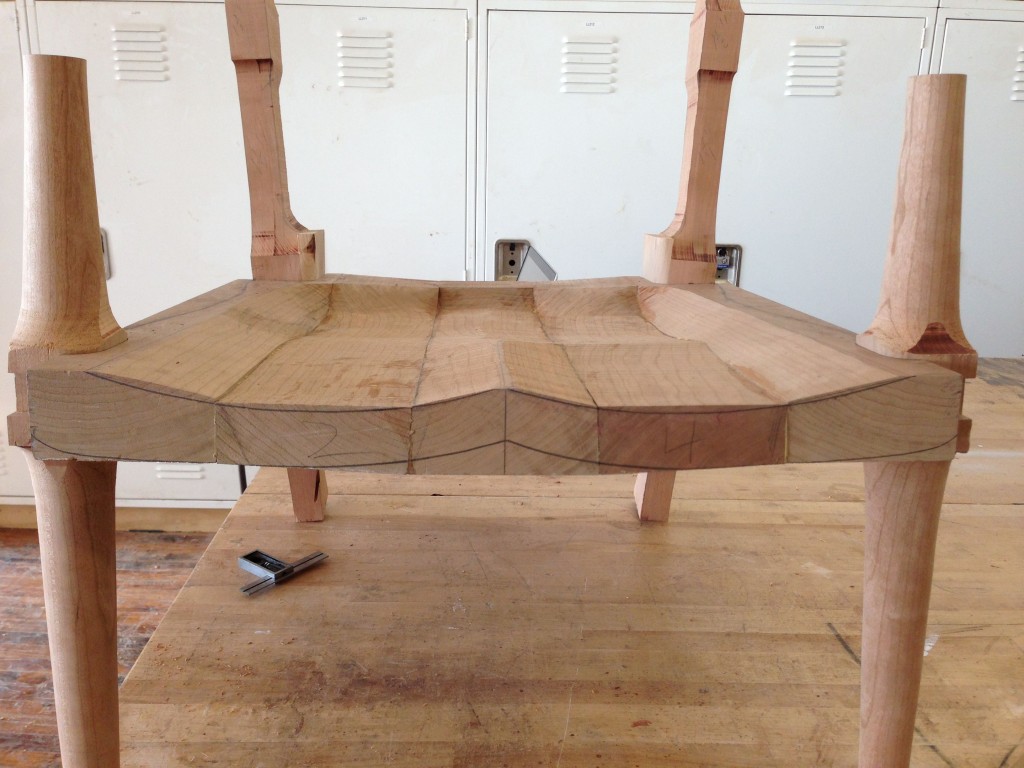
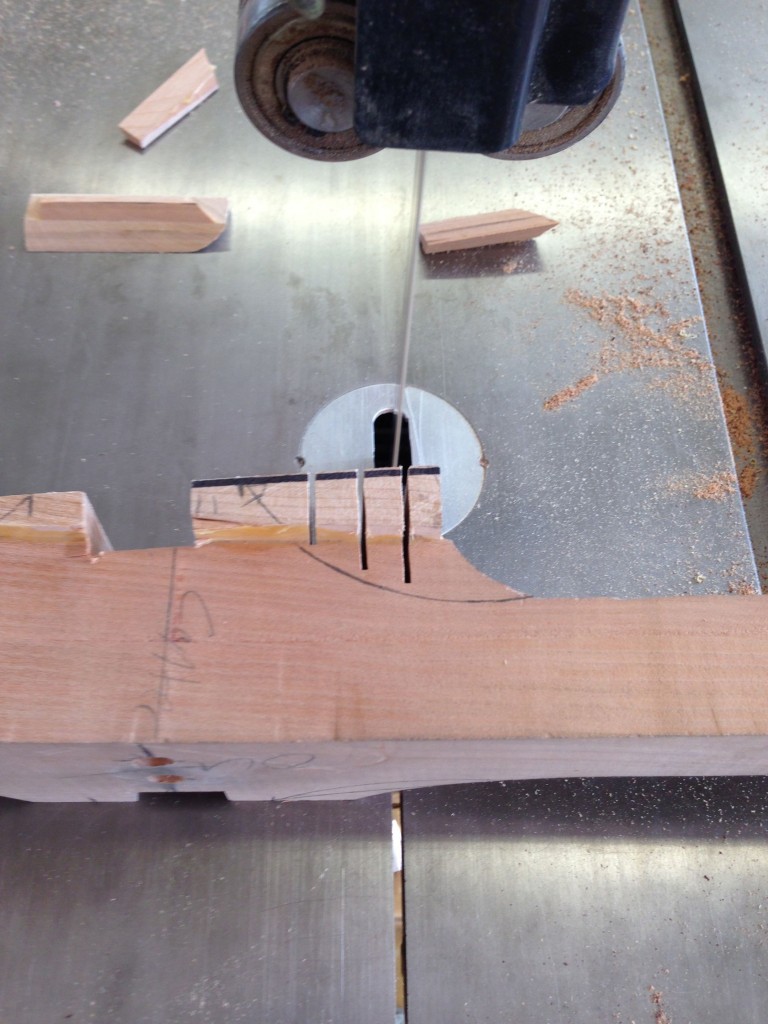
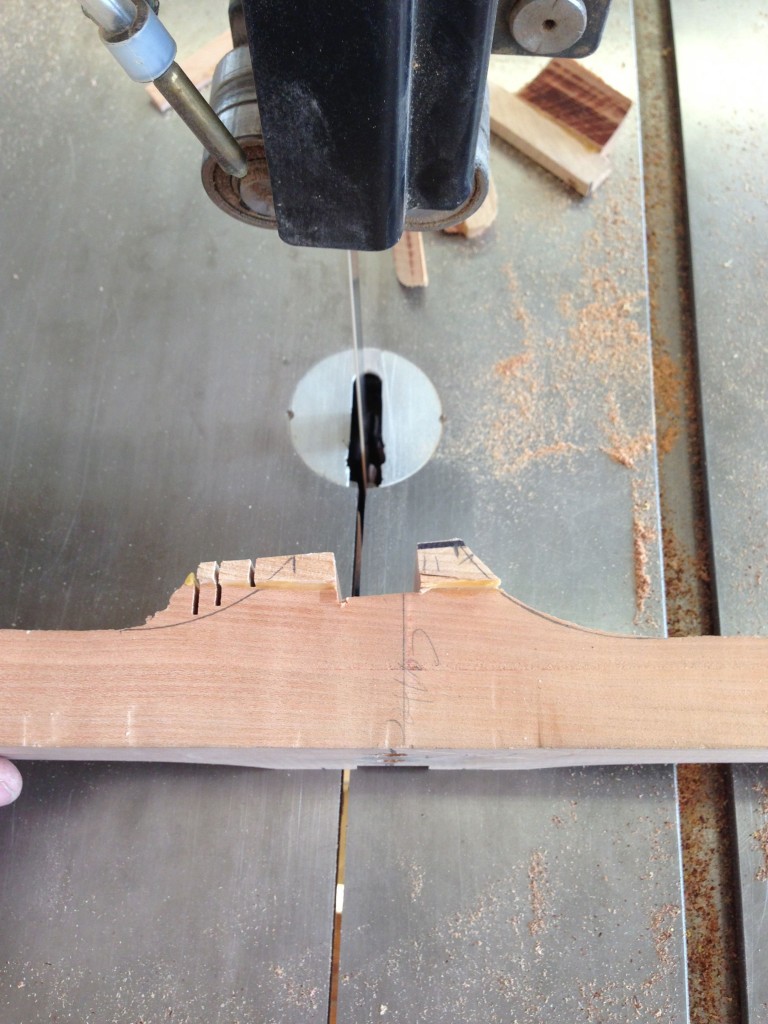
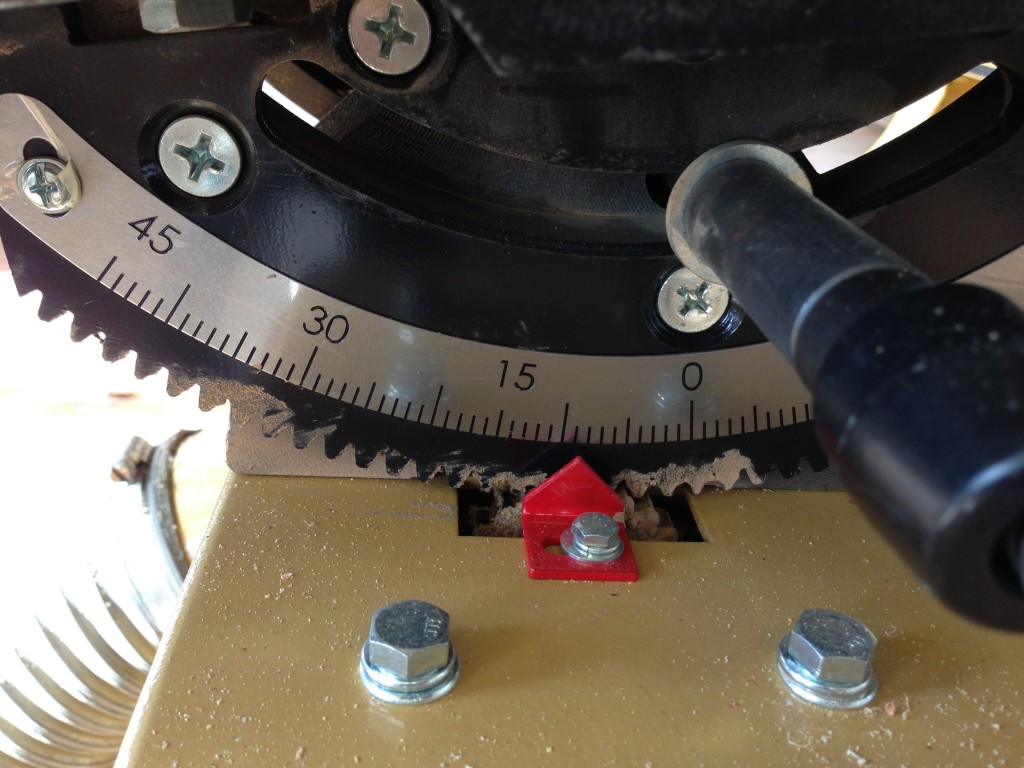
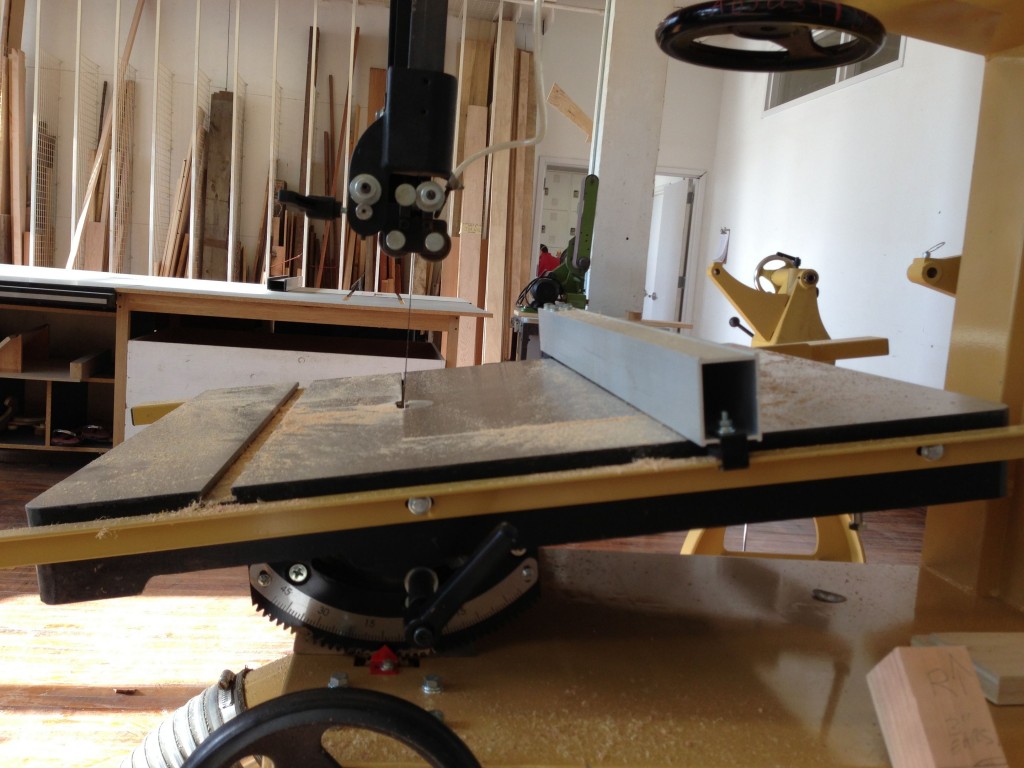
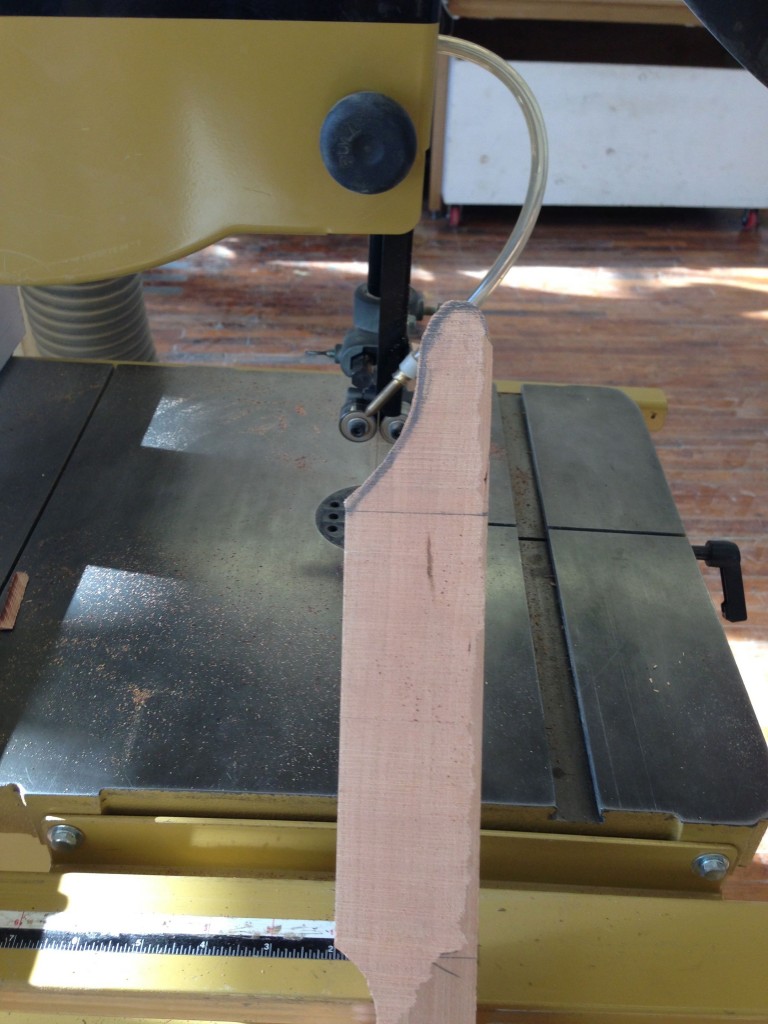
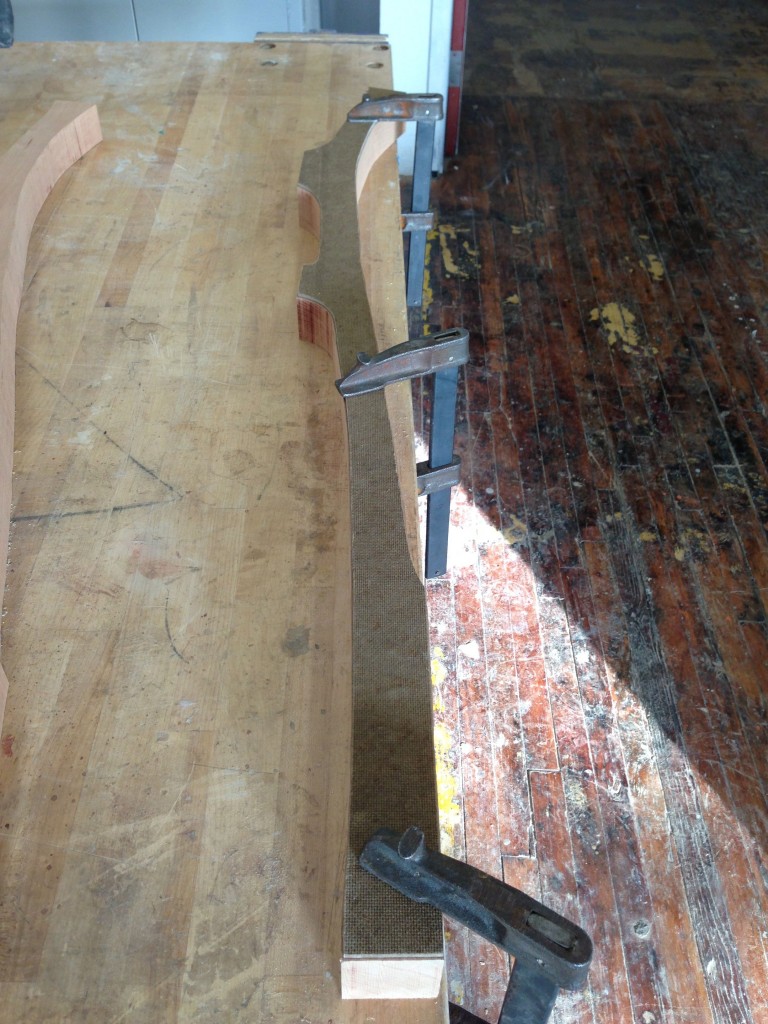
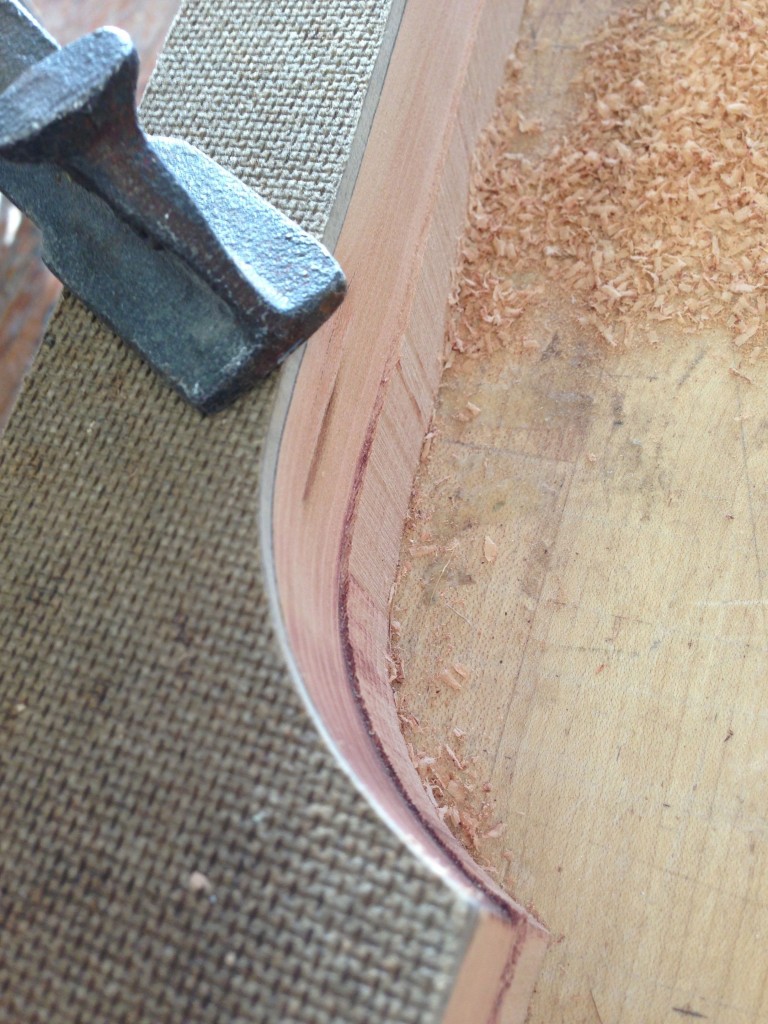
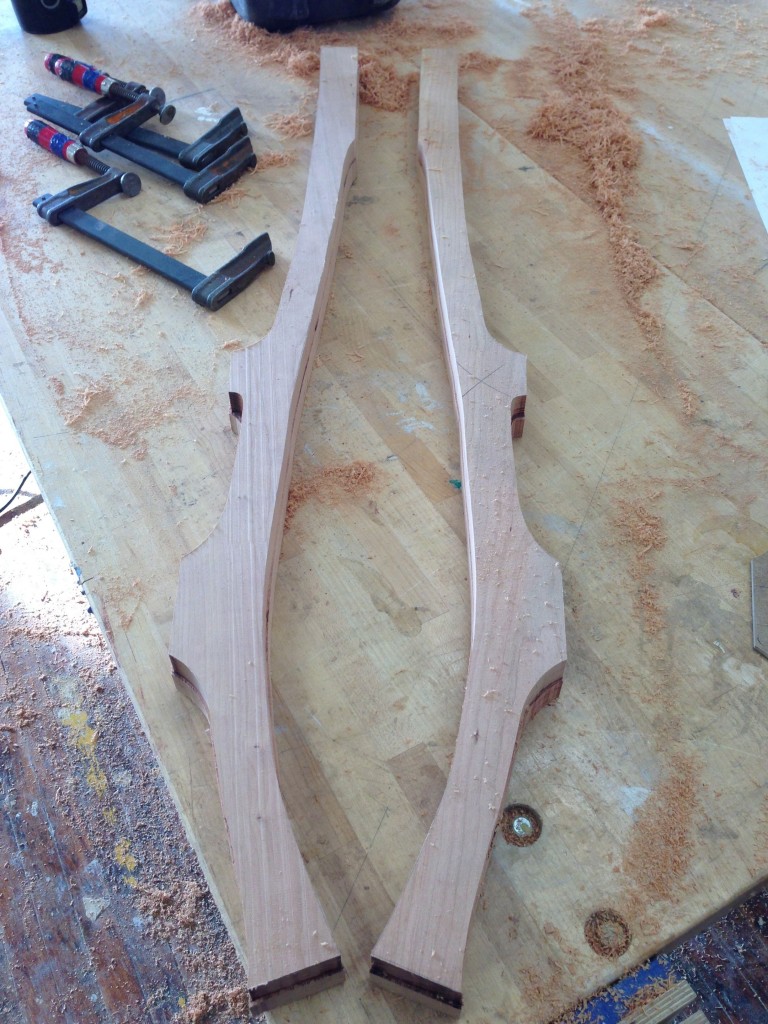
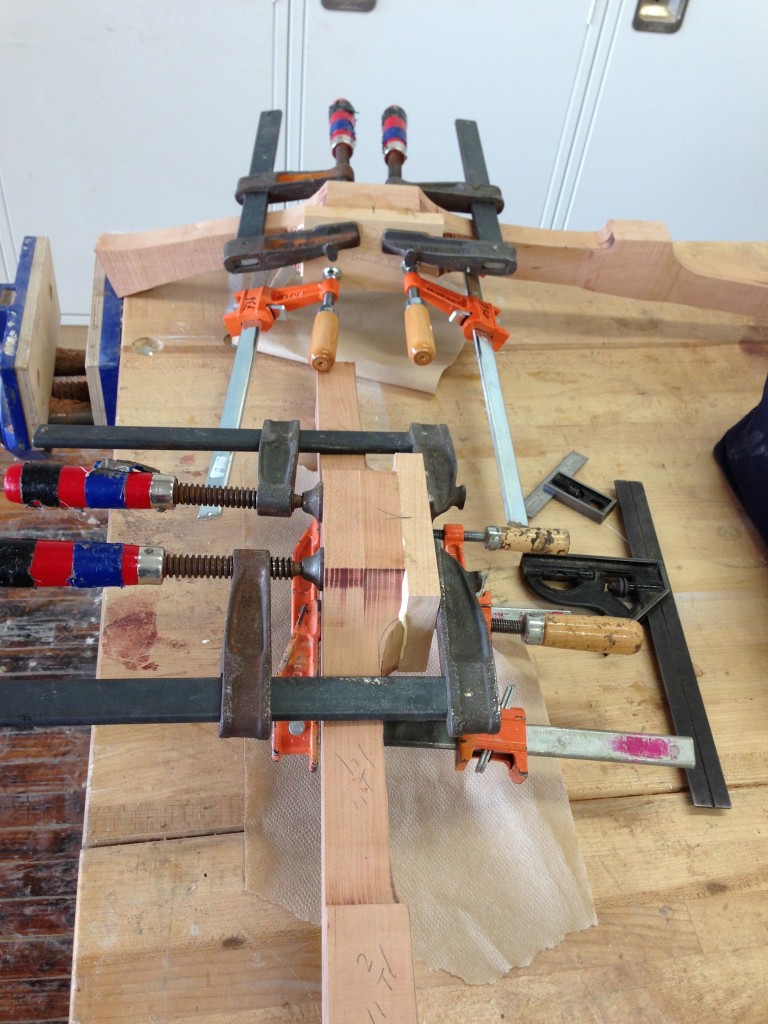
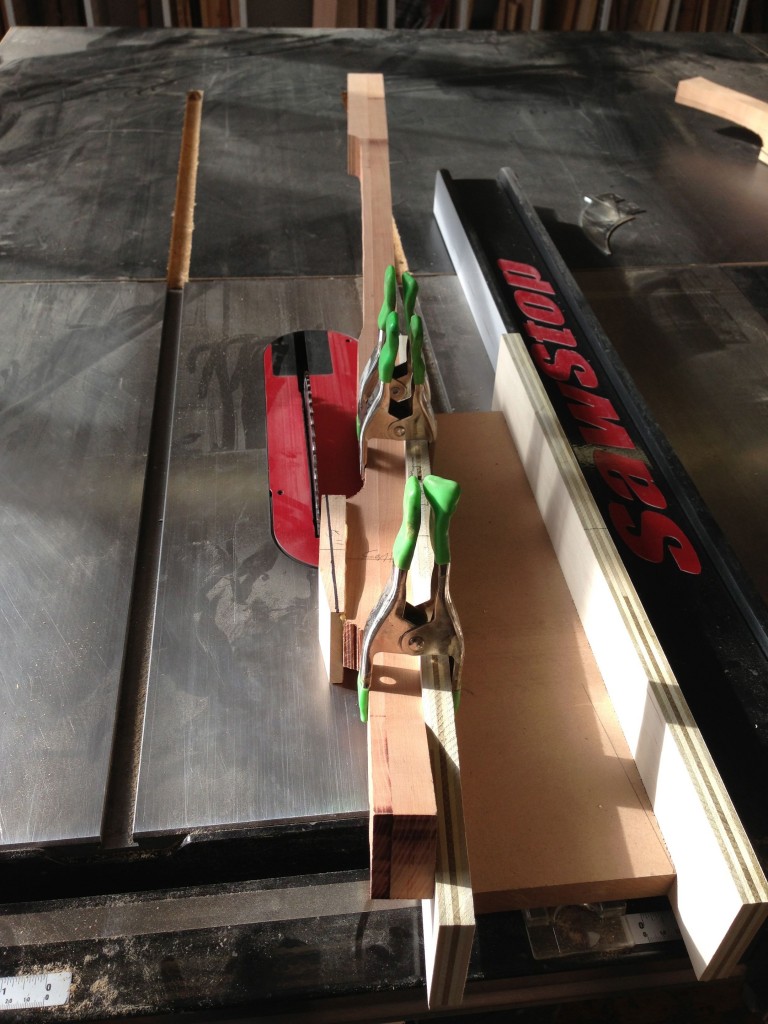
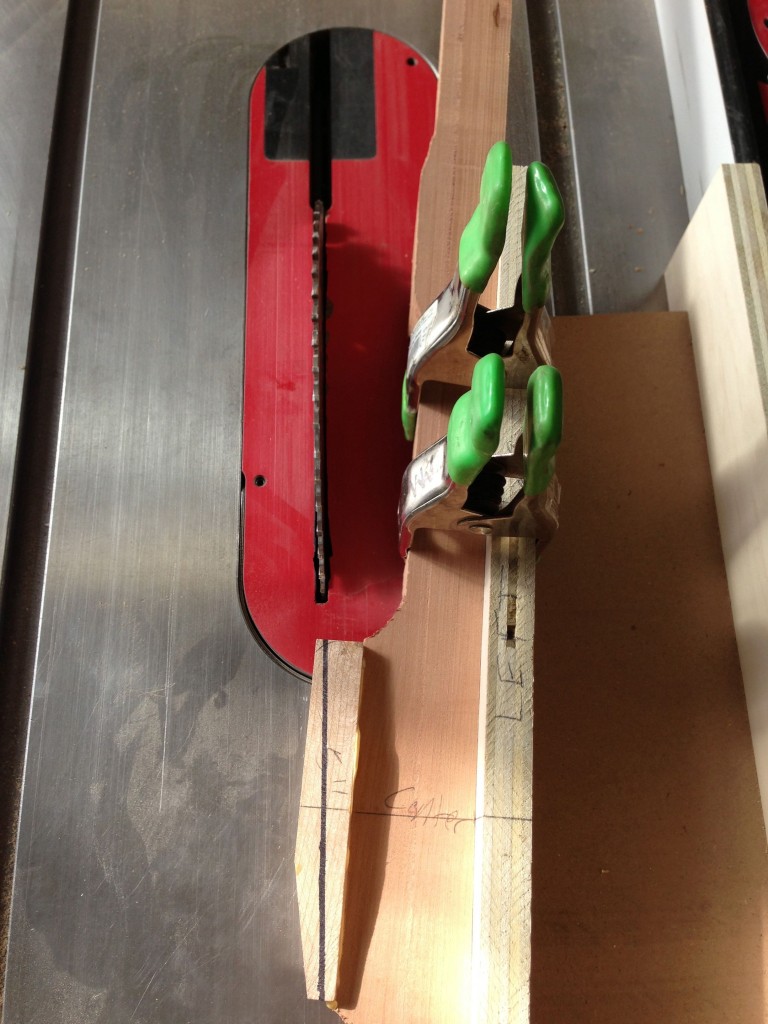
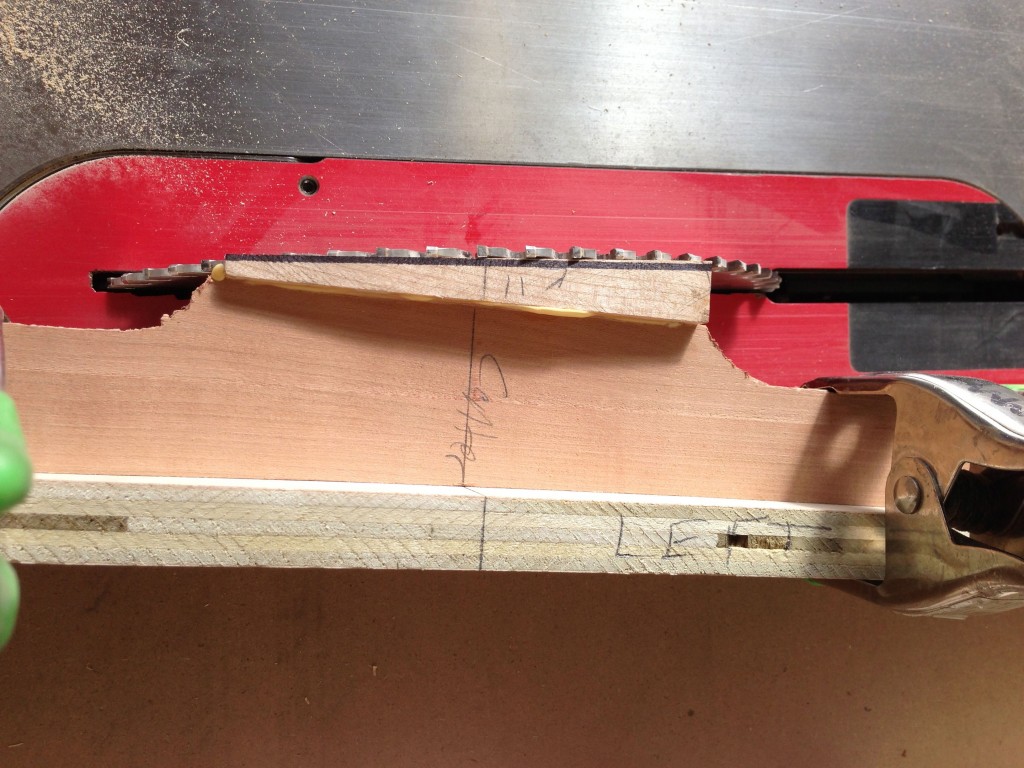
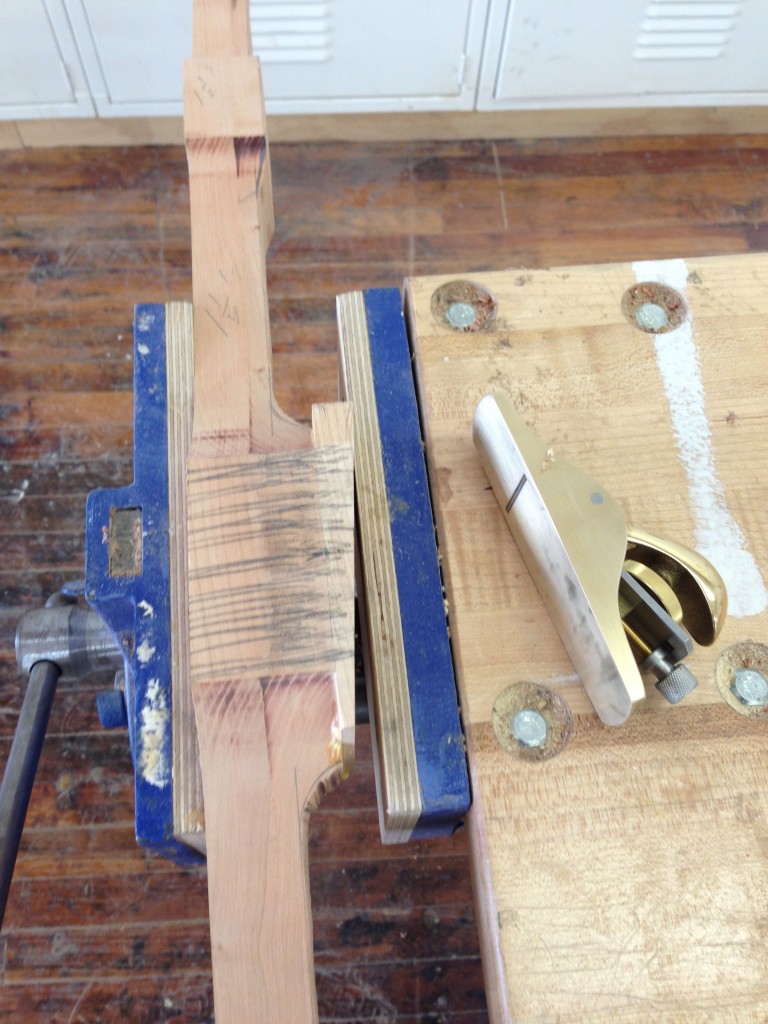
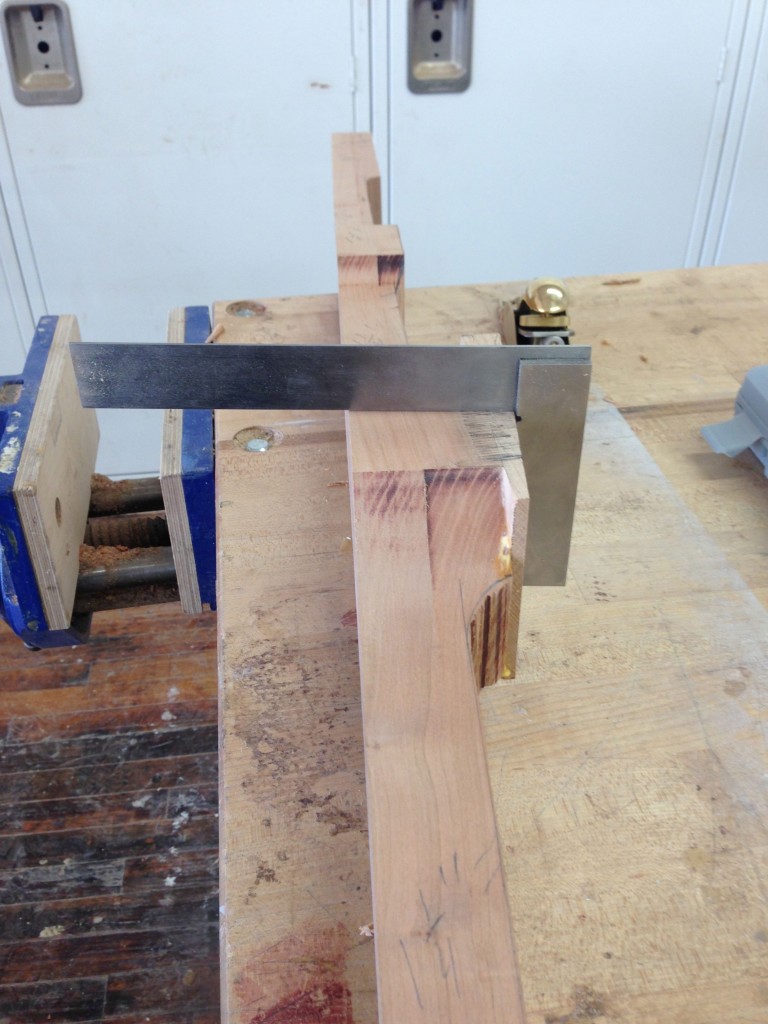
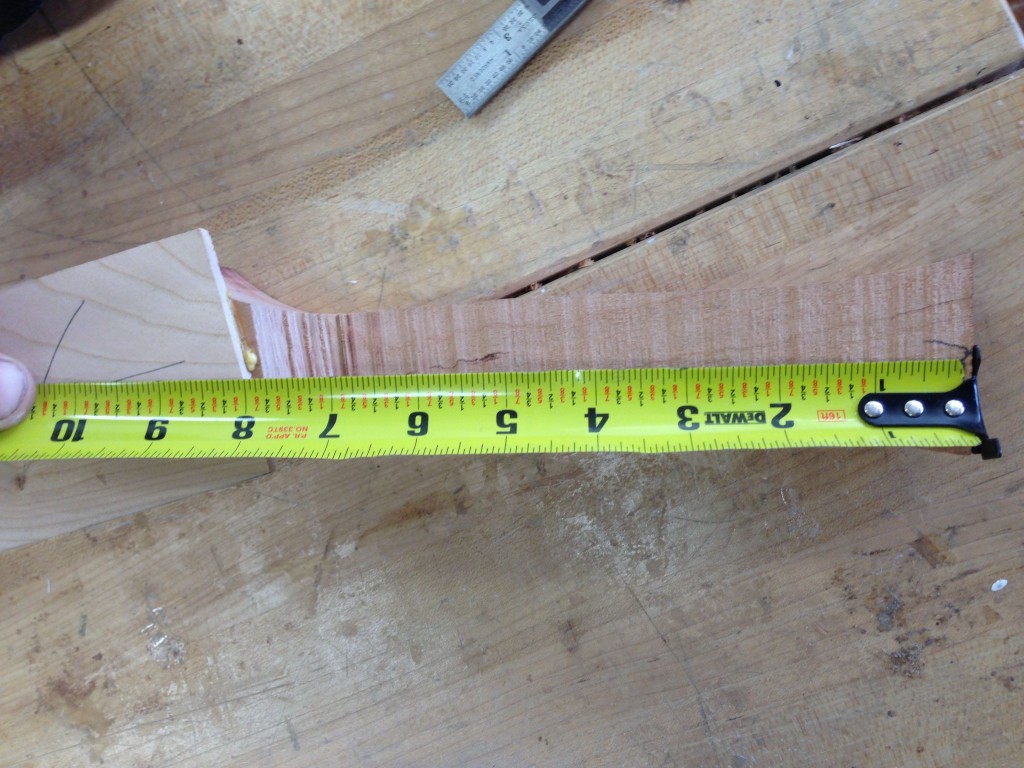
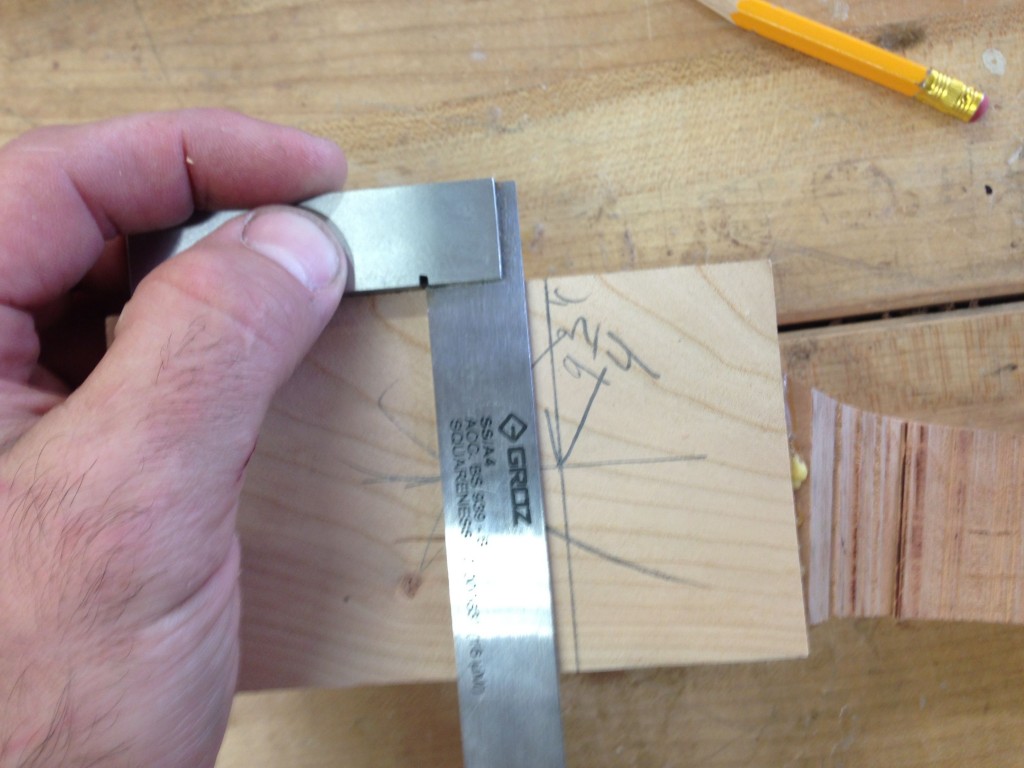
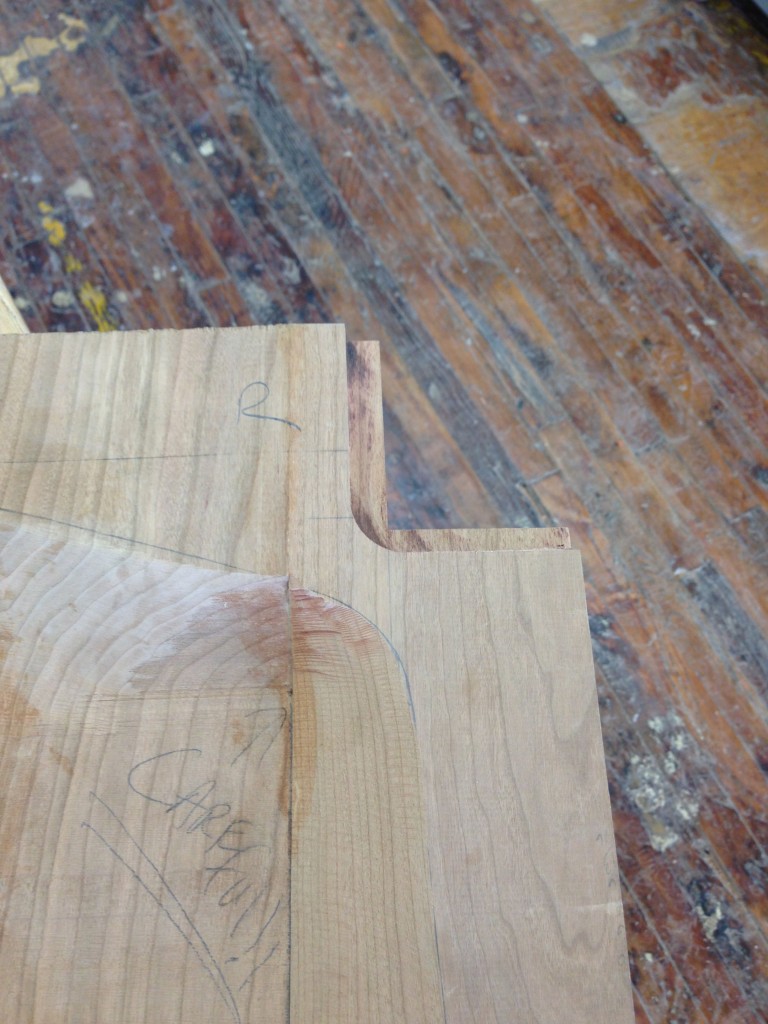
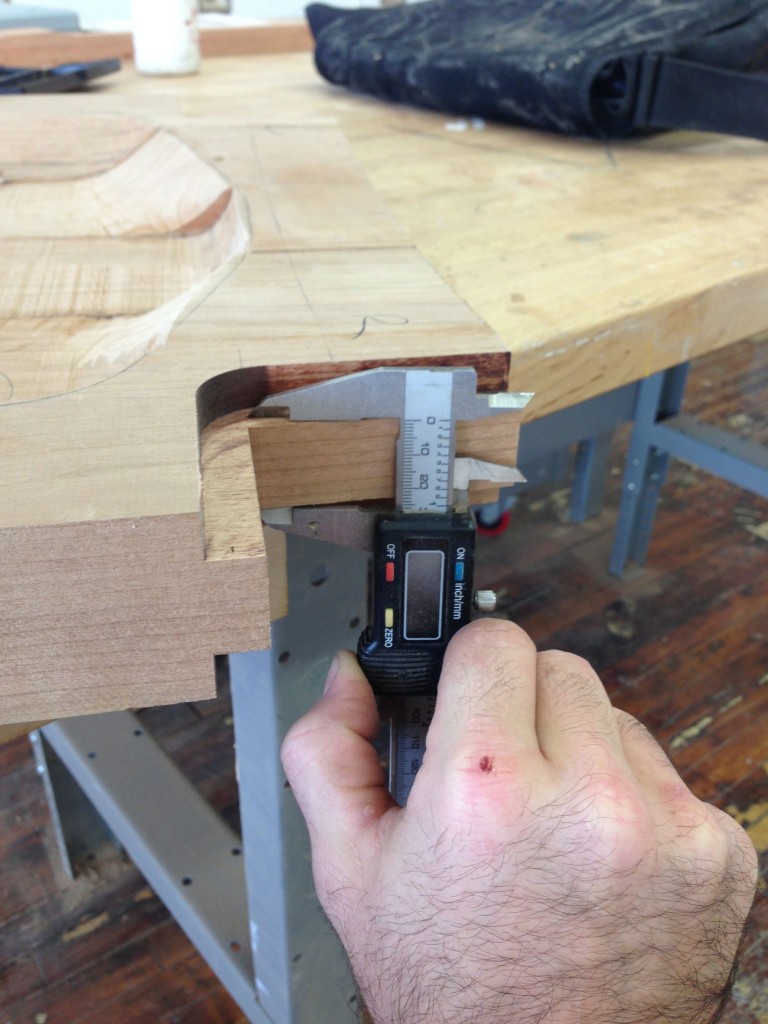
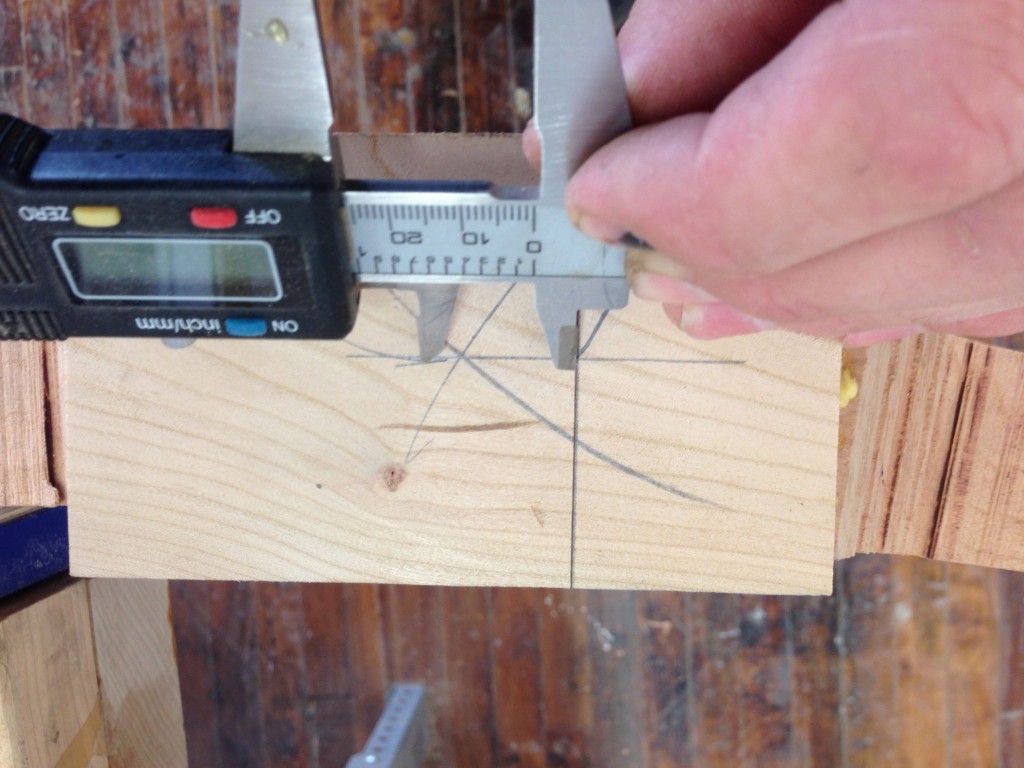
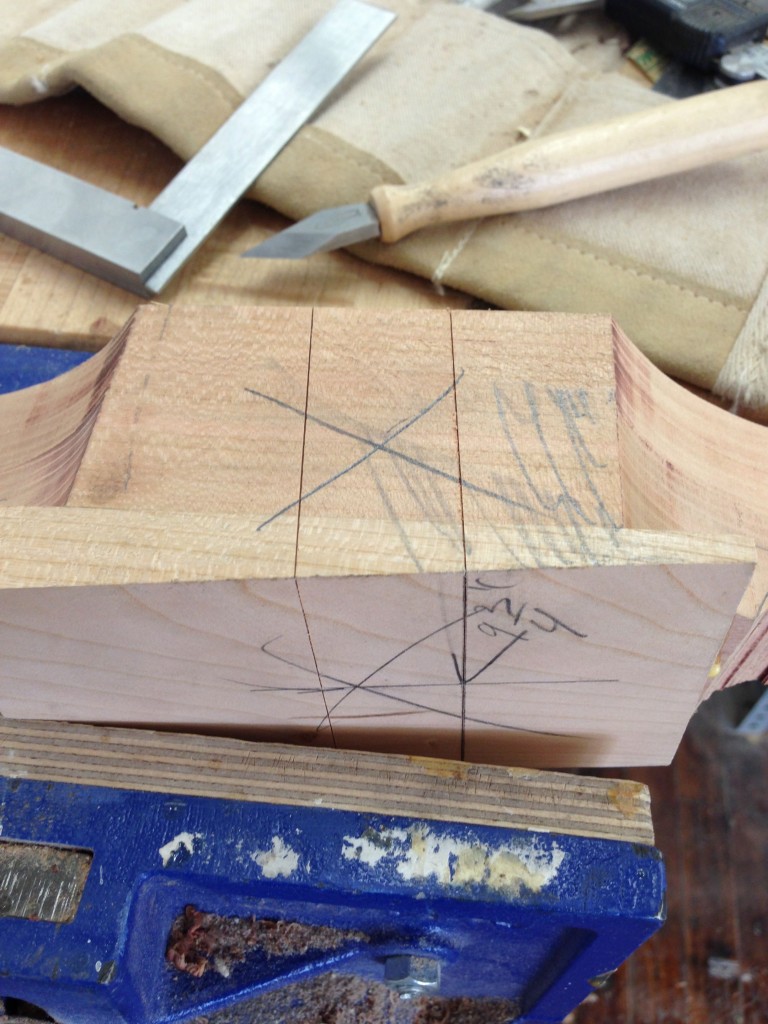
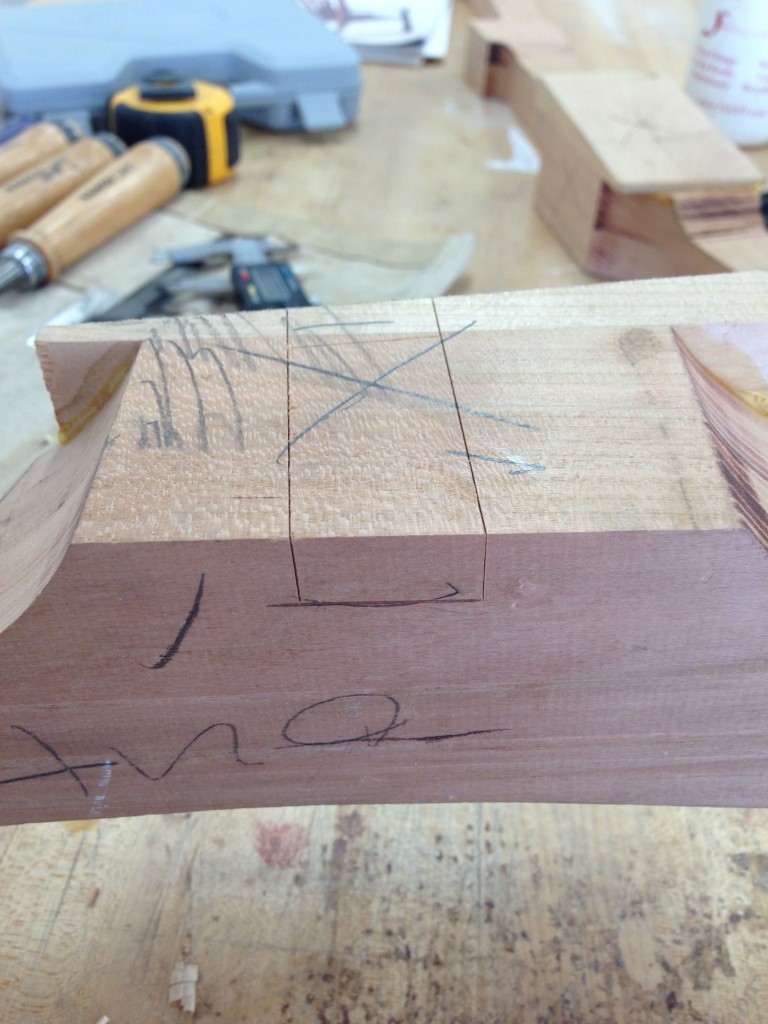
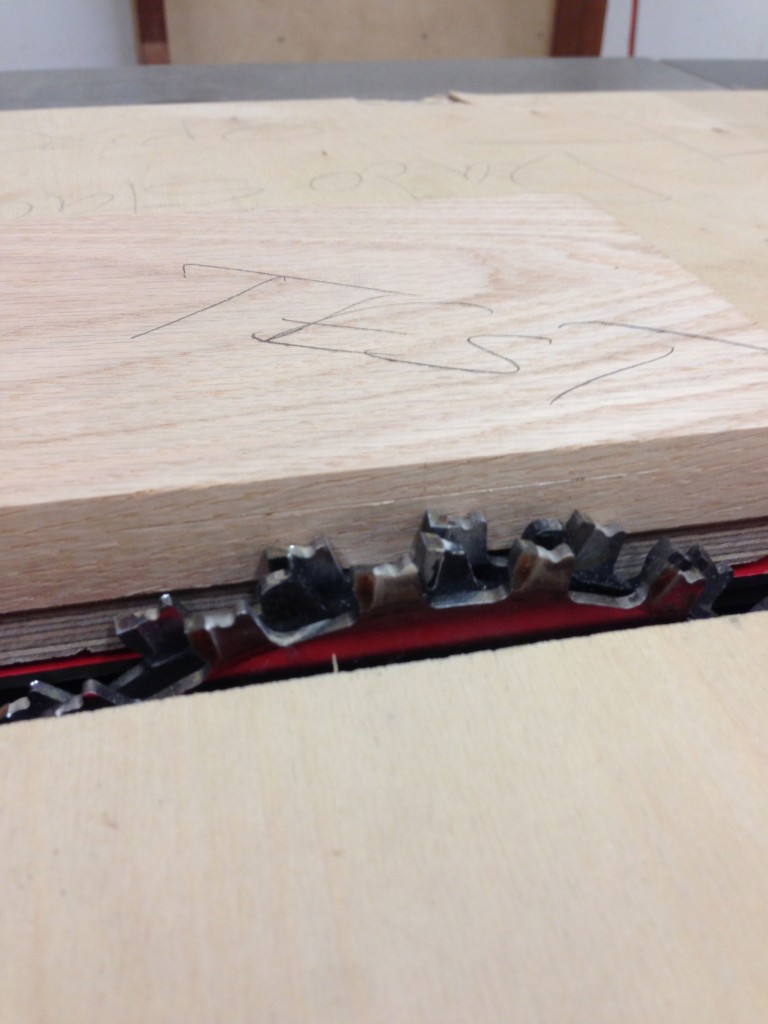
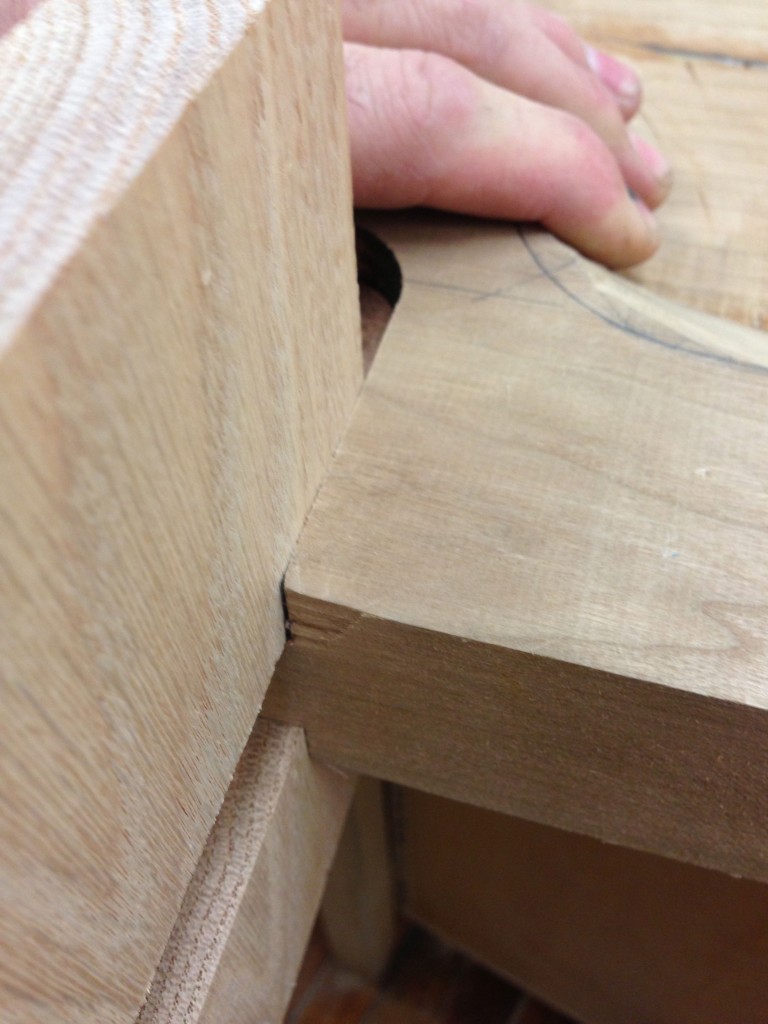
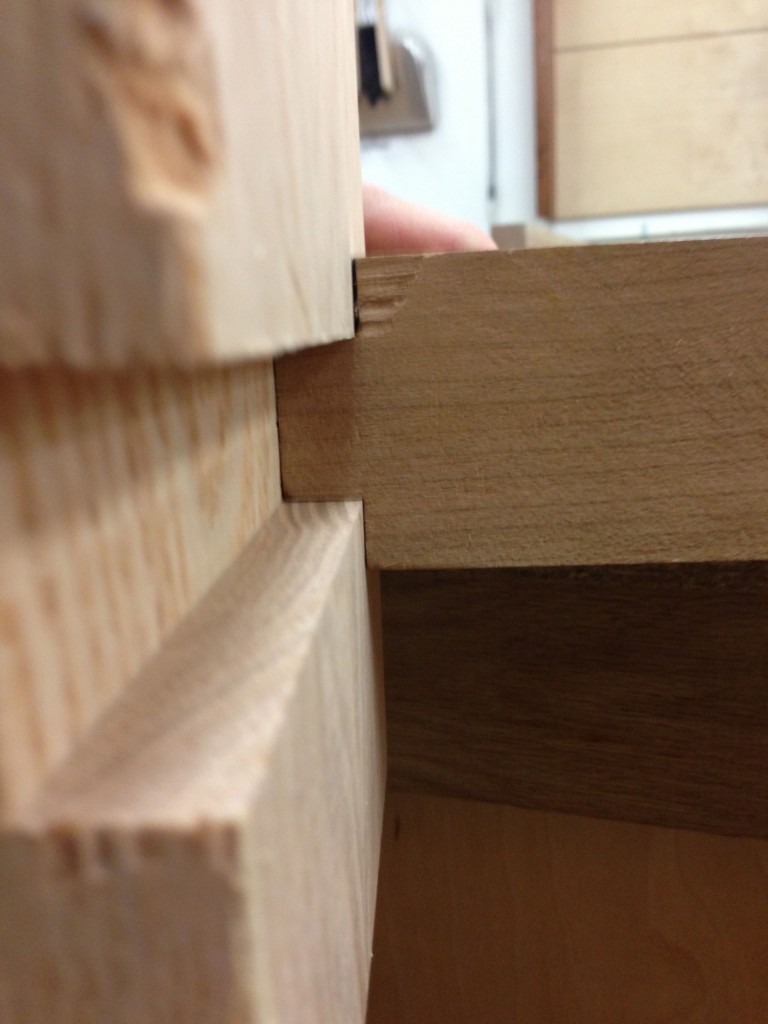
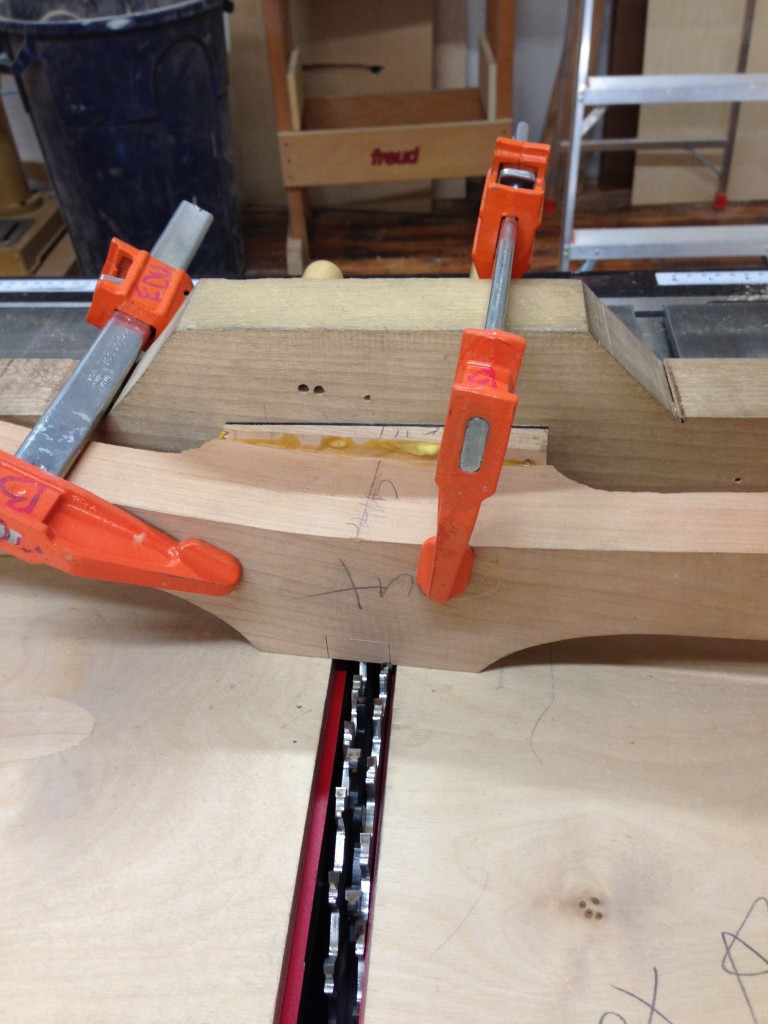
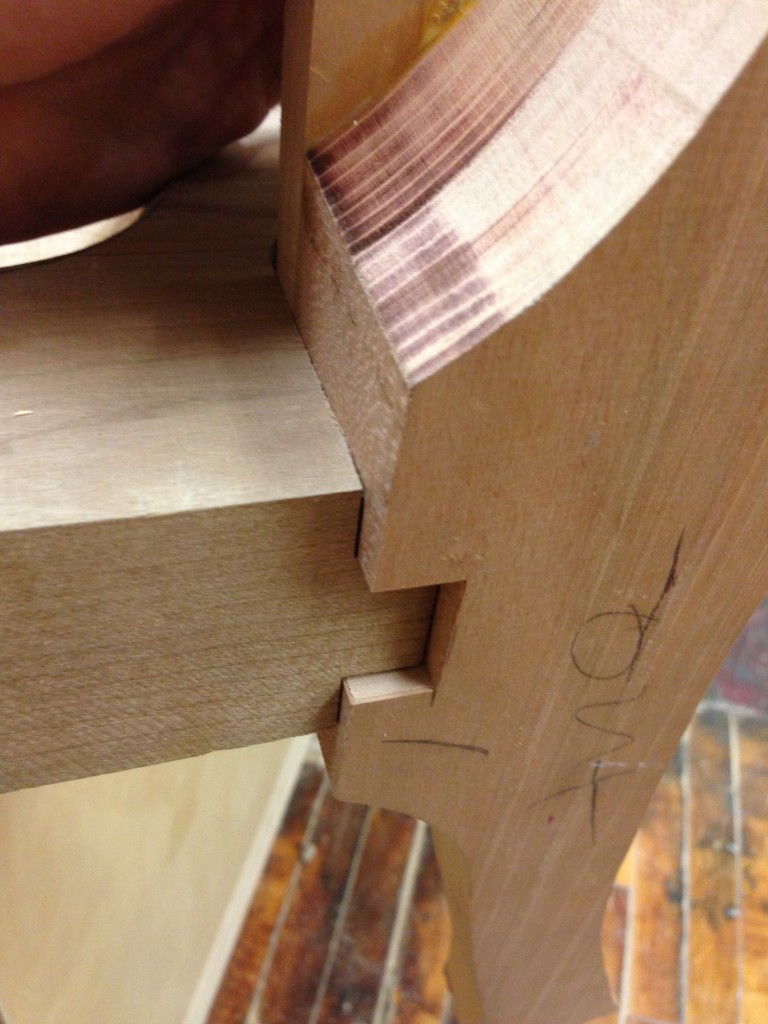
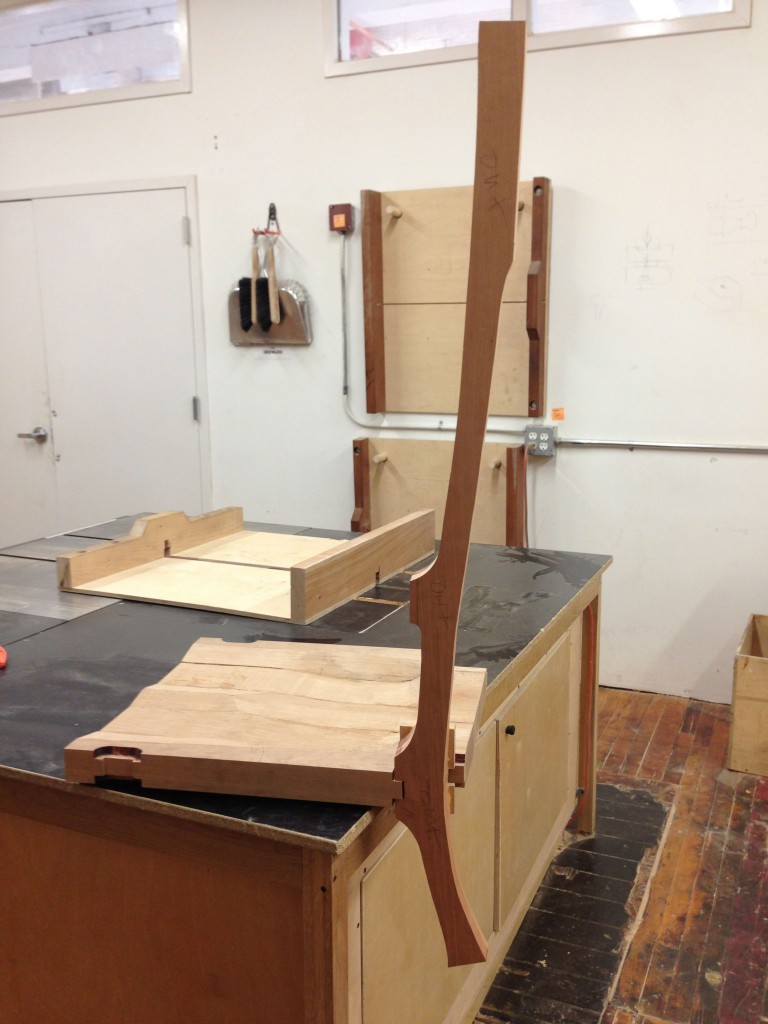
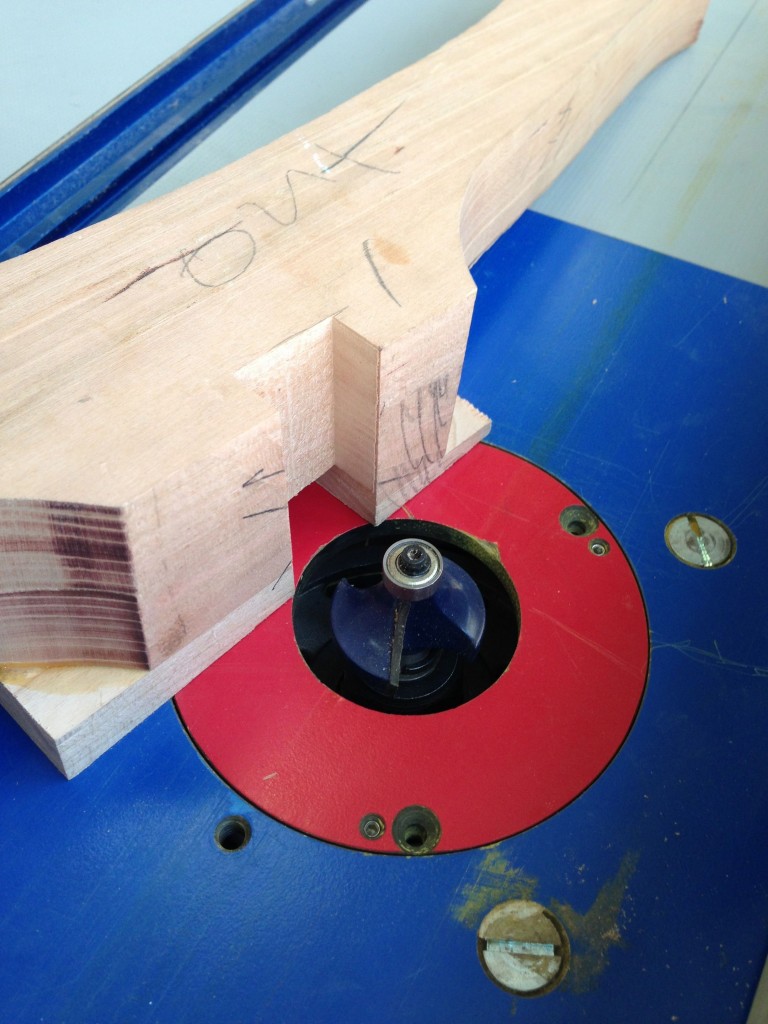
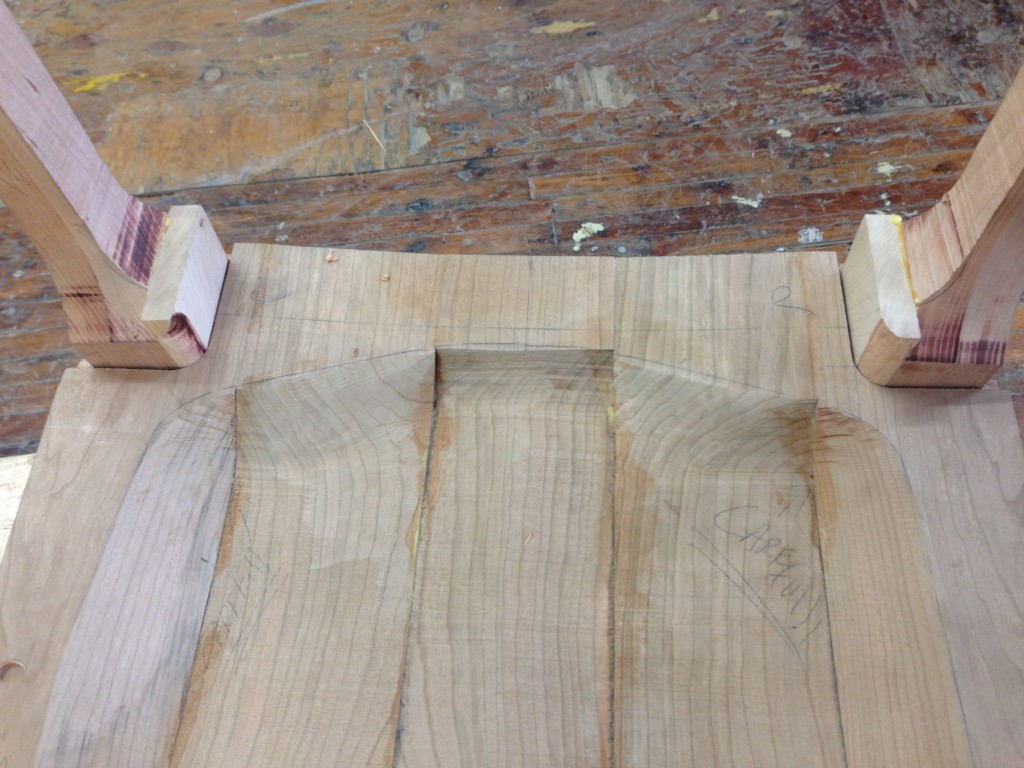
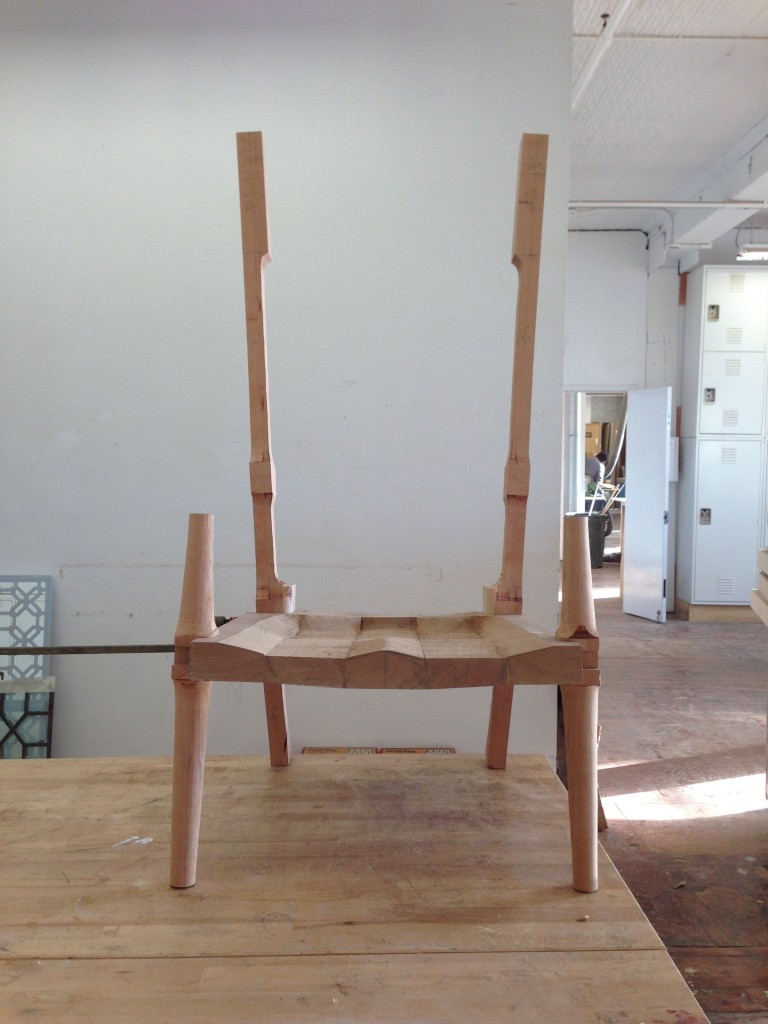
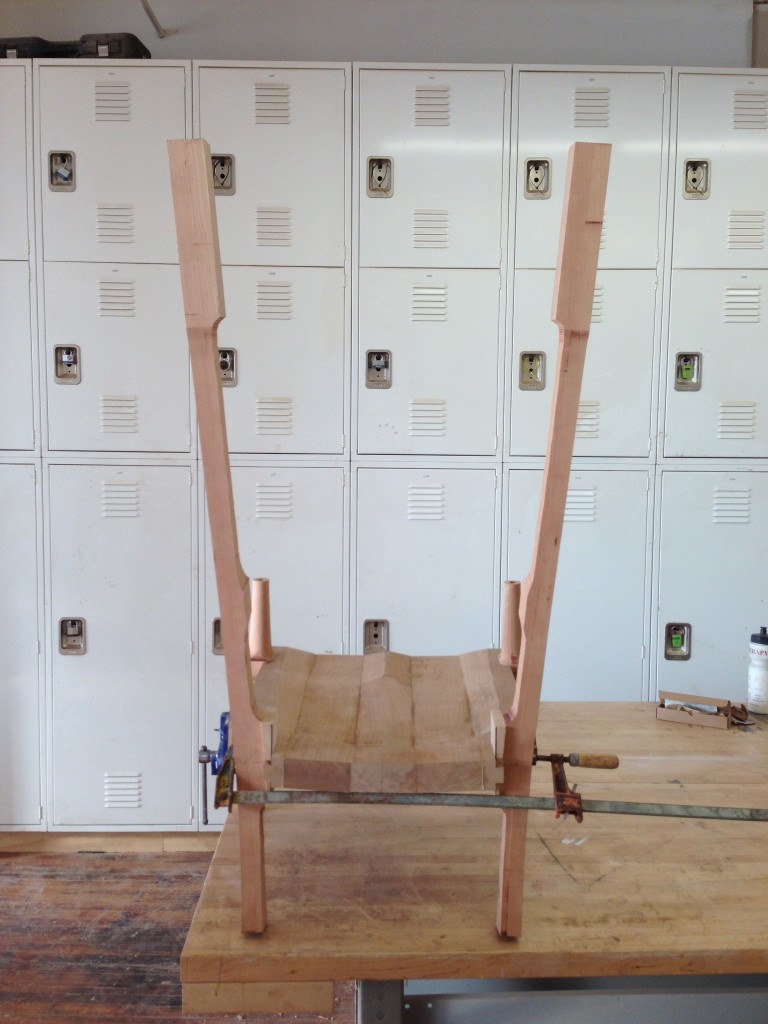
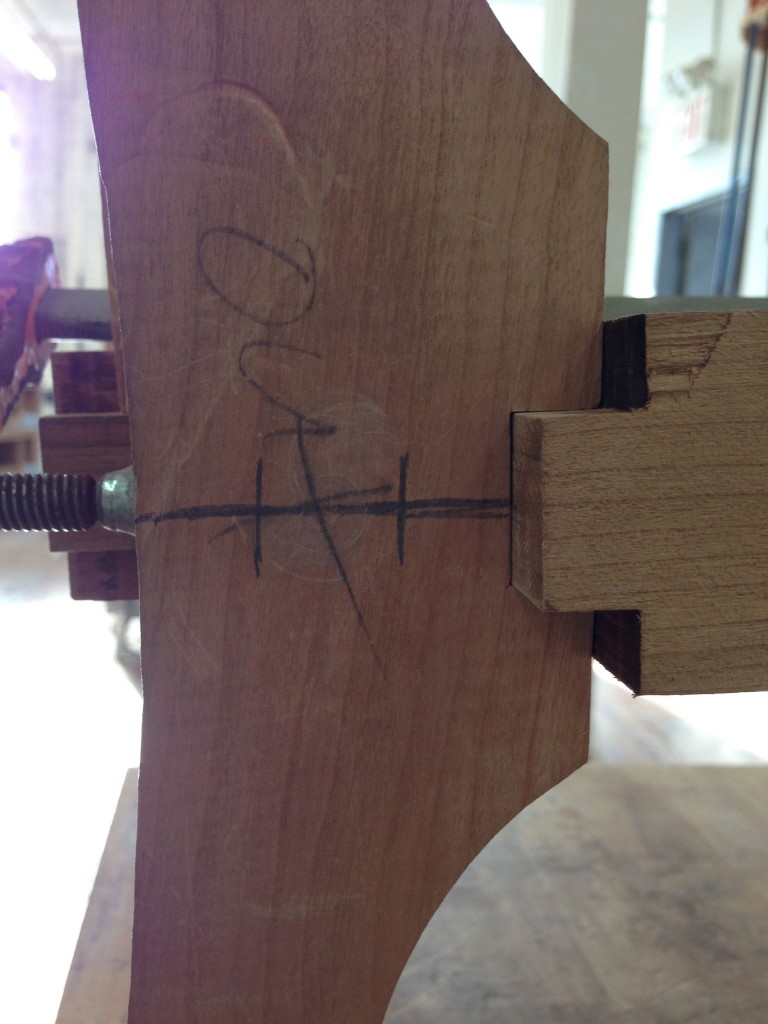
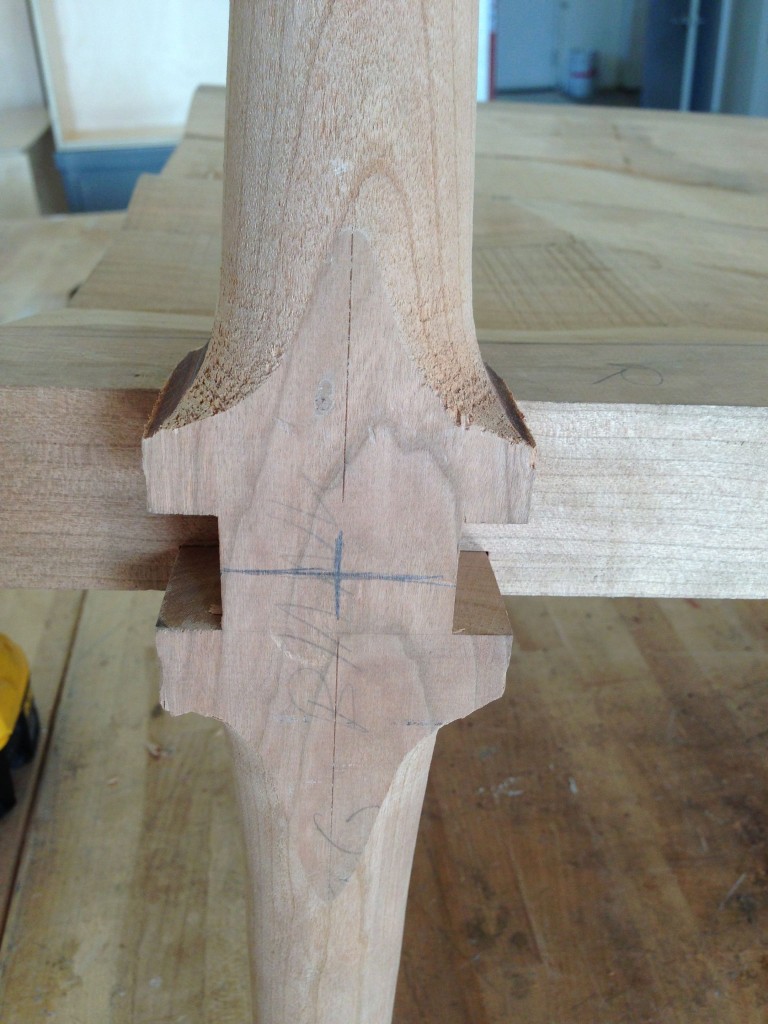
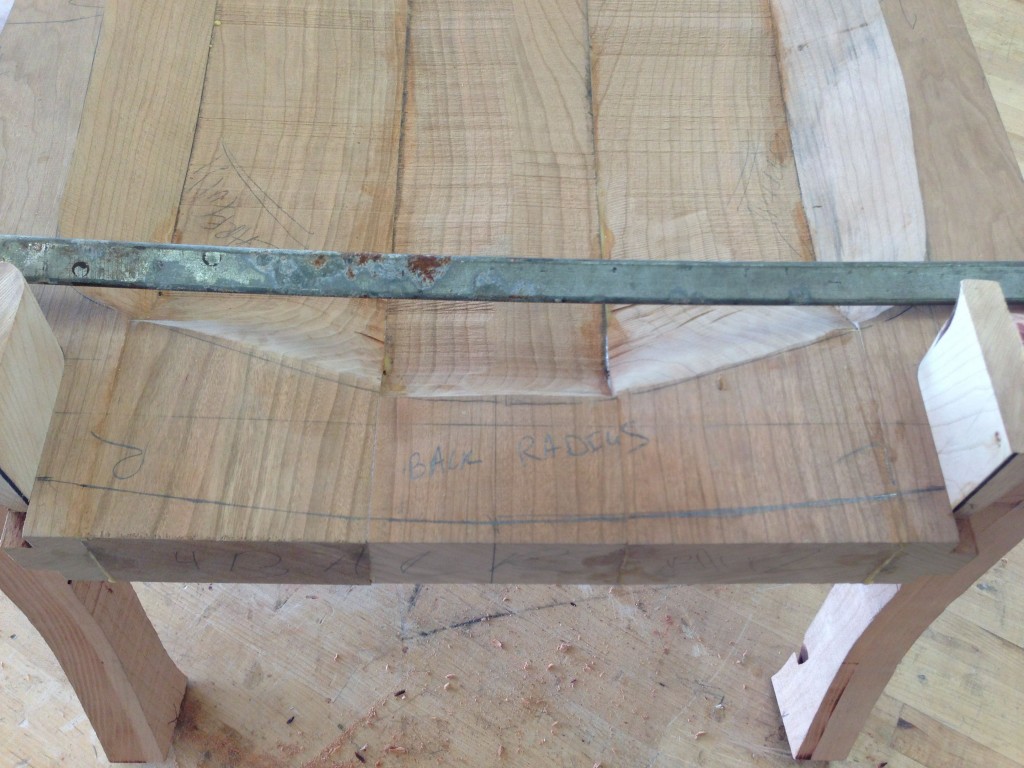
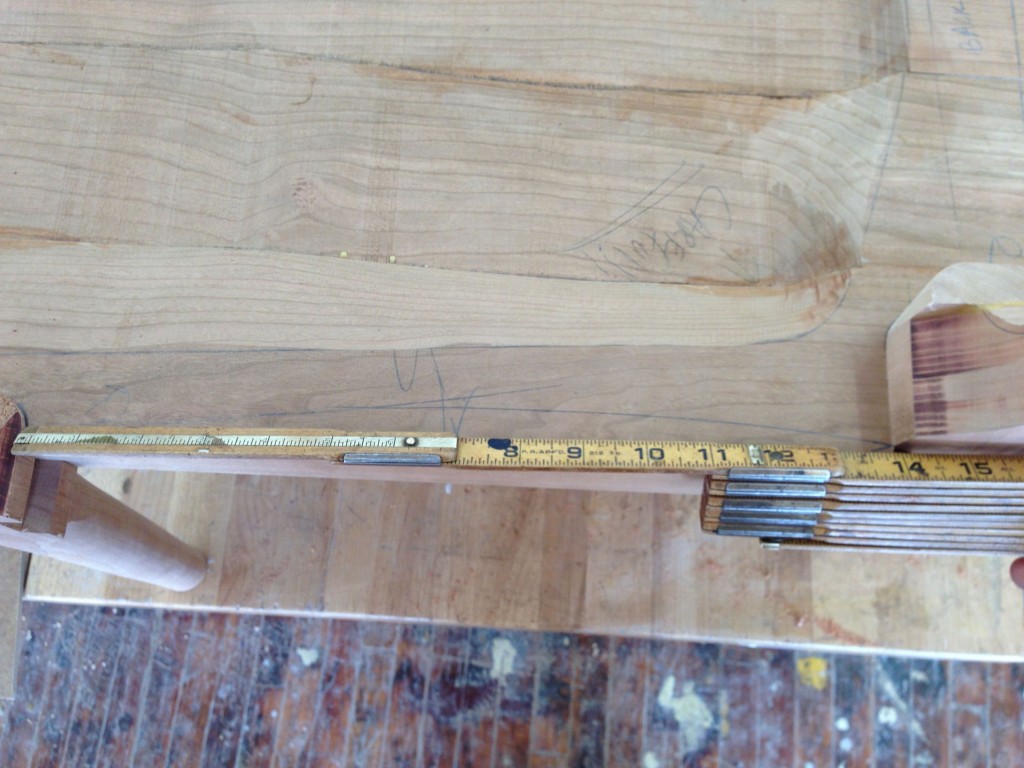
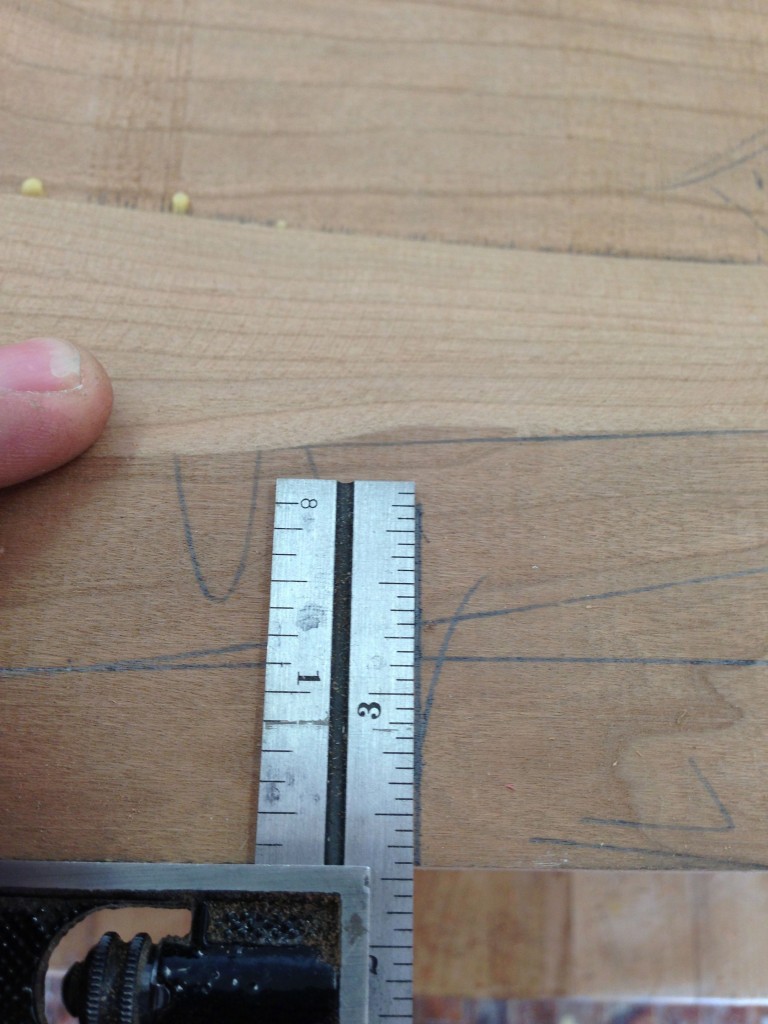
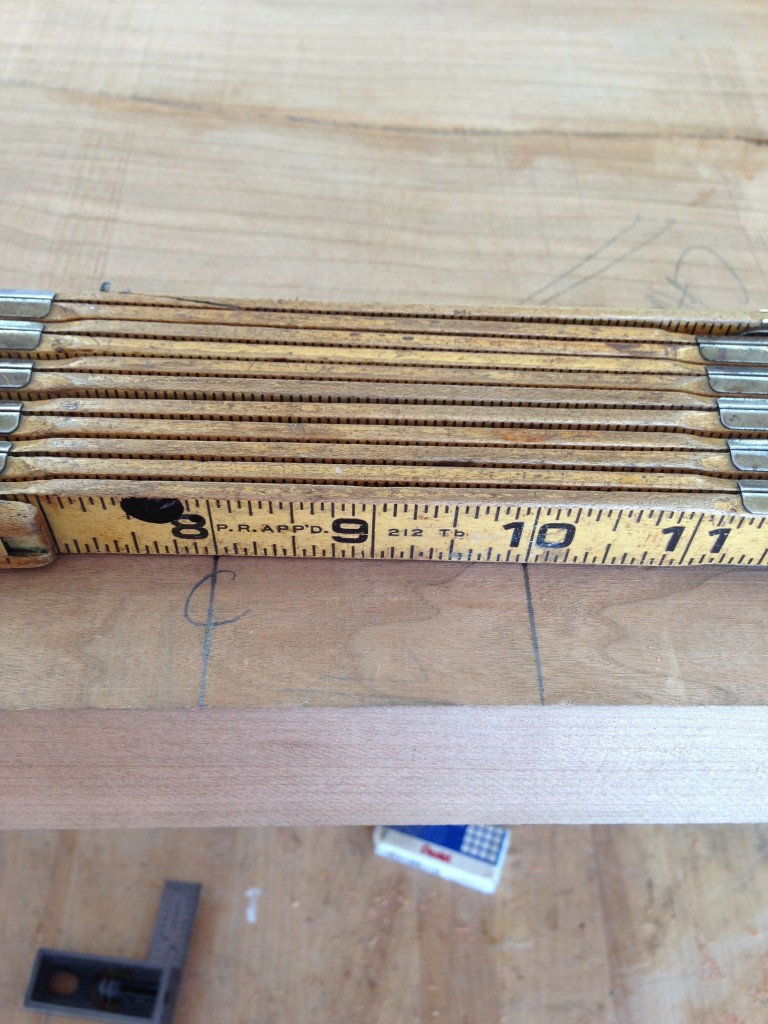
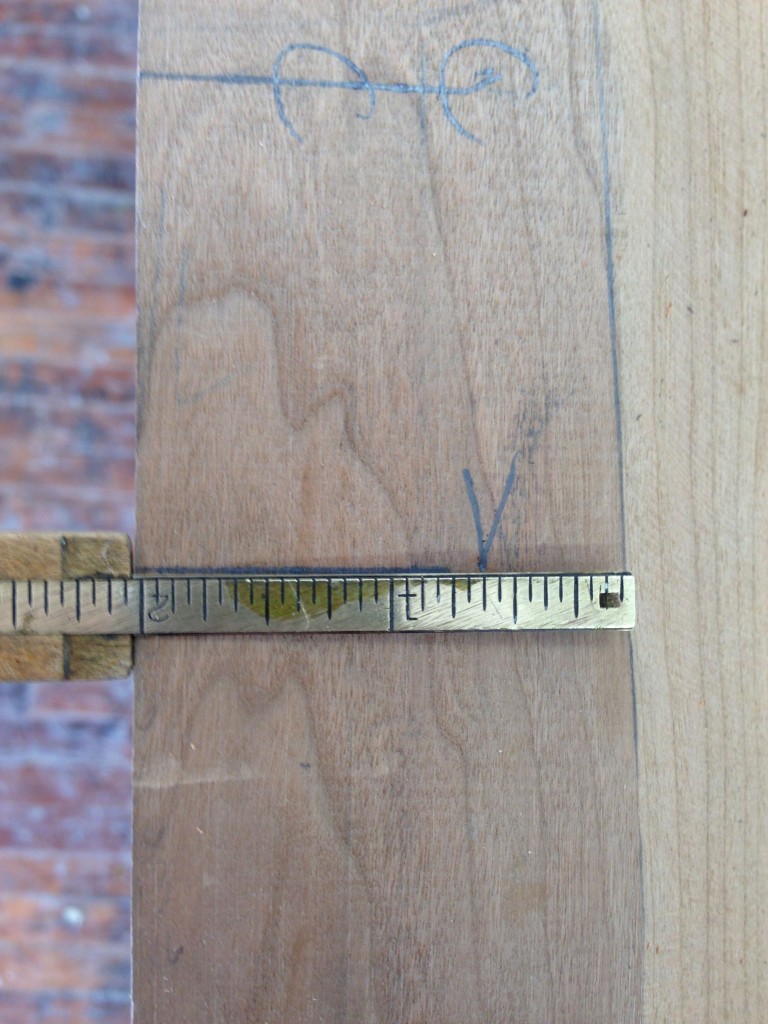
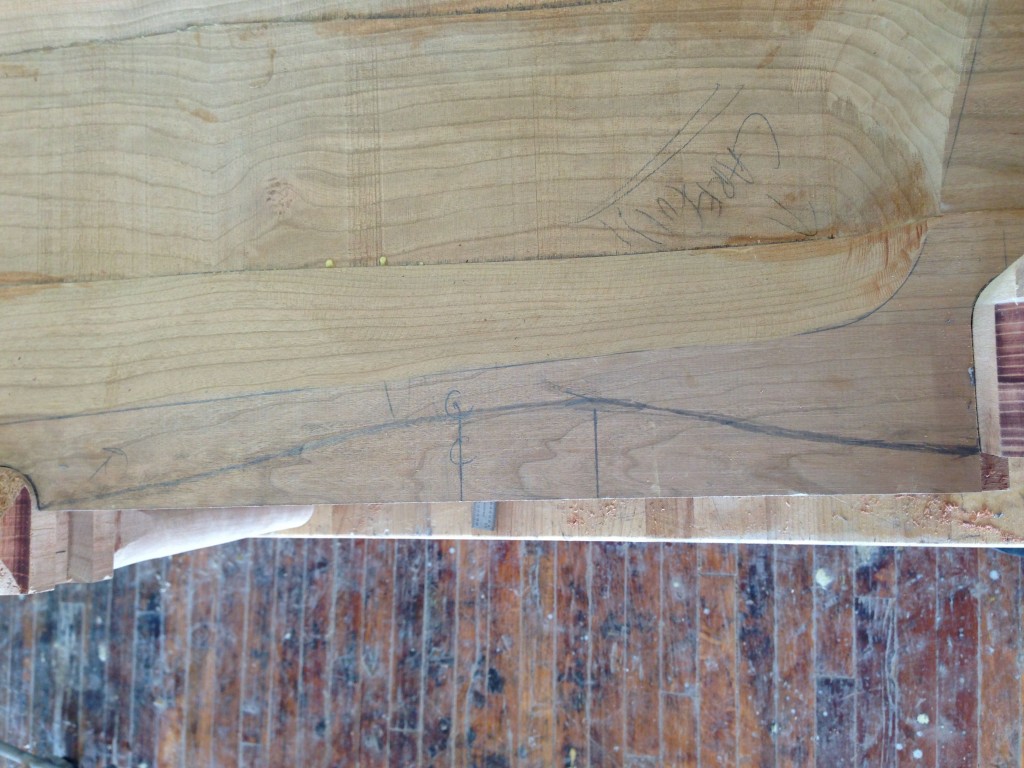
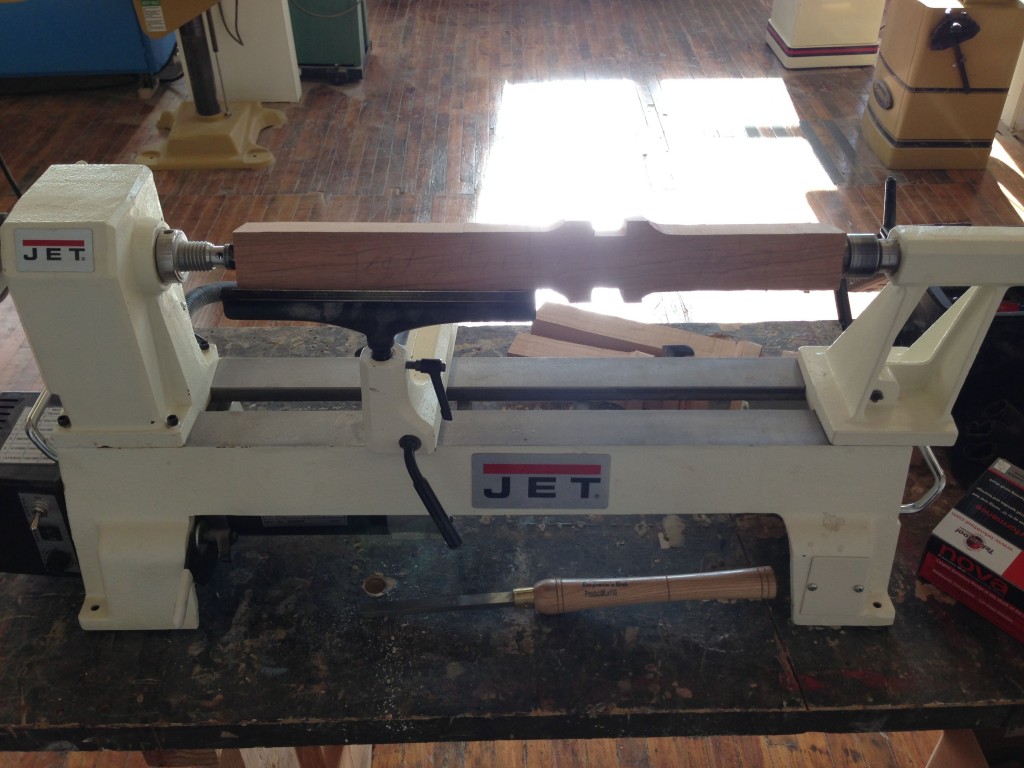
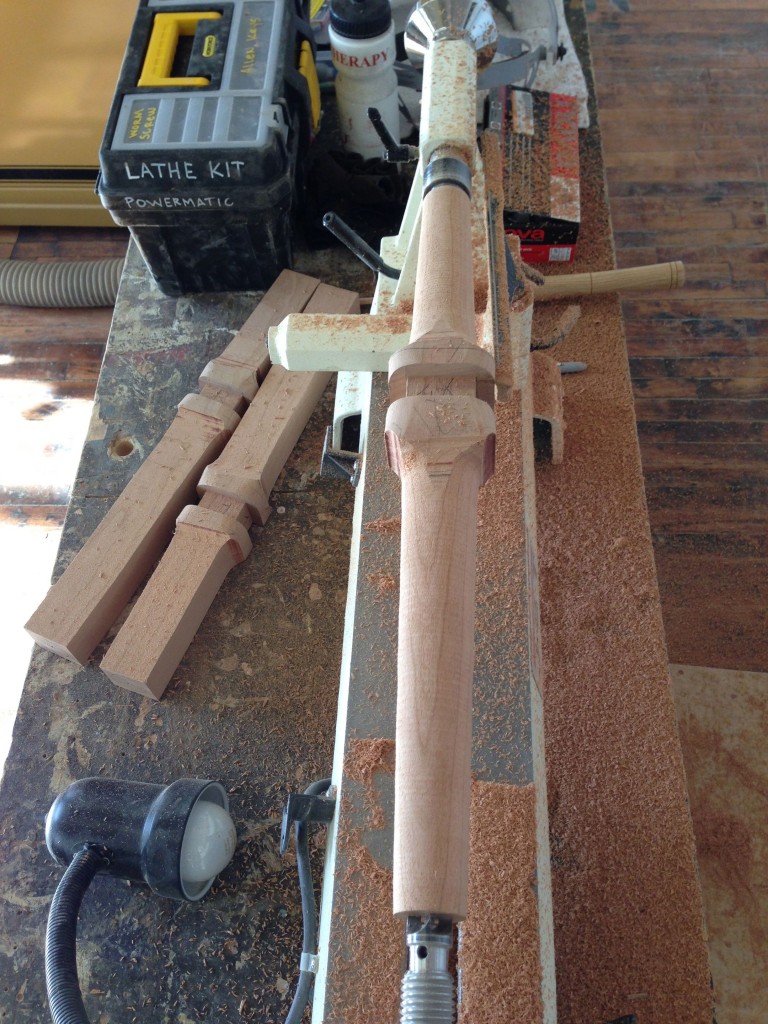
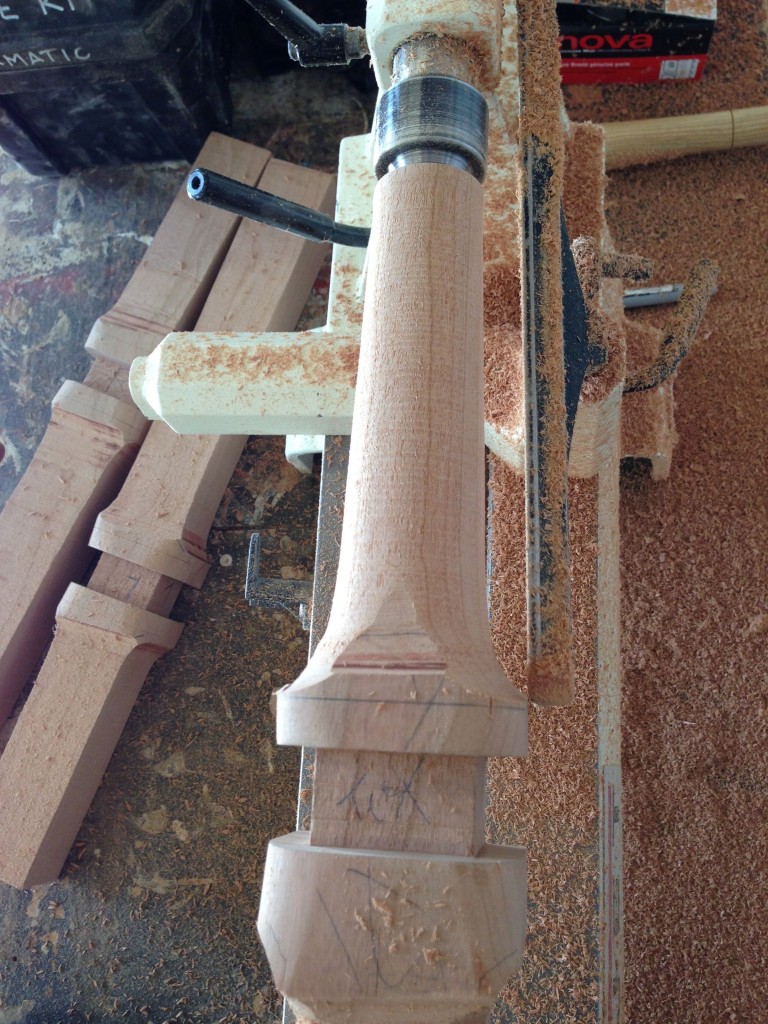
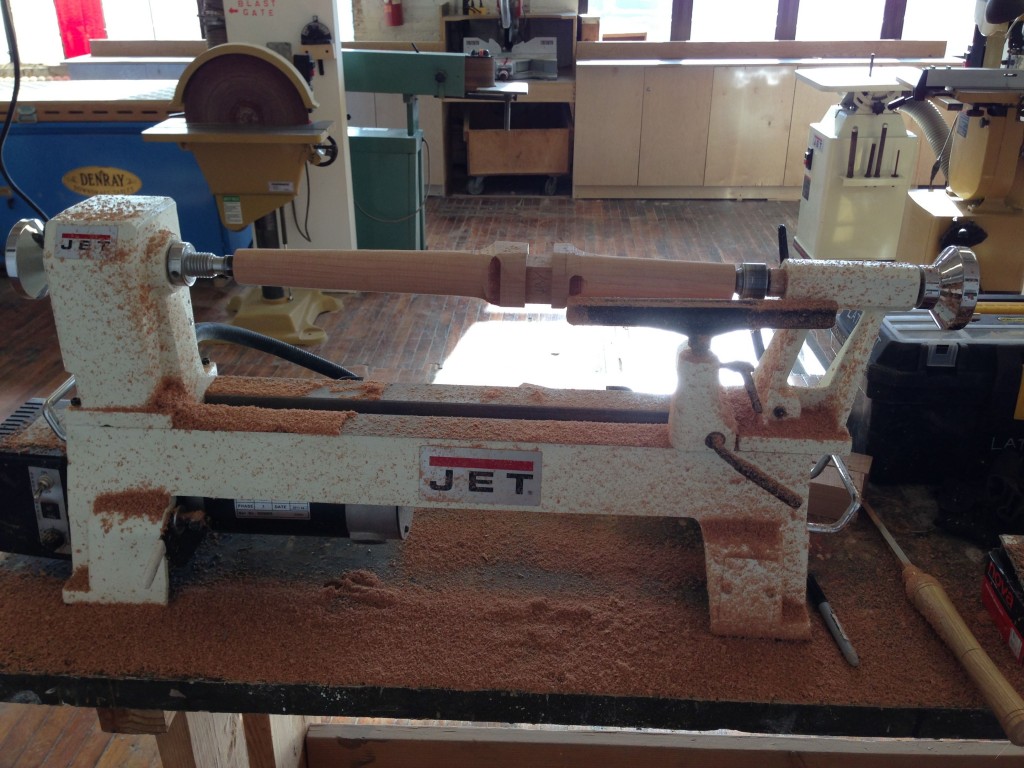
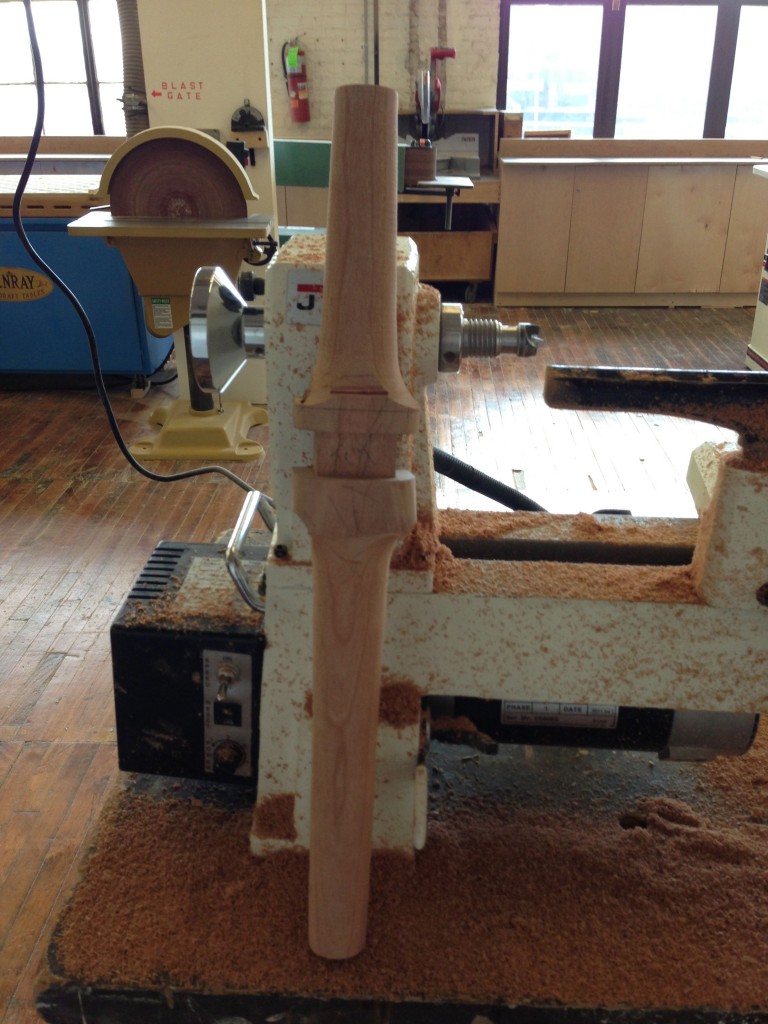
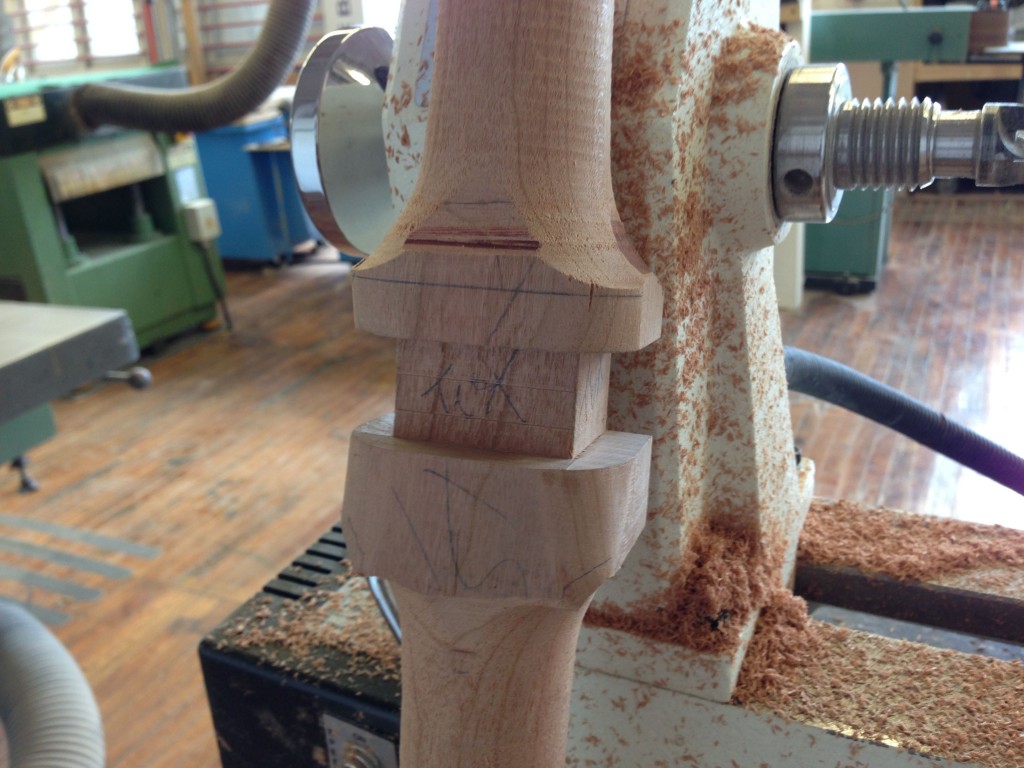
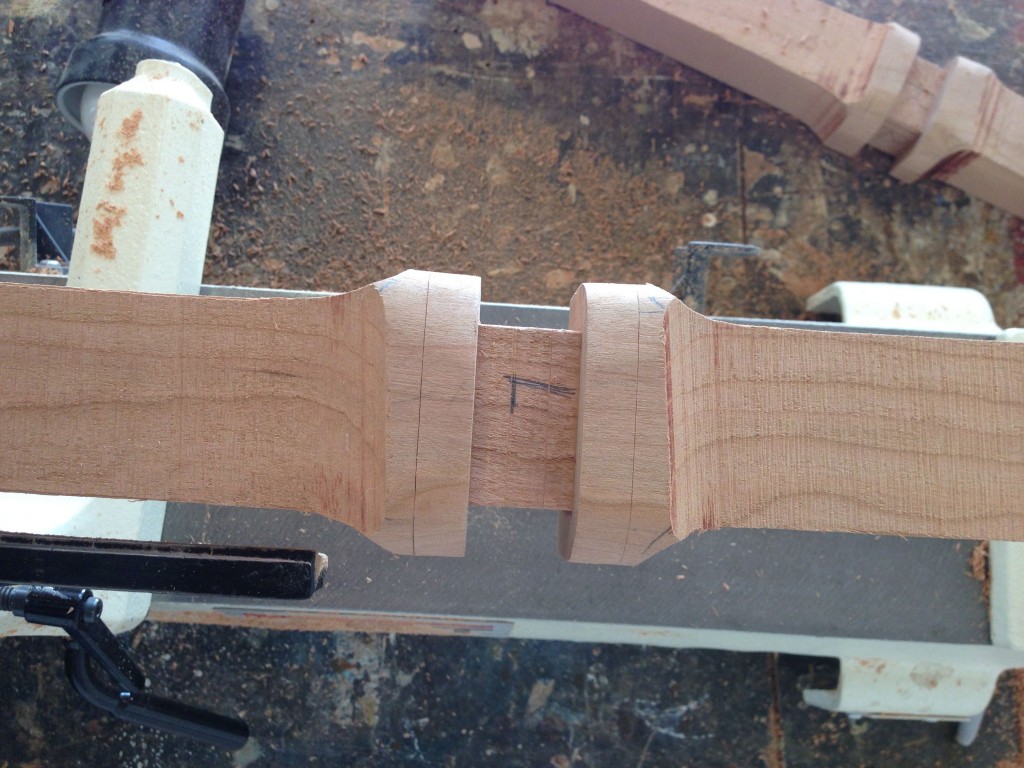
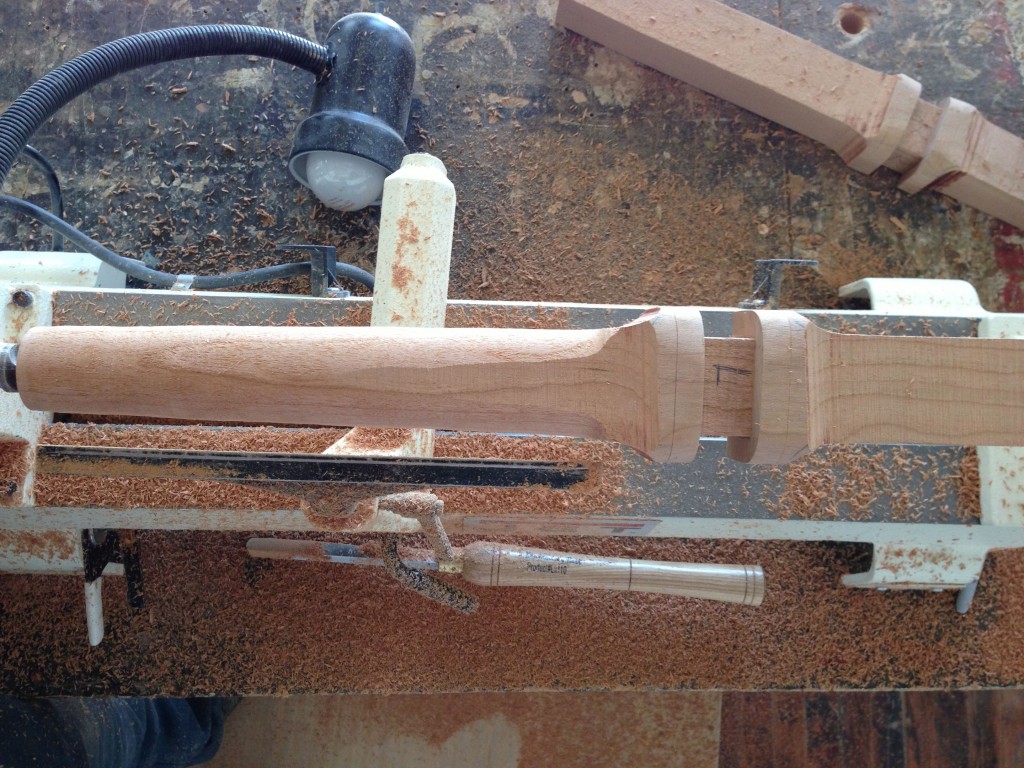
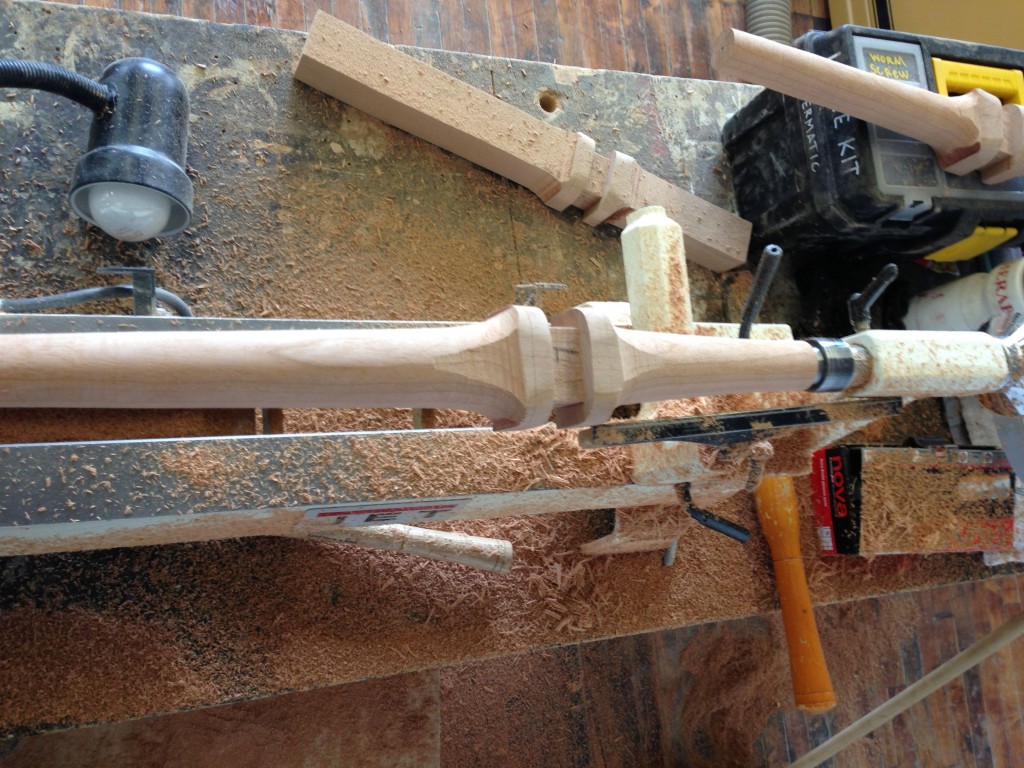
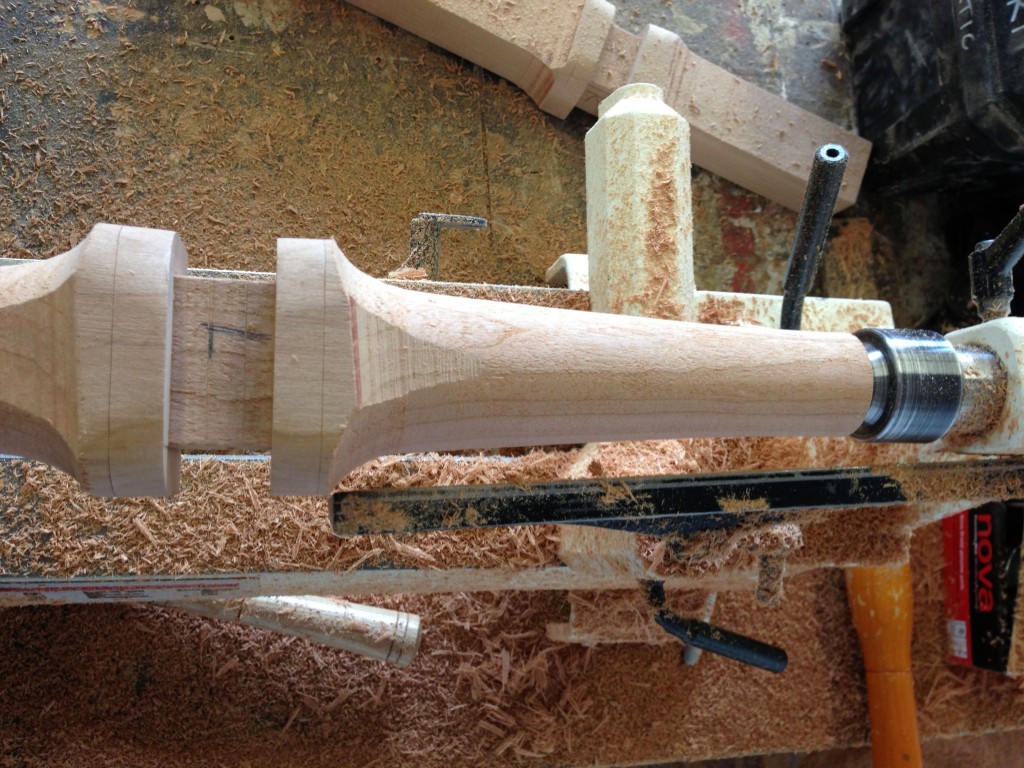
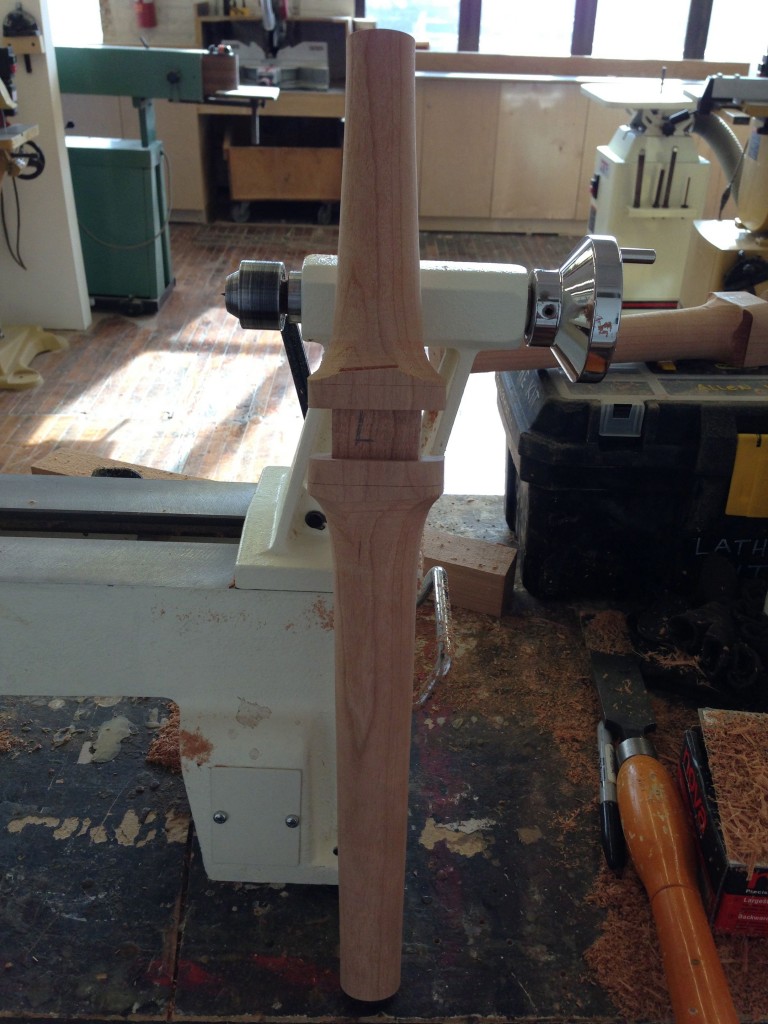
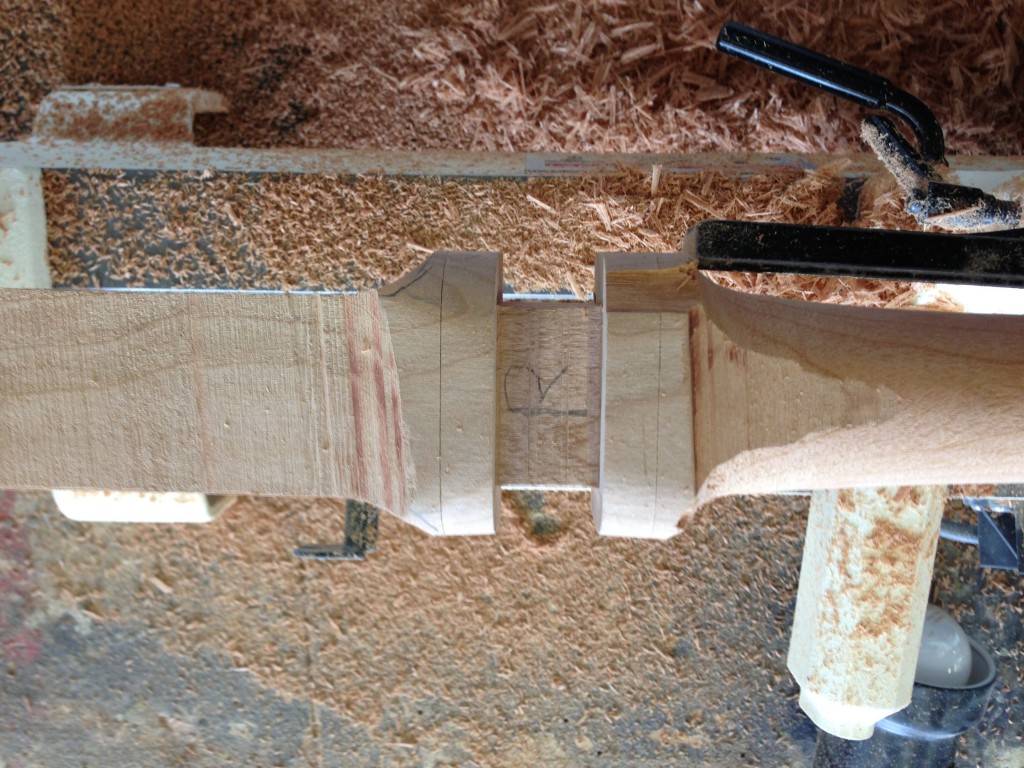
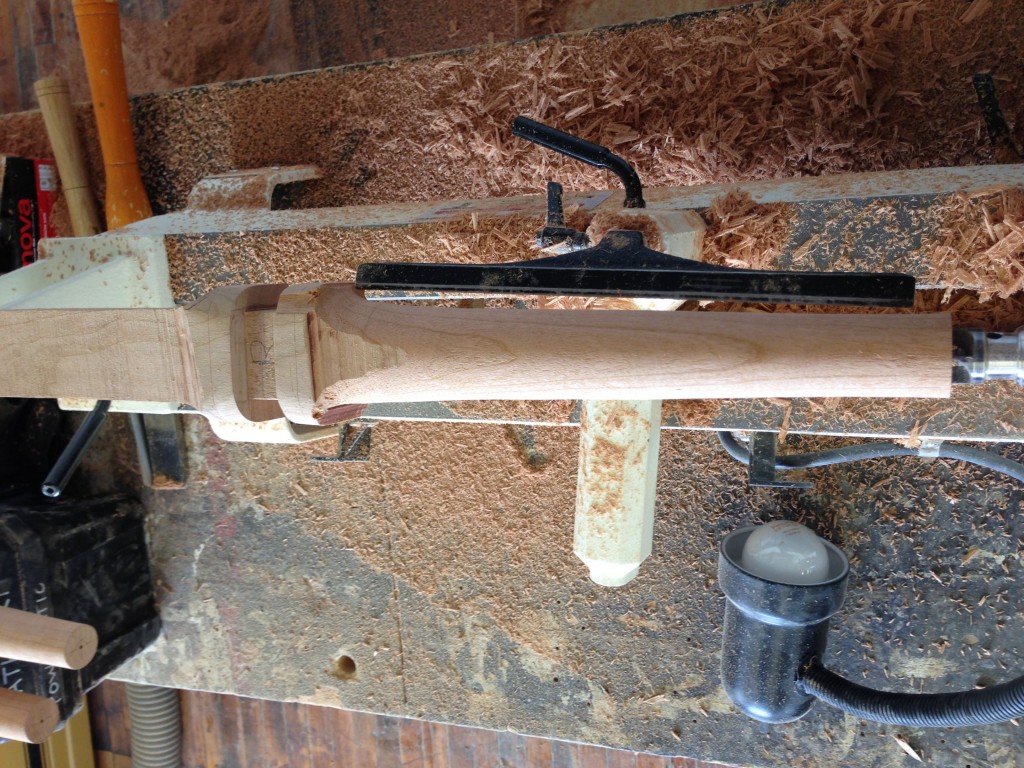
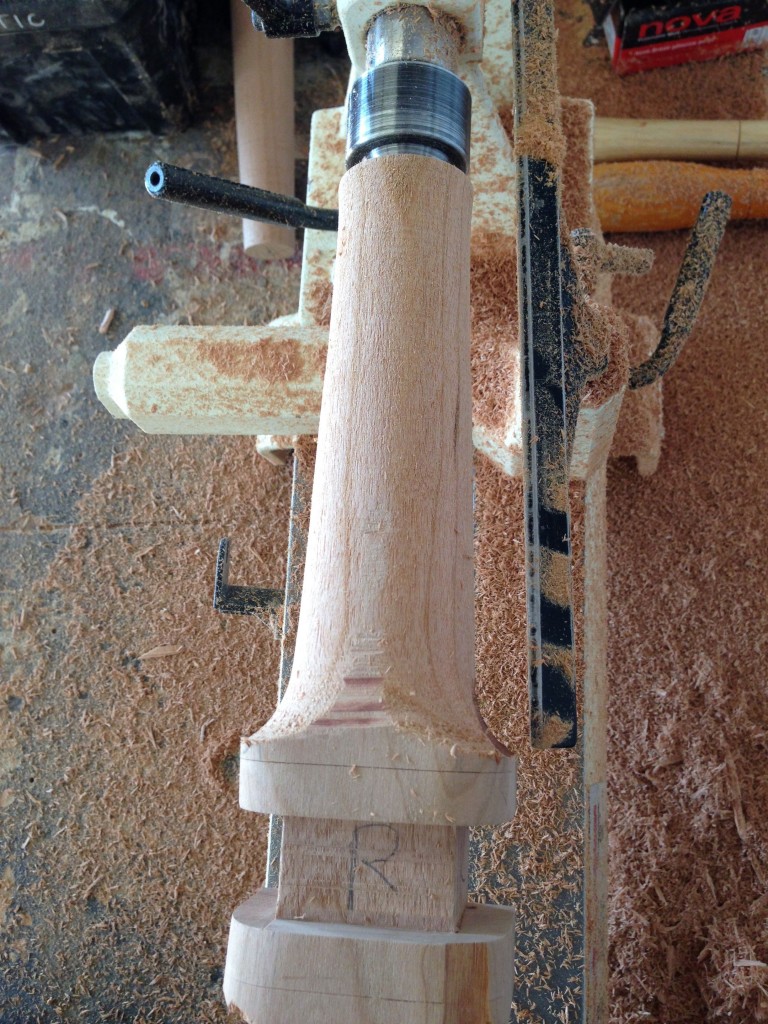
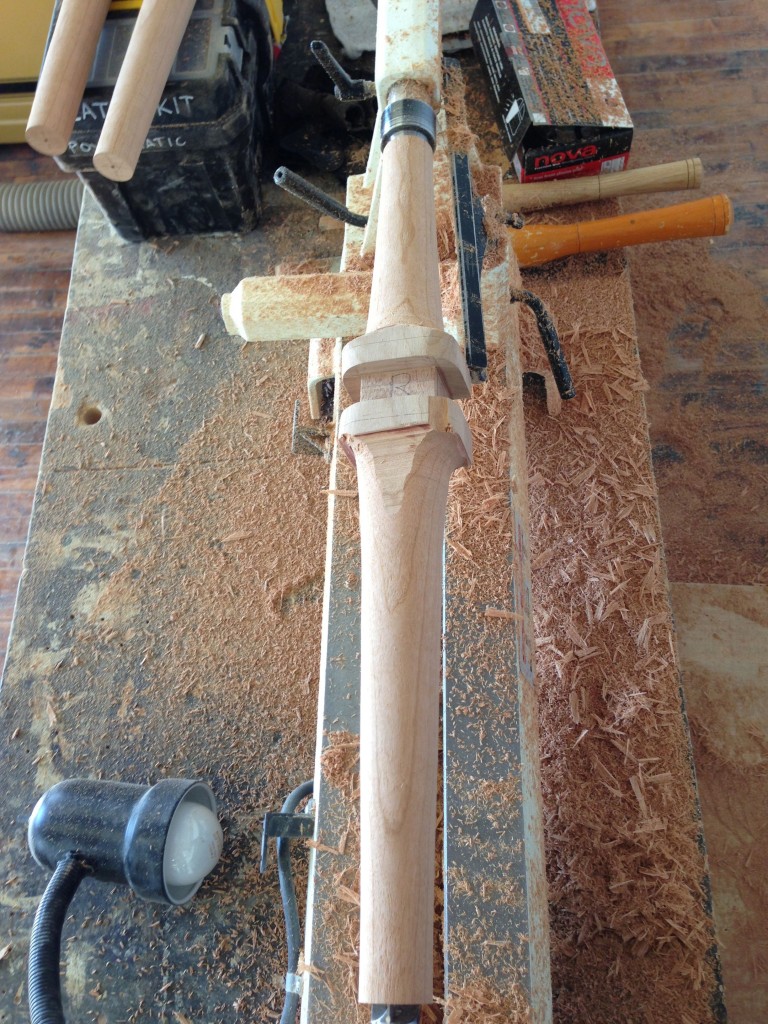
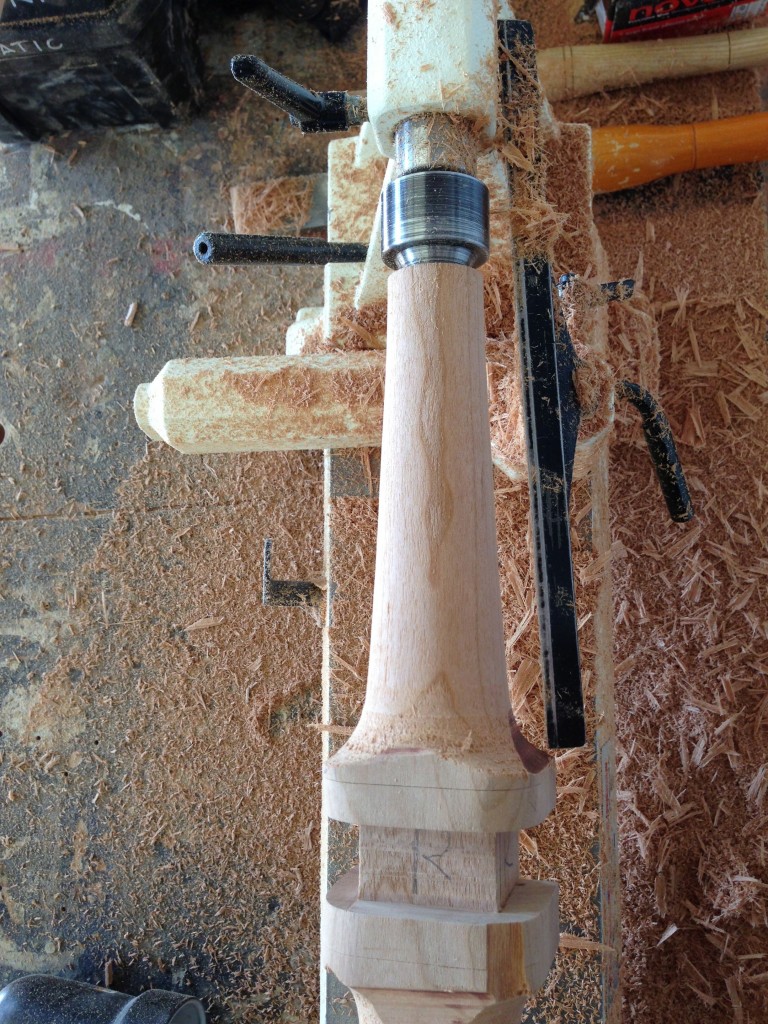
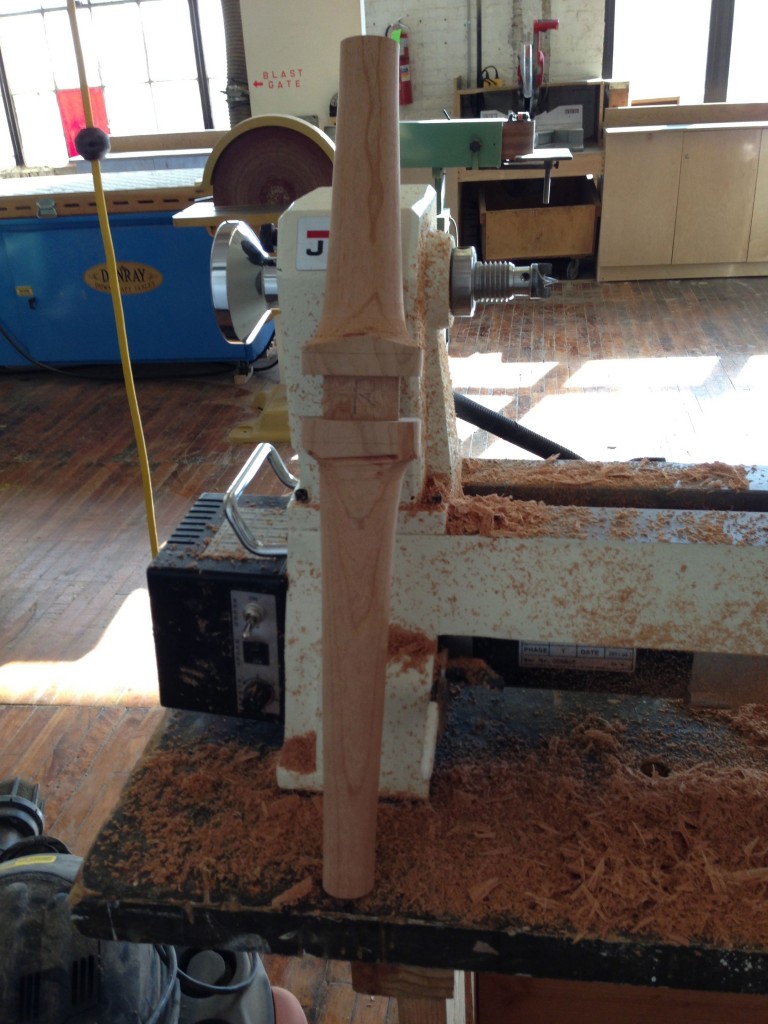
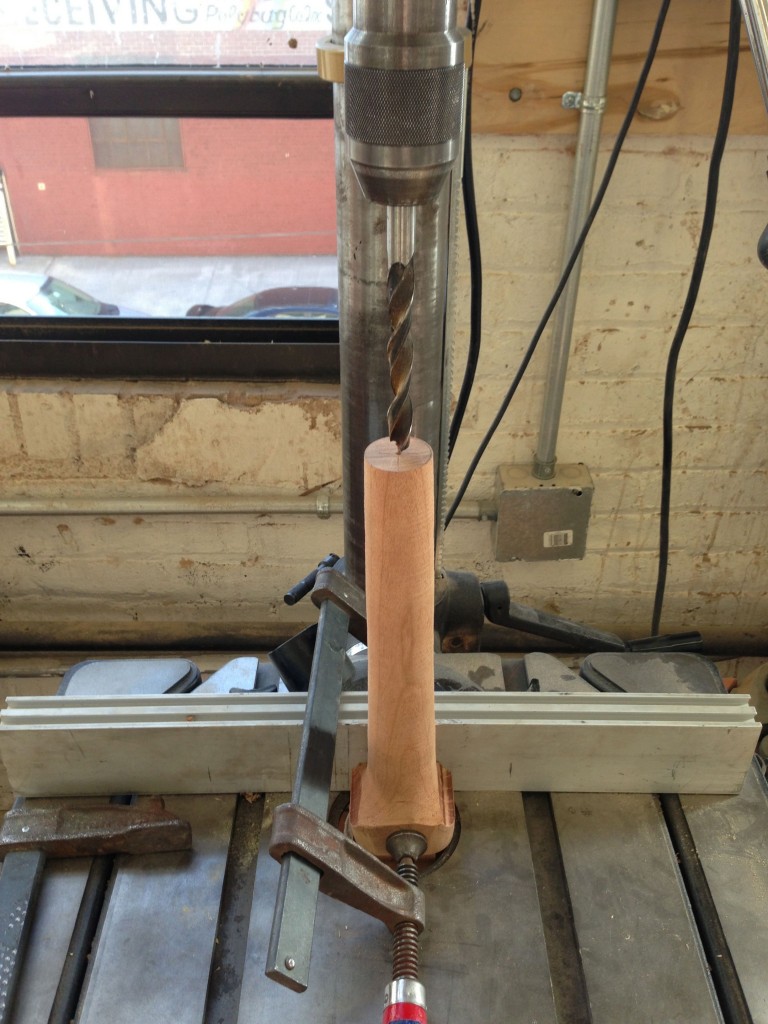
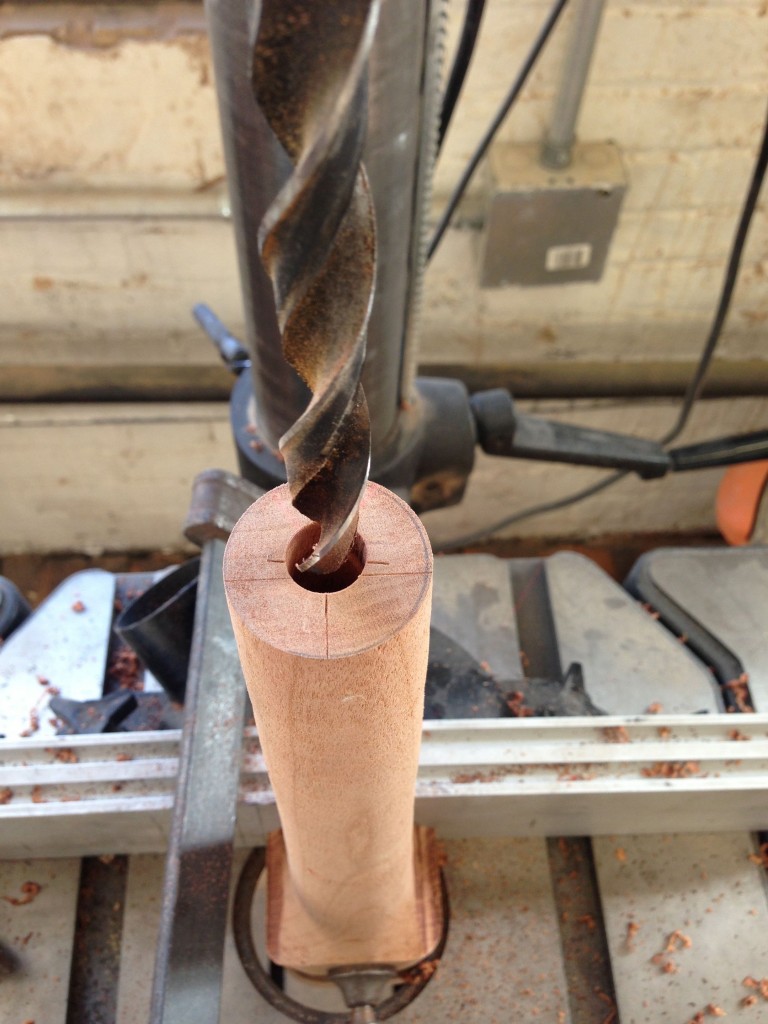
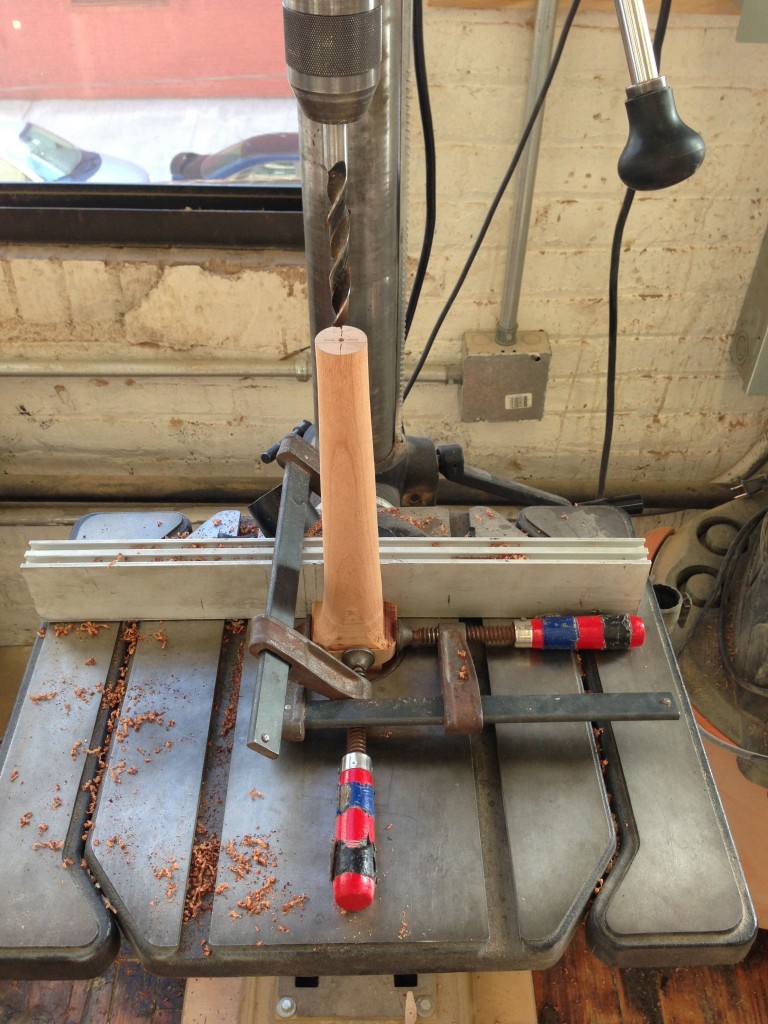
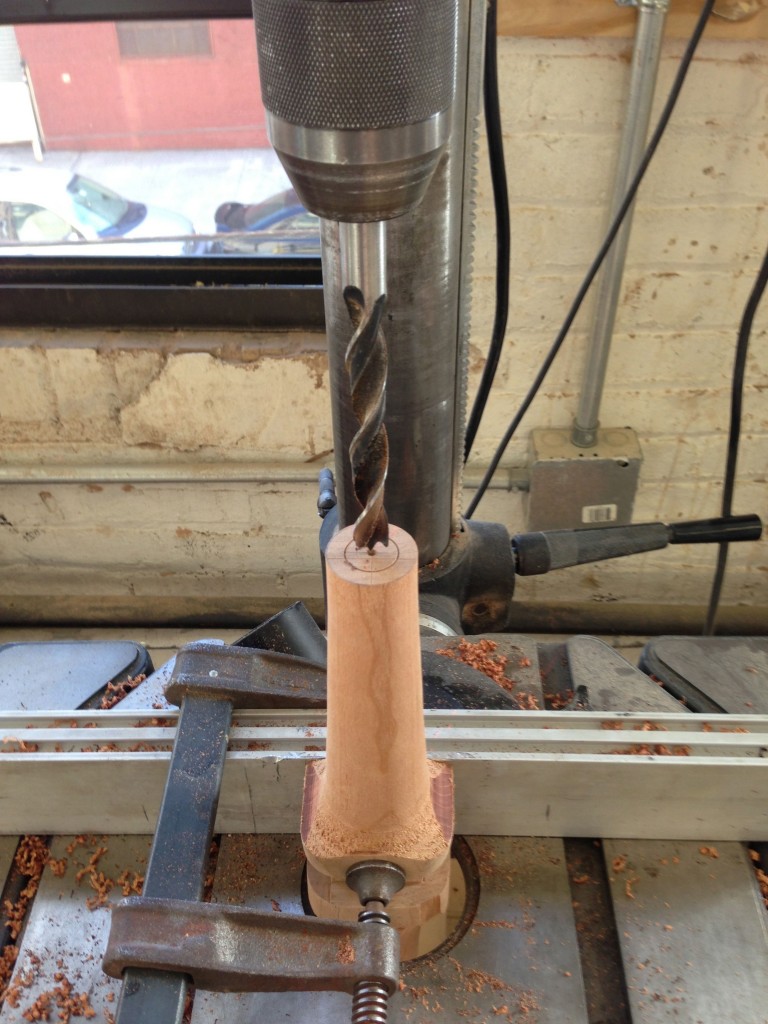
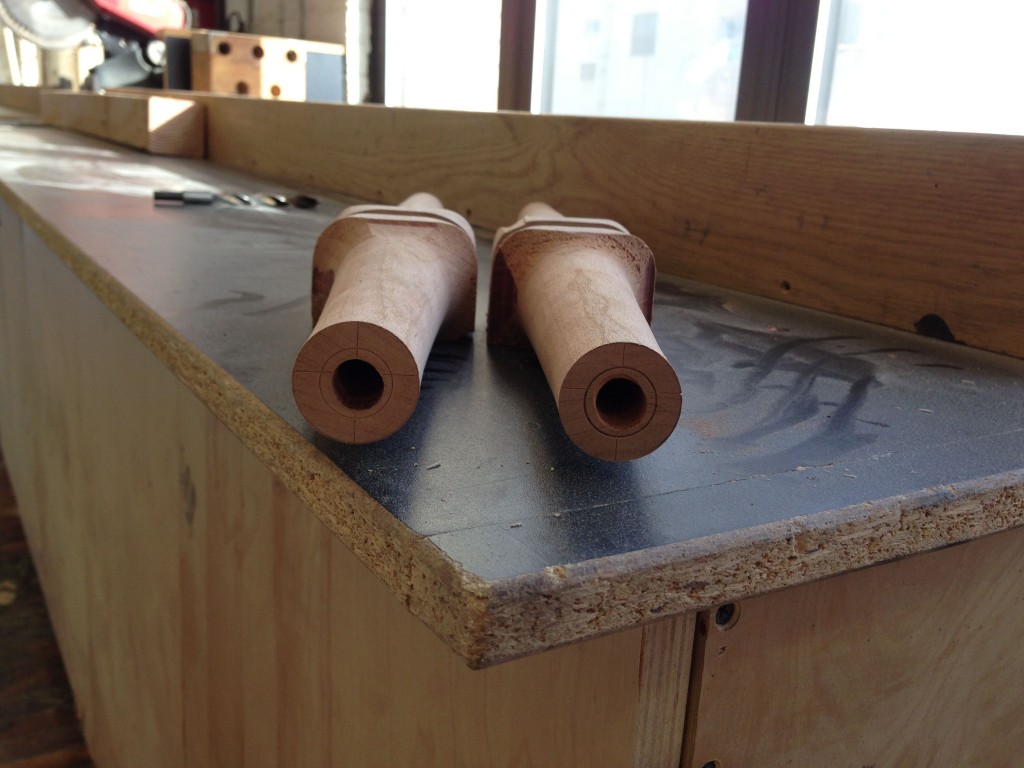
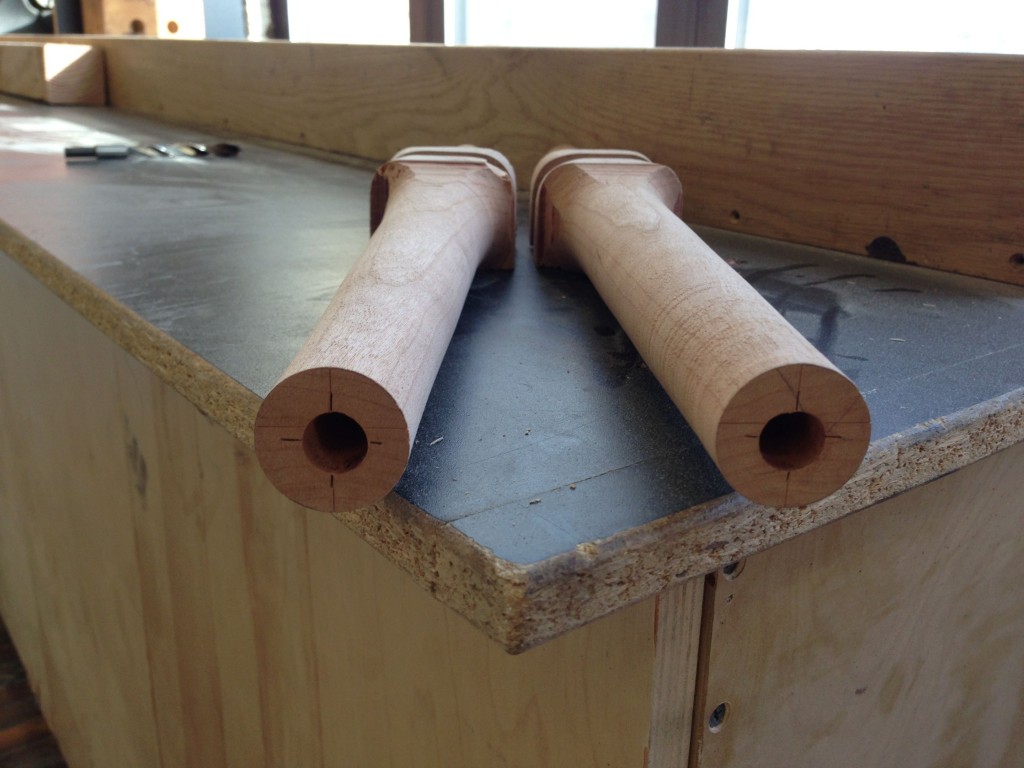
The rocking chair is in the home stretch here in this gallery. Having all parts assembled and generally shaped with the band saw, it was time to get into the heavy shaping. Through out the shaping process I have been utilizing three types of shaping tools: angle grinder, spoke shaves and rasps. This is the point where the rocker really becomes my own and am very excited to get this project finished.
Category Archives: Recent Work
Magnetic Bat Box
Metal worker, James Devlin, asked me to create a better display box for the bat skeleton he had. The original display was MDF backer with a walnut veneer and clear plastics case. I removed that clear plastic and created a solid walnut box around the bat mount. I added clear acrylic as the glass. One side of the box was to be left removable to allow access to the bat. Using 4 earth magnets, the challenge was easily solved. Those little magnets have an incredibly powerful fit. The application of magnets is something I am going to start exploring and using more of in future builds.
Glass Blower Pedestal Build
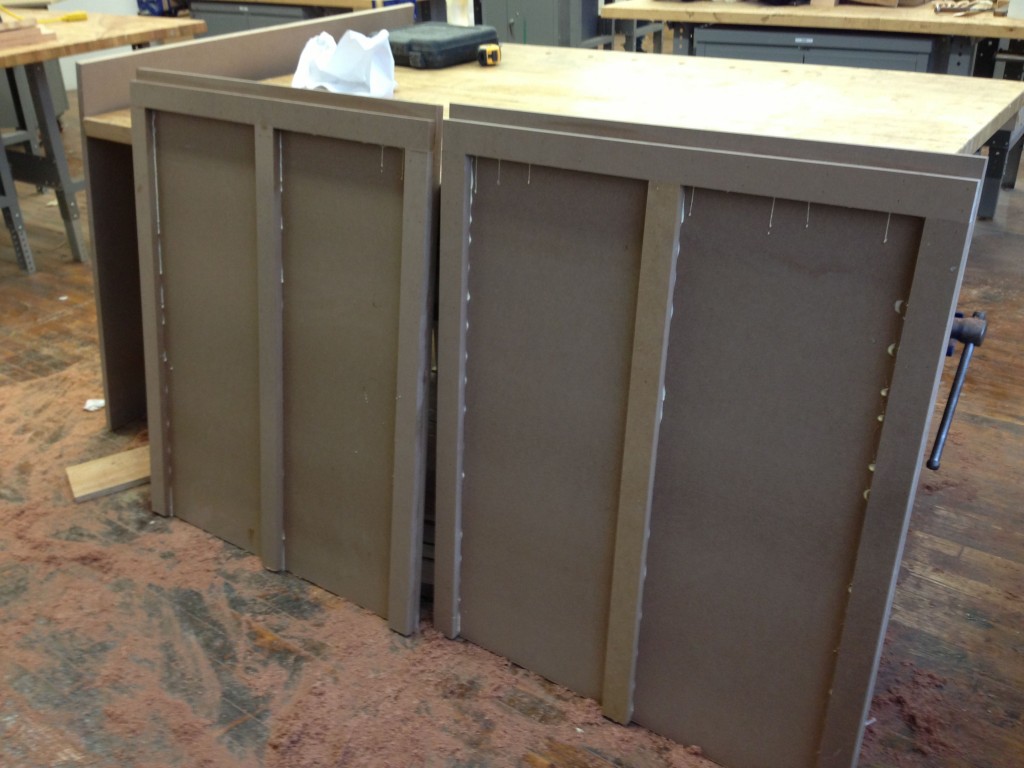
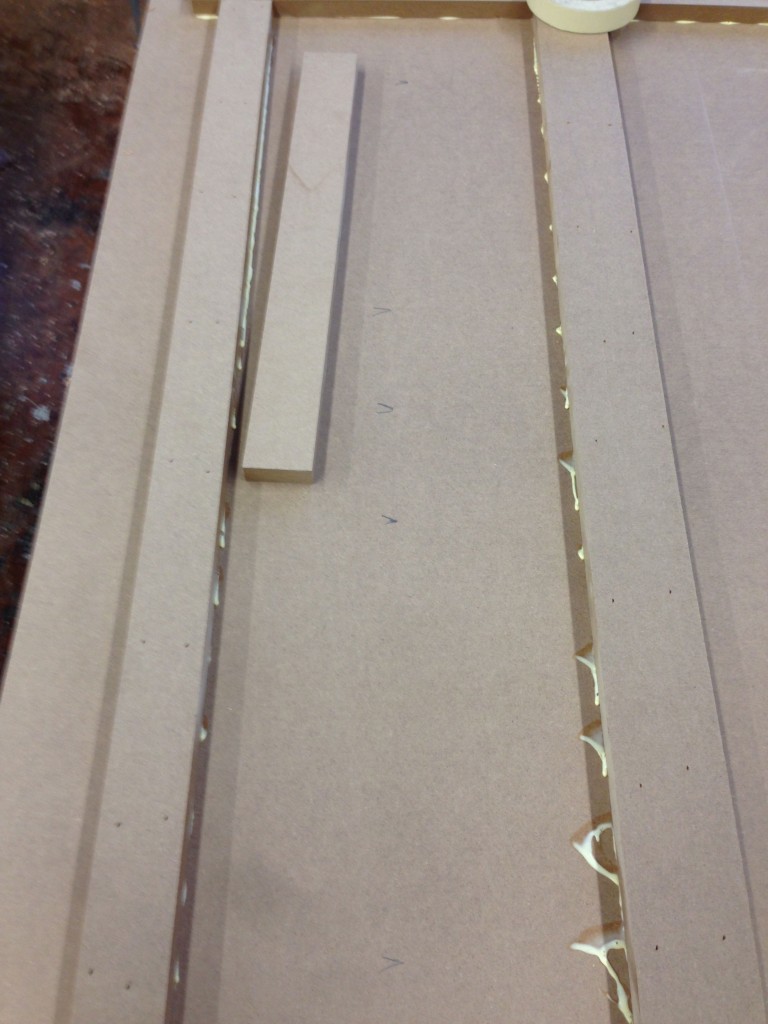
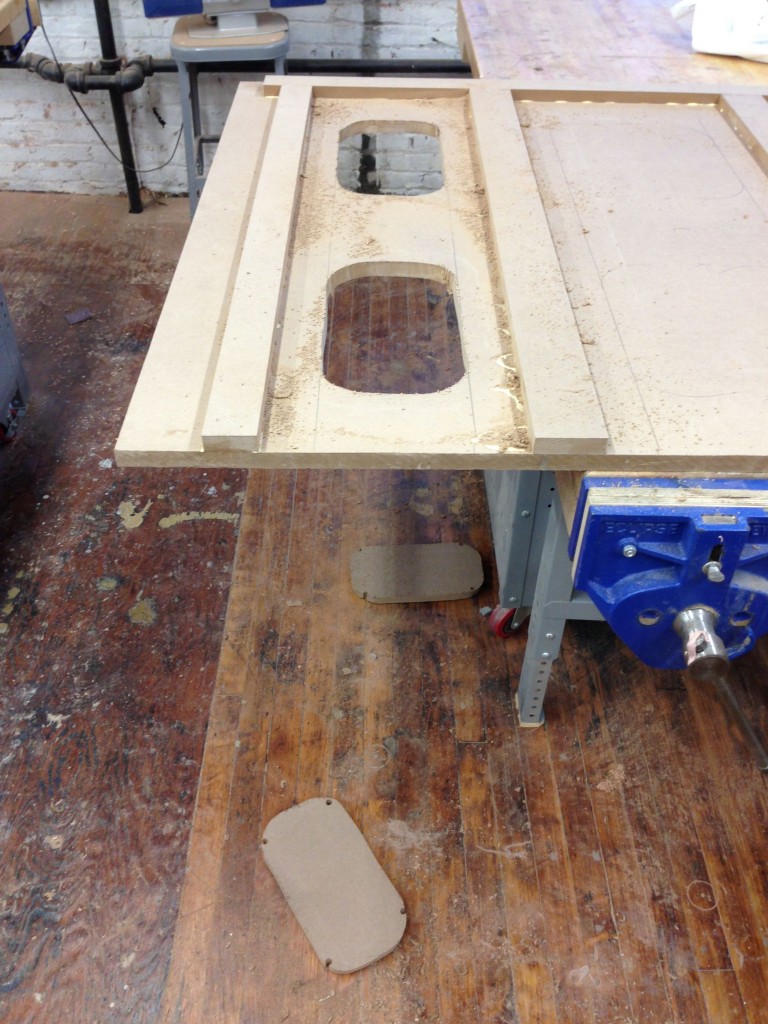
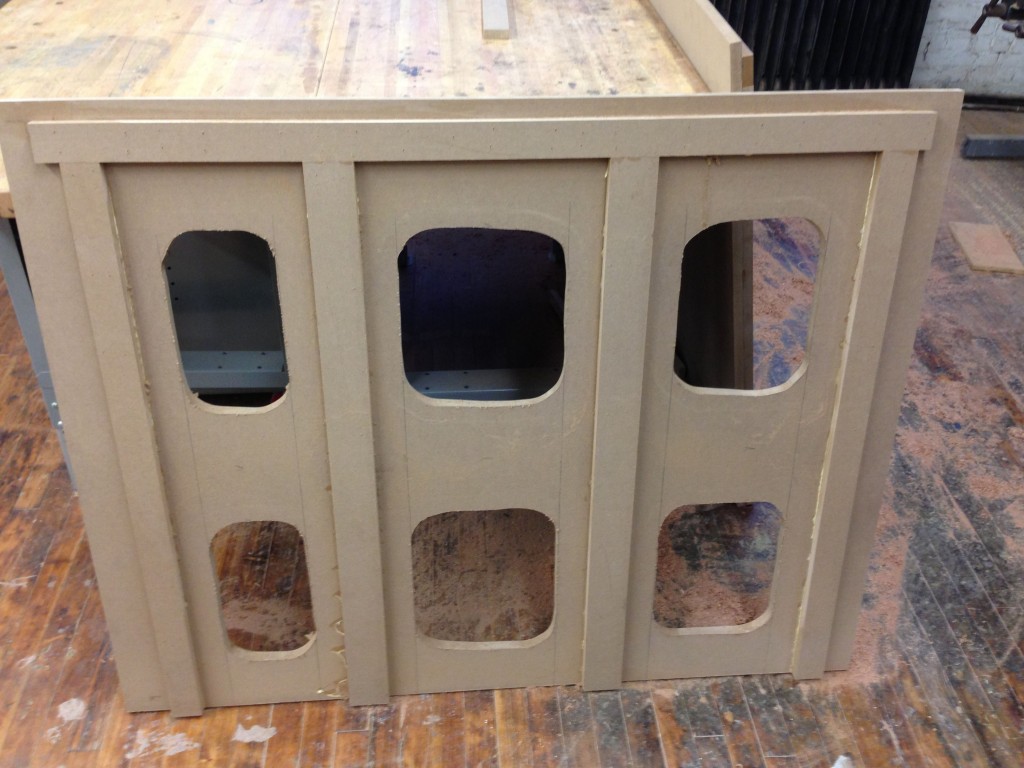
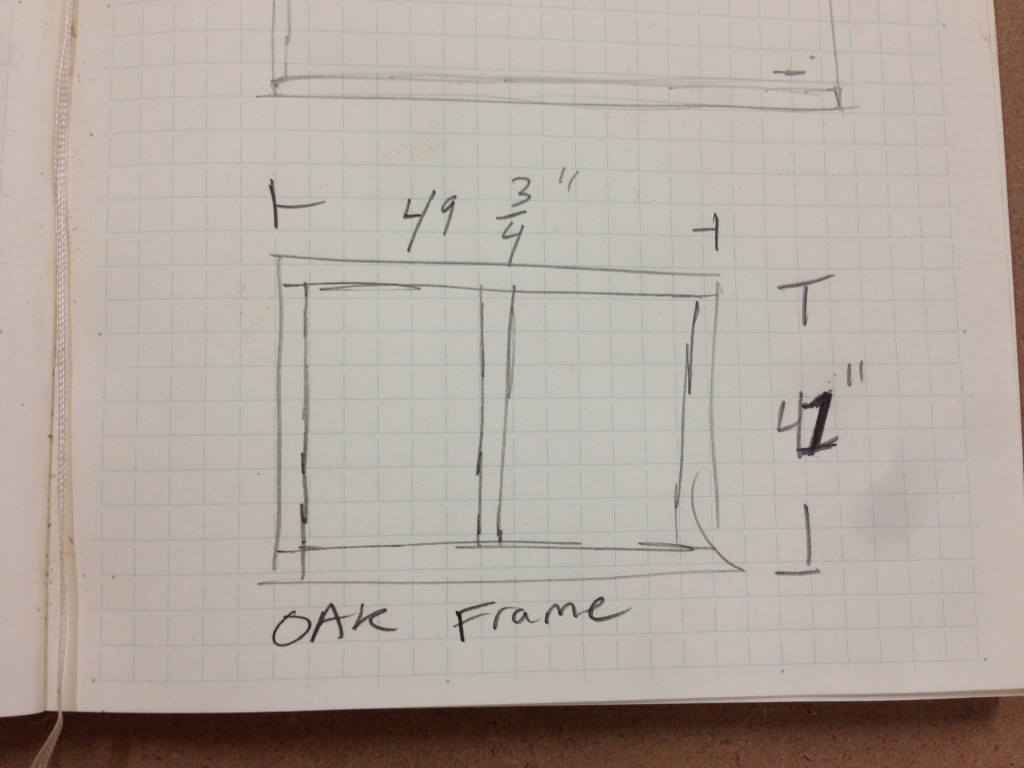
One of the great advantages to working in a space like 3rd Ward is the ability to easily collaborate with other artists. Andrew Erdos is a glass blower with his own studio space in the same building as 3rd Ward. A few months ago he asked me to make him 5 pedestals to display his work. This has now become a regular occurrence and the gallery below takes you thru the build of a pedestal that will reside in a collectors house in Miami.
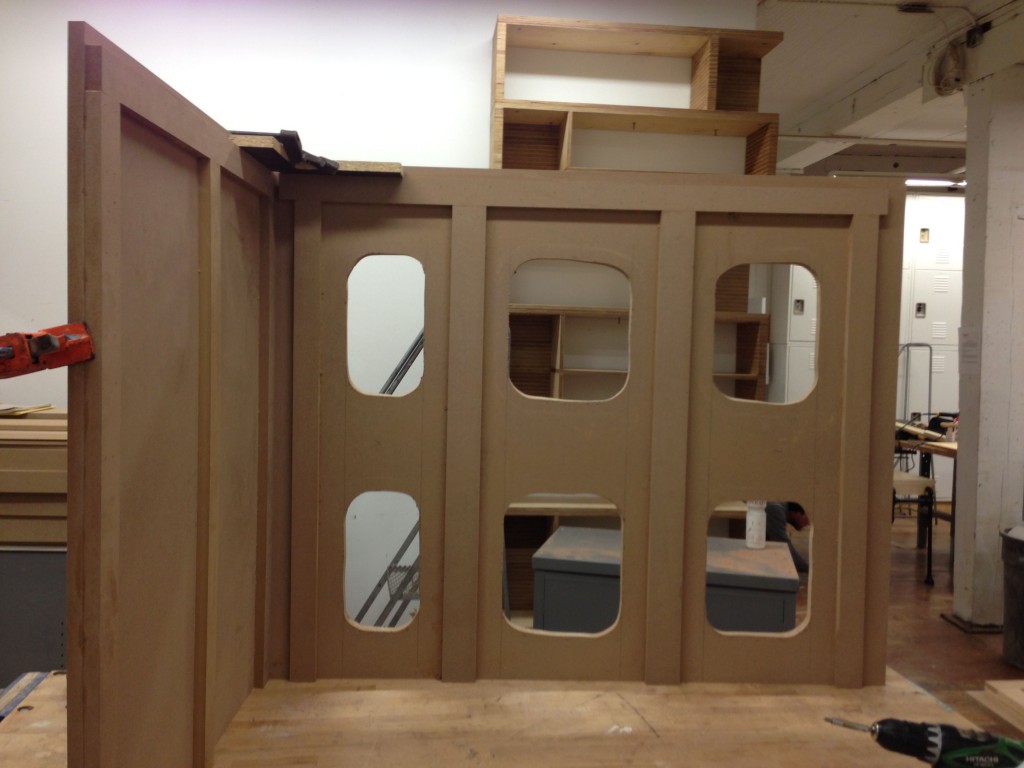
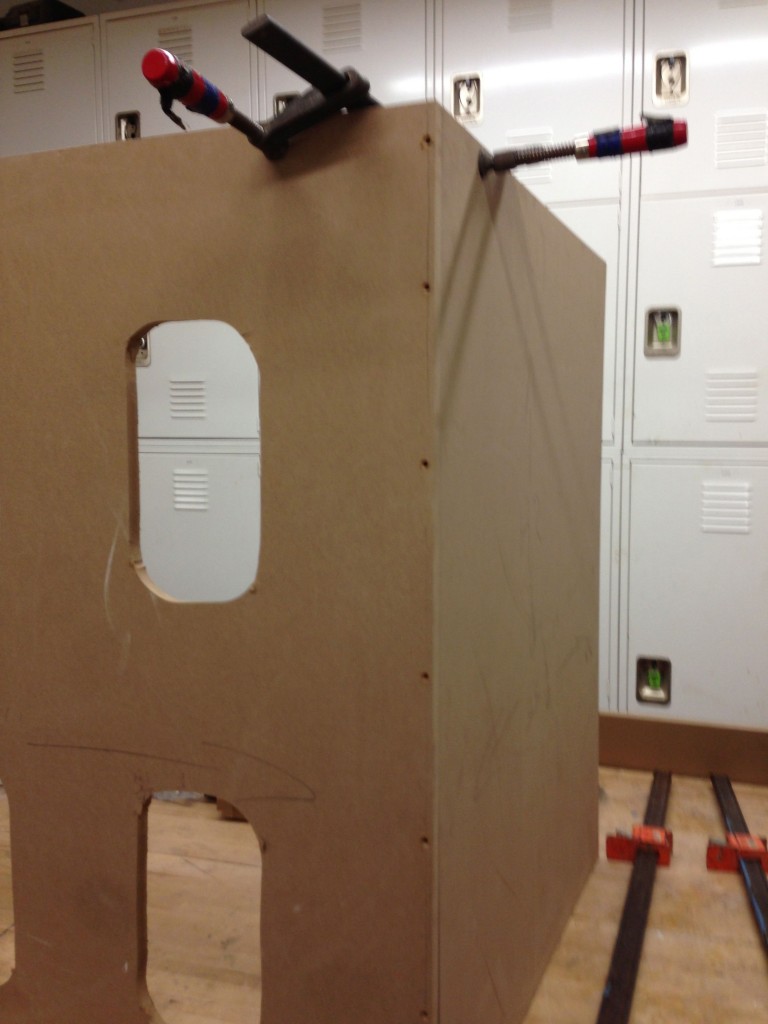
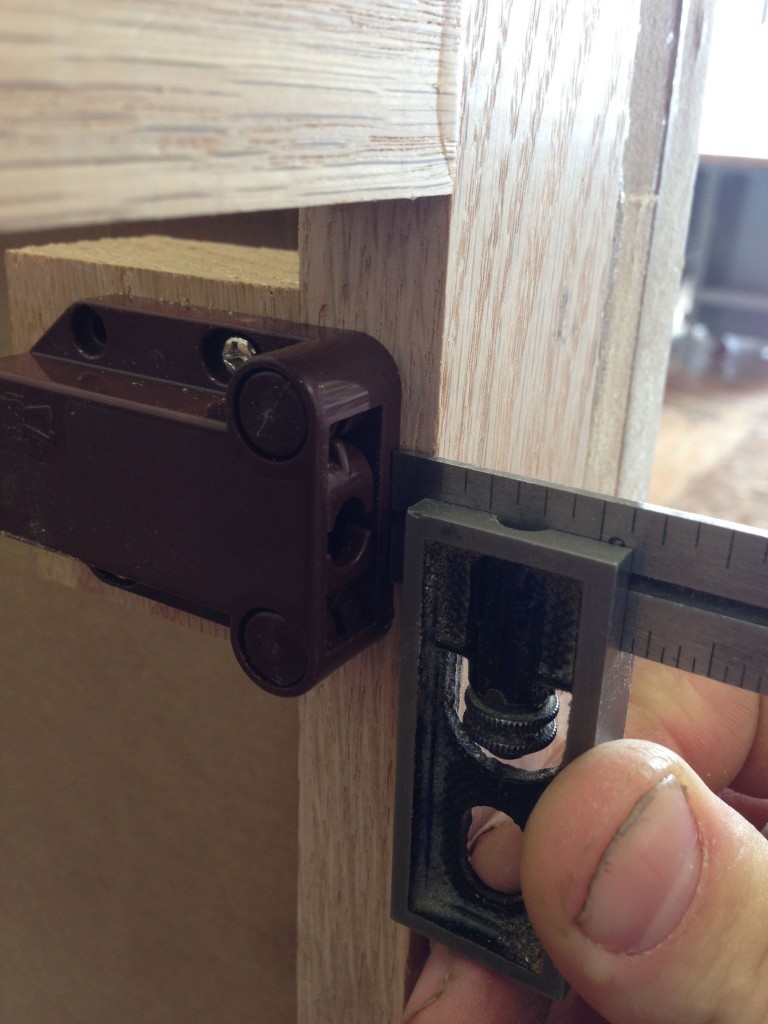
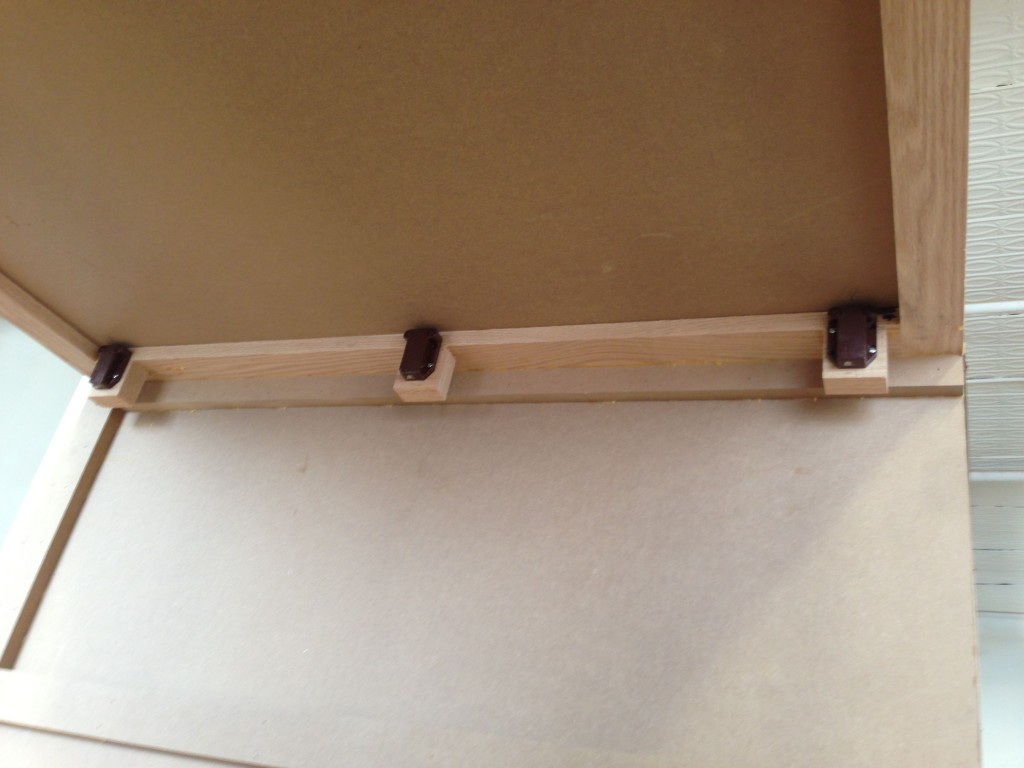
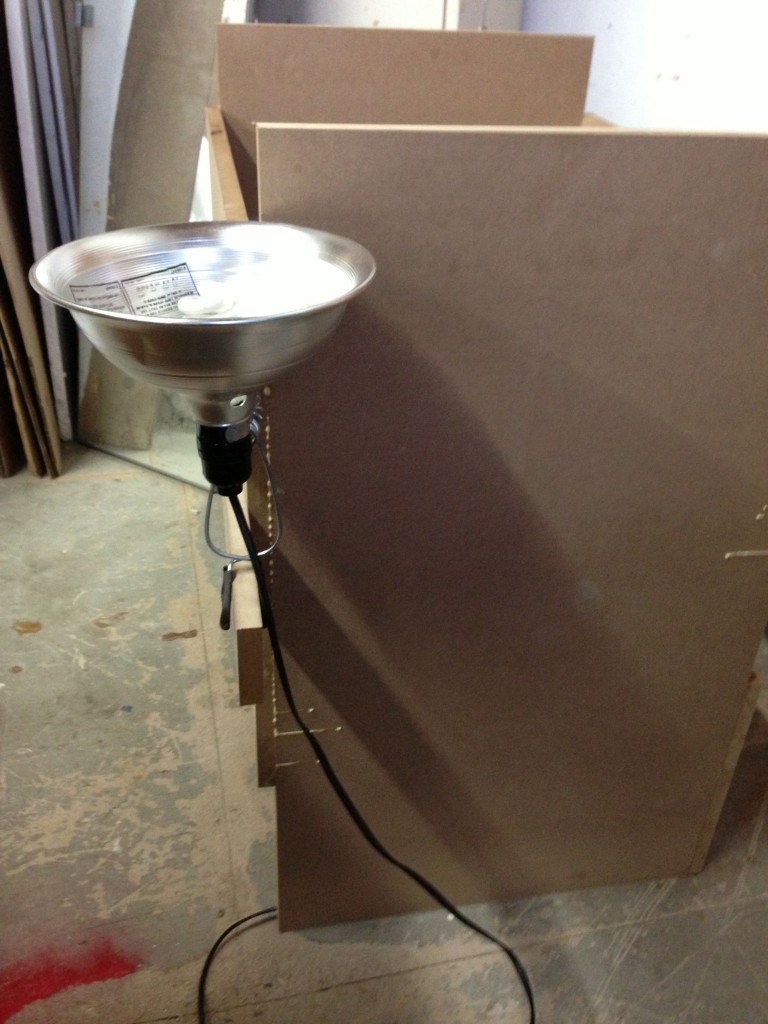
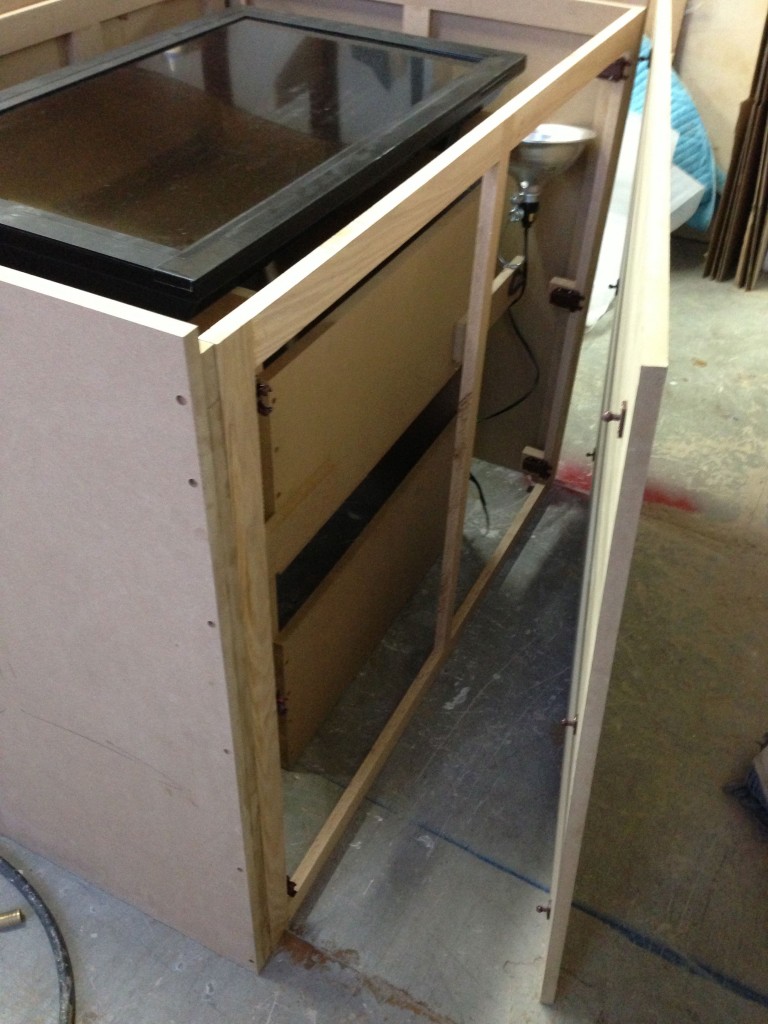
This pedestal is unique because it will be recessed into a wall and the front panel is on latches that allow it to be opened and access gained to the tv and lights that are housed within. This build also involved a secondary pedestal to hold the flat screen tv horizontal, which is an integral part of the whole work. It’s a great privilege to make a simple piece that is fully incorporated into the overall aesthetic and structure of another artists piece. These installations are quite amazing and if you can you should check them out in person.
SAW Butt Joint Table Top
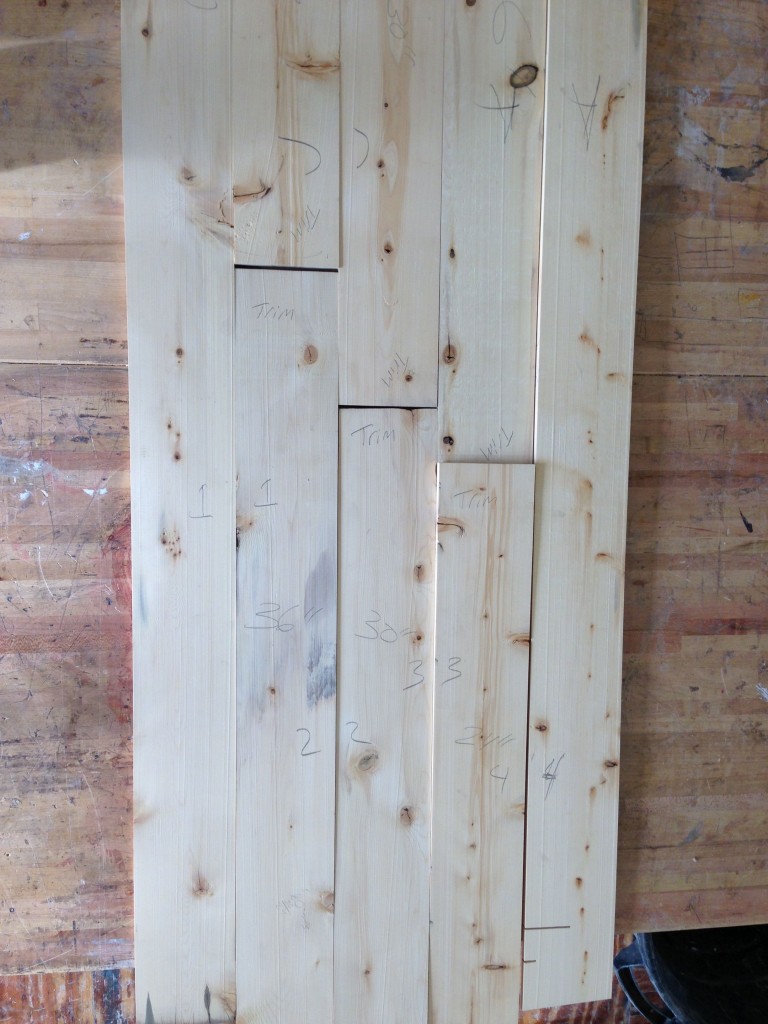
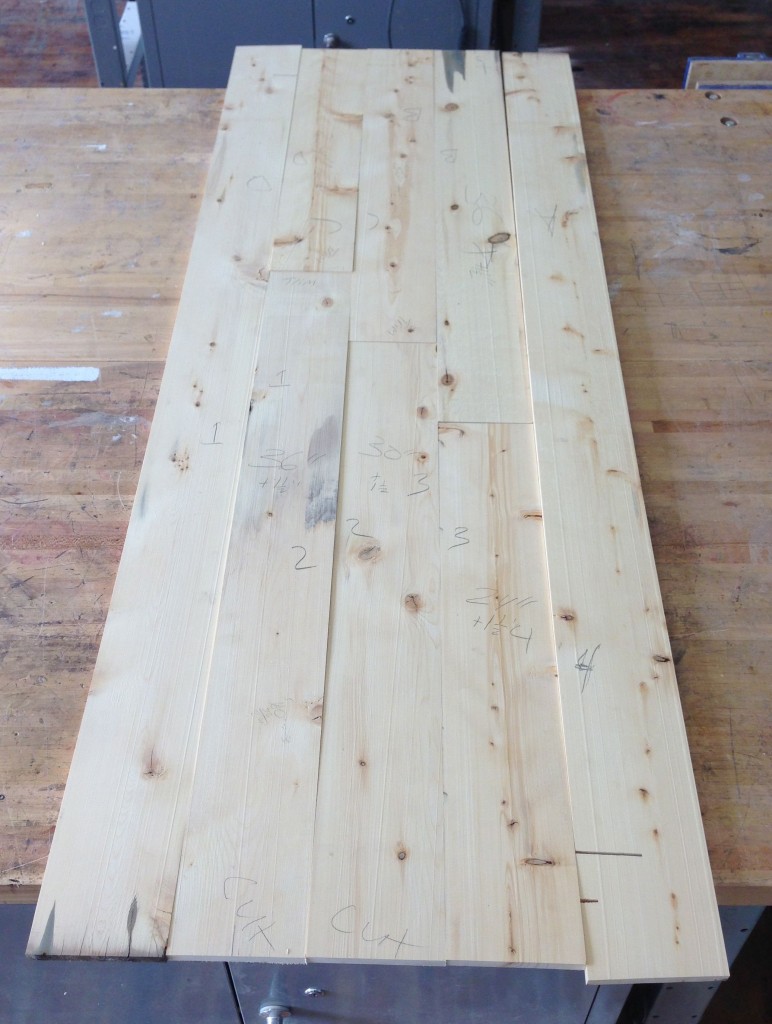
Another table top for SAW. This top features three of the five sections of lumber being butted together in order to create the final 60″ length. This type of construction requires some thought and planning to execute well and create tight joints both along the edge grain and at the end grain. There is also the consideration of where those butt joints occur. I set up the middle two board’s joint to occur at the center point. The two adjoining joints are evenly measured off that point and creates a step look that is mirrored when viewed from the other side of the table.
Rocker Arm Build
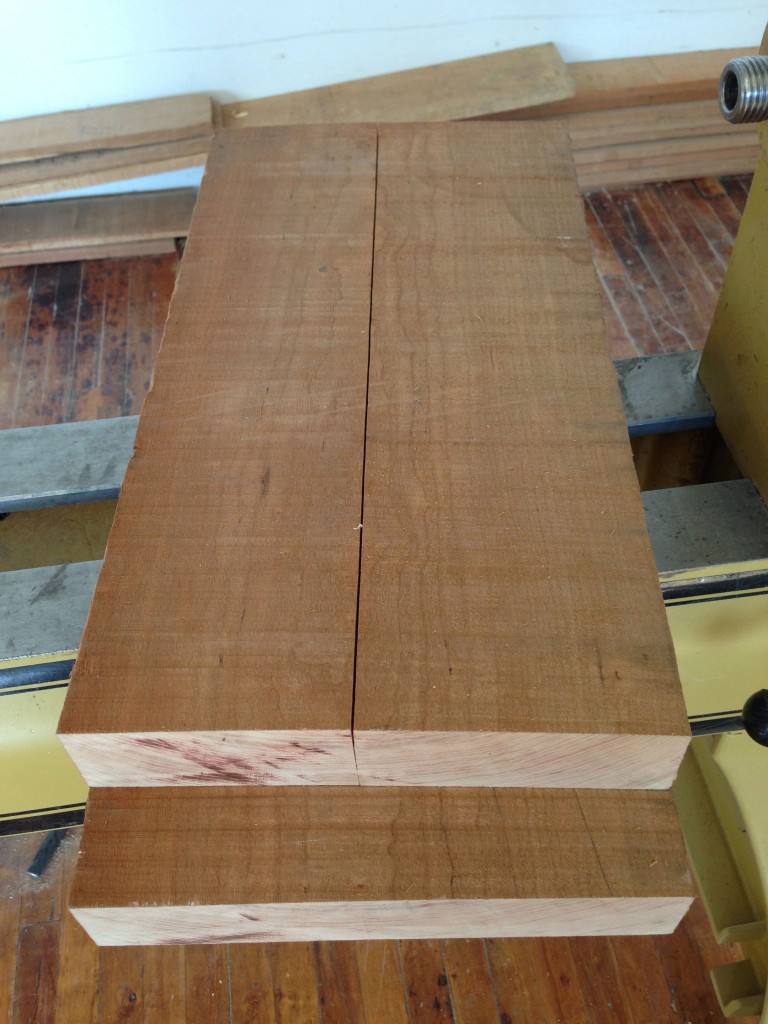
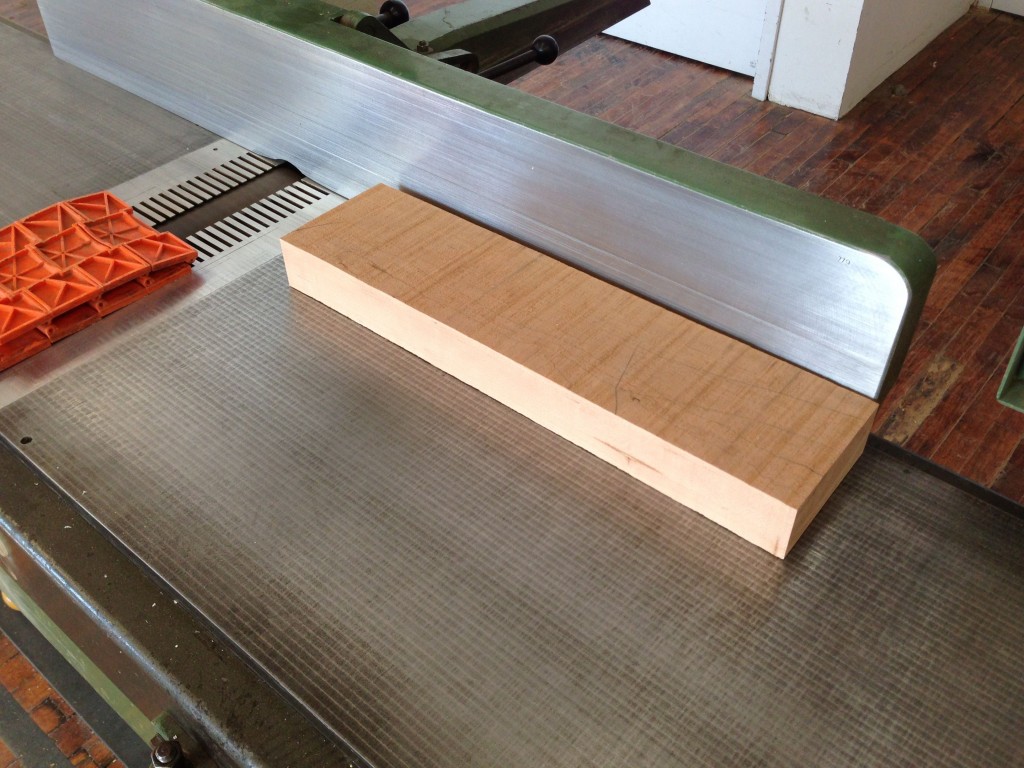
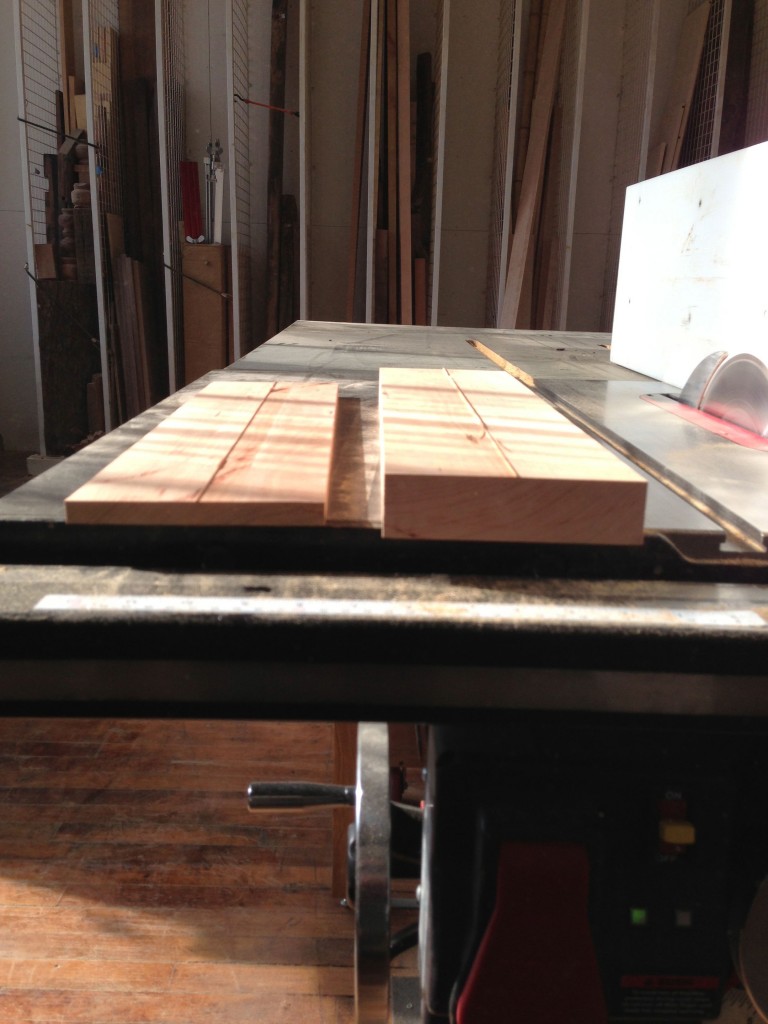
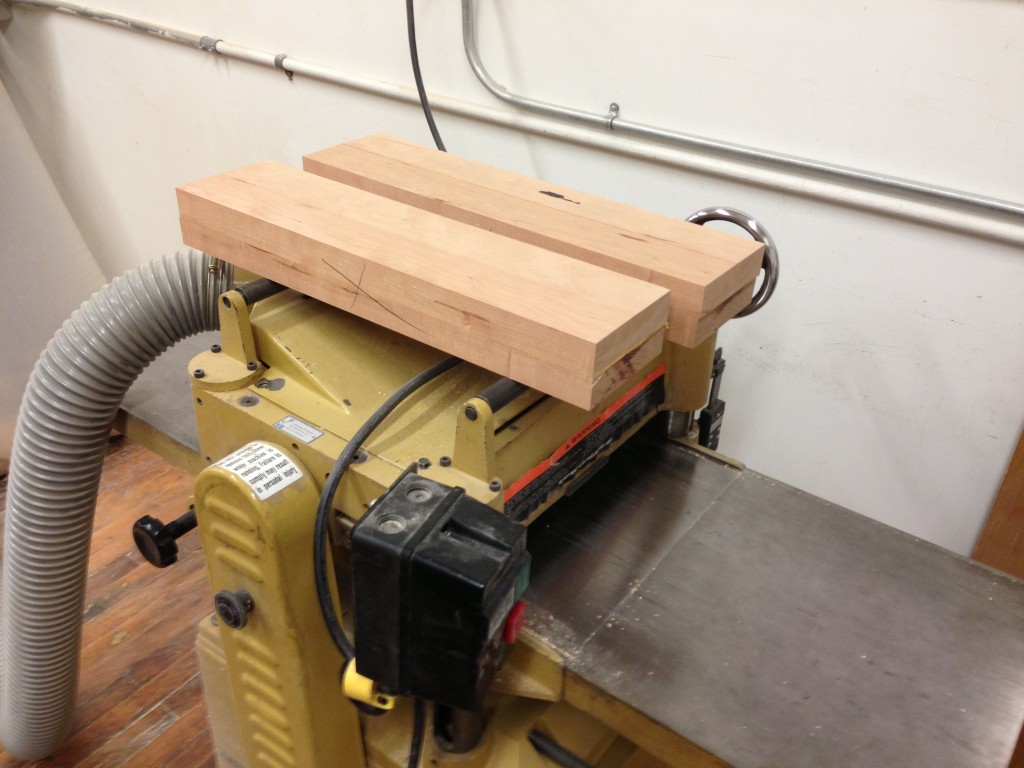
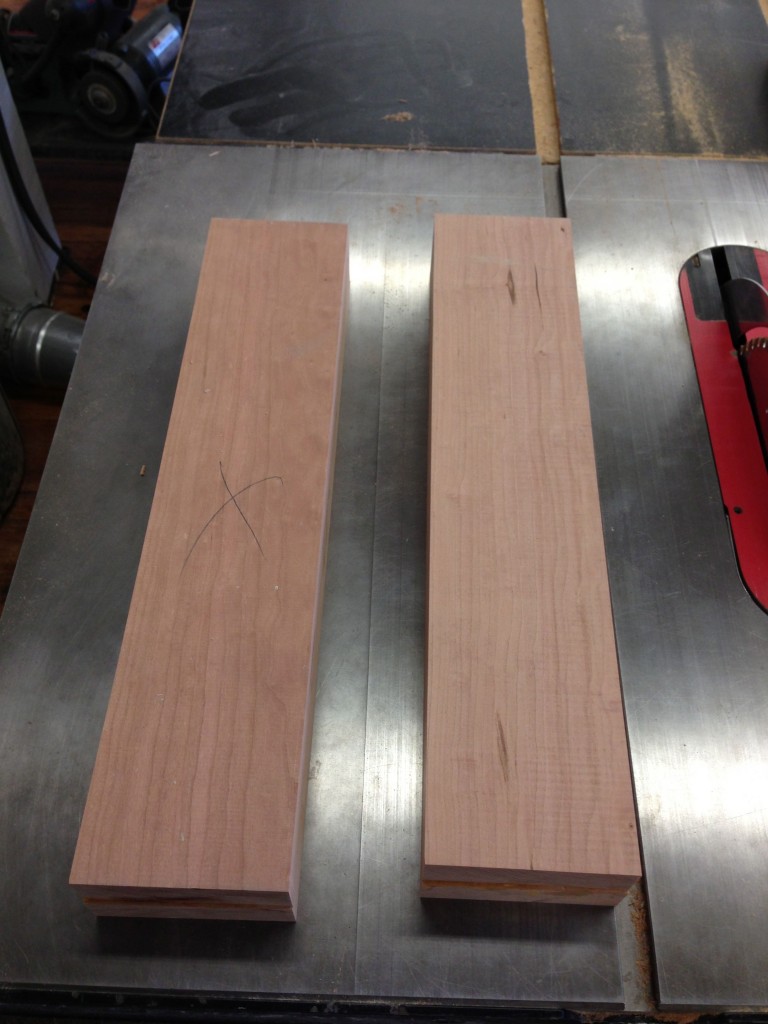
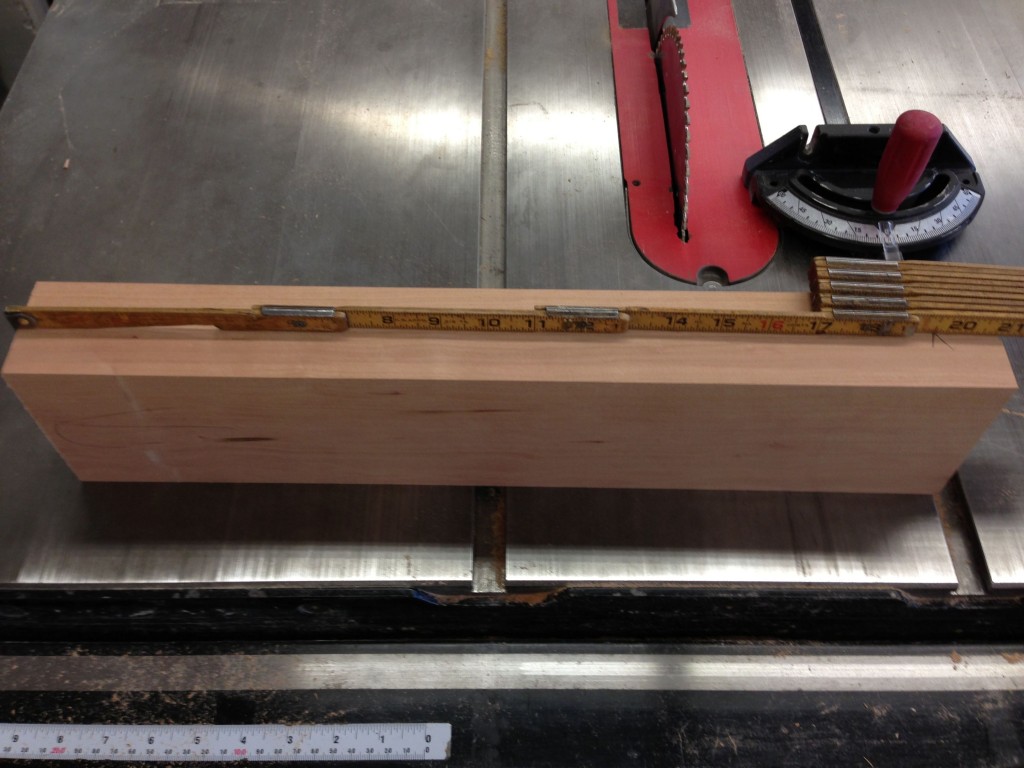
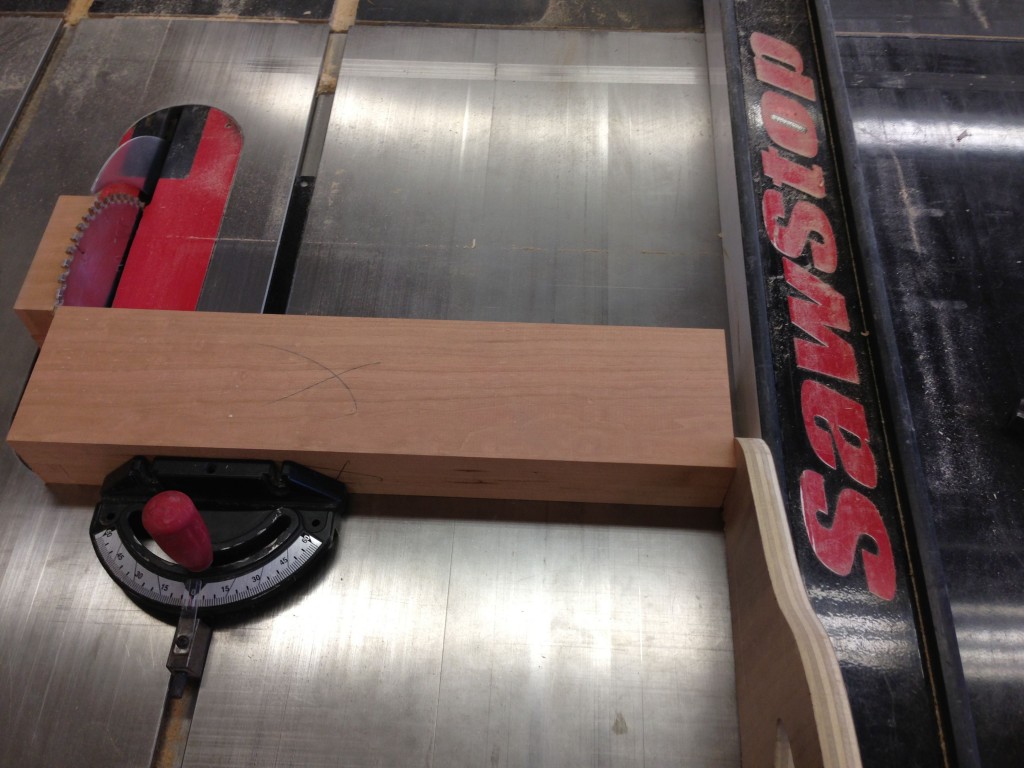
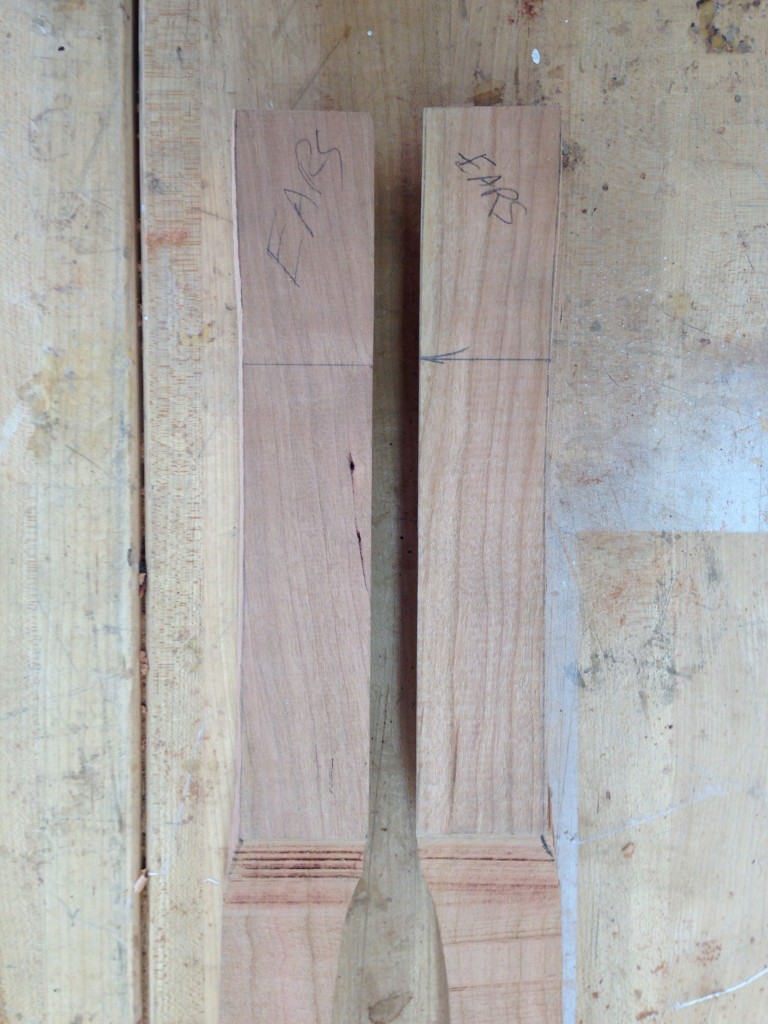
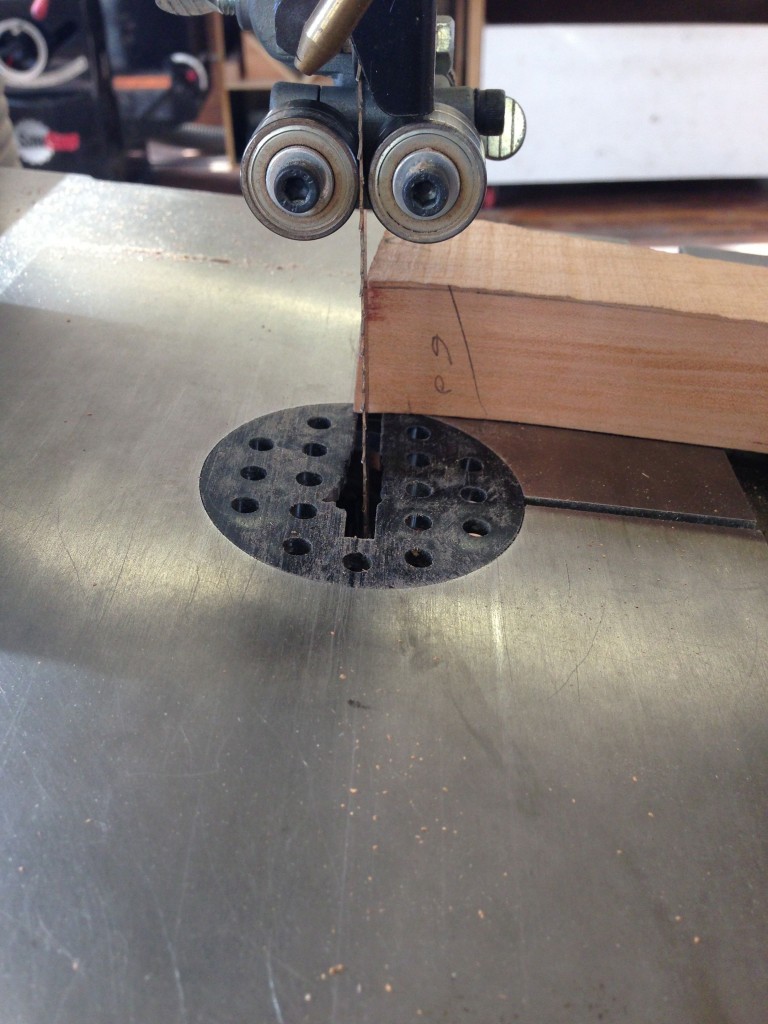
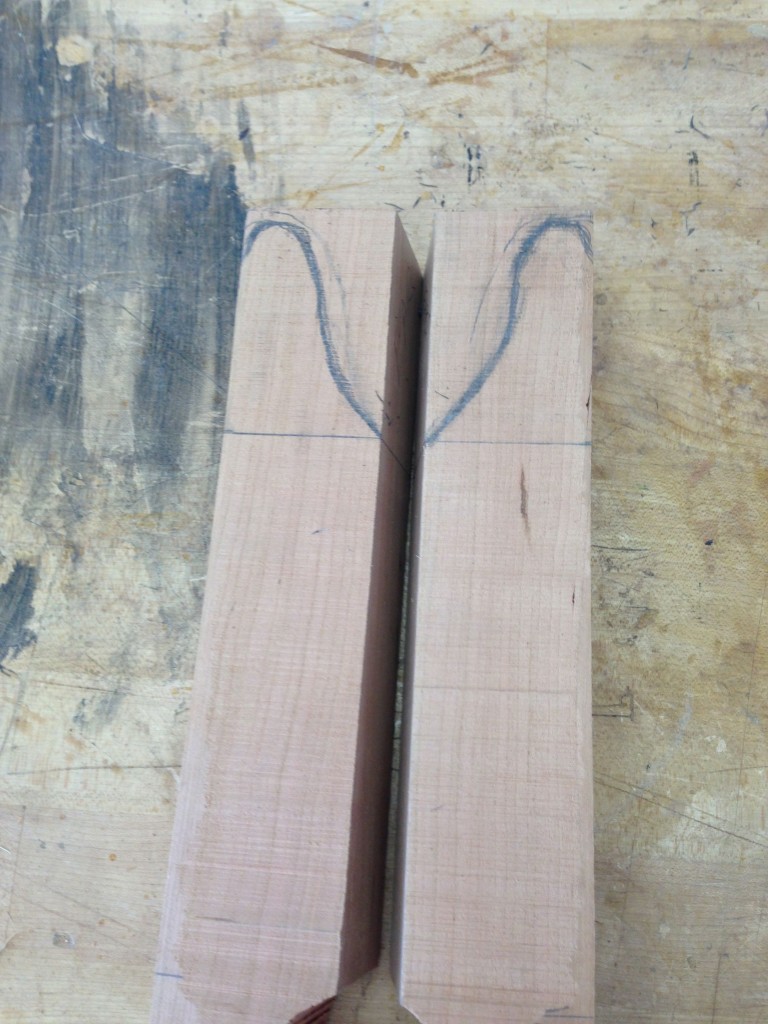
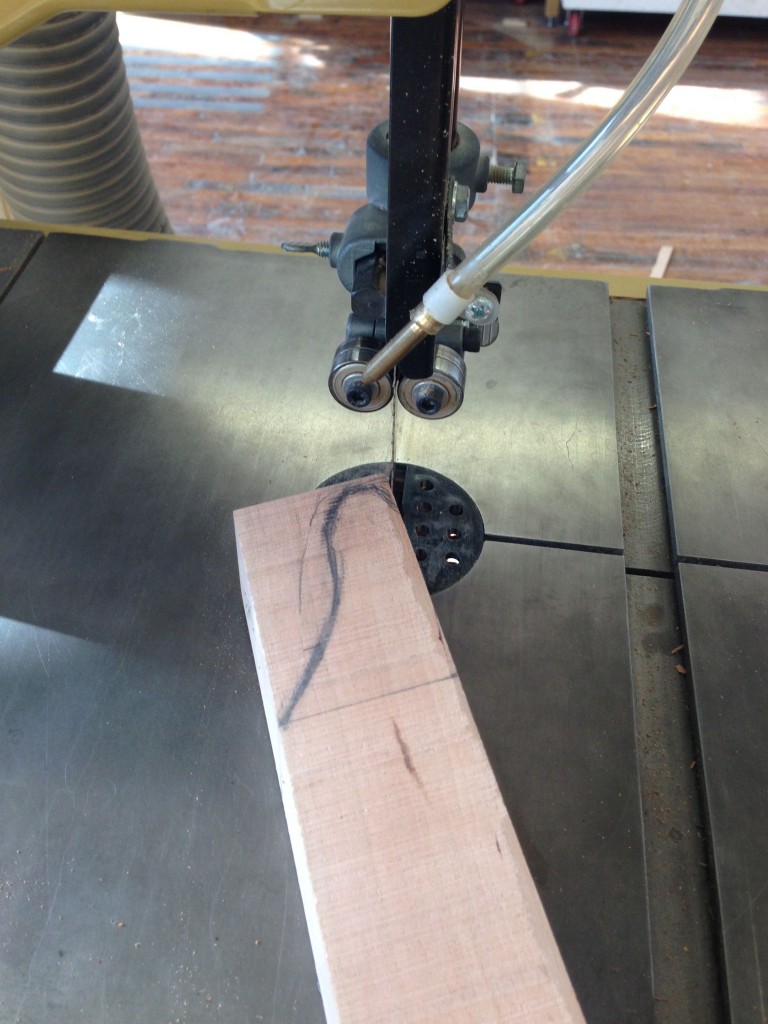
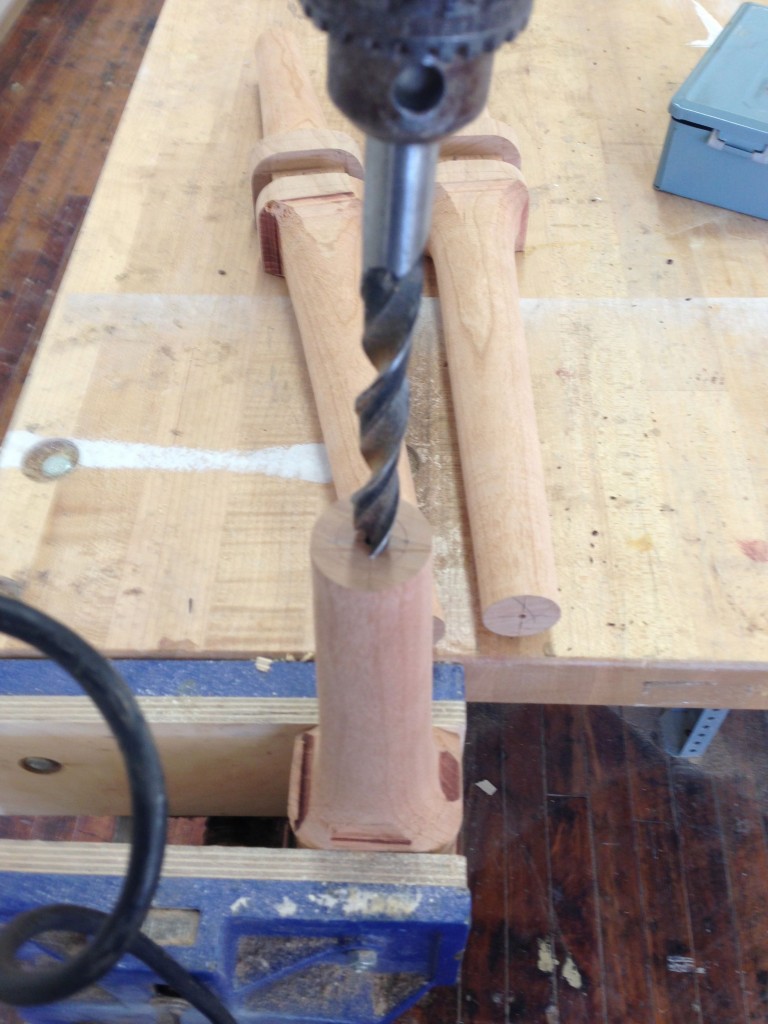
The arms require stock that is 10/4 or 2 1/2″ thick in order to create the deep sweep shaping. Only having 8/4 lumber, I needed to re-saw and glue up the appropriate thickness stock. Once milled, the layout and cutting were simply done on the band saw. A corresponding dowel hole was drilled to create the joint between the front leg and arm. The back leg connection is a glue/screw joint.
Rocker Back Leg Profile
Rocker Back Leg Joinery
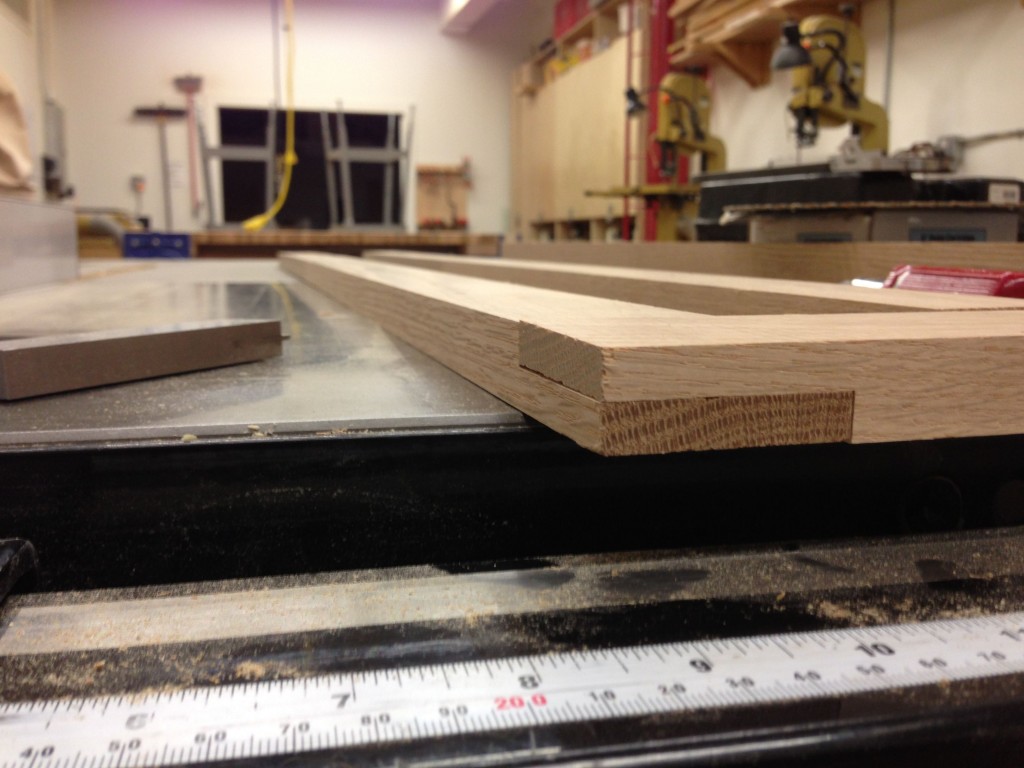
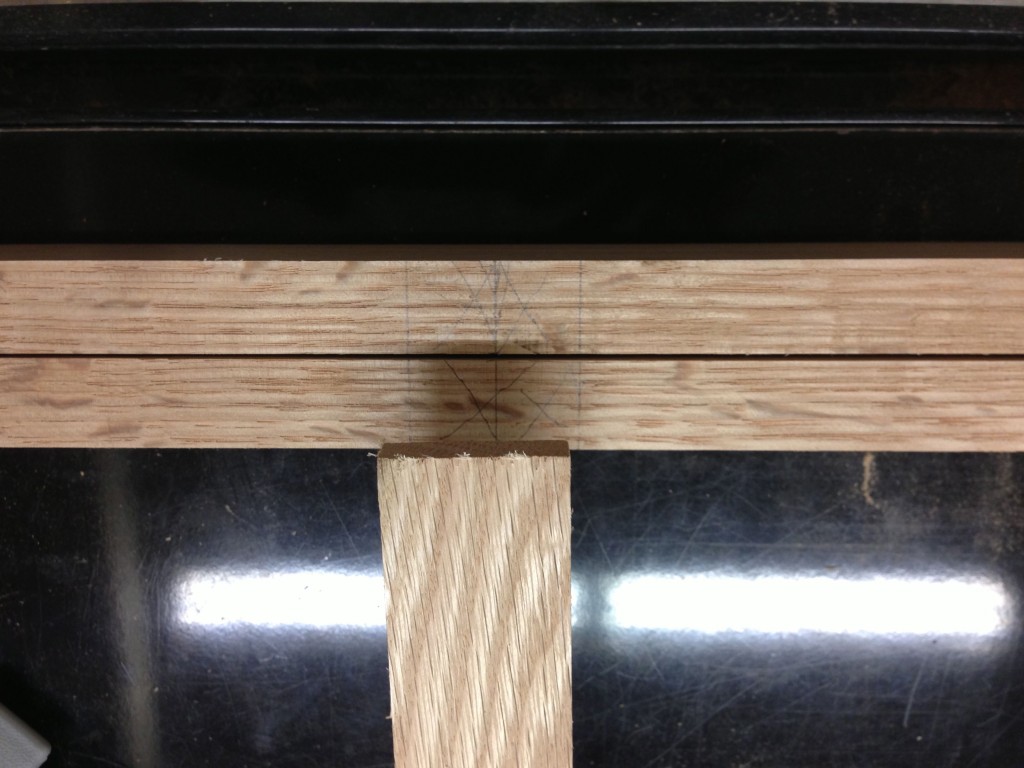
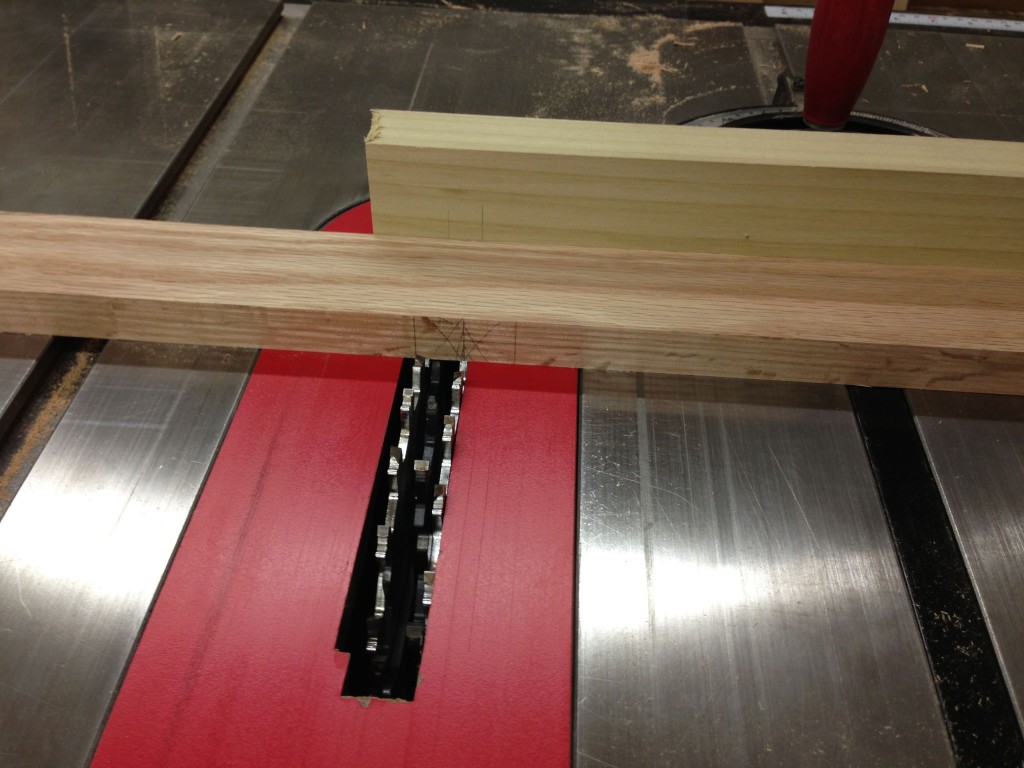
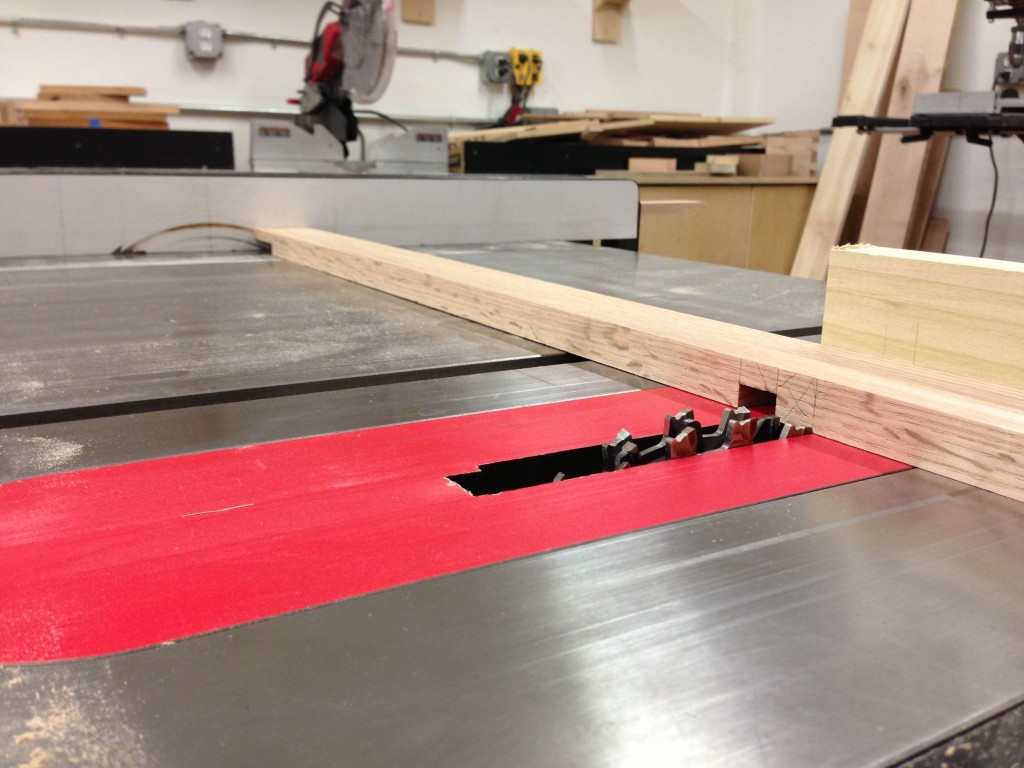
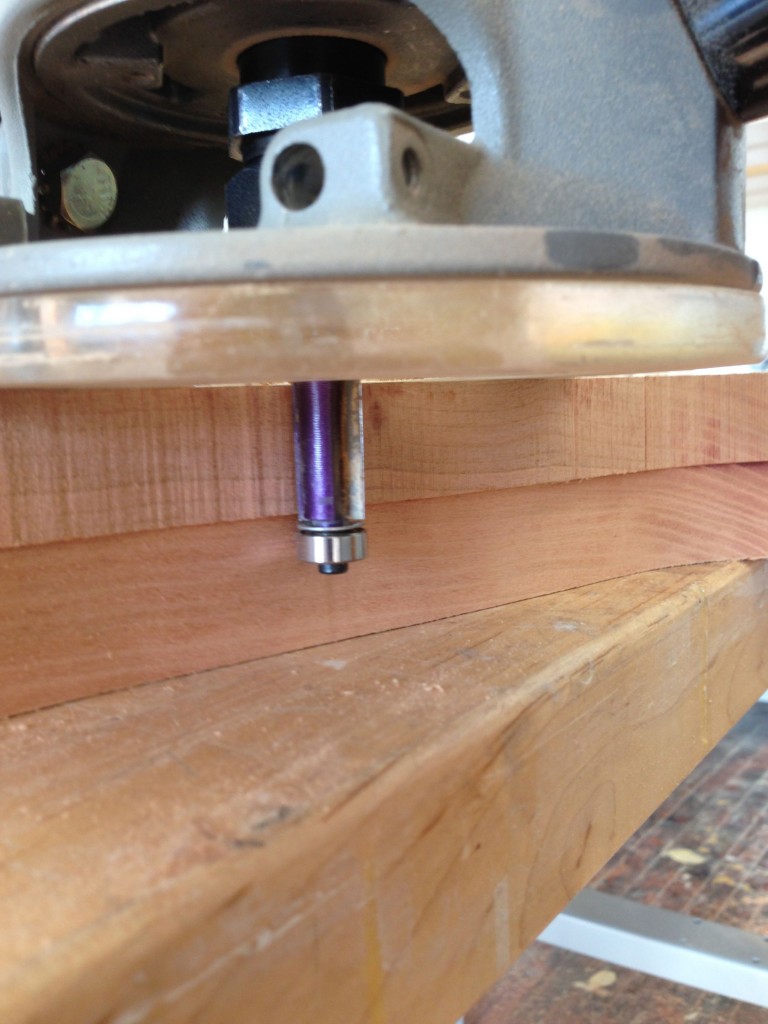
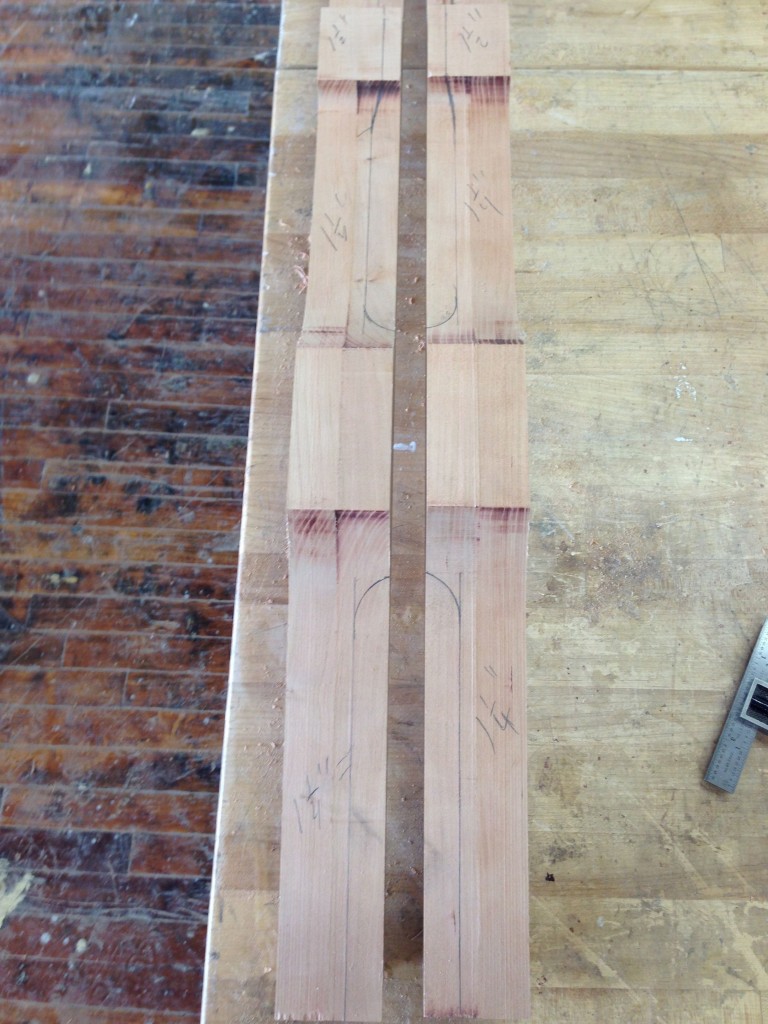
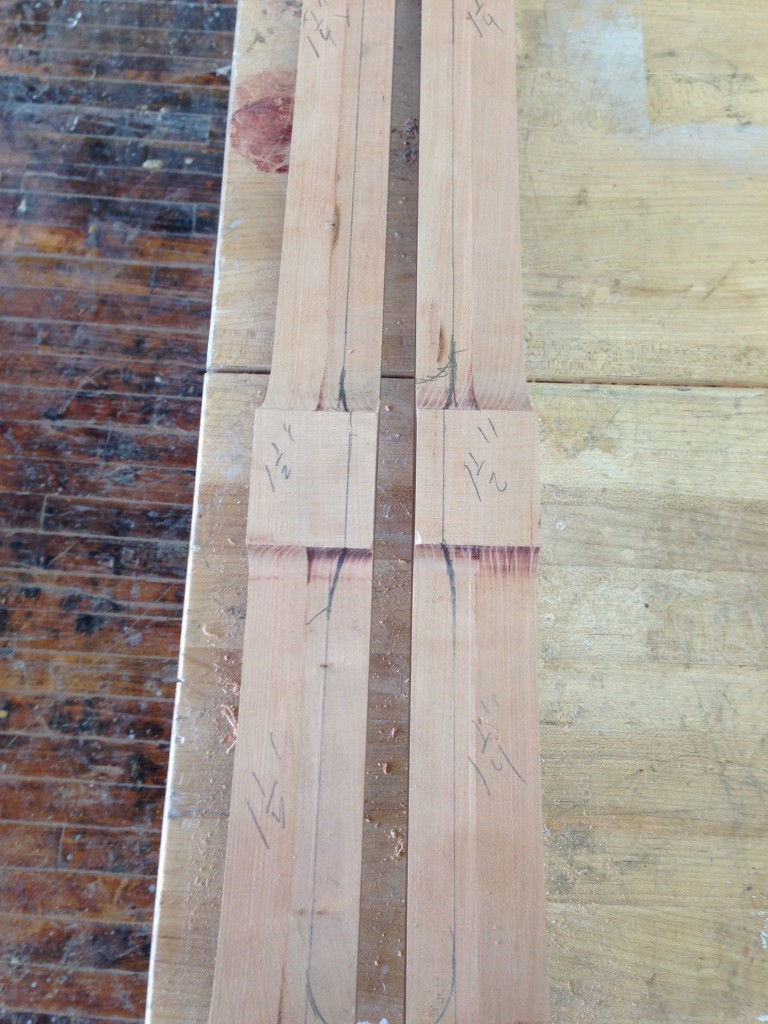
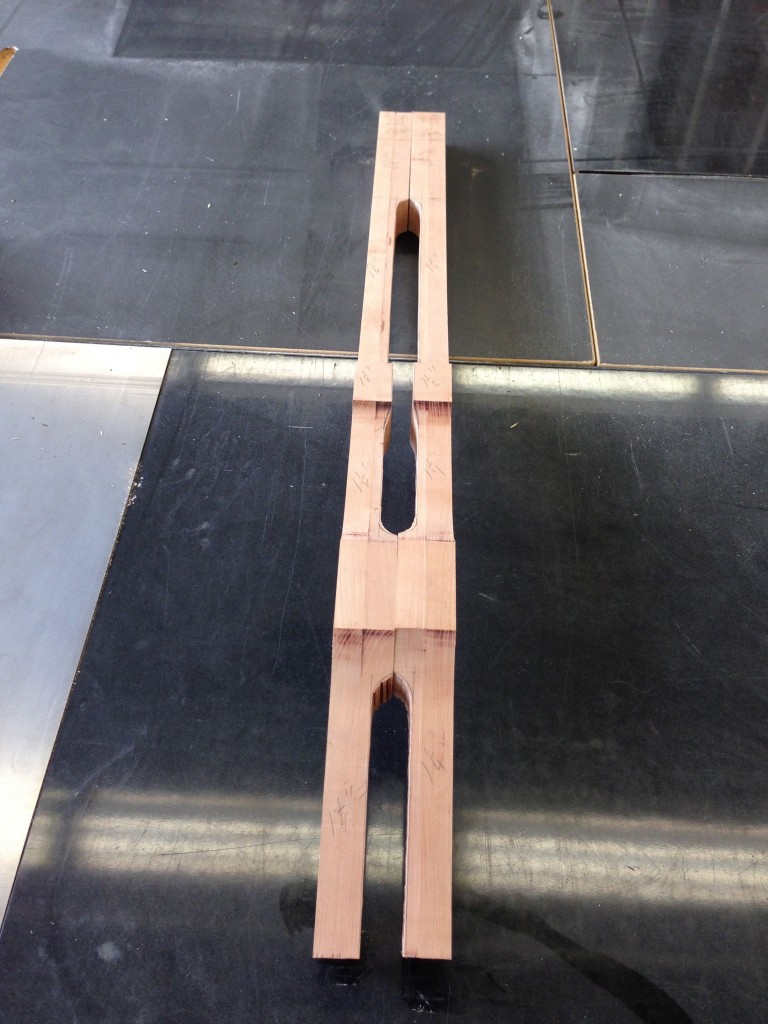
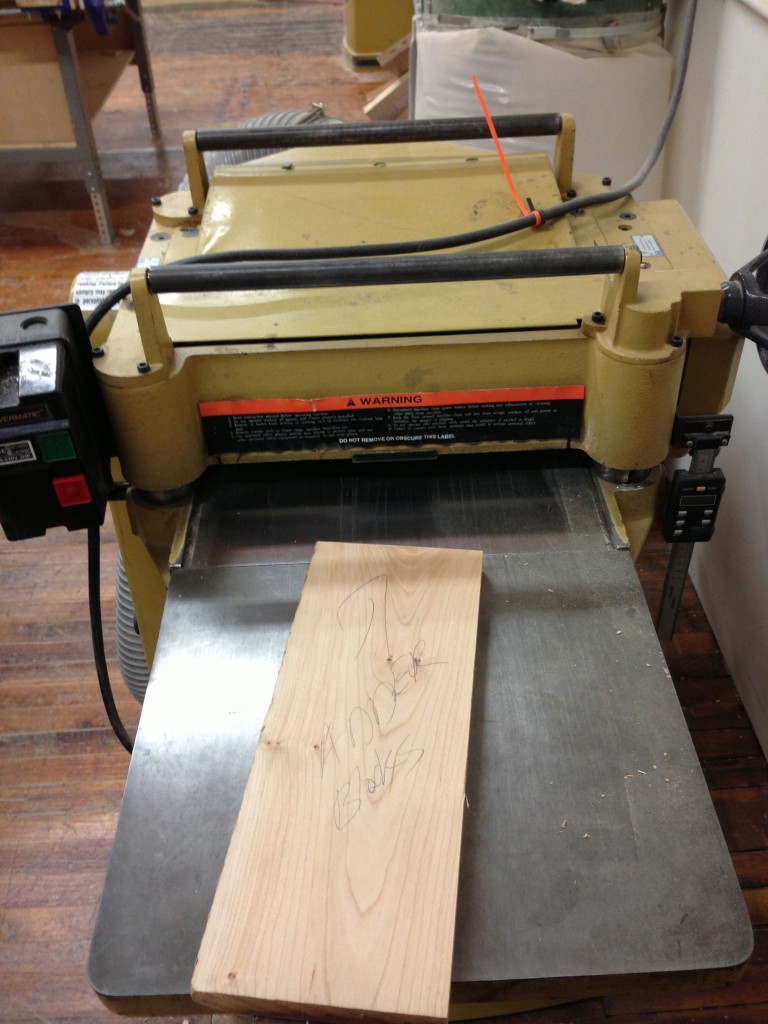
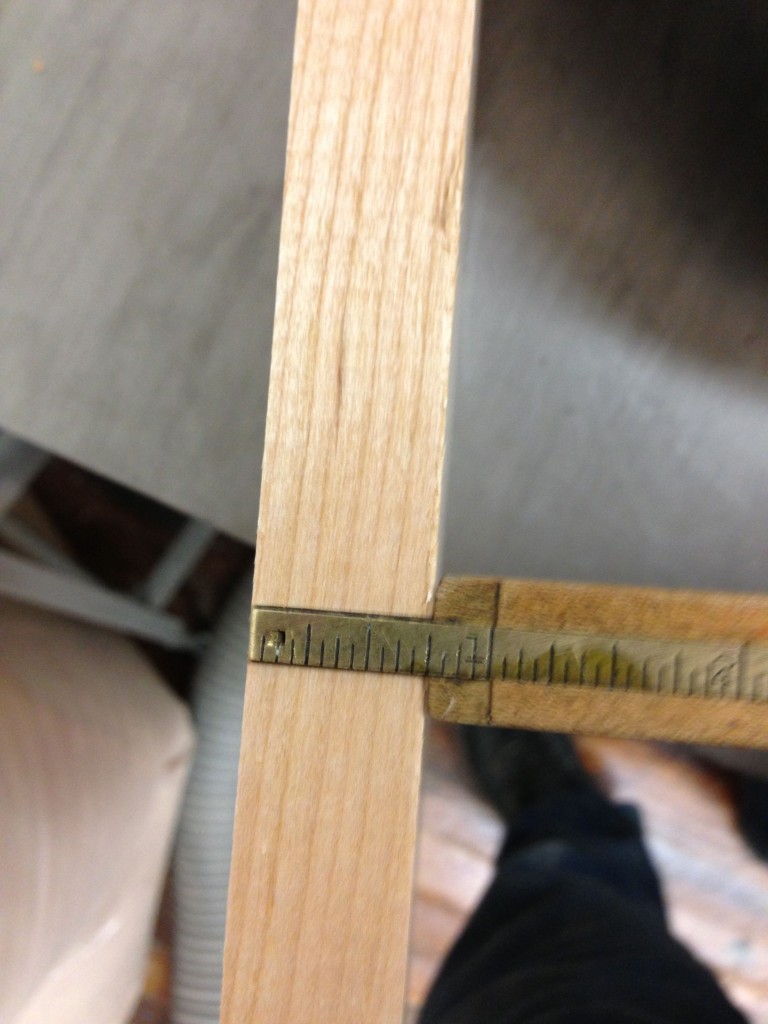
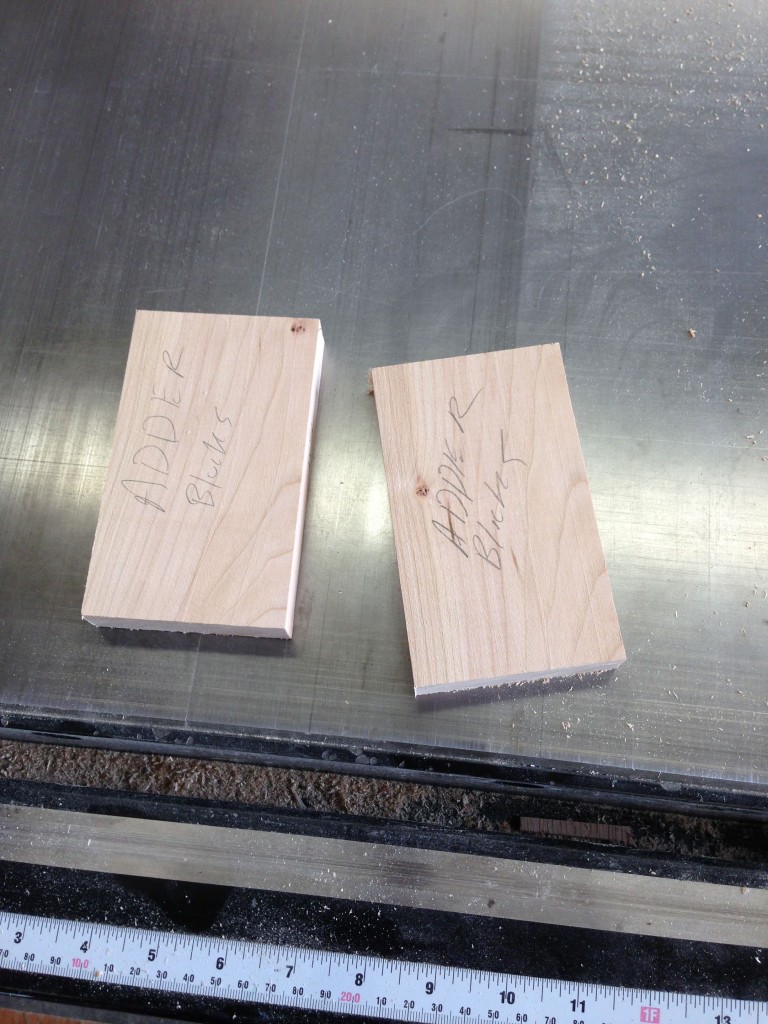
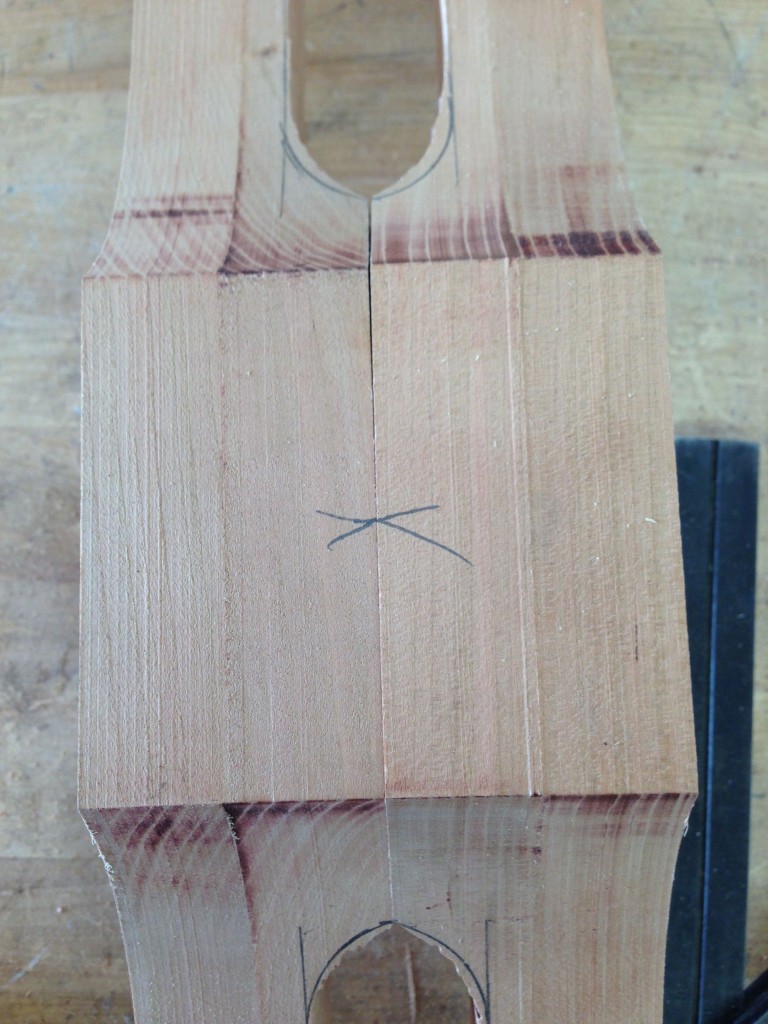
The previous back leg post ended at the rough blanks being cut out of the bigger stock of lumber. This gallery picks up with the flush trim routing to the leg pattern. Then adder blocks must be milled and glued on to accommodate the angle that occurs at the seat to back leg joint. Once they are added and squared, layout of the mortise joinery occurs. After the table saw, the inside corner must be rounded over on the router table. The next update will begin with the fine tuning of the round over.
Rocker Front Leg Lathe Turning Video
This is the video of the rocker front legs being turned on the lathe. Thanks to Phil Gautreau, resident turner at 3rd Ward, for filming and getting me set up on the lathe after a seven-year hiatus.

Rocker Front Legs On The Lathe
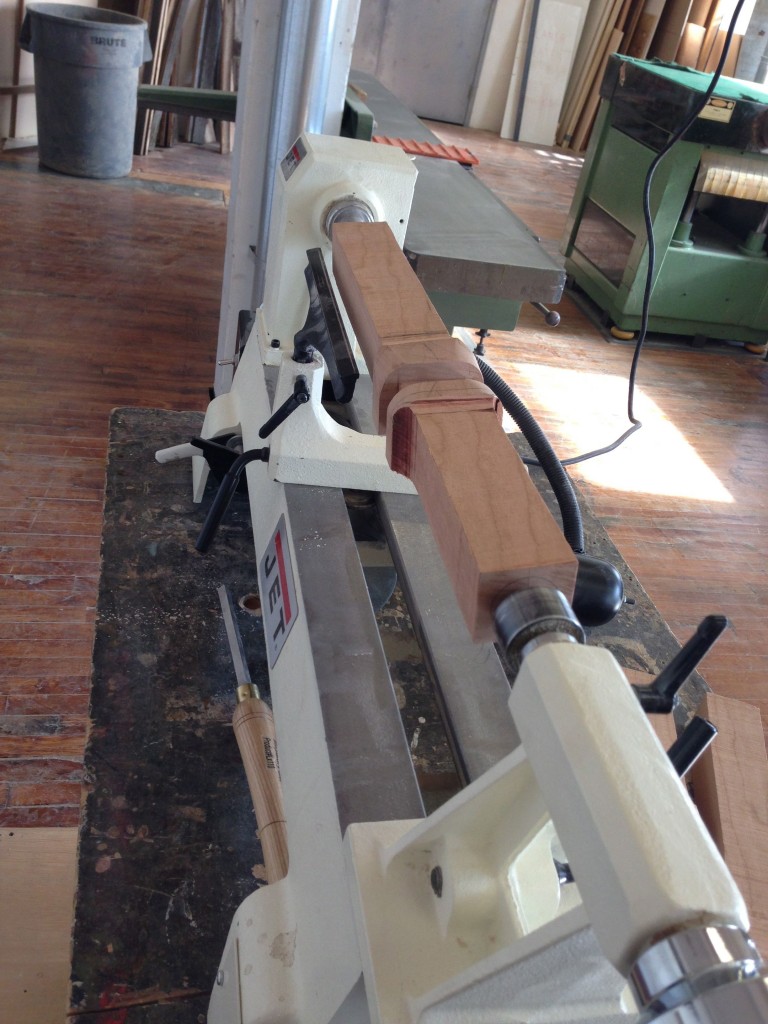
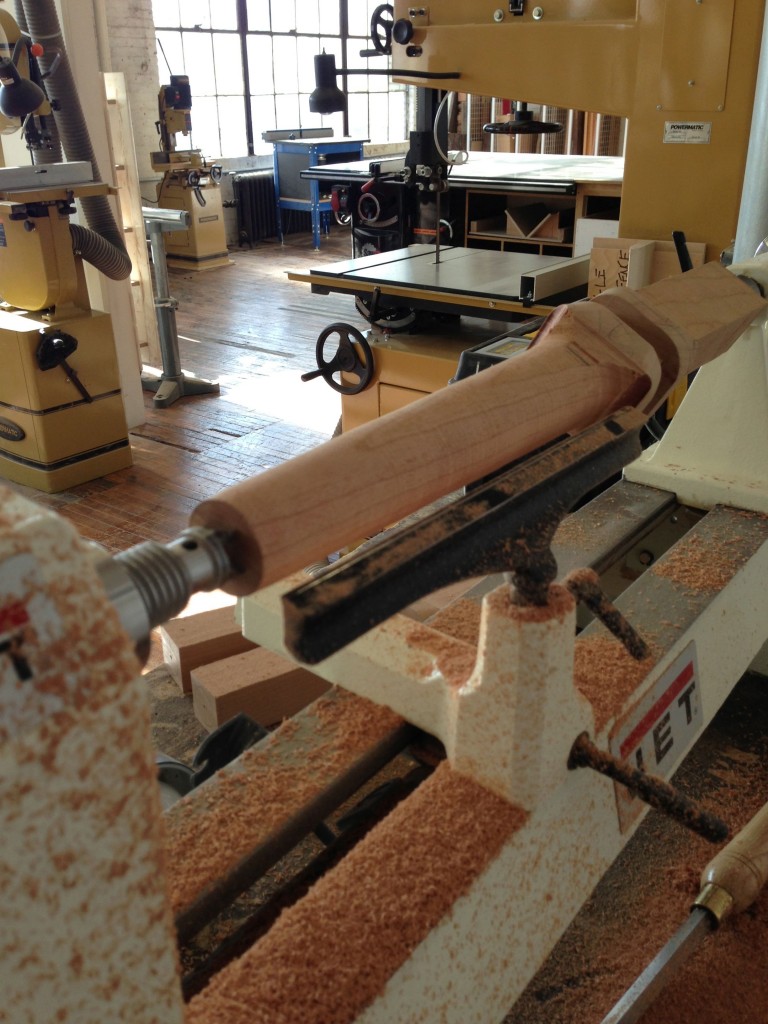
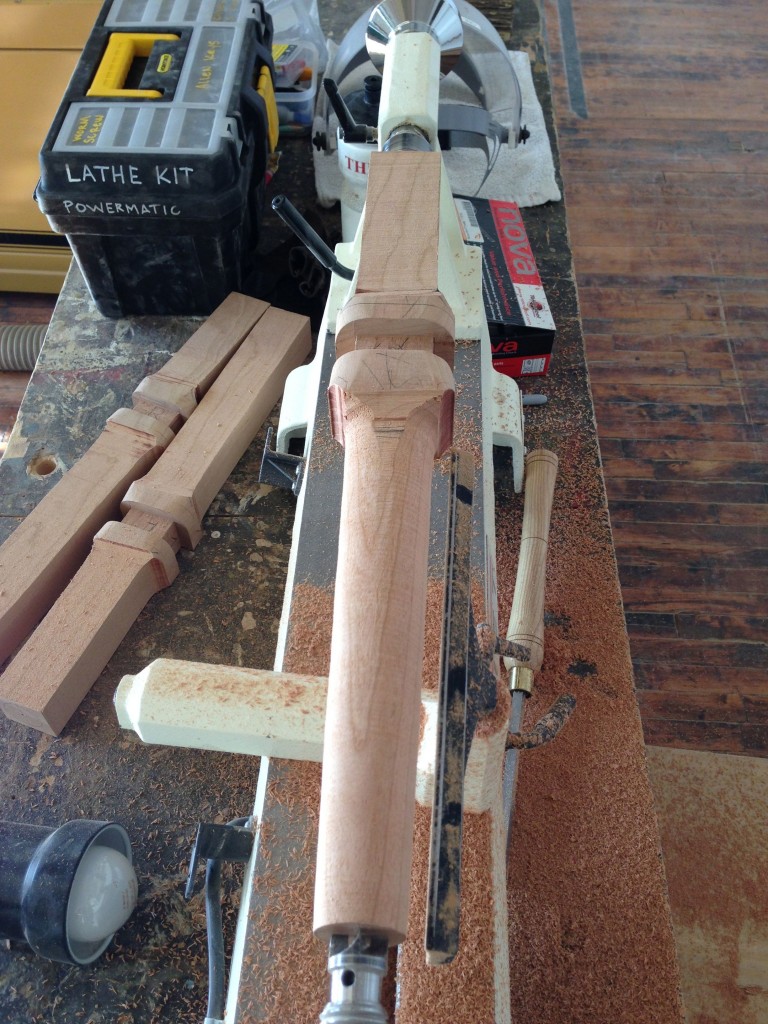
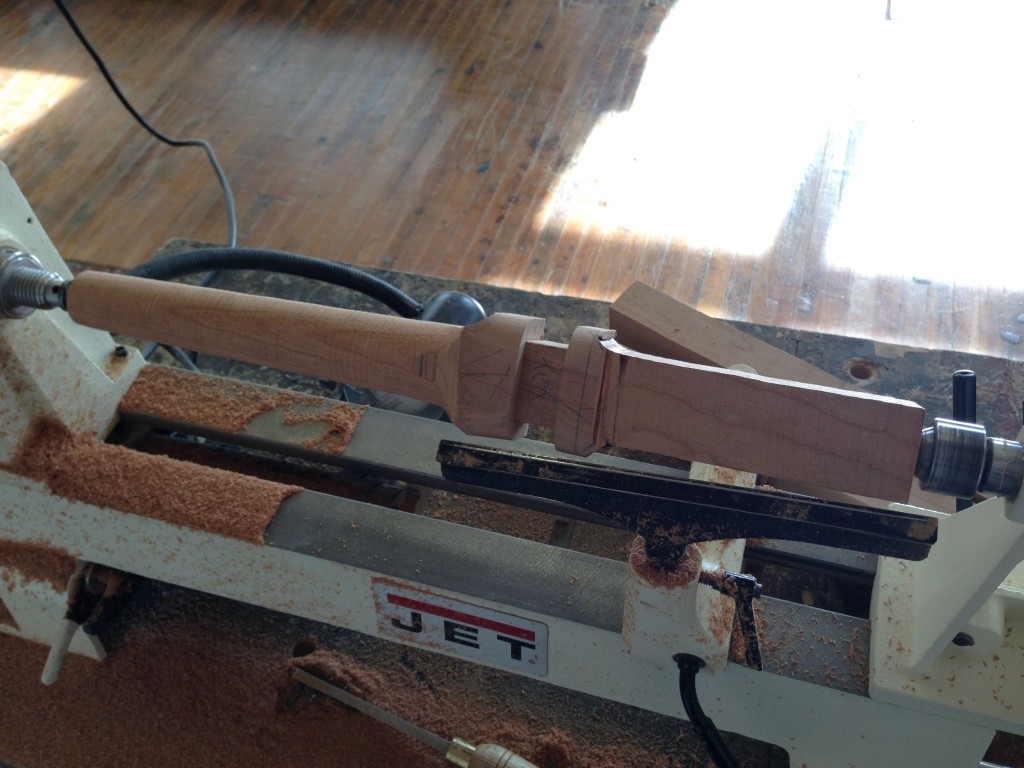
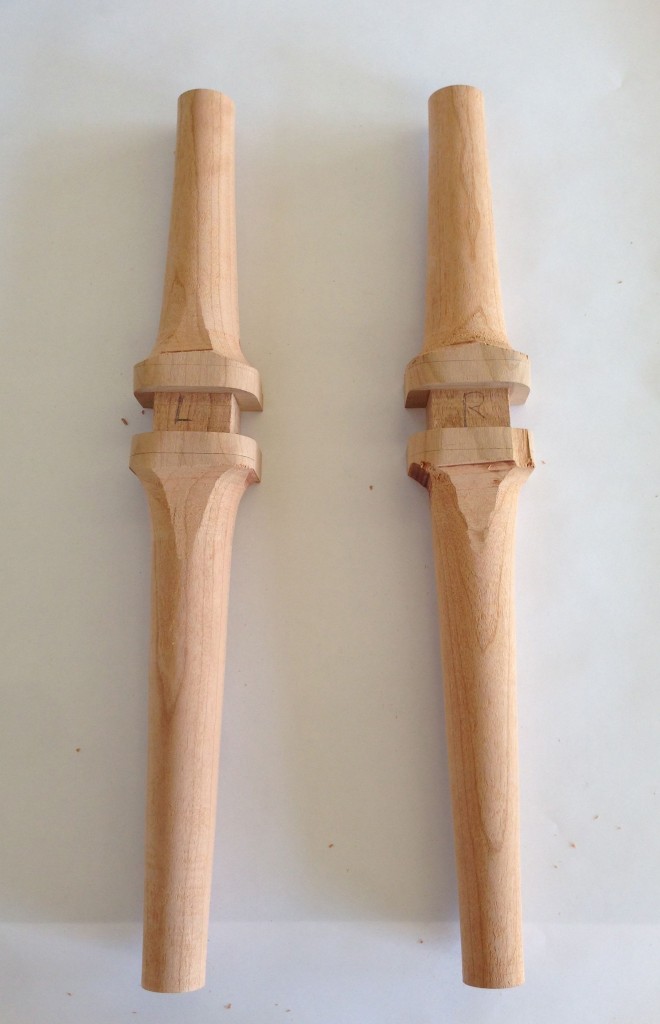
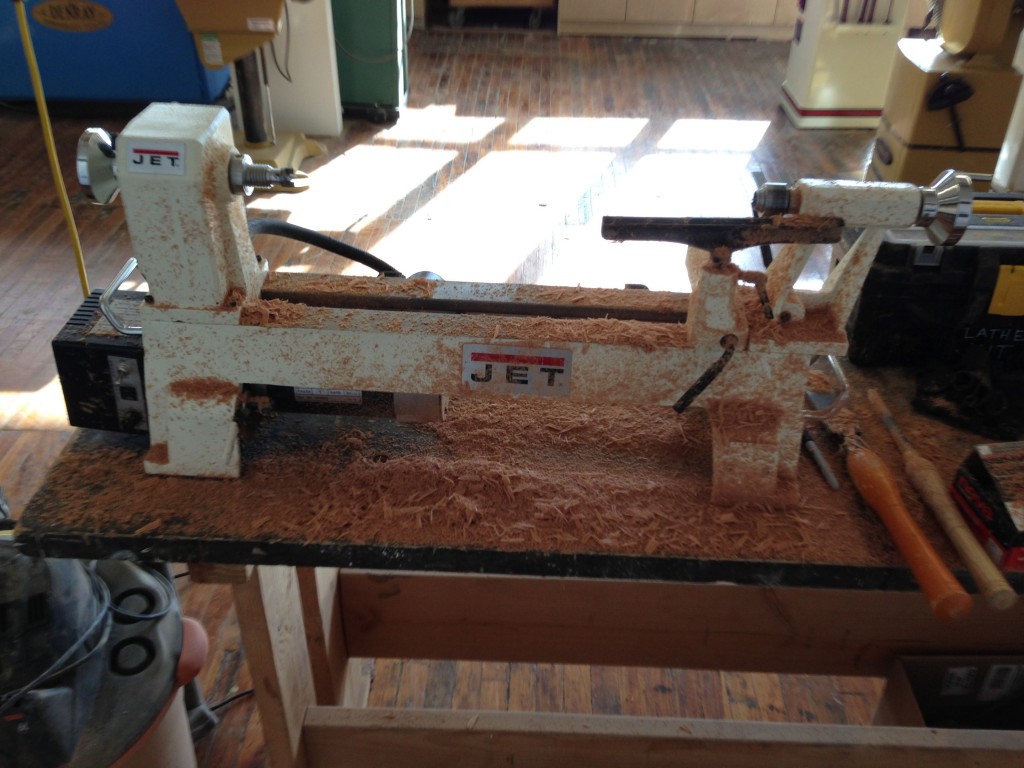
This rocker gallery update follows the process of putting the legs on the lathe to turn them. The legs are tapered from the joinery area to where they will eventually attach to the rocker and arm rest. This was the first time I have been on a lathe in about seven years. I forgot how much fun it is and what a relaxing experience it can be. A video update will be posted above.
Circle Router Jig Video
This video was shot during the SAW table top build and shows the circle plunge router jig in action. The jig itself is made of 1/4″ thick acrylic and fit specifically for the Milwaukee plunge router seen here. The jig works by measuring the radius of the circle from the inside edge of the bit you are using and drilling a hole to send a screw into the bottom of your circle. Then you are able to plunge into the wood and work around the circle. This works best if you have already drawn out your diameter in pencil and band saw close to that line so you only have to remove about 1/8″ or less of material.


