
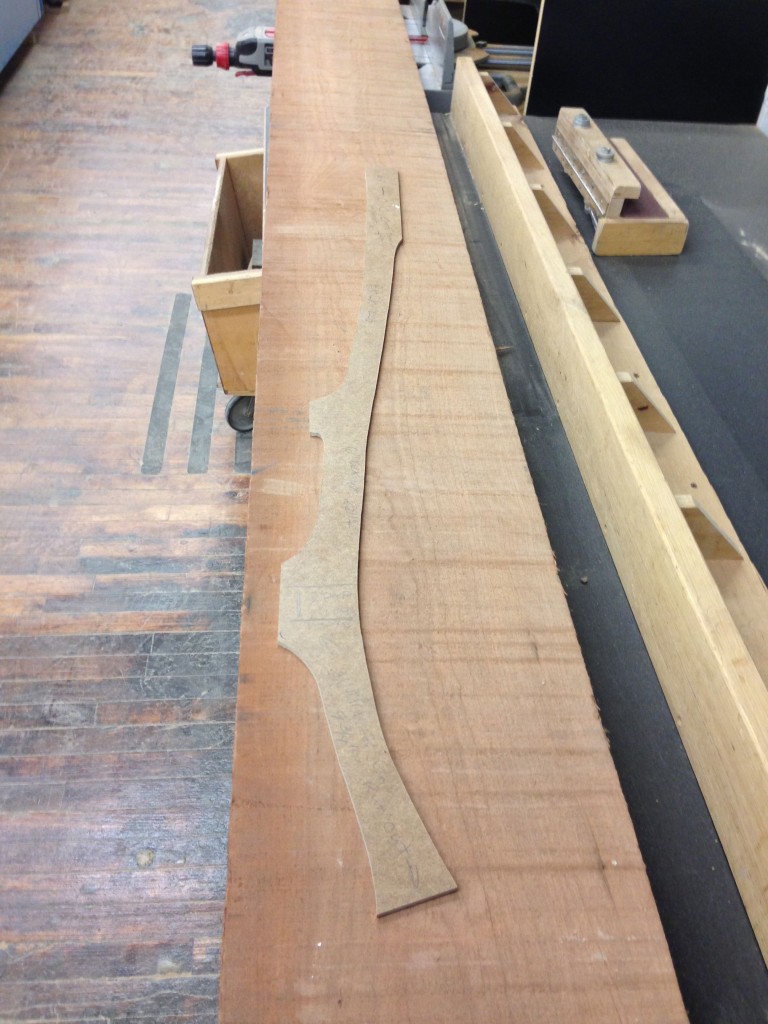
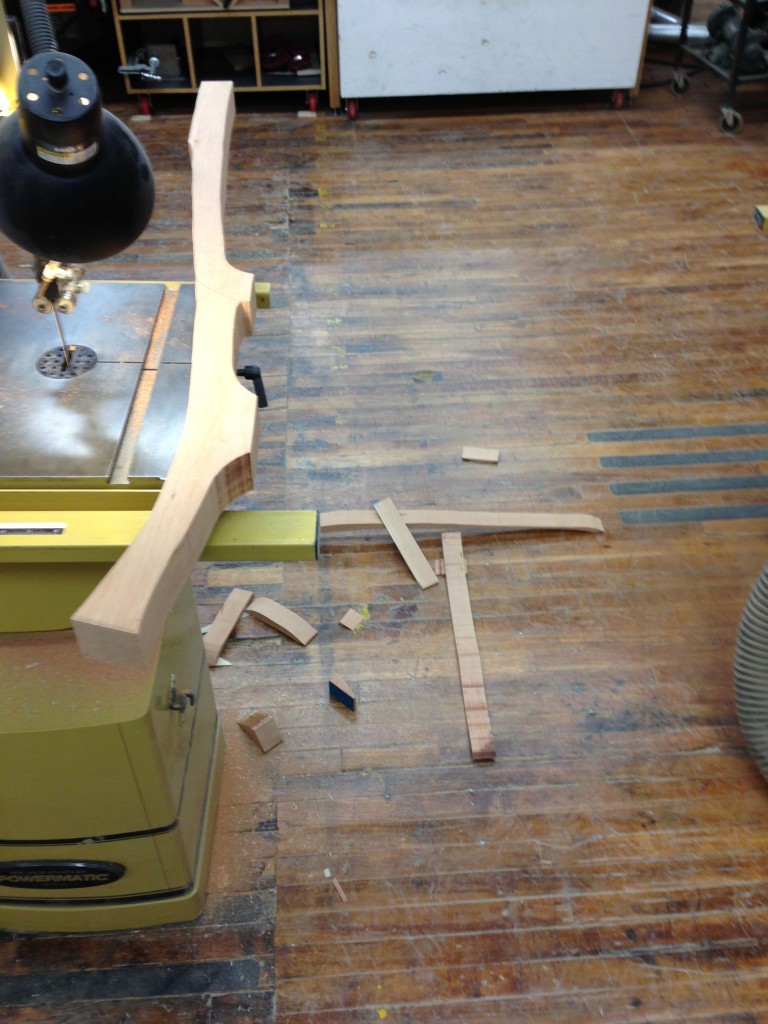
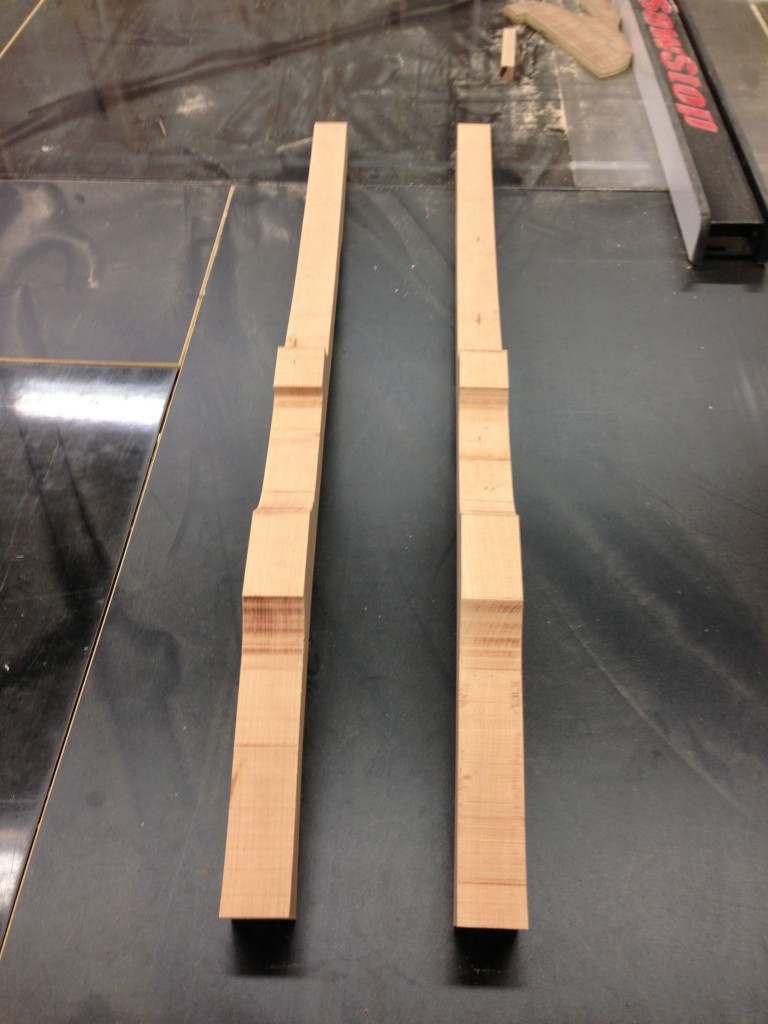
Being able to have templates made already ensures that when it comes time to cut into your material, you don’t have to be wasteful. This was a particular point of interest for me dealing with 8/4 cherry. The back leg template enabled me to have proper grain layout throughout the piece and made it able to nest two legs very close together to conserve this expensive material. I was then able to band saw rough chunks out, run them over the jointer and thru the planer and then bandsaw close to be able to flush trim on the router table.


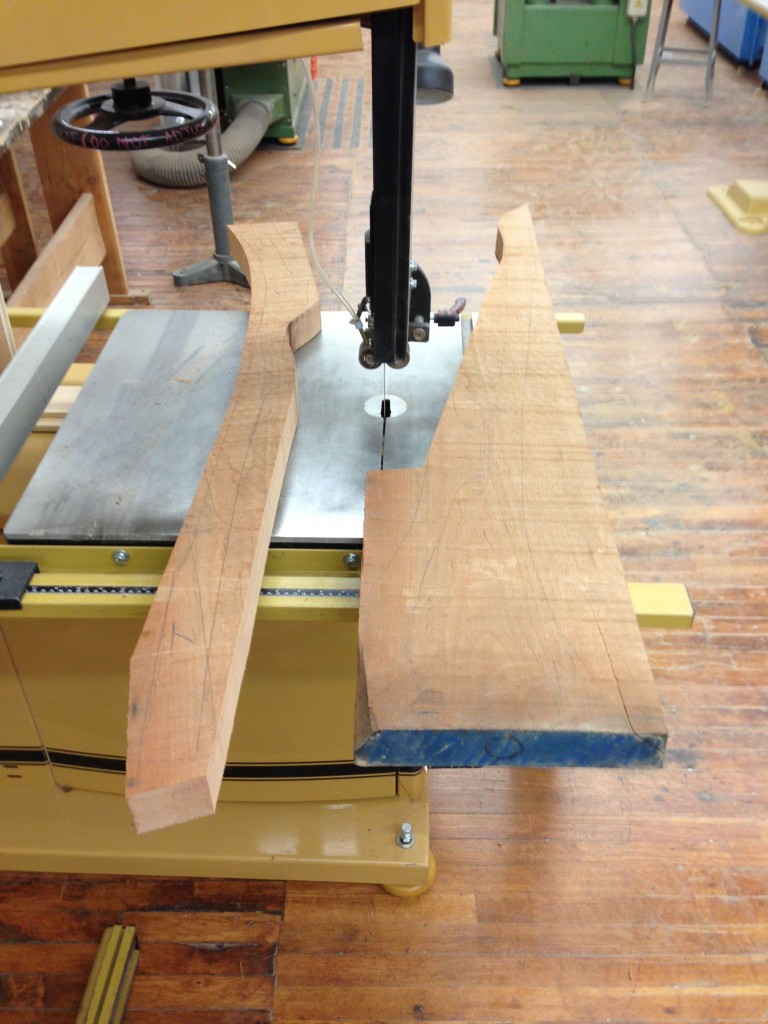


It appears you used the bandsaw twice for the rocker leg. What about using a no clearance router bit to duplicate it?
Kevin,
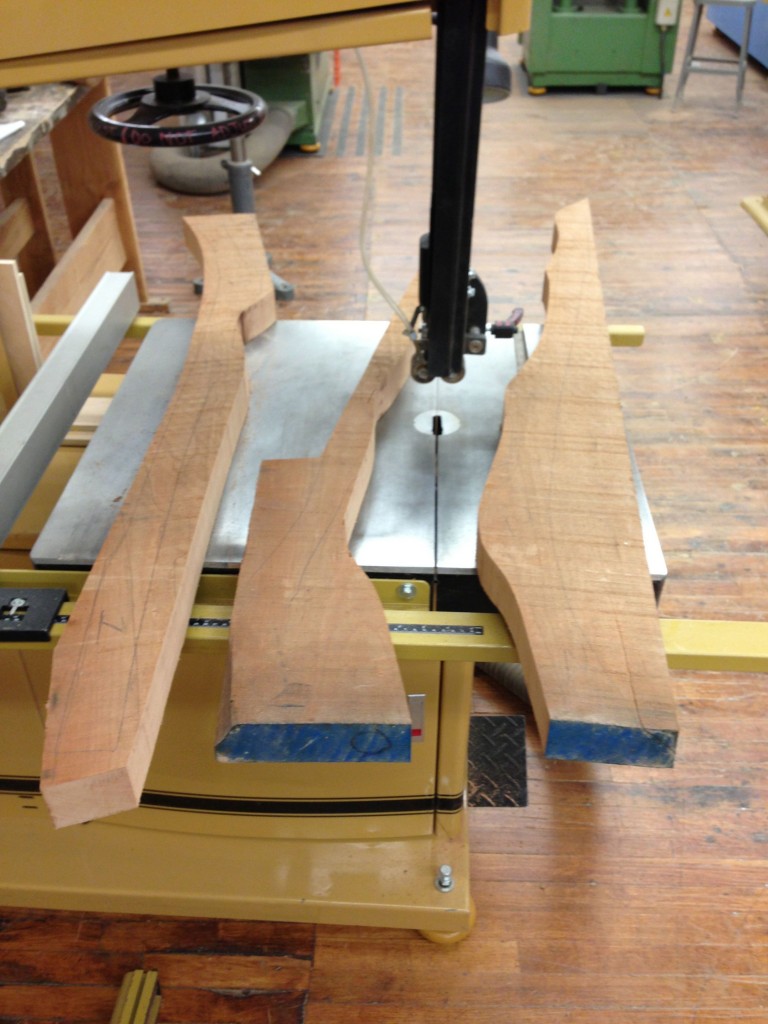
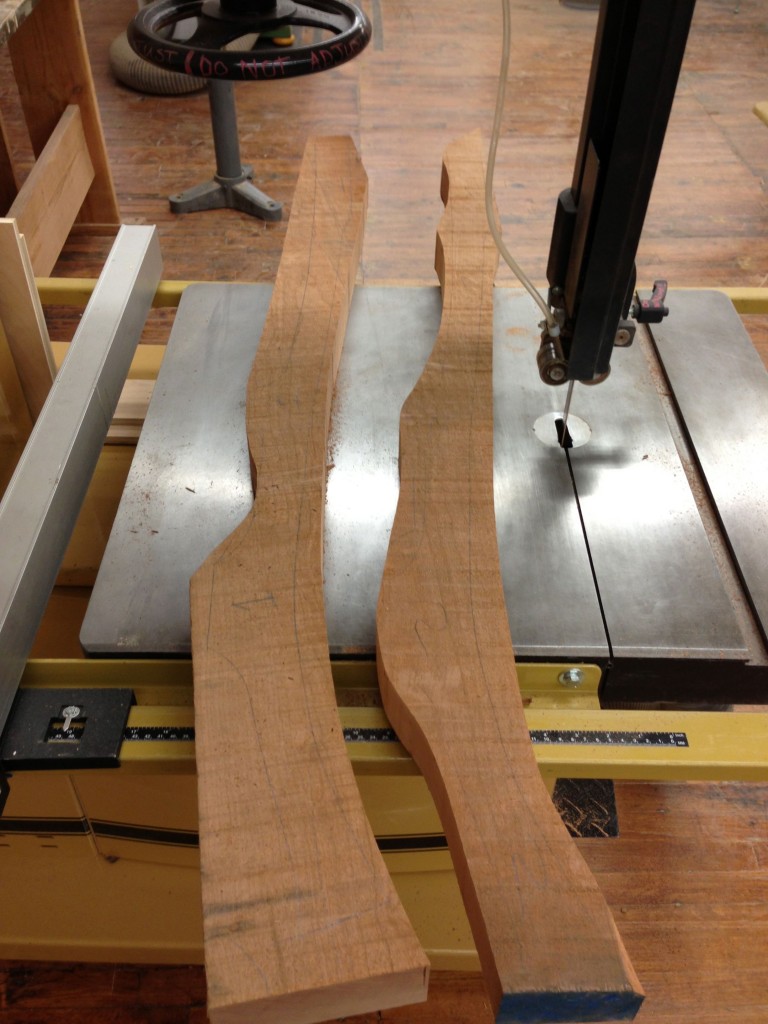
I did use the band saw twice, once to cut the legs out of the bigger blank and then went to the small bandsaw after retracing the pattern to get a better cut about a 1/16″ outside my pattern line. This way I can now double stick the pattern on to the blank and use a flush trim bit to copy my template. By cutting this close to the pattern line it makes for quicker work on the router with less burn and tear out possibility. I also band sawed twice because it is harder to be accurate to the pattern lines with that big of a blade.